Are you trying to fix sun-damaged car paint? Sun exposure can cause fading, chipping and discoloration of car paint, which not only affects the appearance but also decreases the value of your vehicle.
Your car spends countless hours exposed to the harsh elements, and the sun can be its biggest enemy. Prolonged UV exposure breaks down the protective clear coat, leading to ugly fading, peeling, and chalky patches on your vehicle’s exterior. You do not have to live with a weathered, neglected-looking car or spend thousands of dollars at a professional auto body shop. With the right tools and a little patience, you can tackle this project in your own garage.
This guide on how to repair sun damaged car paint outlines everything you need to know to repair sun-damaged car paint, from gathering your supplies to laying down a flawless finish.
What are the Benefits of Restoring Sun-Damaged Paint?
Restoring your car’s paint does more than just make it look good again. First, it significantly increases the resale value of your vehicle. A car with peeling paint signals neglect to potential buyers, driving down your asking price. Second, repairing the clear coat protects the underlying metal panels from rust and corrosion. When the paint fails, moisture easily reaches the bare metal, causing structural damage over time. Finally, taking on this project yourself provides a deep sense of satisfaction and saves you a substantial amount of money compared to professional body shop rates.
What Will You Need?
Before you begin, gather the following materials to ensure a smooth and uninterrupted workflow:
- Automotive wash soap and microfiber towels
- Masking tape and masking paper (or plastic drop cloths)
- Sandpaper (various grits: 800, 1000, 1500, and 2000)
- A sanding block
- Wax and grease remover
- Automotive primer (aerosol or spray gun)
- Color-matched base coat paint
- 2K Automotive clear coat
- Rubbing compound and polishing pads
- A dual-action orbital polisher
- Safety gear (respirator mask, safety glasses, and nitrile gloves)
10 Easy Steps on How to Repair Sun Damaged Car Paint
Step 1: Wash and Dry Your Car Thoroughly
Start by giving the entire vehicle a meticulous wash using a high-quality automotive soap. Focus heavily on the sun-damaged areas to remove all dirt, bird droppings, road grime, and loose debris. Any dirt left behind will act like an abrasive during the sanding process, creating deep scratches that are difficult to remove. Rinse the car completely and dry it using clean microfiber towels to prevent water spots.

Step 2: Mask Off the Surrounding Areas
Protect the parts of your car that you do not want to paint. Use high-quality automotive masking tape and masking paper to cover windows, trim, headlights, and adjacent body panels. Take your time with this step, pressing the tape down firmly along the edges to prevent any primer or paint from bleeding underneath. Proper masking saves you hours of clean-up later.
Step 3: Remove the Damaged Clear Coat
Put on your respirator mask and begin sanding the sun-damaged area using 800-grit sandpaper wrapped around a sanding block. Keep the sandpaper wet to prevent it from clogging. Use even, moderate pressure to strip away the flaking, chalky clear coat until you reach a smooth, stable layer of the underlying base coat. The transition between the damaged area and the good paint should feel completely seamless to the touch.
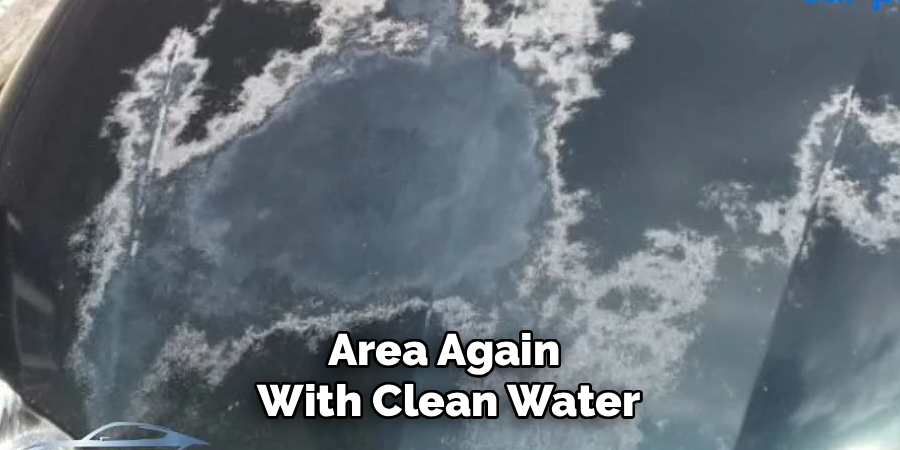
Step 4: Clean the Sanded Area
Once you finish stripping the damaged clear coat, wash the area again with clean water to remove all the sanding dust. Dry it thoroughly with a microfiber towel. Next, apply a generous amount of wax and grease remover to a clean rag and wipe down the entire sanded section. This chemical removes invisible contaminants, body oils from your hands, and residual wax that would prevent your new paint from sticking.
Step 5: Apply a Primer
If your sanding broke through the base coat and exposed bare metal or plastic, you need to apply a primer. Shake your automotive primer well and spray light, even coats over the exposed areas. Keep the can or spray gun moving constantly to prevent runs and drips. Allow the primer to dry completely according to the manufacturer’s instructions, which typically takes about 30 minutes to an hour.
Step 6: Sand the Primer
After the primer dries, you must smooth it out so it perfectly matches the contour of the surrounding panels. Use wet 1000-grit sandpaper and your sanding block to lightly scuff the primed area. Use very gentle pressure; you only want to remove the rough texture left by the spray, not the primer itself. Wipe the area clean and use your wax and grease remover one more time.
Step 7: Apply the Base Coat Paint
Now it is time to restore the color. Shake your color-matched base coat thoroughly. Apply the paint in light, overlapping sweeps. Keep your spray nozzle about six to eight inches away from the panel. Apply three to four light coats, allowing five to ten minutes of flash time between each coat. The base coat will look dull and matte when it dries; this is completely normal.
Step 8: Apply the Clear Coat
The clear coat provides the glossy shine and the crucial UV protection. Once the final base coat has dried for about 30 minutes, begin applying your 2K clear coat. Apply the first coat lightly to create a sticky foundation. Wait 10 minutes, then apply a second, heavier wet coat to build a rich gloss. Ensure you overlap your spray patterns by 50% for even coverage. Let the clear coat cure for at least 24 hours.
Step 9: Wet Sand the Clear Coat
New clear coat often dries with a slight texture known as “orange peel.” To achieve a mirror-like finish, soak your 1500-grit and 2000-grit sandpaper in water with a drop of dish soap. Wrap the 1500-grit paper around your sanding block and gently wet sand the new clear coat until the surface looks uniformly dull. Follow up with the 2000-grit paper to refine the sanding scratches.
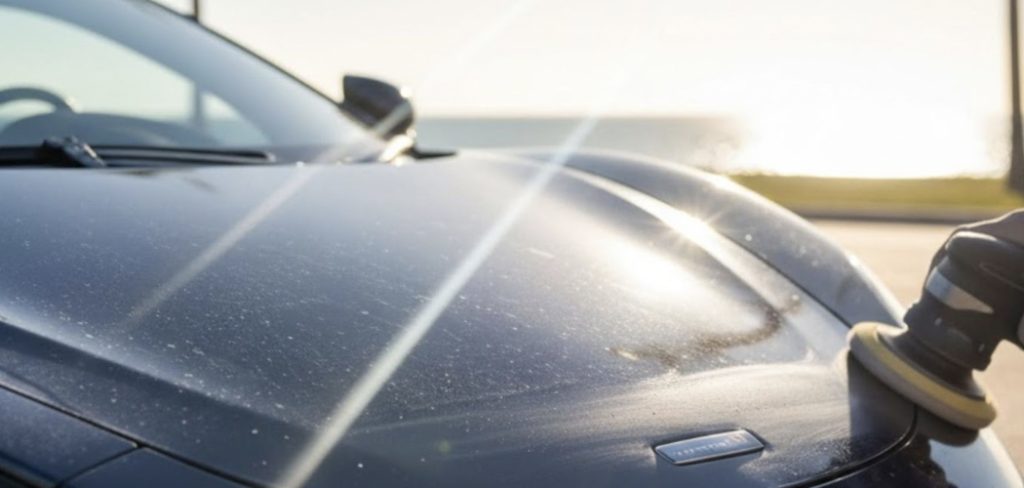
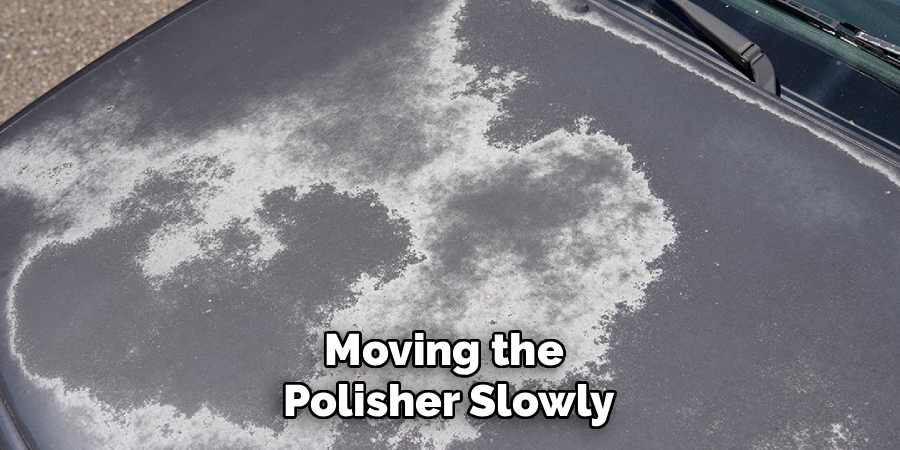
Step 10: Polish and Wax the Repaired Area
The final step brings out the brilliant shine. Apply a heavy-cut rubbing compound to a polishing pad and use your dual-action polisher to buff out the 2000-grit sanding scratches. Work in small sections, moving the polisher slowly. Once the scratches disappear, switch to a finer polishing compound and a soft pad to maximize the gloss. Wait at least 30 days for the fresh paint to fully outgas before applying a protective layer of carnauba wax or a ceramic coating.
5 Things You Should Avoid
- Avoid skipping the prep work; failing to clean and degrease the panel properly will cause the new paint to peel off quickly.
- Avoid spraying paint in direct sunlight or extreme humidity, as this ruins the paint’s ability to cure properly and causes a cloudy finish.
- Avoid rushing the flash times between coats of paint or clear coat, which traps solvents and leads to bubbling.
- Avoid sanding without a sanding block on flat panels, as using just your fingers will create uneven, wavy low spots in the paint.
- Avoid applying heavy, thick coats of paint to save time; this always results in massive drips and runs that you have to sand out later.
Frequently Asked Questions
Can I Repair Sun Damage Without Repainting the Car?
If the clear coat is only slightly cloudy and has not started to peel or flake off yet, you might be able to restore it without repainting. You can try using a heavy rubbing compound and a dual-action polisher to remove the oxidized top layer of the clear coat. This process gently shaves away the dead paint to reveal the healthy, clear coat underneath. However, if the clear coat is visibly peeling, cracking, or showing chalky white spots, polishing will not fix the issue. At that stage, sanding and repainting are the only permanent solutions.

How Do I Find the Exact Color Match for My Vehicle?
Every car has a specific paint code assigned by the manufacturer at the factory. You can usually find this paint code on a sticker located inside the driver’s side door jamb, under the hood, or in the glove box. Once you locate this alphanumeric code, you can order custom-mixed aerosol cans or pints of paint from an automotive paint supplier. Keep in mind that older paint fades over time, so the new paint might look slightly brighter than the rest of the car. Blending the new paint into the adjacent panels helps hide any minor color variations.
Is 1k Clear Coat Just as Good as 2k Clear Coat?
A 1K clear coat air-dries and does not require a hardener, making it cheaper and easier to use, but it is vastly inferior in terms of durability. A true 2K clear coat comes with a separate catalyst or hardener that creates a chemical reaction when mixed, resulting in a much stronger finish. The 2K clear coat offers significantly better protection against UV rays, harsh chemicals, and physical scratches. If you want your repair to last for years and resist future sun damage, you must use a 2K clear coat. Using 1K clear coat often results in the paint failing again within a few months.
Conclusion
How to repair sun damaged car paint requires focus, the right materials, and a commitment to following each step methodically.
By thoroughly prepping the surface, applying the primer and paint correctly, and finishing with a high-quality clear coat, you can breathe new life into your vehicle’s exterior. Take your time, prioritize safety by wearing your respirator, and do not rush the drying times.
Now that you have this complete guide, you are fully equipped to transform that faded, peeling hood or roof into a glossy, showroom-quality finish.
About
Ora Hayes is a distinguished figure in the world of DIY Thecarfixes, with over a decade of expertise in automotive diagnostics and high-performance maintenance. Her professional focus lies in merging mechanical precision with modern digital tools, fostering repair solutions that are both cost-effective and highly reliable. As the author of Thecarfixes, Ora Hayes delves into the art and science of automotive restoration, inspiring car owners and hobbyist mechanics alike.
Education
RMIT University (Melbourne, Australia) Associate Degree in Automotive Engineering — Focus on vehicle dynamics, industry-driven repair protocols, and advanced diagnostics. Gained hands-on experience with traditional mechanical tools and modern ECU remapping software.
Nottingham Trent University (United Kingdom) Bachelor’s in Mechanical Design and Automotive Engineering (Honors) — Specialized in automotive systems with a focus on blending technical engineering with everyday usability. Participated in industry projects, working with leading automotive manufacturers to gain real-world insights into vehicle longevity.
Publications and Impact
In Thecarfixes, Ora Hayes shares her insights on troubleshooting complex engine issues, material durability, and strategies for efficient garage setups. Her writing bridges the gap between professional mechanic knowledge and the home enthusiast’s needs, making it a must-read for both everyday drivers and seasoned gearheads.