

A dead battery can turn a simple drive into a stressful delay, especially if you are not sure where to connect the jumper cables. If you are searching for how to jump start a mini cooper, the good news is that the process is simple once you understand the correct connection points and safety steps.
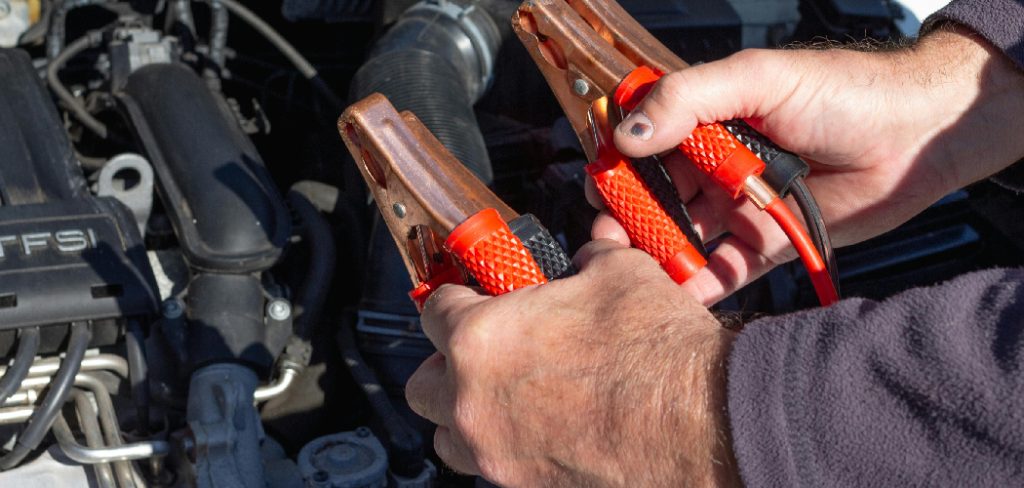
Many Mini Cooper models place the battery in the rear, but they often include jump-start terminals under the hood. That setup can confuse first-time owners. This guide explains what to check before you start, where to connect the cables, how to start the car safely, and what to do after the engine turns over. By the end, you will know the process clearly and feel more confident handling a low or dead battery.
Why This Matters
Jump-starting a Mini Cooper the wrong way can damage electronics, create sparks, or leave you stranded even longer. Modern vehicles depend on sensitive electrical systems, so cable placement matters.
Knowing the right process helps you avoid common mistakes, such as connecting directly to the wrong terminal or removing cables in the wrong order. It also helps you decide when a jump-start is not enough and when you may need a battery test, alternator check, or professional roadside help.
The main benefit is confidence. When you understand the safe method, you can act quickly, protect your car, and get back on the road with less stress.
Step-By-Step Guide on How to Jump Start a Mini Cooper
Step 1: Confirm The Battery Is The Problem
Before connecting anything, make sure the battery is likely the cause. Common signs include dim interior lights, a clicking sound when you press the start button, slow cranking, or no response at all. If the lights are bright and the engine still will not crank, another issue may be involved.
Check that the gear selector is in park or neutral and that the parking brake is on. Turn off headlights, climate control, radio, heated seats, and other accessories. This reduces electrical load and gives the jump-start the best chance of working. At this stage, knowing how to jump start a mini cooper begins with confirming you are solving the right problem.
Step 2: Gather The Right Equipment
Use a quality set of jumper cables or a charged portable jump starter. Thin, damaged, or corroded cables may not transfer enough power and can heat up during use. If you use another vehicle, it should have a healthy 12-volt battery system, which is standard for most passenger cars.

Park the donor vehicle close enough for the cables to reach, but do not let the cars touch. Metal-to-metal contact between vehicles can create unwanted electrical paths. Keep children, pets, loose jewelry, and dangling clothing away from the engine bay. Safety comes first, even when the problem feels urgent.
Step 3: Find The Jump-Start Terminals
Open the hood and look for the designated positive terminal. On many Mini Cooper models, this is a red-covered post or marked with a plus sign. It is often easier and safer to use this under-hood terminal than to access the battery itself.
Next, locate a solid metal ground point. This may be a dedicated negative terminal, a grounding post, or an unpainted metal part of the chassis or engine block. Avoid painted surfaces, moving parts, fuel lines, and delicate components. If your owner’s manual shows specific jump points, follow those locations. Correct terminal choice protects the car’s electronics and reduces the risk of sparks near the battery.
Step 4: Connect The Positive Cable
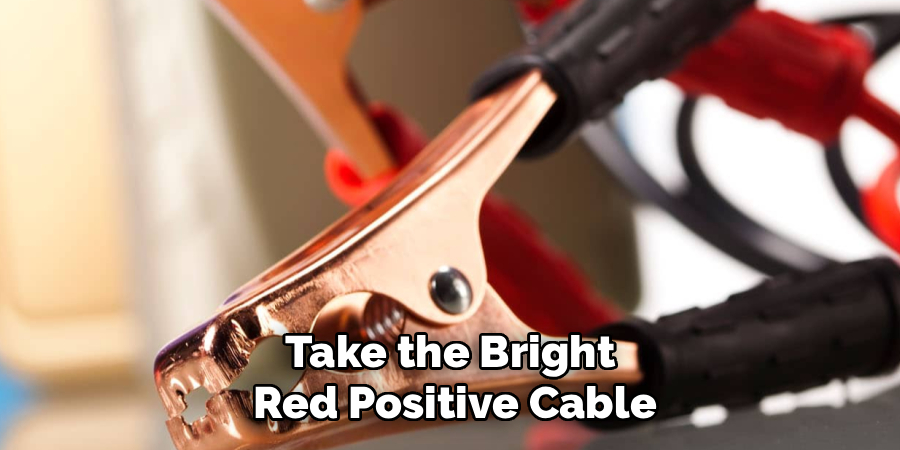
Start with both vehicles turned off. Take the red clamp and connect it to the positive jump terminal on the Mini Cooper. Make sure the clamp grips clean metal and does not wobble. A loose connection can prevent the car from starting and may cause arcing.
Connect the other red clamp to the positive terminal of the donor battery or portable jump starter. Keep the clamps separated while working. Do not allow the red and black clamps to touch each other once connected to power. If a clamp slips, stop and reset it before moving on. A firm, clean connection makes the next steps much safer.
Step 5: Connect The Negative Cable
Now connect the black clamp to the negative terminal of the donor battery or to the negative output on the portable jump starter. Then connect the final black clamp to the approved ground point on the Mini Cooper. This should be away from the positive terminal and away from moving belts or fans.
Do not connect the final clamp to random plastic parts, painted panels, or small brackets that may not provide a proper ground. You want a strong metal contact point. This final ground connection may create a small spark, so keeping it away from the battery area is a smart safety habit.
Step 6: Start The Donor Vehicle Or Power Pack
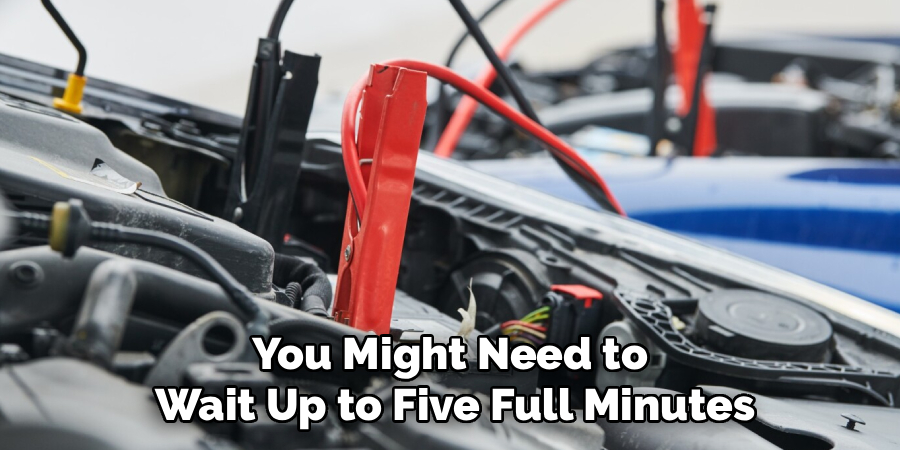
If you are using another vehicle, start it and let it idle for a few minutes. This gives the weak battery time to receive some charge. Do not rev the engine hard. A steady idle is usually enough and is safer for both vehicles.
If you are using a portable jump starter, turn it on according to its instructions. Some units have a boost button or safety mode that must be activated. This is the key moment in how to jump start a mini cooper, so take your time and check that every clamp is still secure before trying to start the car.
Step 7: Start The Mini Cooper
Press the brake pedal and try to start the Mini Cooper. If it starts, let the engine run. Do not shut it off right away. The charging system needs time to stabilize the battery after the jump.
If it does not start within a few seconds, stop trying and wait about a minute before another attempt. Repeated long cranking can overheat the starter and drain the donor battery. If the car still will not start after several tries, the battery may be deeply discharged, damaged, or there may be another issue, such as a starter, alternator, key fob, or fuel problem.
Step 8: Remove The Cables And Let It Run
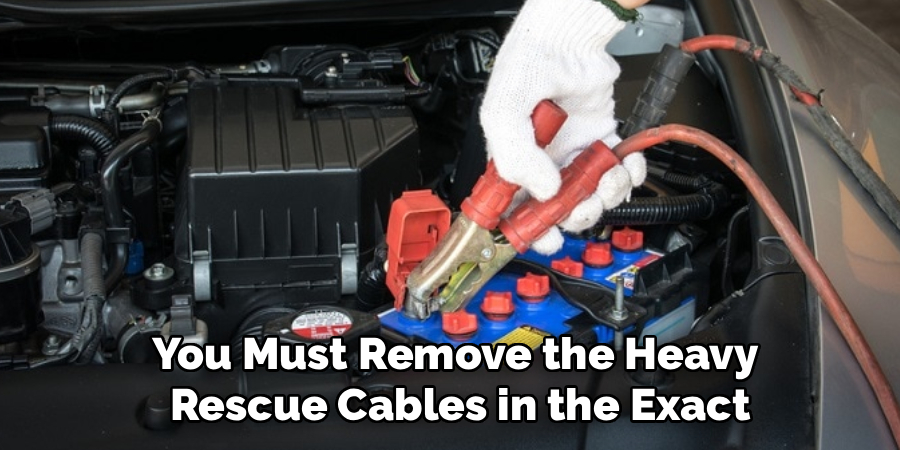
Once the Mini Cooper is running, remove the cables in reverse order. Start with the black clamp from the Mini Cooper’s ground point, then remove the black clamp from the donor battery. Next, remove the red clamp from the donor battery, then the red clamp from the Mini Cooper.
Keep clamps from touching during removal. After the cables are off, let the Mini Cooper run for at least 20 to 30 minutes, or take it for a steady drive if conditions are safe. If the battery warning light stays on or the car dies again soon, schedule a battery and charging system test.
Frequently Asked Questions
Can I Jump-Start A Mini Cooper From Another Car?
Yes, you can use another car as long as it has a standard 12-volt battery and is in good working condition. The vehicles should be parked close enough for the cables to reach, but they should not touch. Always connect the positive cable first and use the correct ground point on the Mini Cooper to reduce risk.
Where Is The Battery On A Mini Cooper?
The battery location depends on the model and year. In many Mini Cooper models, the battery is in the rear cargo area or under a panel rather than directly under the hood. However, many models provide under-hood jump-start terminals, which are usually easier to access. Check the owner’s manual if you are unsure.
Why Won’t My Mini Cooper Start After A Jump?
If the engine still will not start, the battery may be too weak to accept a charge, or the issue may not be the battery. Possible causes include a faulty starter, bad alternator, loose battery cable, blown fuse, or key recognition problem. If several careful attempts fail, stop and get the vehicle inspected.
How Long Should I Drive After A Jump-Start?
A 20- to 30-minute drive can help recharge the battery after a successful jump. A longer drive may be needed if the battery was deeply discharged. Avoid turning the car off immediately after it starts. If the battery dies again soon, it may be old, damaged, or not receiving charge from the alternator.
Is It Safe To Use A Portable Jump Starter?
Yes, a portable jump starter is safe when used correctly. Make sure it is charged, rated for your vehicle, and connected to the correct positive and ground points. Follow the device instructions closely because some units require a boost mode. Portable packs are useful because you do not need another vehicle nearby.
Conclusion
A dead battery is frustrating, but a safe jump-start is manageable when you follow the right order. First, confirm the battery is the likely problem. Then find the correct under-hood terminals, connect the positive and negative clamps properly, start the power source, start the Mini Cooper, and remove the cables in reverse order.
Now that you know how to jump start a mini cooper, keep a quality jump starter or jumper cables in your car and review your owner’s manual for model-specific details. If the problem returns, do not ignore it. Have the battery and charging system tested so you can fix the cause before it leaves you stranded again.

About
Ora Hayes is a distinguished figure in the world of DIY Thecarfixes, with over a decade of expertise in automotive diagnostics and high-performance maintenance. Her professional focus lies in merging mechanical precision with modern digital tools, fostering repair solutions that are both cost-effective and highly reliable. As the author of Thecarfixes, Ora Hayes delves into the art and science of automotive restoration, inspiring car owners and hobbyist mechanics alike.
Education
RMIT University (Melbourne, Australia) Associate Degree in Automotive Engineering — Focus on vehicle dynamics, industry-driven repair protocols, and advanced diagnostics. Gained hands-on experience with traditional mechanical tools and modern ECU remapping software.
Nottingham Trent University (United Kingdom) Bachelor’s in Mechanical Design and Automotive Engineering (Honors) — Specialized in automotive systems with a focus on blending technical engineering with everyday usability. Participated in industry projects, working with leading automotive manufacturers to gain real-world insights into vehicle longevity.
Publications and Impact
In Thecarfixes, Ora Hayes shares her insights on troubleshooting complex engine issues, material durability, and strategies for efficient garage setups. Her writing bridges the gap between professional mechanic knowledge and the home enthusiast’s needs, making it a must-read for both everyday drivers and seasoned gearheads.




