

A tire pressure warning light can be confusing, especially when your tires look fine and the car still keeps alerting you. If you are searching for how to reset tpms sensor, you likely want a safe, simple way to clear the warning and confirm your tire pressure monitoring system is working as it should.
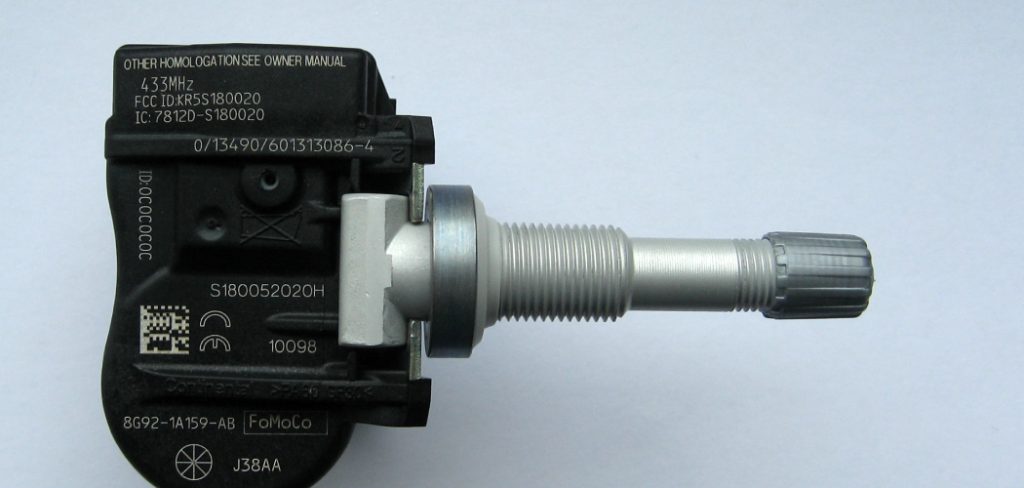
The TPMS helps track tire pressure and alerts you when one or more tires may be underinflated. That matters because low tire pressure can affect handling, fuel economy, tire wear, and braking. This guide explains why the warning appears, what to check before resetting it, and how to complete the process with confidence.
By the end, you will know how to inspect your tires, adjust pressure, use the reset button or vehicle menu, and understand when the issue needs professional attention.
Why This Matters
Resetting the TPMS is not just about turning off a dashboard light. It helps your vehicle relearn the correct tire pressure baseline after inflation, tire rotation, tire replacement, or seasonal temperature changes.
A proper reset can prevent false warnings and help you notice real pressure problems faster. It also supports better tire life, smoother handling, and safer driving. If you ignore the light, you may miss a slow leak or drive on tires that are not properly inflated.
The key is to reset the system only after checking and correcting tire pressure. That way, the warning system can monitor accurate values instead of storing old or incorrect readings.
Step-By-Step Guide on How to Reset Tpms Sensor
Step 1: Park Safely And Let Tires Cool
Start by parking your vehicle on a flat, safe surface away from traffic. Turn off the engine, set the parking brake, and give the tires time to cool if you recently drove. Tire pressure rises as tires heat up, so checking them right after a drive can give you a higher reading than normal.
For the most accurate result, check pressure when the tires are cold. This usually means the car has been parked for at least three hours or driven only a short distance at low speed. A calm setup helps you avoid mistakes before resetting the system.
Step 2: Find The Recommended Tire Pressure
Before adding air, find the correct pressure for your vehicle. The best place to check is the tire information label, usually located inside the driver’s door jamb. You can also look in the owner’s manual if the label is missing or hard to read.
Do not use the pressure printed on the tire sidewall as your target. That number shows the tire’s maximum pressure, not the recommended pressure for your car. Front and rear tires may also require different settings. Using the correct value gives the TPMS a reliable baseline after the reset.
Step 3: Check Each Tire With A Gauge
Use a quality tire pressure gauge to check all four tires. Remove the valve cap, press the gauge firmly onto the valve stem, and read the pressure. If you hear air escaping, adjust the gauge angle and try again until you get a steady reading.
Check each tire one at a time and compare the reading with the recommended pressure. Do not skip a tire just because it looks normal. Modern tires can be several pounds low without appearing flat. Also check the spare tire if your vehicle has a monitored spare, because some systems include it.
Step 4: Adjust Tire Pressure Correctly
Add air to any tire that is below the recommended level. If a tire is overinflated, release small amounts of air until it matches the correct pressure. Work slowly and recheck the pressure often. It is better to make small adjustments than to overcorrect several times.
After each tire is set, reinstall the valve cap securely. Valve caps help keep dirt and moisture away from the valve core, which can reduce the chance of slow leaks. Once all tires are properly inflated, you are ready to move to the reset process.
Step 5: Turn The Ignition To The Correct Position
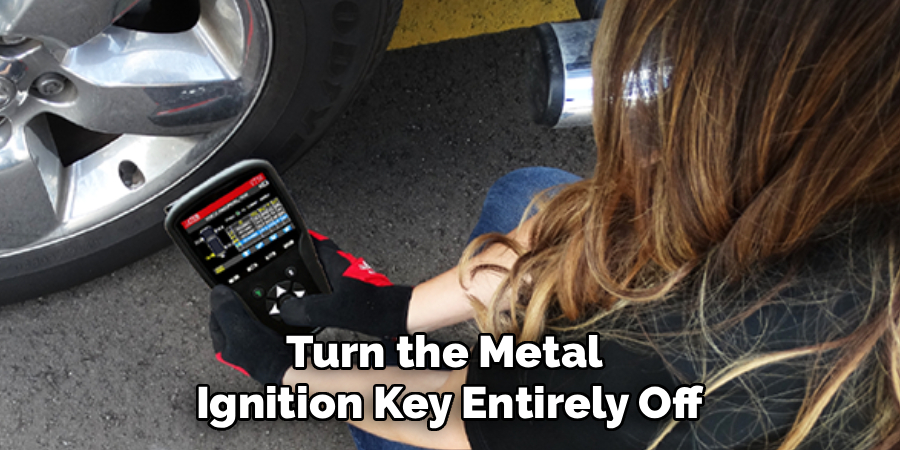
Sit in the driver’s seat and turn the ignition to the on position without starting the engine, unless your owner’s manual says otherwise. In push-button vehicles, this may mean pressing the start button without pressing the brake pedal. The dashboard should light up, but the engine should remain off.
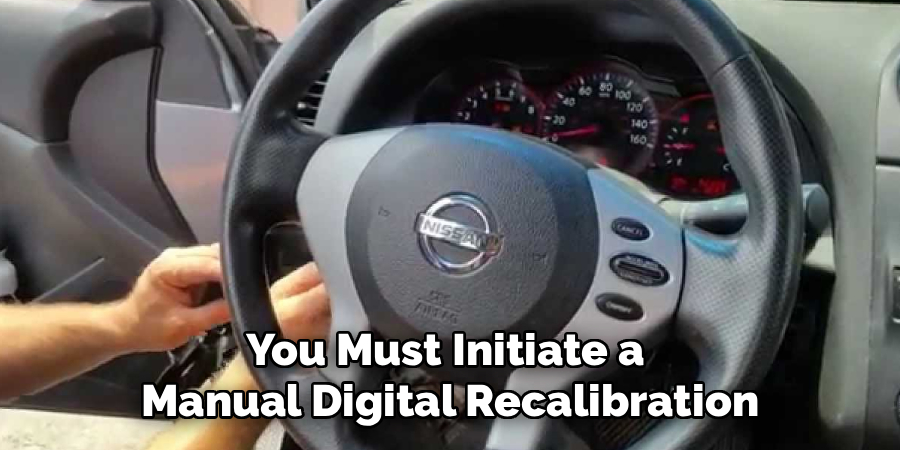
This step allows the vehicle’s electronics to power the TPMS menu or reset function. If you are learning how to reset tpms sensor for the first time, take a moment to read the dash messages carefully. Some vehicles show a tire pressure screen, while others use a simple warning light.
Step 6: Use The Reset Button Or Menu
Many vehicles have a TPMS reset button under the steering wheel, near the glove box, or on the lower dashboard. Press and hold it until the tire pressure light blinks, then release it. The blinking light often means the system has started the relearn process.
Other vehicles use the infotainment screen or instrument cluster menu. Look for settings related to tires, vehicle status, or pressure monitoring. Choose the reset or relearn option and confirm it when prompted. If you cannot find the feature, check the owner’s manual because the location varies by make and model.
Step 7: Drive To Complete The Relearn
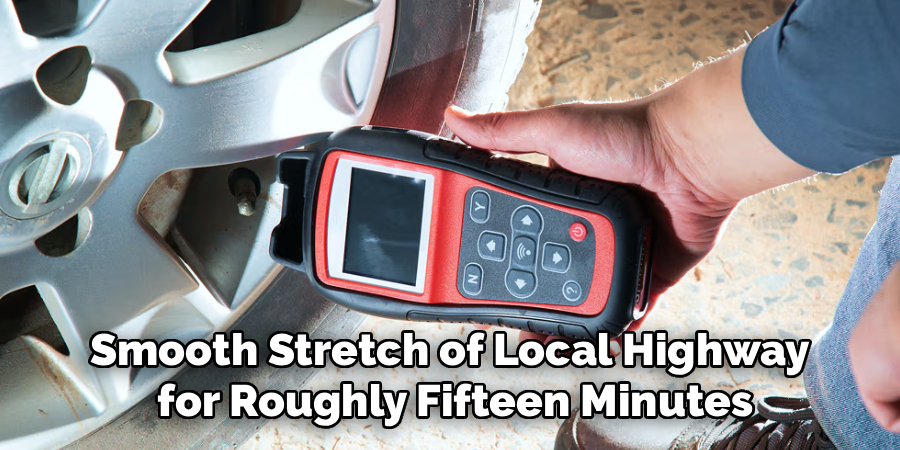
After starting the reset, drive the vehicle at a steady speed for the required time. Many systems need 10 to 20 minutes of driving above a certain speed to relearn the tire positions and pressure readings. Avoid short stop-and-go trips if possible, because they may not complete the process.
Learning how to reset tpms sensor correctly includes understanding that the light may not turn off instantly. Some vehicles clear the warning after a few minutes, while others need a full drive cycle. If the pressure is correct, the system should update once it receives stable readings.
Step 8: Confirm The Warning Light Stays Off
After the drive, check whether the TPMS warning light has turned off. If it stays off, the reset was successful. If it comes back on, recheck tire pressure when the tires are cold. A small pressure difference can sometimes trigger the system again.
If the light flashes before staying on, that may point to a sensor fault rather than low tire pressure. A dead sensor battery, damaged valve stem, or communication issue may require a scan tool or professional service. Do not keep resetting the system without finding the cause.
Frequently Asked Questions
Why Is My TPMS Light Still On After Filling The Tires?
The light may stay on if the system has not completed its relearn cycle yet. Some vehicles need several minutes of driving before the warning clears. If the light remains on after a proper drive, one tire may still be low, the pressure may have been checked while hot, or a sensor may be faulty.
Can I Reset The TPMS Without A Tool?
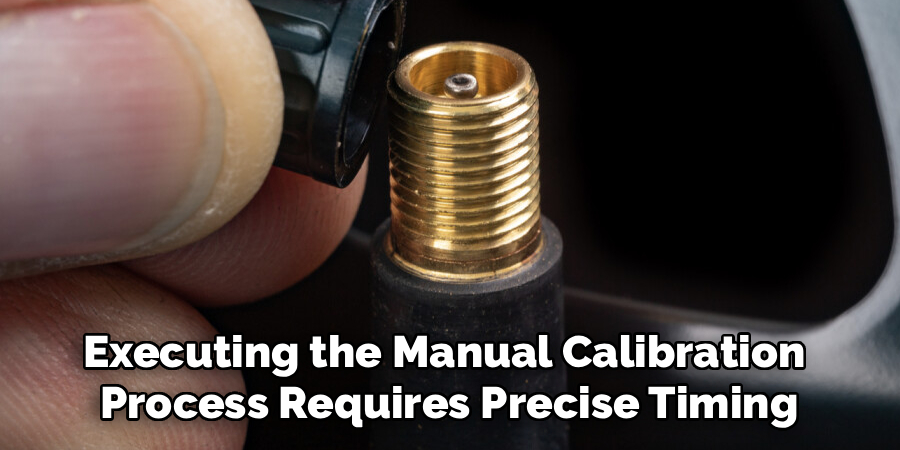
Many vehicles allow a reset through a dashboard button, steering wheel controls, or infotainment menu. Others may reset automatically after the tires are inflated and the car is driven. Some models, especially after sensor replacement, need a TPMS scan tool to register sensor IDs or complete the relearn process.
How Often Should I Check Tire Pressure?
Check tire pressure at least once a month and before long trips. Temperature changes can also affect pressure, so it is smart to check when seasons change. A drop in outdoor temperature can lower tire pressure enough to trigger the warning light, even if there is no puncture or leak.
Is It Safe To Drive With The TPMS Light On?
You should not ignore the light. Pull over when safe and inspect your tires for obvious damage or severe underinflation. If the tires look safe, check pressure with a gauge as soon as possible. Driving on underinflated tires can reduce control, increase heat buildup, and cause faster tire wear.
What Does A Flashing TPMS Light Mean?
A flashing TPMS light usually means the system has detected a fault. It may flash for a short time and then stay solid. Common causes include a dead sensor battery, damaged sensor, missing sensor, or communication problem. In that case, adding air may not fix it, and the vehicle may need diagnostic service.
Conclusion
Resetting your tire pressure monitoring system is a simple task when you follow the right order. Start by parking safely, checking the recommended pressure, measuring each tire with a gauge, and adjusting pressure before using the reset button or menu. Then drive long enough for the system to relearn the correct readings.
Now that you understand how to reset tpms sensor, make tire pressure checks part of your regular maintenance routine. If the light returns after a proper reset, do not ignore it. Inspect the tires again and schedule service if the warning points to a sensor fault or slow leak.

About
Ora Hayes is a distinguished figure in the world of DIY Thecarfixes, with over a decade of expertise in automotive diagnostics and high-performance maintenance. Her professional focus lies in merging mechanical precision with modern digital tools, fostering repair solutions that are both cost-effective and highly reliable. As the author of Thecarfixes, Ora Hayes delves into the art and science of automotive restoration, inspiring car owners and hobbyist mechanics alike.
Education
RMIT University (Melbourne, Australia) Associate Degree in Automotive Engineering — Focus on vehicle dynamics, industry-driven repair protocols, and advanced diagnostics. Gained hands-on experience with traditional mechanical tools and modern ECU remapping software.
Nottingham Trent University (United Kingdom) Bachelor’s in Mechanical Design and Automotive Engineering (Honors) — Specialized in automotive systems with a focus on blending technical engineering with everyday usability. Participated in industry projects, working with leading automotive manufacturers to gain real-world insights into vehicle longevity.
Publications and Impact
In Thecarfixes, Ora Hayes shares her insights on troubleshooting complex engine issues, material durability, and strategies for efficient garage setups. Her writing bridges the gap between professional mechanic knowledge and the home enthusiast’s needs, making it a must-read for both everyday drivers and seasoned gearheads.




