

Welcome, fellow home gardeners! We know you rely heavily on your trusted truck or SUV to haul heavy bags of mulch, soil, and beautiful new plants from the local nursery. But what happens when winter arrives and you need to store your seasonal gardening vehicle for several months? Leaving the power connected can easily drain the life out of your electrical system, leaving you stranded next spring.
Understanding exactly how to disconnect the car battery empowers you to protect your automotive investment and ensure your truck is always ready for the next big landscaping project. This beginner-friendly tutorial walks you safely through the entire process using basic hand tools found in almost any garage. We will cover everything from gathering your safety gear to properly securing the loose cables. Let us grab a wrench, pop the hood, and prepare your vehicle for a safe, completely stress-free seasonal hibernation.
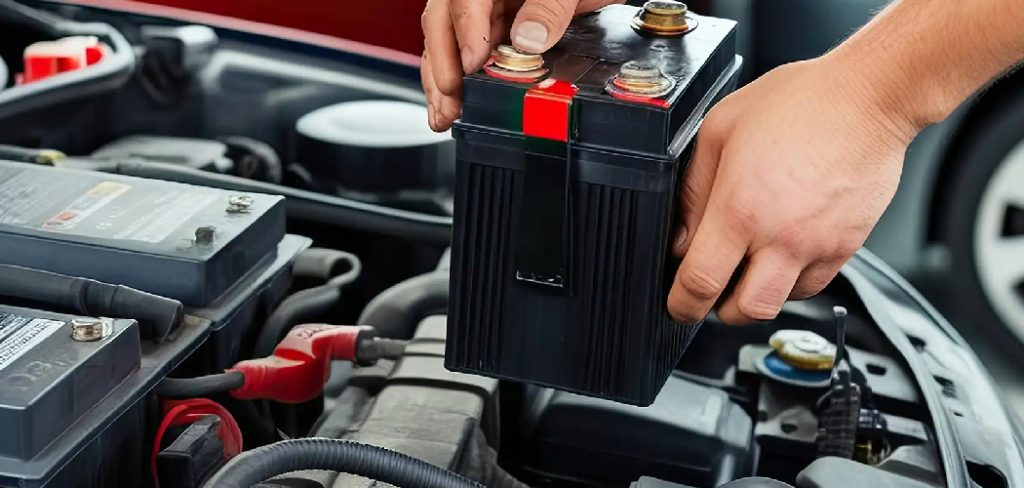
Why Learning Proper Vehicle Maintenance Matters
Taking charge of your own basic automotive maintenance provides incredible peace of mind. As a passionate gardener, your vehicle serves as an essential tool for transporting organic compost and heavy ceramic pots. When you park your truck for the long winter season, the internal computers continuously draw small amounts of electrical current.
Over several weeks, this constant parasitic drain completely ruins expensive power cells. Unhooking the power source prevents this frustrating damage entirely. Furthermore, performing this simple mechanical task yourself saves you a costly trip to the local mechanic shop. You build valuable mechanical confidence while ensuring your trusted transport remains in peak condition year after year.
Step-by-Step Guide on How to Disconnect the Car Battery
Step 1: Park Your Vehicle in a Safe Location
Before you even think about popping the hood, you must secure your trusted gardening transport in a highly safe, completely flat location. Park your truck inside a dry residential garage or on a level concrete driveway away from heavy street traffic. Turn the ignition completely off and remove the keys from the dashboard to ensure the electrical system remains totally inactive.
Engage the emergency parking brake firmly to prevent any unexpected rolling while you lean over the engine bay. Creating a highly controlled, stable environment remains the most crucial initial preparation phase for any successful driveway automotive repair project.
Step 2: Gather Your Essential Protective Gear
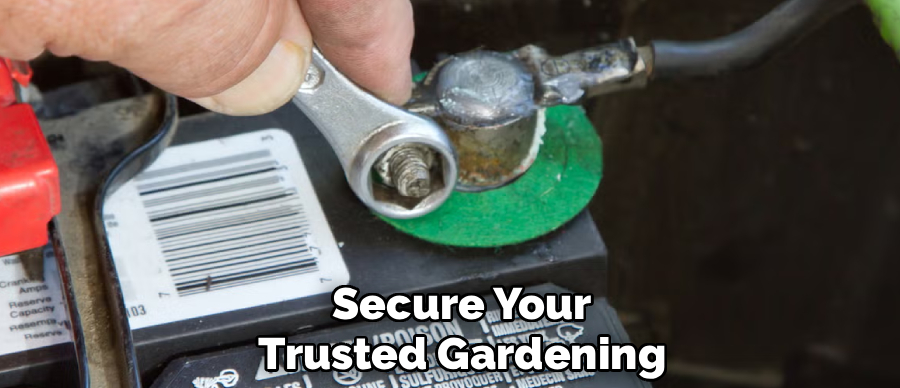
Working around heavy automotive electrical components demands strict adherence to basic safety protocols to protect your physical health. You must put on a pair of thick rubber mechanic gloves to insulate your hands against unexpected static shocks and corrosive battery acid.
Wear a pair of durable plastic safety goggles to shield your delicate eyes from potential stray sparks or accidental chemical splashes. Remove any dangling metal jewelry, heavy steel watches, or long necklaces that could inadvertently bridge the gap between live electrical terminals. Proper personal protection guarantees you walk away from this simple maintenance task completely unharmed and happy.
Step 3: Locate the Main Electrical Power Source
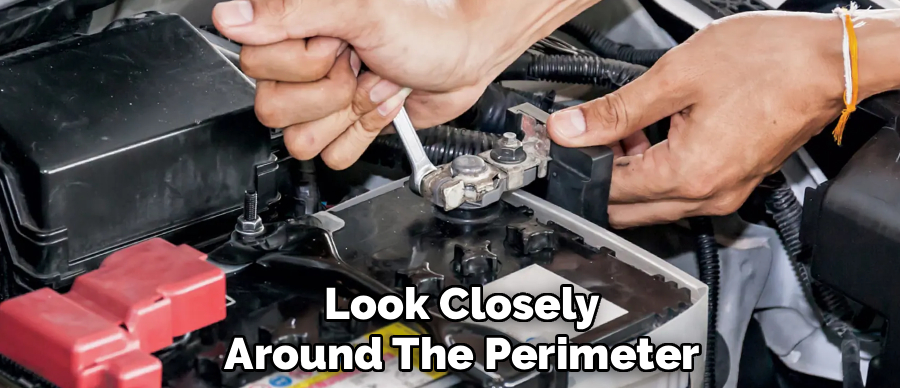
With your safety gear securely in place, pull the interior release latch and lift your heavy metal hood into the open position. Look closely around the perimeter of the engine bay to locate the large, heavy plastic rectangular box housing the electrical power cells. Most modern trucks position this heavy unit near the front corners of the engine bay for easy maintenance access.
If you cannot spot the heavy plastic casing immediately, consult your printed owner manual for the exact mechanical location. Identifying the correct component ensures you do not accidentally unhook the wrong electrical relay or fuse box.
Step 4: Identify the Positive and Negative Terminals
Before grabbing your metal hand tools, you absolutely must identify the distinct positive and negative electrical connection points on the plastic casing. Look very closely at the molded plastic surface near the thick metal posts for specific structural markings. The positive side always features a large plus sign and typically utilizes a bright red plastic protective cover over the metal clamp.
The negative side features a clear minus sign and almost always uses a plain black electrical cable. Accurately distinguishing between these two specific electrical pathways prevents massive short circuits that could instantly fry your expensive dashboard computers.
Step 5: Mastering the car battery
You must always begin the actual mechanical removal process by unhooking the black negative cable first. Take a standard ten-millimeter metal socket wrench and gently loosen the small retaining nut pinching the negative metal clamp against the lead post. You do not need to remove the small metal nut completely; simply loosen it until the entire metal bracket wiggles freely.
Pull the black cable straight up and completely off the lead cylindrical post. Tuck this loose negative cable safely down into the engine bay where it cannot accidentally spring back and touch the exposed metal terminal again.
Step 6: Remove the Red Positive Connection Cable
Once you safely isolate the black negative cable, you can proceed directly to the bright red positive connection point. Use your trusty metal wrench to loosen the retaining nut holding the positive clamp tightly against the second lead post. Gently twist the red metal bracket back and forth until it slides cleanly off the heavy battery terminal.
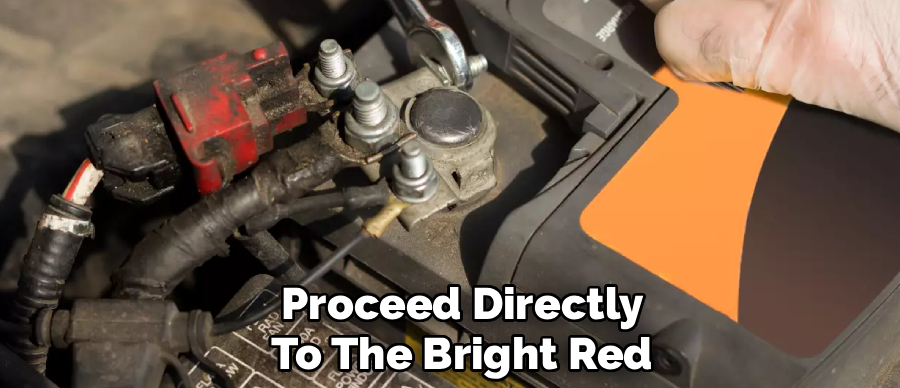
Secure this loose red cable far away from the black cable and any exposed metal engine components. Removing the positive connection last ensures that if your metal wrench accidentally touches the vehicle chassis, it will not create a dangerous electrical spark.
Step 7: Clean the Empty Terminal Posts Thoroughly
The final phase of your driveway project involves cleaning the exposed lead posts before closing the hood for the long winter season. Grab a specialized wire bristle brush and scrub the dull metal cylinders vigorously to remove any crusty white acid corrosion.
Wiping the posts down with a simple mixture of baking soda and warm water neutralizes any remaining acidic residue perfectly. Leaving these metal connections completely clean guarantees a flawless, highly conductive electrical connection when you reconnect the cables next spring. You can now safely shut your hood and store your gardening vehicle with absolute total confidence.
Frequently Asked Question
Do I Need Specialized Tools For This Task?
- While professional mechanics own massive rolling toolboxes, this specific task requires extremely basic household hand tools.
- A standard adjustable metal wrench or a basic ten-millimeter socket perfectly handles almost every modern vehicle terminal nut.
- You absolutely do not need expensive specialized electrical diagnostic equipment to simply unhook the physical connection cables safely.
- Always ensure your chosen metal wrench features a rubberized grip to provide an extra layer of helpful electrical insulation.
Will I Lose My Dashboard Radio Settings?
- Yes, removing the primary power source completely erases the temporary memory stored inside your dashboard entertainment computer.
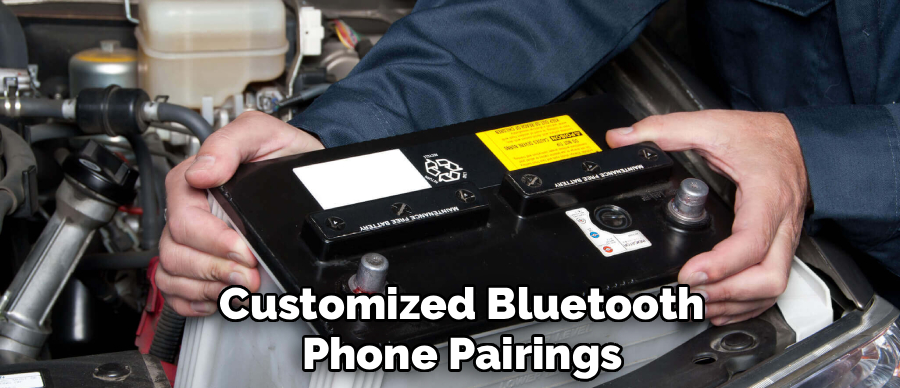
- You will lose all your saved radio station presets, digital clock settings, and customized Bluetooth phone pairings immediately.
- The engine control module also forgets its adaptive driving habits, meaning the vehicle might shift slightly differently for a few days.
- You can easily reprogram these simple digital settings in just a few minutes once you reconnect the cables next spring.
Is It Safe To Touch Both Terminals At Once?
- You must never touch both the positive and negative exposed metal posts simultaneously with bare hands or metal tools.
- Creating a direct bridge between the two electrical points causes a massive, highly dangerous short circuit.
- This violent electrical surge easily melts metal wrenches, sparks dangerous engine fires, and causes severe physical burns to your hands.
- Always wear your thick rubber mechanic gloves and maintain strict focus while navigating your metal tools around the live electrical source.
How Long Can My Vehicle Sit Unplugged?
- A properly unhooked lead-acid power cell can comfortably sit completely dormant for several months without suffering permanent internal damage.
- By removing the parasitic electrical draw from the vehicle computers, the internal chemical charge degrades incredibly slowly over time.
- If you plan to store the truck for longer than six months, consider attaching a smart trickle charger to maintain perfect voltage.
- Storing the unit fully charged actively prevents the internal liquid chemicals from freezing solid during bitterly cold winter nights.
Should I Bring The Unit Inside For Winter?
- If you live in a region experiencing brutal, sub-zero winter temperatures, removing the heavy plastic unit from the engine bay helps immensely.
- Store the heavy block inside a climate-controlled basement or insulated residential garage to protect the delicate internal lead plates.
- Never place the heavy unit directly on a bare concrete floor, as this traditional myth claims the cold ground drains the remaining voltage.
- Resting the plastic casing safely on a sturdy wooden workbench keeps it perfectly insulated and totally ready for the busy spring planting season.
Conclusion
Taking charge of your own seasonal vehicle preparation provides incredible personal satisfaction and protects your valuable automotive investment. By carefully gathering your safety gear, locating the correct metal terminals, and removing the negative cable first, you guarantee a wonderfully successful driveway project. You no longer have to worry about discovering a completely dead truck when the busy spring planting season finally arrives.
Understanding exactly how to disconnect the car battery transforms an intimidating mechanical chore into a highly manageable, incredibly simple weekend routine. The peace of mind you gain is a fantastic reward for your careful wrenching efforts. Grab your rubber gloves, secure your trusty wrench, and prepare your beloved gardening transport for a safe, restful winter slumber today!

About
Ora Hayes is a distinguished figure in the world of DIY Thecarfixes, with over a decade of expertise in automotive diagnostics and high-performance maintenance. Her professional focus lies in merging mechanical precision with modern digital tools, fostering repair solutions that are both cost-effective and highly reliable. As the author of Thecarfixes, Ora Hayes delves into the art and science of automotive restoration, inspiring car owners and hobbyist mechanics alike.
Education
RMIT University (Melbourne, Australia) Associate Degree in Automotive Engineering — Focus on vehicle dynamics, industry-driven repair protocols, and advanced diagnostics. Gained hands-on experience with traditional mechanical tools and modern ECU remapping software.
Nottingham Trent University (United Kingdom) Bachelor’s in Mechanical Design and Automotive Engineering (Honors) — Specialized in automotive systems with a focus on blending technical engineering with everyday usability. Participated in industry projects, working with leading automotive manufacturers to gain real-world insights into vehicle longevity.
Publications and Impact
In Thecarfixes, Ora Hayes shares her insights on troubleshooting complex engine issues, material durability, and strategies for efficient garage setups. Her writing bridges the gap between professional mechanic knowledge and the home enthusiast’s needs, making it a must-read for both everyday drivers and seasoned gearheads.




