

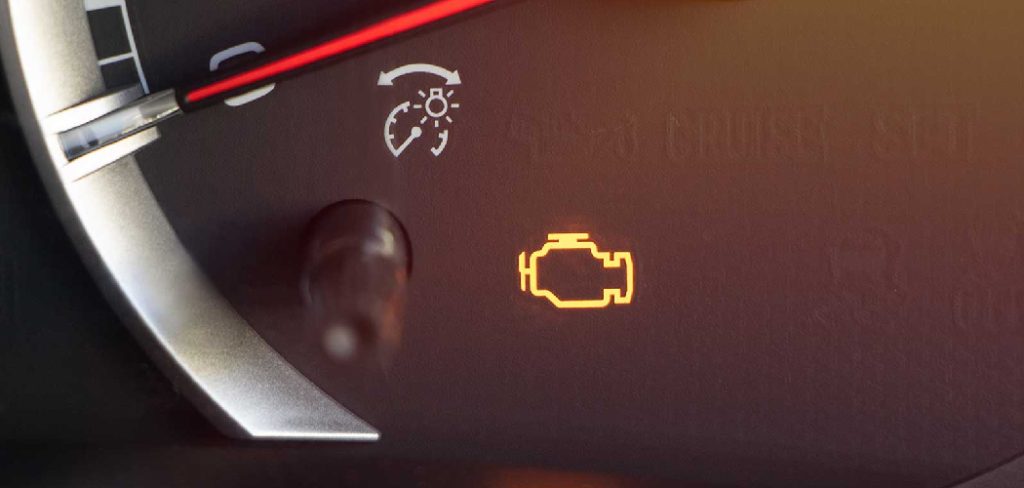
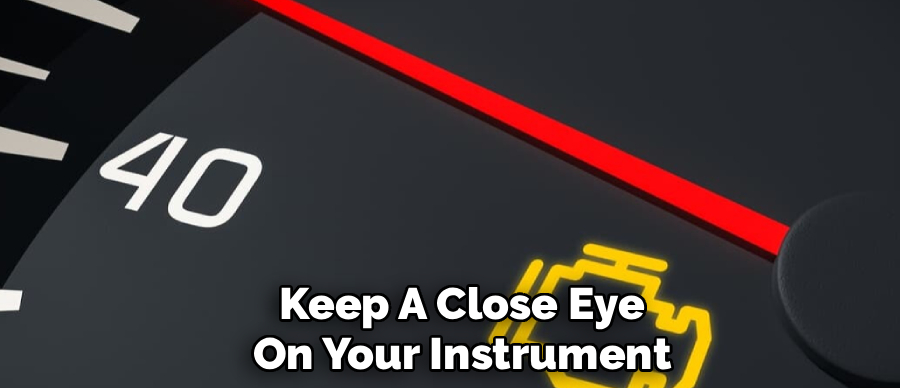
Welcome, fellow car owners and DIY mechanics! Seeing that dreaded yellow symbol illuminate on your dashboard can easily ruin a perfectly good afternoon. Instead of instantly panicking and assuming your beloved vehicle requires expensive repairs, take a deep breath. Often, this warning simply means a minor sensor hiccup or a loose gas cap. Understanding exactly how to clear engine light empowers you to take control of your diagnostics without rushing to a dealership every single time.
This beginner-friendly guide will walk you through the safest, most effective methods for identifying the underlying issue and removing that annoying glow. We will cover using affordable digital scanners, performing manual battery resets, and ensuring your car remains perfectly safe to drive. Let us grab a few basic tools and restore your ultimate peace of mind today.
Step-by-Step Guide on How to Clear Engine Light
Step 1: Purchase a Reliable Diagnostic Scanner
Before you can effectively turn off that annoying dashboard warning, you must acquire a basic onboard diagnostic scanner. These highly affordable electronic devices plug directly into your vehicle’s computer system to read specific error codes accurately. You certainly do not need to spend hundreds of dollars on a professional mechanic’s tool, as simple Bluetooth or standalone handheld models work perfectly for beginners.
Having this fantastic device readily available in your garage allows you to identify minor issues immediately, preventing massive repair bills down the road. Purchasing a reliable scanner is the absolute best investment any driver can make for long-term vehicle maintenance and peace of mind.
Step 2: Locate the Vehicle Diagnostic Port
Once you have your diagnostic tool prepared, you must locate the specific connection port hidden inside your cabin. Federal regulations require all modern automotive manufacturers to place this sixteen-pin connector within two feet of the steering wheel. You will typically find it tucked neatly underneath the driver’s side dashboard, just above the brake and accelerator pedals.
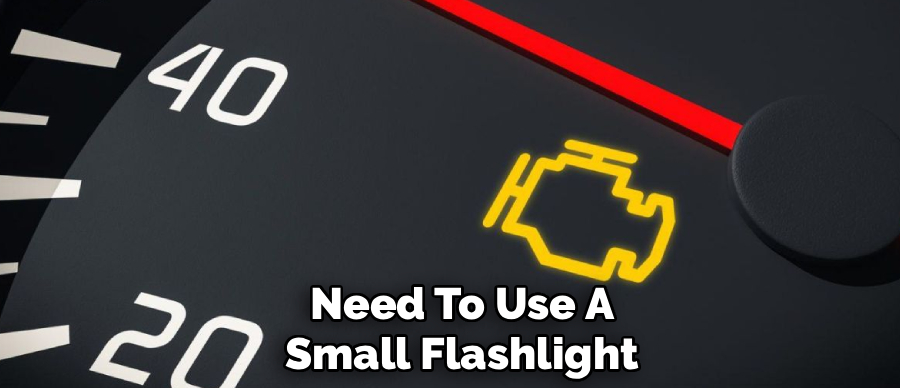
You might need to use a small flashlight to spot the black or white plastic receptacle hiding behind the interior trim panels. Finding this crucial connection point grants you direct digital access to the complex computer network running your entire vehicle, allowing you to take full control of the diagnostics.
Step 3: Connect the Scanner and Read the Codes
With the port successfully located, you can carefully push the scanner plug directly into the plastic receptacle until it seats firmly. Turn your ignition key to the “on” position without actually starting the combustion engine, allowing the electrical system to power up completely.
The diagnostic tool will instantly boot up and begin communicating with the central dashboard computer to pull any stored trouble codes. Within a few short seconds, the small digital screen will display a specific alphanumeric sequence. This sequence usually starts with the letter P followed by four unique numbers representing the exact mechanical fault affecting your beloved vehicle.
Step 4: Understand the Underlying Mechanical Problem
Decoding that alphanumeric sequence is absolutely vital before you attempt to wipe the computer memory clean. You can easily type the specific code into a standard internet search engine, alongside your vehicle make and model, to find incredibly detailed diagnostic information.
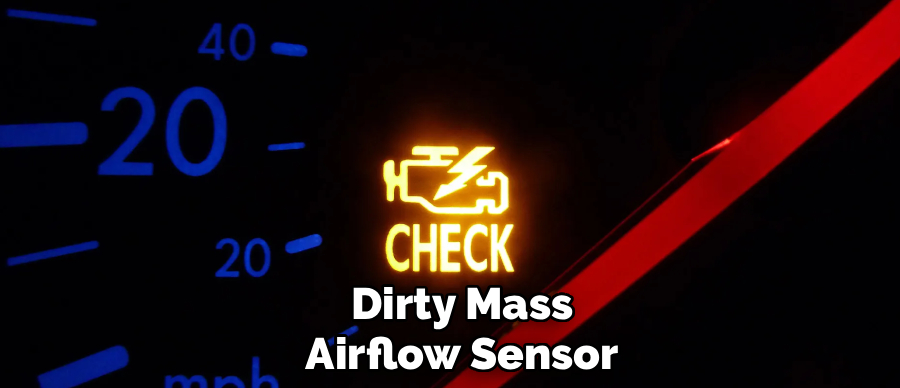
Sometimes the code indicates a massive internal failure, while other times it simply highlights a loose gas cap or a dirty mass airflow sensor. Understanding the true severity of the mechanical problem ensures you do not accidentally ignore a dangerous engine issue that could leave you completely stranded on the side of a busy highway during your commute.
Step 5: Perform Necessary Maintenance and Repairs
Fixing the actual underlying issue remains the most important part of this entire automotive diagnostic process. If you simply erase the error code without replacing the faulty oxygen sensor or tightening the gas cap, the computer will instantly trigger the warning again during your next drive.
Take the time to purchase the correct replacement parts from your local auto parts store and perform the necessary driveway repairs. Addressing the root cause guarantees your vehicle runs efficiently, burns fuel cleanly, and remains highly dependable for all your future travel plans and busy daily commuting needs across the city.
Step 6: Erase the Error Codes from the Computer
After successfully completing your physical repairs, you are finally ready to master exactly how to clear engine light issues from the digital memory. Leave your ignition key in the “on” position and navigate through the simple menus on your diagnostic scanner screen. Look for a specific digital button or menu option labeled “Erase Codes” or “Clear Faults” and press the corresponding confirmation key.
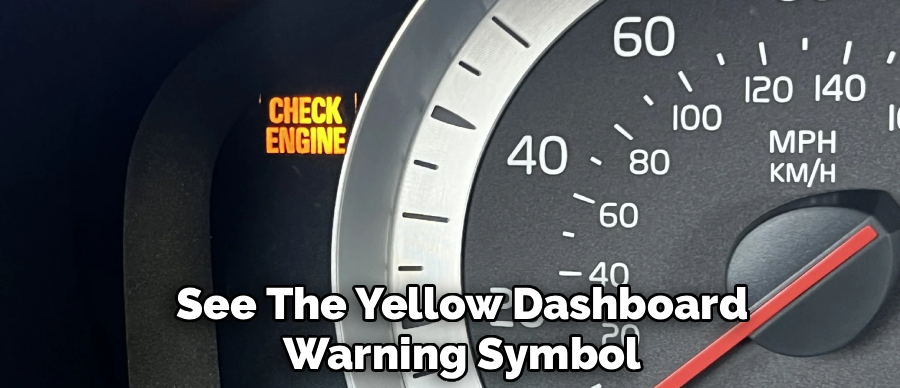
You will immediately see the yellow dashboard warning symbol vanish completely from your instrument cluster. This highly satisfying moment confirms the vehicle computer has successfully wiped the temporary fault data from its primary memory bank forever.
Step 7: Complete a Full Drive Cycle for Verification
The final phase of this diagnostic journey involves driving the vehicle to verify your mechanical repairs were completely successful. Your vehicle computer needs to run a series of complex internal self-tests, known as a drive cycle, to ensure all emissions systems function perfectly.
Take your car for a twenty-minute test drive combining both slow neighborhood streets and steady highway cruising speeds. If the dashboard remains completely dark upon returning to your garage, you can confidently celebrate a job well done. Your vehicle is now completely reset, running smoothly, and totally ready for your next big weekend adventure.
Step 8: Perform a Manual Battery Reset if Necessary
If you do not own a digital scanner, you can sometimes perform a manual reset using the vehicle battery. Open the hood and locate the negative battery terminal, which is usually marked with a distinct minus symbol. Use a basic hand wrench to loosen the retaining nut and pull the black cable completely off the metal post.
Leave the cable disconnected for roughly fifteen minutes to drain all the residual electrical power from the dashboard computer system. Reconnect the cable tightly and start the vehicle to see if the annoying dashboard glow has successfully vanished from your sight.
Step 9: Monitor the Vehicle for Returning Warnings
Even after a successful reset procedure, you must remain highly vigilant during your next few daily commutes. The onboard diagnostic system constantly monitors hundreds of different parameters, ensuring your emissions systems operate within strict federal guidelines.
If you merely bypassed a failing catalytic converter without actually replacing the broken component, the computer will eventually catch the discrepancy. Keep a close eye on your instrument cluster for at least a week to guarantee the physical repair permanently resolved the underlying mechanical fault. A permanently dark dashboard signifies true diagnostic success and fantastic mechanical stability for your trusted vehicle.
Frequently Asked Question
Will Disconnecting The Battery Turn Off The Warning?
- Disconnecting the negative terminal often forces the computer to forget temporary stored data quickly.
- However, modern vehicles utilize permanent memory modules that easily retain fault codes even without active power.
- Removing battery power also resets your radio presets, digital clock, and automatic transmission learning memory.
- Using a dedicated diagnostic scanner remains a much safer, significantly more reliable method for erasing warnings from your dashboard without losing vital vehicle settings.
Can I Pass An Emissions Test Right After Erasing Codes?
- You absolutely cannot pass a state emissions inspection immediately after wiping the computer memory clean.
- Erasing the fault data also resets the internal emissions readiness monitors to a highly unready status.
- State inspectors use digital tools to check these specific monitors before issuing a passing inspection certificate.
- You must complete a full drive cycle spanning several days to switch these monitors back to a ready status.
Why Did The Warning Come Back Immediately?
- If the yellow symbol illuminates during your very next drive, the core mechanical problem still exists.
- The computer system continuously monitors the engine sensors thousands of times per single second.
- Simply deleting the digital code does not magically fix a broken oxygen sensor or a severe vacuum leak.
- You must thoroughly diagnose and repair the physical component before the computer permanently accepts the reset command.
Is It Safe To Drive With The Dashboard Warning On?
- A solid, steady yellow illumination usually indicates a minor emissions issue, allowing you to drive safely to a repair shop.
- If the symbol begins flashing rapidly, you are experiencing a severe engine misfire that can quickly destroy your catalytic converter.
- You must pull over immediately and turn the engine off if you ever see a rapidly flashing warning.
- Always read the diagnostic codes promptly to assess the true severity of the situation.
Do Auto Parts Stores Reset The System For Free?
- Most local auto parts chains will gladly plug a diagnostic scanner into your vehicle to read the codes entirely for free.
- However, strict corporate liability policies usually prevent their employees from actively pressing the clear or erase buttons.
- They provide the alphanumeric code to help you purchase the right replacement parts, but the reset responsibility falls entirely on you.
- Owning your own affordable scanner completely bypasses this frustrating restriction for good.
Conclusion
Taking charge of your own automotive maintenance provides incredible personal satisfaction and saves you thousands of dollars over your driving lifetime. By purchasing an affordable diagnostic scanner, decoding the alphanumeric faults, and performing basic physical repairs, you guarantee a wonderfully reliable driving experience. You no longer have to panic and schedule an expensive dealership appointment the moment a yellow symbol illuminates on your instrument cluster.
Understanding how to clear engine light transforms a stressful automotive mystery into a highly manageable, straightforward weekend project. The noticeable improvement in your daily driving confidence is a fantastic reward for your careful diagnostic efforts. Grab your digital scanner, verify your gas cap is tight, and restore complete peace of mind to your daily commute today.

About
Ora Hayes is a distinguished figure in the world of DIY Thecarfixes, with over a decade of expertise in automotive diagnostics and high-performance maintenance. Her professional focus lies in merging mechanical precision with modern digital tools, fostering repair solutions that are both cost-effective and highly reliable. As the author of Thecarfixes, Ora Hayes delves into the art and science of automotive restoration, inspiring car owners and hobbyist mechanics alike.
Education
RMIT University (Melbourne, Australia) Associate Degree in Automotive Engineering — Focus on vehicle dynamics, industry-driven repair protocols, and advanced diagnostics. Gained hands-on experience with traditional mechanical tools and modern ECU remapping software.
Nottingham Trent University (United Kingdom) Bachelor’s in Mechanical Design and Automotive Engineering (Honors) — Specialized in automotive systems with a focus on blending technical engineering with everyday usability. Participated in industry projects, working with leading automotive manufacturers to gain real-world insights into vehicle longevity.
Publications and Impact
In Thecarfixes, Ora Hayes shares her insights on troubleshooting complex engine issues, material durability, and strategies for efficient garage setups. Her writing bridges the gap between professional mechanic knowledge and the home enthusiast’s needs, making it a must-read for both everyday drivers and seasoned gearheads.




