Welcome, fellow home gardeners! We rely heavily on our trusty pickup trucks to haul heavy bags of premium compost, transport delicate nursery plants, and move cumbersome landscaping tools. However, navigating tight backyard spaces or narrow driveway gates often leads to unexpected accidents. Backing your vehicle into a hidden stone retaining wall or catching the edge of a heavy wooden wheelbarrow can easily fracture your plastic exterior housing. Leaving this damage untreated allows spreading fractures to compromise the structural integrity of your vehicle over the harsh winter season.
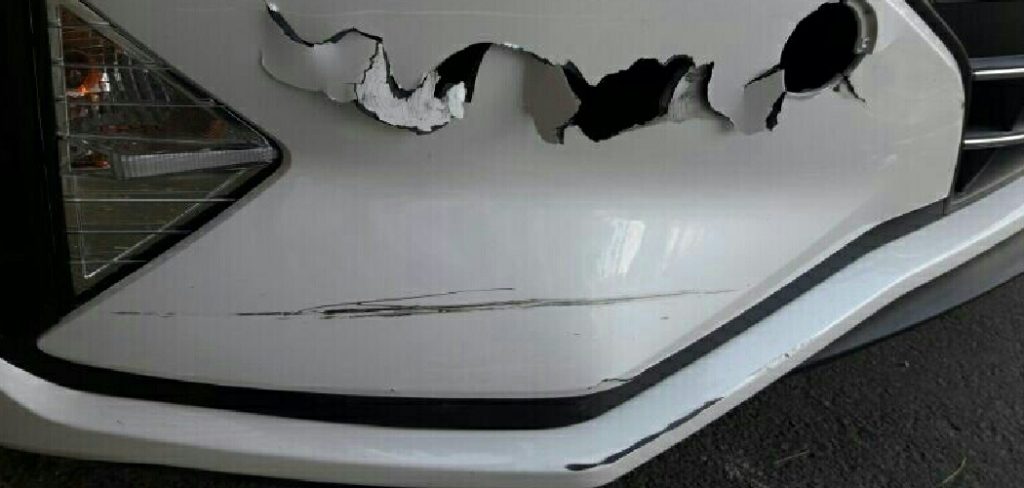
If you are wondering exactly how to fix cracked bumper, you have found the perfect beginner-friendly resource. You do not need to visit an expensive automotive body shop to restore your trusted hauling vehicle safely. This friendly guide walks you through preparing the plastic surface, applying specialized epoxy, and sanding the repair remarkably smooth. Let us grab our protective safety goggles, step away from the flower beds for the afternoon, and completely restore your reliable gardening truck!
Step-by-Step Guide: How to Fix Cracked Bumper
Step 1: Gather Your Repair Materials
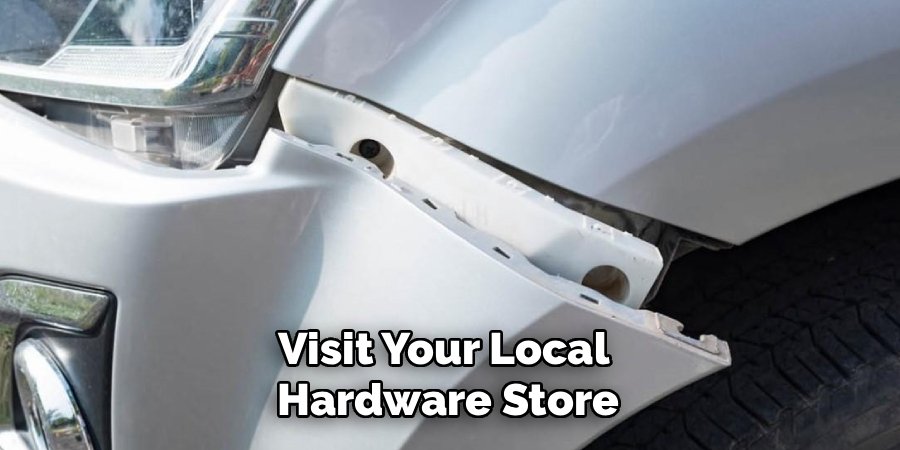
Before starting this driveway project, you must gather the specific materials required for successful automotive plastic repair. Visit your local hardware store and purchase a high-quality two-part flexible plastic epoxy, heavy-grit sandpaper, automotive primer, and a dedicated plastic adhesion promoter. Having all your supplies neatly organized on your driveway prevents you from scrambling while the fast-acting chemical epoxy begins to cure. Treat this initial preparation phase exactly like organizing your heirloom seeds and organic fertilizer before a massive spring planting session. Setting your workspace up correctly guarantees a remarkably smooth, stress-free repair process for your reliable hauling truck.
Step 2: Clean the Damaged Area Thoroughly
Proper chemical adhesion requires an absolutely pristine working surface completely free of stubborn driveway dirt and sticky tree sap. Wash the entire damaged section using warm water mixed with a heavy-duty automotive degreasing soap. Scrub the fractured plastic vigorously with a stiff nylon brush, ensuring you remove all hidden debris trapped deep inside the physical fracture. Rinse the soapy residue away completely using your standard garden hose and dry the plastic with a fresh microfiber towel. Starting with a perfectly clean surface ensures your specialized plastic epoxy bonds permanently to the automotive housing without peeling away over time.
Step 3: Sand the Fractured Edges
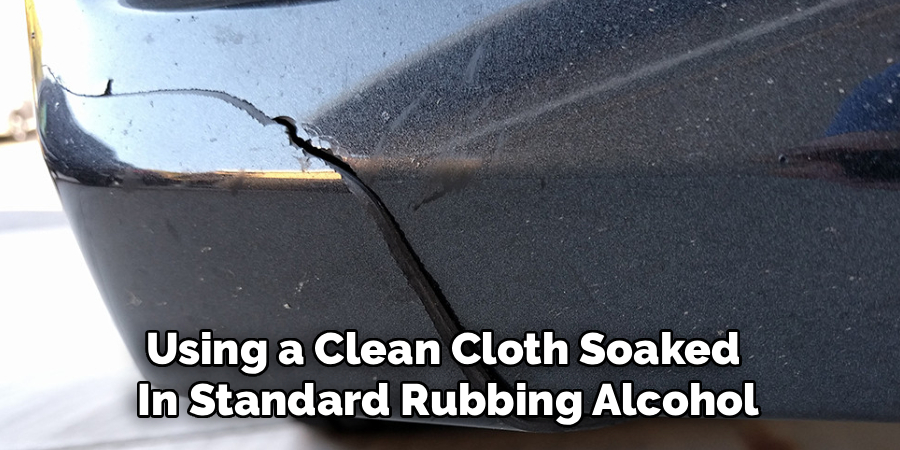
Creating a rough surface texture gives the liquid epoxy a solid foundation to grip securely during the chemical curing process. Take a sheet of heavy eighty-grit sandpaper and vigorously scuff the painted plastic immediately surrounding the physical fracture. You must sand away the glossy clear coat and base paint until you expose the raw, dull automotive plastic underneath. Wipe the heavy sanding dust away using a clean cloth soaked in standard rubbing alcohol. Creating this heavily textured surface acts just like tilling hard, compacted soil before planting your fragile vegetable seedlings in the outdoor garden bed.
Step 4: Drill Specialized Relief Holes
Stopping the physical fracture from spreading further across your vehicle requires a specialized mechanical technique known as stop-drilling. Take a cordless power drill fitted with a tiny drill bit and carefully bore a small hole exactly at the very end of the visible plastic crack. This circular hole relieves the intense structural stress concentrated at the tip of the fracture, permanently preventing the damage from expanding. Anyone actively learning how to fix cracked bumper properly must master this crucial stress-relief step. Skipping this vital procedure guarantees the fracture will eventually break right through your fresh epoxy repair.
Step 5: Apply the Plastic Adhesion Promoter
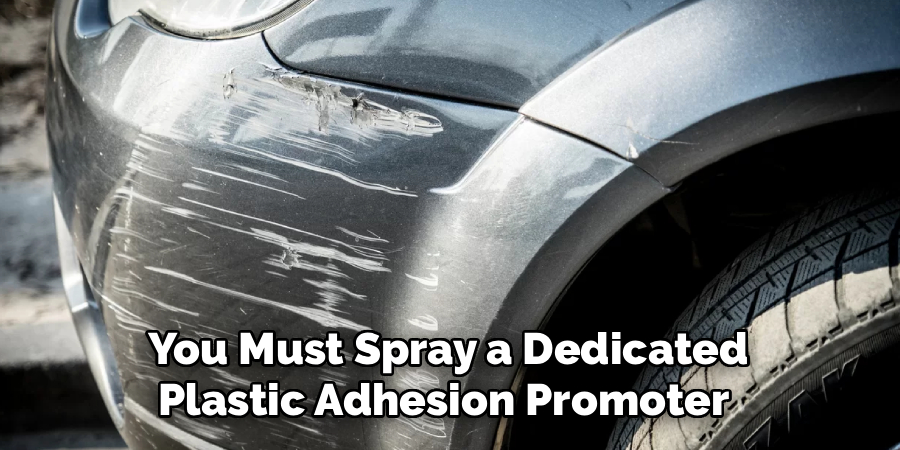
Raw automotive plastic naturally resists bonding with external chemical adhesives due to its highly smooth, petroleum-based chemical composition. To guarantee a permanent structural repair, you must spray a dedicated plastic adhesion promoter directly over the raw, sanded surface. Hold the aerosol can six inches away and apply a light, even coat across the entire damaged area. This specialized chemical primer acts exactly like a premium liquid root stimulator, encouraging the heavy epoxy to bond deeply with the surrounding plastic housing. Allow the chemical promoter to dry completely for roughly ten minutes before proceeding to the next step.
Step 6: Mix and Apply the Epoxy
Combining the two-part plastic epoxy initiates a rapid chemical reaction that creates an incredibly strong, durable structural filler. Squeeze equal amounts of the hardener and resin onto a scrap piece of cardboard and mix them thoroughly using a plastic putty knife. Press the thick chemical paste directly into the drilled relief holes and aggressively across the main physical fracture. Smooth the heavy mixture as neatly as possible, ensuring you leave a slight mound of excess material above the surrounding plastic surface. The flexible epoxy will harden into a rigid, permanent patch within roughly thirty to forty-five minutes.
Step 7: Sand and Paint the Repair
Once the chemical epoxy cures completely solid, you must shape the bulky patch to match the natural aerodynamic curve of your vehicle. Use a coarse sanding block to level the hardened material flush with the surrounding plastic housing, then switch to a fine-grit paper for an incredibly smooth finish. Spray a light coat of automotive primer over the sanded patch, followed by a matching topcoat paint color to seamlessly blend the repair area. Your trusty gardening truck now looks completely restored, standing ready to transport massive loads of rich organic soil all summer long without any embarrassing damage.

Frequently Asked Question
Can I Use Standard Super Glue For This Repair?
- Standard household super glue lacks the structural flexibility required to survive heavy automotive vibrations.
- Automotive plastic naturally expands and contracts dramatically during extreme summer and winter weather changes.
- Rigid household glues will instantly shatter the moment you drive over a bumpy rural farm road.
- Always use a dedicated two-part flexible plastic epoxy designed specifically for exterior vehicle body panels.
How Long Does The Epoxy Take To Dry?
- Most high-quality two-part automotive epoxies cure to a rigid, workable state within thirty to forty-five minutes.
- However, total chemical curing usually requires a full twenty-four hours to achieve maximum structural integrity.
- Avoid driving your hauling vehicle or applying topcoat paint until the patched area fully hardens.
- Working in a warm, dry garage environment significantly accelerates the overall chemical drying process.
Do I Need Professional Painting Equipment?
- You absolutely do not need expensive compressed air sprayers to achieve an acceptable finish on your gardening truck.
- High-quality automotive aerosol spray cans purchased from local hardware stores provide excellent, perfectly color-matched results.
- Applying multiple light, even coats prevents messy paint drips and ensures a highly durable exterior finish.
- A simple aerosol clear coat seals the repair and protects the fresh paint from harsh ultraviolet sunlight.
Will The Repaired Area Rust Over Time?
- Unlike traditional steel automotive body panels, modern vehicle bumper covers consist entirely of molded polyurethane plastic.
- Because the underlying structural material contains absolutely no iron, the damaged area cannot physically rust or oxidize.
- However, leaving the raw plastic unpainted allows intense ultraviolet radiation to degrade the material structurally over time.
- Applying a protective layer of primer and paint prevents this gradual environmental degradation completely.
Should I Just Buy A Brand New Bumper?
- Purchasing a brand new replacement cover often costs hundreds of dollars before factoring in professional paint matching services.
- Patching a minor fracture using flexible epoxy costs roughly thirty dollars and requires only a single Saturday afternoon.
- If the physical damage simply involves a straight crack without missing plastic chunks, patching remains the most economical choice.
- Save your hard-earned money for purchasing premium heirloom seeds and expensive organic compost instead!
Conclusion
Repairing the reliable pickup truck you use to transport heavy gardening supplies requires patience, respect, and simple mechanical preparation. By taking the time to thoroughly clean the damaged surface, drill vital stress relief holes, and apply specialized flexible epoxy, you guarantee a remarkably strong, permanent physical repair. You no longer have to stare at an ugly, expanding fracture every single time you load heavy bags of potting soil into your vehicle.
Understanding exactly how to fix cracked bumper transforms a highly stressful automotive accident into an incredibly satisfying, money-saving weekend maintenance project. The noticeable improvement in your vehicle’s appearance serves as a fantastic, deeply comforting reward for your careful physical efforts. Wash the sanding dust off your hands, pack your sturdy gardening tools into the truck bed, and drive confidently toward your next beautiful botanical adventure knowing your vehicle remains perfectly structurally sound!
About
Ora Hayes is a distinguished figure in the world of DIY Thecarfixes, with over a decade of expertise in automotive diagnostics and high-performance maintenance. Her professional focus lies in merging mechanical precision with modern digital tools, fostering repair solutions that are both cost-effective and highly reliable. As the author of Thecarfixes, Ora Hayes delves into the art and science of automotive restoration, inspiring car owners and hobbyist mechanics alike.
Education
RMIT University (Melbourne, Australia) Associate Degree in Automotive Engineering — Focus on vehicle dynamics, industry-driven repair protocols, and advanced diagnostics. Gained hands-on experience with traditional mechanical tools and modern ECU remapping software.
Nottingham Trent University (United Kingdom) Bachelor’s in Mechanical Design and Automotive Engineering (Honors) — Specialized in automotive systems with a focus on blending technical engineering with everyday usability. Participated in industry projects, working with leading automotive manufacturers to gain real-world insights into vehicle longevity.
Publications and Impact
In Thecarfixes, Ora Hayes shares her insights on troubleshooting complex engine issues, material durability, and strategies for efficient garage setups. Her writing bridges the gap between professional mechanic knowledge and the home enthusiast’s needs, making it a must-read for both everyday drivers and seasoned gearheads.