

Are you planning to take a long road trip or leave your car unused for an extended period? If so, it’s important to know how to charge your car battery while parked.
Finding your car with a dead battery can quickly derail your schedule. Whether you left the headlights on overnight or your vehicle has been sitting idle for weeks, a depleted battery requires immediate attention. You do not always need a tow truck or a jump-start from a neighbor to fix this issue. You can restore your battery’s power safely and efficiently right where your vehicle rests.
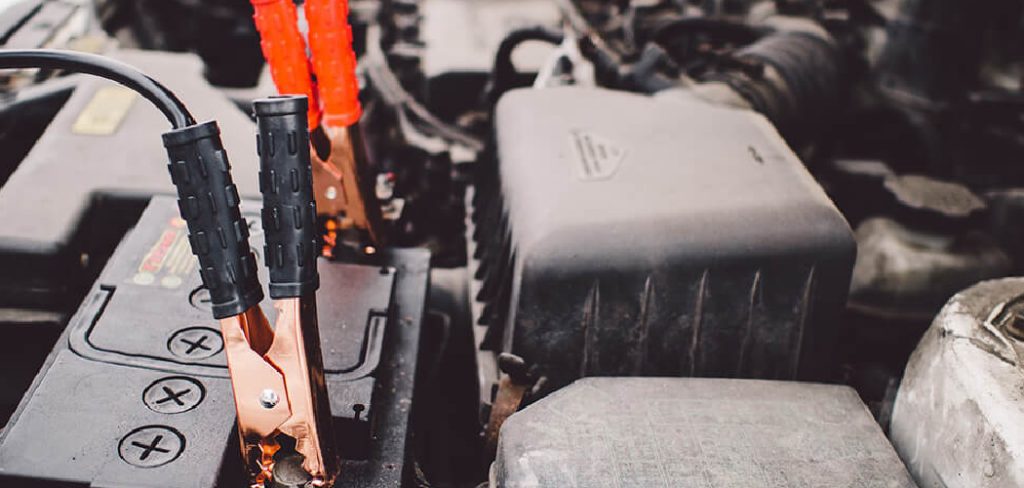
This guide on how to charge car battery while parked explains how to charge a car battery while parked, walking you through the required tools, clear steps, and safety precautions to get you back on the road.
What Will You Need?
Before you begin, gather the following essential tools and safety equipment. Having everything within reach ensures a smooth and safe process.
- A Quality Battery Charger: Select a smart charger or trickle charger suitable for your specific battery type (e.g., AGM, Lead-Acid, Gel).
- Safety Goggles: Protect your eyes from potential sparks or battery acid exposure.
- Insulated Work Gloves: Rubber or heavy-duty gloves protect your hands from corrosive materials and electrical shocks.
- Wire Brush or Battery Terminal Cleaner: You need this to remove corrosion from the metal posts.
- Baking Soda and Water Mixture: A basic solution to neutralize acidic buildup on the terminals.
- Clean Microfiber or Shop Towels: Use these to wipe down the battery casing.
- Your Vehicle’s Owner’s Manual: Always keep this handy to confirm the exact location of your battery and any manufacturer-specific electrical guidelines.
10 Easy Steps on How to Charge Car Battery While Parked
Restoring power to your vehicle requires careful attention to detail. Follow these ten steps to ensure you charge the battery safely and correctly.
Step 1: Select the Appropriate Battery Charger
Choosing the right equipment represents the foundation of a successful charge. Modern vehicles use various battery types, including standard flooded lead-acid, Absorbent Glass Mat (AGM), and Gel batteries. You must read your battery’s label to identify its specific chemistry. Once identified, ensure your charger supports this type.
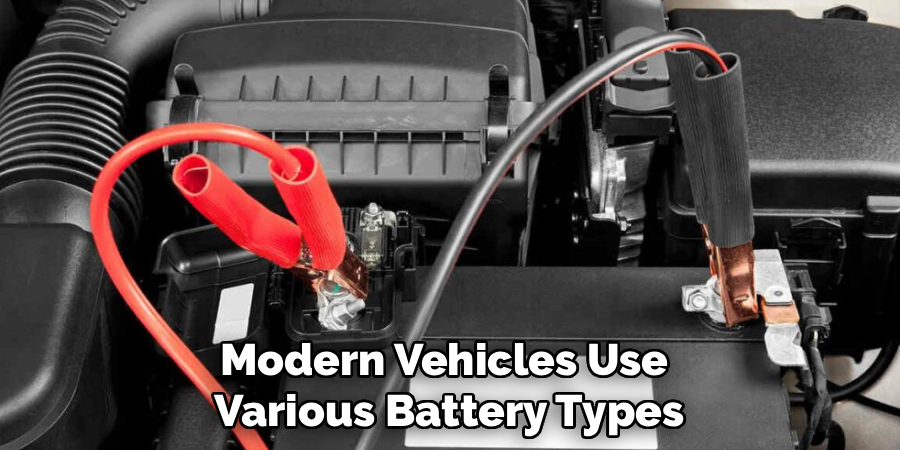
Using an incompatible charger can severely damage the internal cells. Smart chargers are highly recommended because they automatically detect the voltage, adjust the amperage, and switch to a maintenance mode once the battery reaches full capacity. This prevents overcharging and extends the life of your battery. Take your time to read the charger’s instruction manual thoroughly before proceeding to the next steps.
Step 2: Park in a Safe, Well-Ventilated Location
Safety starts with your environment. You must park your vehicle in a secure, flat, and well-ventilated area. Batteries can emit highly flammable hydrogen gas during the charging process. If you are parked inside a closed garage, open the garage door and any windows to allow proper airflow. Never charge a battery in an enclosed, tight space without ventilation. Ensure the ground is dry; standing water introduces a severe electrocution hazard. Engage your parking brake and remove the keys from the ignition. Double-check that all electrical components, such as interior lights, the radio, and the air conditioning, are completely turned off to prevent an accidental power draw.
Step 3: Prepare Your Workspace and Wear Safety Gear
Before touching any mechanical components, prepare yourself. Put on your protective safety goggles and insulated rubber work gloves. Battery acid is highly corrosive and can cause severe chemical burns to your skin and permanent damage to your eyes. Remove any dangling jewelry, metal watches, or long necklaces. If a metal object bridges the gap between the positive and negative terminals, it will cause a dangerous short circuit and potentially an explosion. Keep a fire extinguisher rated for electrical fires nearby as a standard precaution. Clear the area around the engine bay of any loose tools or debris that could fall into the engine compartment.

Step 4: Locate the Battery and Terminals
Open your vehicle’s hood and locate the battery. While most batteries sit proudly in the front corners of the engine bay, some modern car manufacturers place them in the trunk or under the rear seats to improve weight distribution. If you cannot find it, consult your owner’s manual. Once located, identify the positive and negative terminals. The positive terminal usually features a red plastic cover and a plus (+) symbol stamped into the metal or plastic casing. The negative terminal typically has a black cover or a minus (-) symbol. Knowing exactly which terminal is which is the most critical part of safely connecting your equipment.
Step 5: Clean the Battery Terminals and Cables
A clean connection ensures maximum electrical transfer. Inspect the metal terminals for any white, green, or bluish powdery substance. This is corrosion, and it acts as an insulator, preventing the charger from doing its job. If you spot corrosion, mix a tablespoon of baking soda with a cup of water. Pour this alkaline solution over the terminals to neutralize the acidic buildup. Use your stiff wire brush to scrub the metal posts until they are shiny and clean. Wipe away any remaining residue and moisture with a clean shop towel. Ensure the area is completely dry before you attempt to connect any electrical cables.
Step 6: Connect the Positive Cable
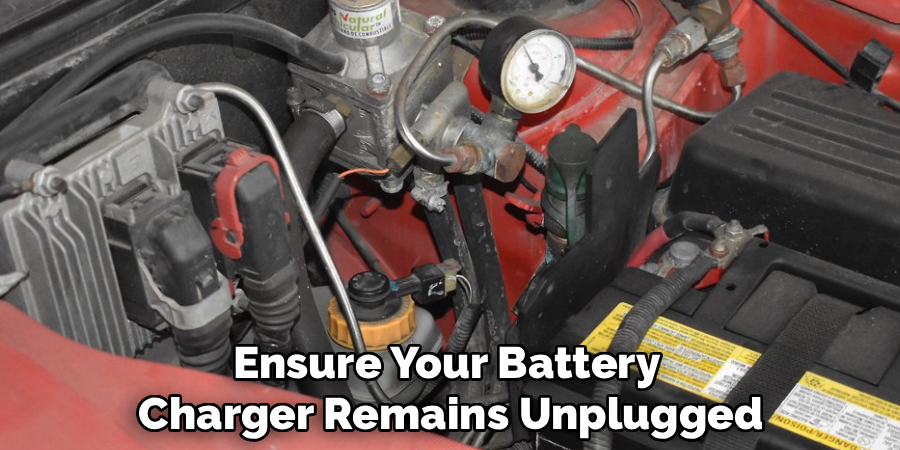
You are now ready to make the electrical connections. Ensure your battery charger remains unplugged from the wall outlet during this stage. Take the red clamp (the positive cable) from your charger. Squeeze the handle to open the jaws and attach it securely to the positive (+) battery terminal. Wiggle the clamp slightly to bite into the metal; this guarantees a solid electrical connection. The clamp must grip the bare metal of the terminal tightly, not the plastic casing or the securing nut. Double-check that the cable routes safely away from any moving engine parts, such as belts or cooling fans, even though the engine is off.
Step 7: Connect the Negative Cable
Handling the negative connection requires a specific safety technique. Take the black clamp (the negative cable) from your charger. You can connect this directly to the negative (-) battery terminal. However, for maximum safety, many automotive experts recommend connecting the black clamp to a heavy, unpainted metal part of the vehicle’s chassis or engine block, away from the battery itself. This grounding method prevents any potential sparks from occurring near the battery, where flammable hydrogen gas might accumulate. If your charger manual specifies connecting directly to the negative terminal, follow those instructions, ensuring a firm and secure grip.
Step 8: Configure the Charger Settings
With the cables securely attached, turn your attention back to the charger unit. Most modern smart chargers require you to input specific settings before they begin delivering power. Select the correct voltage for your car, which is almost universally 12 volts for standard passenger vehicles. Next, choose the correct battery type (Standard, AGM, or Gel). Finally, select the charge rate or amperage. A lower amperage, such as 2 amps or 4 amps, provides a slow, deep charge that is generally better for the long-term health of the battery. Avoid using high-amperage “boost” settings unless you are in a desperate rush, as excessive heat degrades internal components.
Step 9: Turn on the Charger and Monitor the Process
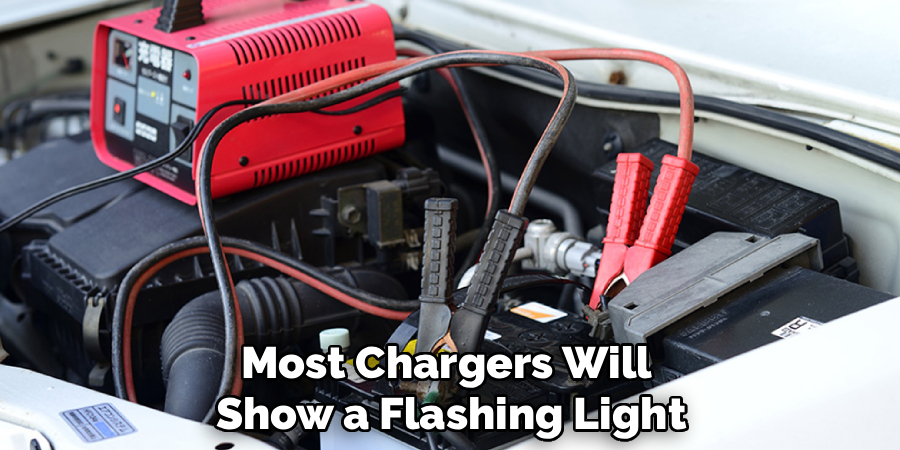
Now, plug the battery charger’s power cord into a standard wall outlet. Turn the charger’s power switch to the “on” position. Look at the display panel or indicator lights to confirm the charging process has started. Most chargers will show a flashing light or a rising percentage bar. Stay near the vehicle for the first few minutes to monitor the process. Listen for any excessive bubbling or hissing sounds coming from the battery, and carefully feel the casing to see if it becomes abnormally hot. If you notice severe heat, smoke, or a strong sulfur smell, unplug the charger from the wall immediately. Otherwise, let the smart charger run until it indicates a full charge.
Step 10: Disconnect the Charger Safely
Once the charger display reads 100% or the “charged” indicator light turns solid green, the process is complete. You must disconnect the equipment in the exact reverse order of connection to maintain safety. First, unplug the charger from the wall outlet to cut the main power supply. Second, disconnect the black negative clamp from the grounding point or the negative battery terminal. Third, carefully remove the red positive clamp from the positive battery terminal. Neatly coil the charger cables to prevent damage. Finally, replace any plastic terminal covers you removed, close the vehicle’s hood securely, and test-start your engine to confirm success.
Frequently Asked Questions
- How Long Does It Take to Charge a Car Battery Fully?
The total charging time depends entirely on your battery’s size and the charger’s output. A completely dead standard car battery requires about ten to twelve hours on a low 2-amp trickle charge. Using a higher 10-amp setting might reduce this time to around four or five hours. Smart chargers provide exact estimates on their digital screens. Patience remains key for achieving the deepest and healthiest charge possible. - Can I Leave the Battery Connected to the Car While Charging?
Yes, you can absolutely leave the battery securely wired to the vehicle’s electrical system while charging. Modern smart chargers regulate voltage perfectly to ensure they do not damage your car’s sensitive computers. You just need to make sure the ignition and all accessories remain switched off. Disconnecting the battery completely is only necessary if you are removing it for replacement. This makes charging while parked extremely convenient. - What Happens if It Rains While I Am Charging My Car Outside?
Moisture and high-voltage electricity create a lethal combination. If a sudden rainstorm begins, you must immediately unplug the charger from the wall outlet to cut the power. Never handle wet electrical cords or attempt to cover a running charger with a tarp while it rains. Wait until the storm passes and the ground dries before setting the equipment back up. Prioritizing electrical safety prevents fatal shocks and catastrophic equipment failure.
Conclusion
Understanding how to charge car battery while parked empowers you to handle minor automotive setbacks without stress.
By securing the proper safety gear, choosing a reliable smart charger, and following the ten structured steps carefully, you protect both your vehicle and yourself. Always respect the electrical power at play and never cut corners during preparation. Make battery maintenance a regular part of your vehicle care routine.
Checking the terminals for corrosion every few months and hooking up a trickle charger during long periods of inactivity will ensure your car starts reliably every time you turn the key.

About
Ora Hayes is a distinguished figure in the world of DIY Thecarfixes, with over a decade of expertise in automotive diagnostics and high-performance maintenance. Her professional focus lies in merging mechanical precision with modern digital tools, fostering repair solutions that are both cost-effective and highly reliable. As the author of Thecarfixes, Ora Hayes delves into the art and science of automotive restoration, inspiring car owners and hobbyist mechanics alike.
Education
RMIT University (Melbourne, Australia) Associate Degree in Automotive Engineering — Focus on vehicle dynamics, industry-driven repair protocols, and advanced diagnostics. Gained hands-on experience with traditional mechanical tools and modern ECU remapping software.
Nottingham Trent University (United Kingdom) Bachelor’s in Mechanical Design and Automotive Engineering (Honors) — Specialized in automotive systems with a focus on blending technical engineering with everyday usability. Participated in industry projects, working with leading automotive manufacturers to gain real-world insights into vehicle longevity.
Publications and Impact
In Thecarfixes, Ora Hayes shares her insights on troubleshooting complex engine issues, material durability, and strategies for efficient garage setups. Her writing bridges the gap between professional mechanic knowledge and the home enthusiast’s needs, making it a must-read for both everyday drivers and seasoned gearheads.




