

Maintaining a healthy fuel system often determines whether an engine runs smoothly or stalls unexpectedly. Over time, gasoline degrades. Dirt and moisture slowly accumulate inside the metal or plastic containment vessels.
This gradual buildup eventually restricts the flow of combustible liquids. Learning how to clean inside a fuel tank provides a practical solution to this creeping decay. Our guide breaks down the mechanics of chemical oxidation, the specific tools required, and the exact steps for safely removing internal contaminants.
You will discover how to neutralize old gasoline and dissolve stubborn oxidation safely. By mastering this process, you protect expensive fuel injectors from permanent damage. This approach could ultimately save you from facing steep diagnostic fees at a local repair shop.
Why You Need to Know How to Clean Inside a Fuel Tank
Engine components require a perfectly sterile environment to function optimally. A contaminated holding vessel forces the mechanical pump to labor intensely against physical blockages. This added strain might suggest why older pumps fail prematurely.
Understanding how to clean inside a fuel tank gives you control over the system’s baseline health. A clean reservoir prevents harmful micro-debris from bypassing the inline filters. This proactive maintenance routine appears to indicate a higher overall lifespan for standard combustion engines.
Symptoms of a Dirty Gas Tank
Drivers frequently misdiagnose poor engine performance. An engine that sputters under heavy acceleration could point directly to a clogged pickup screen. You might notice the vehicle struggling to maintain idle speed at stoplights.
Sudden losses of power on the highway also hint at fuel starvation. When inline filters become heavily restricted, the engine simply starves for combustible vapor. These symptoms often resolve completely once the primary containment vessel undergoes a deep cleaning.
The Dangers of Rust and Sludge
Temperature fluctuations cause a surprising amount of condensation to form inside metal containers. This trapped moisture interacts with bare steel to create aggressive surface oxidation. Flaking rust then falls directly into the standing liquid.
In parallel, modern gasoline blends degrade rapidly when left sitting for several months. The volatile chemicals evaporate, leaving behind a sticky varnish that resembles thick molasses. This sludgy residue actively destroys carburetor jets and fouls high-pressure injection nozzles if left untreated.
Safety First: Precautions Before You Begin
Handling volatile hydrocarbons requires extreme physical caution. Gasoline vapors ignite with terrifying speed. Treating this environment casually could easily lead to a catastrophic fire.
You must establish a secure working perimeter before reaching for a single wrench. The safety protocols we outline below are non-negotiable. Protecting yourself from chemical exposure remains the absolute highest priority.
Working in a Well-Ventilated Area
You should perform this extraction entirely outdoors. If you must use a garage, open all the bay doors wide. Gasoline fumes are exceptionally heavy.
These invisible vapors pool near the floor structure. A single stray spark from a dropped wrench or an electrical relay can ignite this vapor pool instantly. Working in the open air allows the wind to disperse the gas safely into the atmosphere.
Proper Protective Gear
Chemical solvents and degraded gasoline inflict severe damage upon human skin. You need heavy-duty nitrile gloves to block these toxins from entering your pores. Standard latex tears too easily against sharp metal edges.
Eye protection is similarly required. Splashing acid or harsh degreasers can cause permanent optical damage. Wraparound safety goggles provide a solid physical barrier against these unpredictable chemical splashes.
Essential Tools and Materials for the Job
Gathering your equipment beforehand prevents frustrating delays once your hands are dirty. You likely already own the basic mechanical ratchets needed to remove the mounting straps. The chemical supplies simply require a quick trip to the local hardware store.
Keep your workspace organized. Having the right abrasive elements ready makes the physical scrubbing phase much less tiring.
Cleaning Solutions and Mechanical Aids
You need a high-quality industrial degreaser to cut through the sticky varnish. For oxidation issues, a mild acid like white vinegar often works exceptionally well. Professional-grade phosphoric acid represents a stronger alternative for deeply pitted metal.
You will also need a mechanical abrasive to knock the rust loose. Many mechanics drop a handful of loose steel nuts or a short length of heavy chain directly into the vessel. Shaking these heavy objects around the interior acts as an aggressive internal scrubber.
How to Clean Inside a Fuel Tank: Step-by-Step Fuel Tank Cleaning
This methodology provides a structured approach to chemical decontamination. Rushing the process often leaves invisible moisture trapped inside the metal walls. Patience dictates the success of this entire operation.
Follow these specific sequences closely. Skipping a neutralization step might invite flash rust to form within minutes of drying.
Step 1: Drain the Remaining Fuel Safely
You must extract the stale liquid before unbolting any hardware. Locate the factory drain plug on the bottom of the structure. If your model lacks a plug, you will need to use a manual siphon hose.
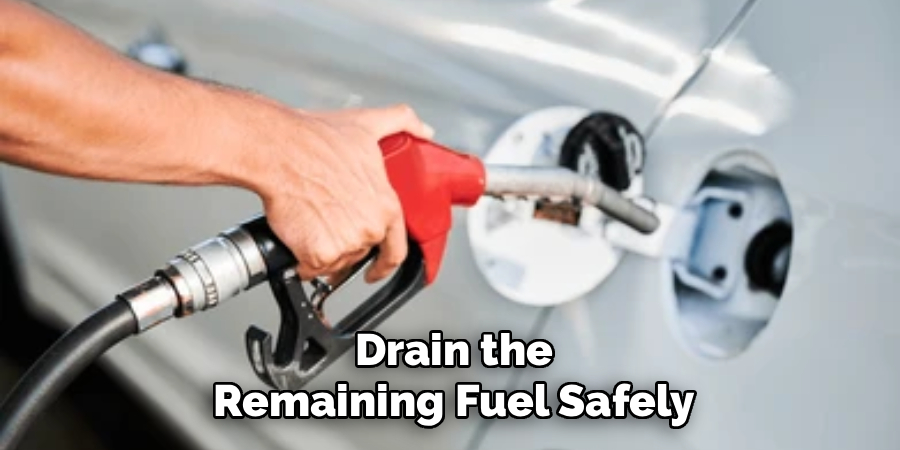
Never use your mouth to start a gasoline siphon. This action frequently causes severe chemical poisoning. Transfer the old fuel into an approved, sealable container for proper environmental disposal at a local hazardous waste facility.
Step 2: Remove the Fuel Tank from the Vehicle
Disconnecting the main assembly requires methodical labeling. Take clear photographs of the vacuum hoses and electrical connectors before you unplug anything. This visual record makes reassembly highly predictable.
Use a socket wrench to loosen the metal retaining straps holding the vessel to the chassis. Support the heavy plastic or steel housing with a floor jack as you remove the final bolts. Lower the assembly slowly to avoid snapping any hidden vapor lines.
Step 3: Inspect the Interior for Damage
Position the removed unit in a brightly lit area. Shine a powerful LED flashlight straight through the primary filler neck. You need to assess the exact severity of the internal decay.
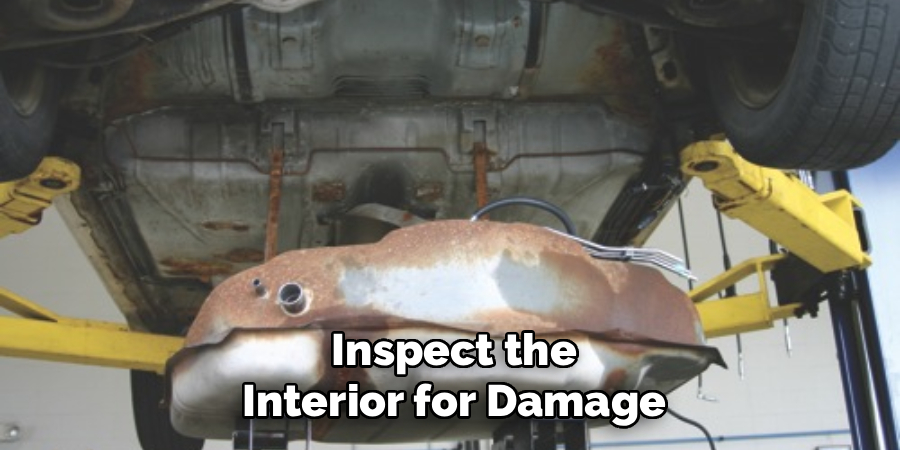
Light surface discoloration typically requires only a mild acidic soak. Deeply pitted metal with heavy, flaking scales indicates structural compromise. If the metal walls appear dangerously thin, replacement might prove safer than restoration.
Step 4: Apply the Cleaning Solution and Agitate
Pour your chosen degreaser or acidic solvent into the empty cavity. Drop your length of chain or loose steel nuts into the liquid pool. Seal all the open ports tightly using rubber caps and hose clamps.
Pick up the entire assembly and shake it vigorously. Rotate the unit so the heavy chain scrapes against every interior wall. This physical abrasion breaks the chemical bond between the rust scales and the base metal.
Step 5: Rinse the Tank Thoroughly
Remove the rubber caps and pour the filthy, rust-filled solvent into a waste bucket. You must flush the interior cavity to remove all remaining debris. Insert a garden hose and run a steady stream of water mixed with mild dish soap.
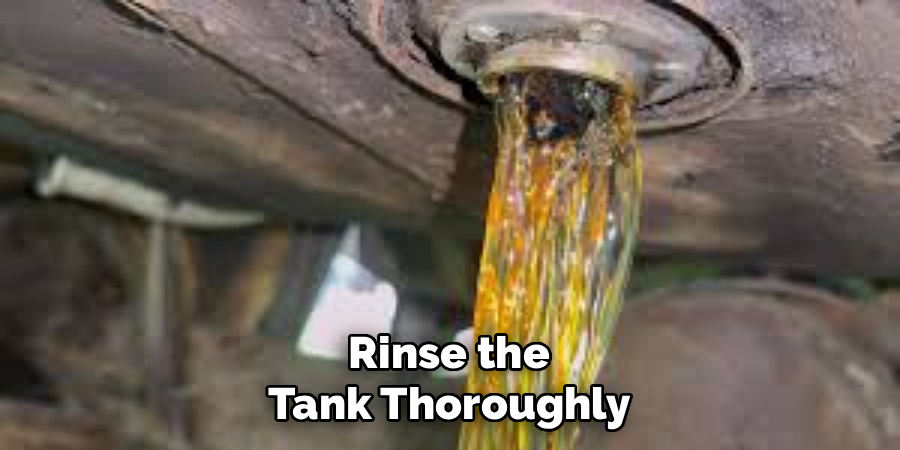
Continue flushing until the exiting water runs clear. Leaving any residual acid on the metal walls will contaminate the fresh gasoline later. The soap acts to neutralize the acidic environment completely.
Step 6: Dry the Interior Completely
Moisture serves as the primary enemy of bare steel. You cannot reassemble the fuel system while water droplets remain inside the cavity. Even a small puddle of water will cause instant flash rusting.
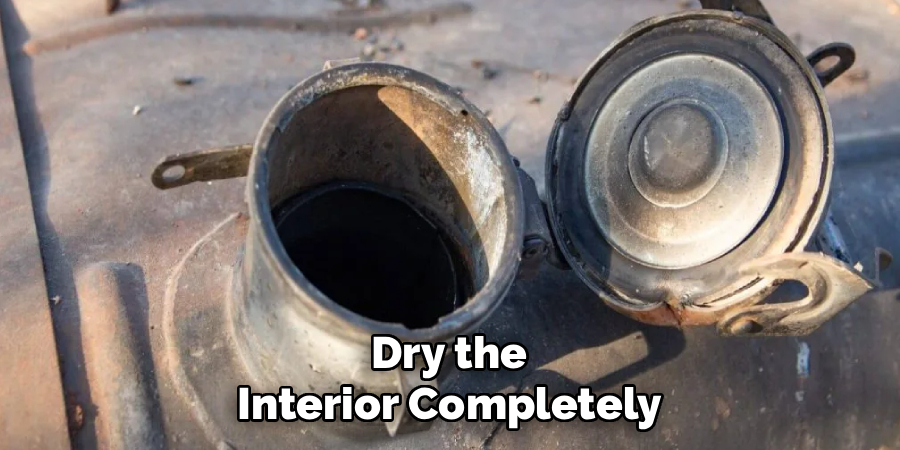
Position a shop vacuum hose near an open port and set it to blow warm exhaust air inside. Alternatively, leave the unit sitting in direct, hot sunlight for two full days. Verify the absolute absence of liquid before proceeding to the reinstallation phase.
Dealing with Severe Rust and Corrosion
Standard degreasers sometimes fail to correct decades of neglect. Historic vehicles often sit in damp barns, allowing aggressive oxidation to consume the internal architecture. These extreme cases require specialized chemical interventions.
Advanced restoration techniques can save a rare, irreplaceable component. You must apply these aggressive chemicals with extreme environmental caution.
Using Acid-Based Rust Removers
Commercial rust-dissolving liquids contain highly concentrated phosphoric or muriatic acid. These liquids chemically convert active iron oxide into a stable, black phosphate coating. You pour the acid into the cavity and let it dwell for a specific timeframe.
You must follow the manufacturer’s exact timing instructions. Leaving harsh acid in contact with thin sheet metal for too long could eat holes directly through the bottom. After draining the acid, immediately flood the area with a neutralizing wash to halt the chemical reaction.
Applying a Tank Sealer
Older metal units greatly benefit from an internal epoxy coating. This liquid sealer acts as an impenetrable barrier between the raw metal and future moisture. It also fills in microscopic pinholes that might otherwise weep gasoline.
Pour the viscous epoxy into the perfectly dry cavity. Rotate the unit slowly in every possible direction, ensuring the thick liquid coats all the internal seams. Prop the assembly up and allow the excess sealant to drain out completely while it cures over several days.
Conclusion
Restoring a contaminated fuel system requires both chemical knowledge and physical labor. The effort directly translates to a highly reliable internal combustion process. Knowing exactly how to clean inside a fuel tank gives you total mechanical independence.
You no longer have to worry about unseen sludge destroying your expensive injection system. This careful maintenance routine secures the long-term viability of your vehicle. Gather your safety gear, select your solvents, and confidently eliminate the oxidation threatening your engine.

About
Ora Hayes is a distinguished figure in the world of DIY Thecarfixes, with over a decade of expertise in automotive diagnostics and high-performance maintenance. Her professional focus lies in merging mechanical precision with modern digital tools, fostering repair solutions that are both cost-effective and highly reliable. As the author of Thecarfixes, Ora Hayes delves into the art and science of automotive restoration, inspiring car owners and hobbyist mechanics alike.
Education
RMIT University (Melbourne, Australia) Associate Degree in Automotive Engineering — Focus on vehicle dynamics, industry-driven repair protocols, and advanced diagnostics. Gained hands-on experience with traditional mechanical tools and modern ECU remapping software.
Nottingham Trent University (United Kingdom) Bachelor’s in Mechanical Design and Automotive Engineering (Honors) — Specialized in automotive systems with a focus on blending technical engineering with everyday usability. Participated in industry projects, working with leading automotive manufacturers to gain real-world insights into vehicle longevity.
Publications and Impact
In Thecarfixes, Ora Hayes shares her insights on troubleshooting complex engine issues, material durability, and strategies for efficient garage setups. Her writing bridges the gap between professional mechanic knowledge and the home enthusiast’s needs, making it a must-read for both everyday drivers and seasoned gearheads.




