

Spending hours washing a vehicle only to have the rims turn black after a short drive frequently initiates a highly frustrating ownership experience. You spend a Saturday afternoon carefully detailing your car, expecting a pristine aesthetic to last the week. By Tuesday, a dark film covers the silver alloys.
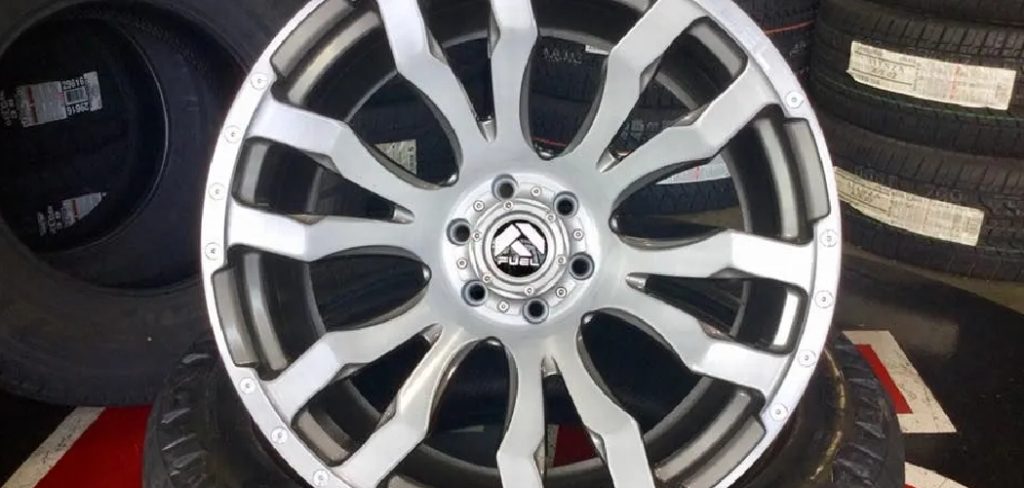
This common issue ruins the visual appeal of the automobile almost immediately. Allowing that dark film to sit untreated could also cause permanent pitting and severe corrosion across the clear coat. We must understand how to keep brake dust off wheels to preserve both the vehicle’s appearance and its underlying structural integrity.
Resolving this persistent problem usually requires a calculated combination of proper cleaning techniques and protective coatings. Some drivers might eventually consider smart hardware choices to eliminate the issue at its mechanical source. Achieving clean rims remains an entirely accessible weekend project.
Taking these specific preventative steps saves countless hours on future washes. It protects your financial investment over the long term. Let us examine the chemistry and mechanics behind this irritating automotive phenomenon.
Understanding Where Brake Dust Comes From
Contextualizing the mechanical process that creates this dark residue provides a helpful foundation for preventing it. Every single time a driver presses the brake pedal, the friction between the pad and the spinning rotor shaves off microscopic particles. This violent interaction naturally creates a constant, invisible cloud of hot metal shavings and carbon.
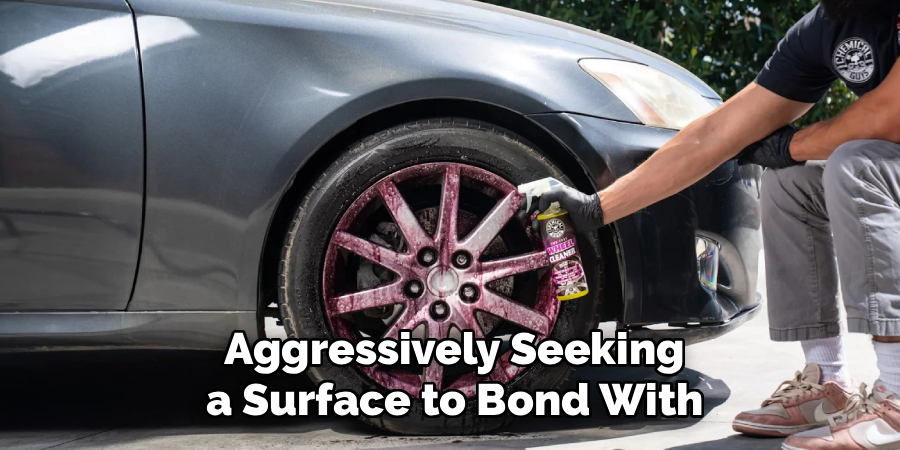
The heavier particles fall onto the asphalt. The lighter elements float outward, aggressively seeking a surface to bond with. The design of modern alloy wheels frequently acts as a physical trap for these floating particles.
Airflow dynamics around a spinning wheel well naturally pull this debris directly onto the visible face of the rim. Understanding this physical reality might suggest why simple soap and water rarely solve the long-term problem. We are fighting a continuous, heat-driven manufacturing process of dirt.
The Composition of Brake Friction Materials
Diving deeper into the actual materials used in standard braking systems reveals the true chemical enemy. Factory-installed, semi-metallic pads generally operate as the primary culprits for heavy dusting. Automotive manufacturers favor these specific pads because they provide strong stopping power at a relatively low production cost.
These conventional pads contain heavy amounts of iron, copper shavings, and steel wool. While these aggressive materials perform well mechanically, they generate high volumes of sticky residue. This specific type of metallic debris aggressively clings to surrounding painted surfaces.
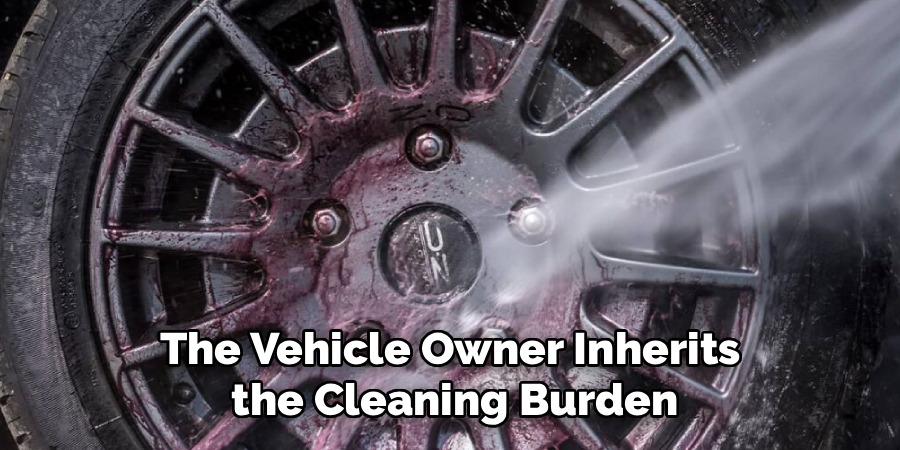
The automotive industry relies heavily on these semi-metallic compounds for heavier vehicles. It appears to indicate a necessary compromise between safety and cleanliness. Unfortunately, the vehicle owner inherits the cleaning burden.
Why Dust Sticks to Your Rims
The basic science behind why this specific dirt remains so difficult to remove involves static electricity and extreme heat. Stopping a two-ton mass creates intense thermal friction at the wheel hub. This friction causes the floating metal particles to carry a localized static electrical charge.
These hot, electrically charged particles literally bake themselves into the clear coat or bare metal of the rims upon contact. They do not merely rest on the surface like normal road dust. They embed themselves into the porous microscopic structure of the paint.
Allowing these iron particles to sit unattended frequently creates a galvanic reaction. Moisture from rain or morning dew interacts with the iron, which eventually eats through the factory finish. This chemical etching explains why neglected wheels permanently lose their shine despite eventual heavy scrubbing.
Step-by-Step Guide: How to Keep Brake Dust Off Wheels
We now transition into the core step-by-step tutorial. Following this precise sequence allows you to safely remove existing contamination while building a durable barrier against future buildup. Knowing how to keep brake dust off wheels demands a methodical approach rather than brute physical force.
You must abandon the idea of using harsh wire brushes. Precision chemistry will do the heavy lifting here.
Step 1: Cool Down the Wheels
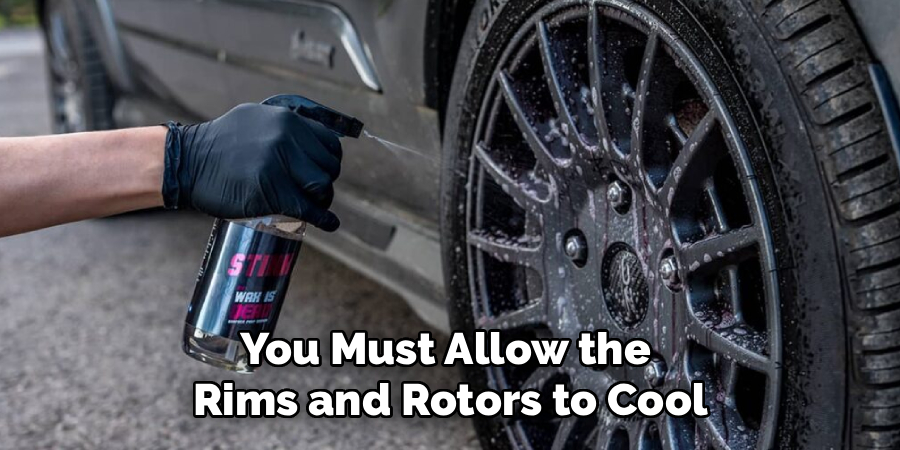
Park your vehicle in a heavily shaded area or a temperature-controlled garage. You must allow the rims and rotors to cool completely before starting any chemical application. Spraying cold water onto a 400-degree brake rotor could easily warp the metal disc.
Applying harsh cleaning chemicals to hot rims often causes the solution to flash-dry within seconds. This rapid evaporation leaves permanent chemical stains burnt into the rim surface. Test the ambient temperature by hovering the back of your hand near the metal without making direct physical contact.
Patience at this initial stage prevents catastrophic cosmetic damage. Wait at least an hour after driving before touching a hose.
Step 2: Apply a Dedicated Wheel Cleaner
Selecting the correct chemical agent represents the most vital phase of the decontamination process. We highly recommend purchasing an iron-decontaminating wheel cleaner. These specialized liquids actually change color as they actively dissolve embedded metallic particles.
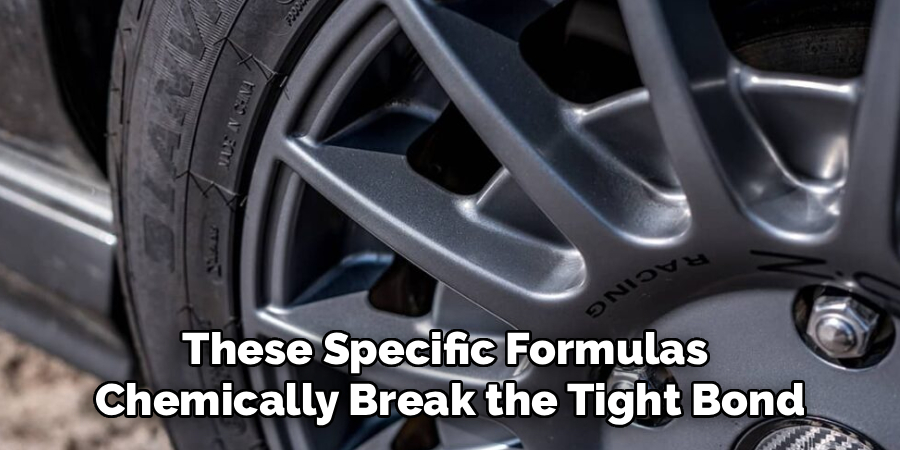
Spray a generous, entirely even layer over the full face of the rim. Do not forget to coat the inner barrel and the hidden areas behind the spokes. These specific formulas chemically break the tight bond between the hot iron shavings and the clear coat.
The liquid usually turns a deep purple or red as it bleeds the iron out of the paint. This visual indicator confirms that the chemistry is working without damaging the delicate underlying finish.
Step 3: Agitate the Surface Safely
The physical cleaning process requires a gentle touch. Use a soft-bristled wheel brush and a dedicated microfiber washing mitt. Work the purple chemical slurry into the tight interior corners and the recessed lug nut holes.
Never use stiff household scrubbers or abrasive green scouring pads on automotive paint. These overly aggressive tools will inflict deep scratches that dull the finish permanently. Keep a separate, isolated bucket of soapy water specifically assigned for the rims.
Cross-contaminating your wheel tools with your primary paint bucket guarantees you will drag sharp iron particles across your car’s hood later. Treat the wheels as a completely quarantined cleaning zone.
Step 4: Rinse Thoroughly and Dry
Removing all chemical residue ensures the metal is ready for protection. Use a steady, high-volume stream of water to flush out the lug holes and the inner wheel barrels. Pay special attention to rinsing the brake calipers, as lingering acid could degrade the rubber brake lines.
Dry the rims immediately using a dedicated microfiber drying towel. Some enthusiasts prefer using a small leaf blower or an automotive air cannon to force water out of the tight crevices. Leaving tap water to air-dry will cause severe mineral spotting.
These hard water spots actively ruin the final protective application. The surface must be bone dry before we introduce sealants.
Step 5: Prep the Surface for Protection
This preparation step bridges the gap between basic washing and long-term defense. Wipe down the freshly cleaned rims with a high-quality isopropyl alcohol spray. Automotive detailers often call this a panel prep wipe.
This alcohol solution removes any lingering soaps, invisible waxes, or unseen human oils left behind by the washing process. Protective sealants absolutely require bare, squeaky-clean clear coat to bond properly. If old wax remains on the surface, the new sealant will fail within a week.
Creating a virgin surface guarantees maximum longevity for the protective layer. Do not skip the alcohol wipe.
Step 6: Apply a Ceramic Coating or Wheel Sealant
Creating the actual protective barrier brings this heavy labor to a satisfying close. You generally face a choice between high-temperature synthetic wheel sealants and nano-ceramic coatings. Ceramics offer significantly more durable defense, though they cost slightly more upfront.
Apply your chosen product in small, overlapping sections using a soft foam applicator pad. Allow the liquid to cure according to the specific manufacturer’s directions, which usually takes about three to five minutes. Gently buff away the hazy excess with a clean, dry microfiber towel.
This incredibly slick layer physically prevents hot carbon particles from gripping the surface. Future maintenance washes will likely require nothing more than a mild soap and a garden hose. The dust simply slides off the ceramic barrier.
Upgrading Your Braking Hardware for Less Mess
We must also consider active prevention strategies beyond chemical maintenance. Changing the mechanical source of the problem often serves as the most effective long-term solution. Vehicle owners who despise heavy cleaning protocols entirely might prefer a hardware intervention.
Modifying the vehicle alters the specific type of dust generated. This approach requires a minor financial investment but pays massive dividends in saved labor.
Switching to Ceramic Brake Pads
Upgrading to aftermarket ceramic friction materials profoundly alters your maintenance routine. Ceramic pads produce a significantly lighter, finer dust compared to their semi-metallic counterparts. This pale dust does not carry the same aggressive static charge, meaning it rarely sticks to metal surfaces.
This simple hardware swap drastically reduces the visual dirt accumulating on the rims. Furthermore, ceramic pads often provide quieter stopping performance and a longer lifespan. You might suggest this upgrade to your mechanic during your next scheduled brake service.
Installing Dust Shields
A secondary hardware option exists for highly persistent issues. Thin metal or aluminum dust shields can be fitted directly between the wheel hub and the rim mounting face. These metallic plates physically block the carbon shavings from blowing outward onto the visible face of the wheel.
They act as a literal wall, funneling the dark debris safely under the vehicle chassis instead. While they slightly alter the aesthetic depth of the wheel well, they eliminate the cleaning chore. Track-focused drivers sometimes avoid them due to heat retention, but they serve daily commuters perfectly.
Conclusion
Transitioning heavily soiled rims into protected, easily maintained wheels requires an initial afternoon of dedicated labor. The subsequent rewards, however, easily justify the required effort. Knowing how to keep brake dust off wheels transforms a frustrating, repetitive chore into a remarkably simple aspect of routine vehicle maintenance.
We must remember the core strategies to maintain this pristine aesthetic permanently. Utilize iron-dissolving chemical cleaners to safely strip the embedded metal particles. Apply a slick ceramic barrier to deny the dust a gripping surface.
Those seeking the ultimate fix might consider a mechanical switch to ceramic brake pads. Gather your dedicated cleaning supplies and apply a robust wheel sealant. You will soon enjoy the deep satisfaction of permanently bright, effortlessly clean rims.

About
Ora Hayes is a distinguished figure in the world of DIY Thecarfixes, with over a decade of expertise in automotive diagnostics and high-performance maintenance. Her professional focus lies in merging mechanical precision with modern digital tools, fostering repair solutions that are both cost-effective and highly reliable. As the author of Thecarfixes, Ora Hayes delves into the art and science of automotive restoration, inspiring car owners and hobbyist mechanics alike.
Education
RMIT University (Melbourne, Australia) Associate Degree in Automotive Engineering — Focus on vehicle dynamics, industry-driven repair protocols, and advanced diagnostics. Gained hands-on experience with traditional mechanical tools and modern ECU remapping software.
Nottingham Trent University (United Kingdom) Bachelor’s in Mechanical Design and Automotive Engineering (Honors) — Specialized in automotive systems with a focus on blending technical engineering with everyday usability. Participated in industry projects, working with leading automotive manufacturers to gain real-world insights into vehicle longevity.
Publications and Impact
In Thecarfixes, Ora Hayes shares her insights on troubleshooting complex engine issues, material durability, and strategies for efficient garage setups. Her writing bridges the gap between professional mechanic knowledge and the home enthusiast’s needs, making it a must-read for both everyday drivers and seasoned gearheads.




