

Listening to flat audio through low-quality factory systems often initiates a highly frustrating daily commute. You turn the volume dial expecting clarity, but receive a muddy, distorted noise instead. This specific auditory disappointment might suggest your vehicle’s original audio equipment has degraded or was simply poorly manufactured to begin with.
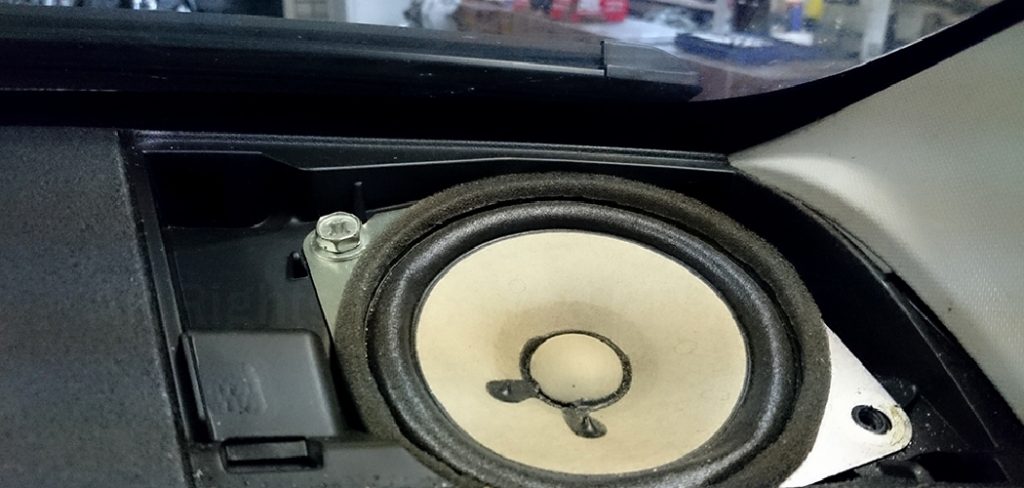
Automakers frequently cut production costs by installing paper-cone audio components that struggle to reproduce complex sound frequencies. Learning how to upgrade speakers in car remains a highly practical skill that helps you bypass these factory limitations. We will examine the specific mechanics behind replacing your stock audio equipment with high-fidelity aftermarket units.
Tackling this project yourself could save you considerable money on professional installation fees. You will learn to verify exact component fitment, gather the correct materials, and execute a flawless door panel removal. This manageable DIY endeavor appears to offer a straightforward path to completely transforming your driving experience.
Understanding Speaker Compatibility
Purchasing the right equipment acts as the absolute foundation of this entire project. Many beginners assume that automotive audio systems follow a universal standard. The reality of vehicle manufacturing suggests an entirely different, highly fragmented landscape.
There is virtually no one-size-fits-all solution when it comes to interior automotive electronics. Selecting mismatched components frequently leads to poor sound quality. In some cases, the new units physically cannot fit inside the factory door cavities.
You must research your specific vehicle platform before spending money on new electronics. A little preliminary investigation often prevents massive headaches during the actual installation phase.
Measuring Your Factory Units
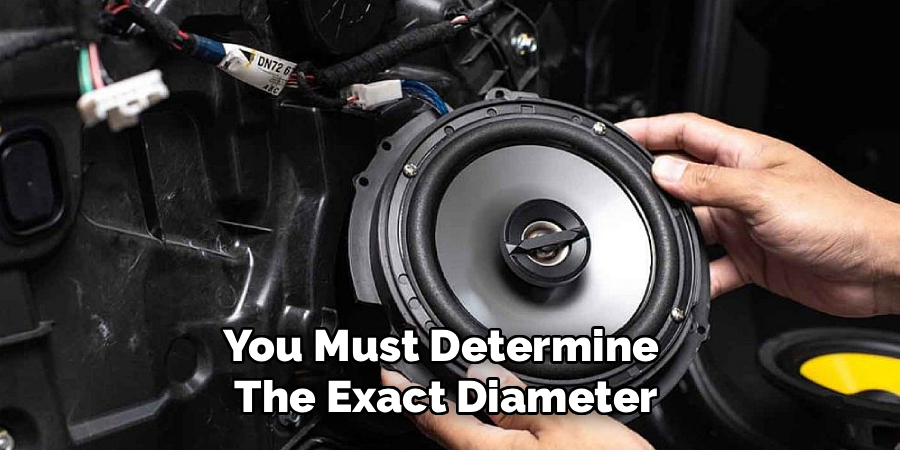
Physical dimensions dictate exactly what you can safely install inside your door panels. You must determine the exact diameter, mounting depth, and screw hole patterns of your original units. Consulting your vehicle owner’s manual or utilizing an online compatibility database usually provides these specific measurements.
Modern car doors contain window tracks, locking mechanisms, and side-impact crash bars. These internal components leave very little room for oversized aftermarket audio equipment. Purchasing a unit with a massive rear magnet might actually block your window glass from rolling down completely.
Shallow door cavities require specialized, low-profile designs to clear the internal glass tracks. Measuring the available mounting depth beforehand prevents you from forcing a poorly fitting component into a restricted space.
Power Handling Basics
Electrical compatibility carries just as much weight as physical dimensions. You must understand the basic concepts of RMS power rating and electrical impedance, which is measured in ohms. RMS refers to the continuous power a unit can handle without suffering thermal damage.
Your new equipment must closely match the power output of your factory stereo or your aftermarket amplifier. Connecting highly demanding aftermarket components to a weak factory radio generally results in underwhelming, distorted audio. The stock stereo simply lacks the electrical muscle to push heavier voice coils.
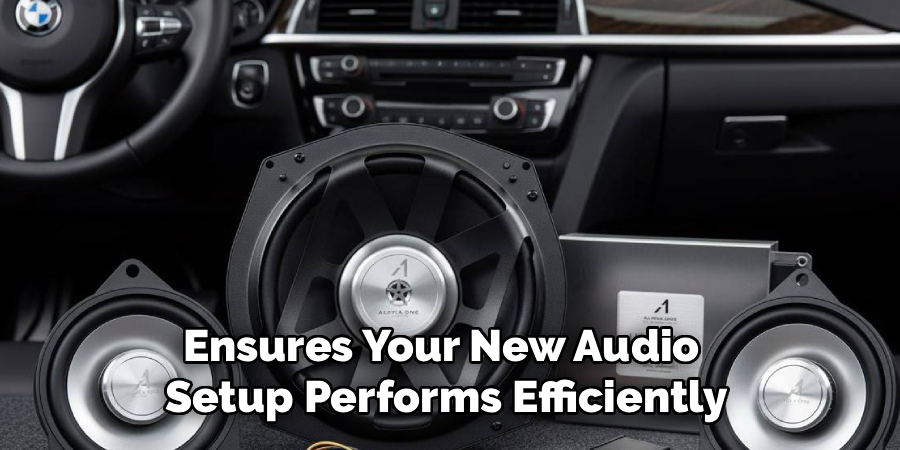
If you plan to keep your factory radio, you should look for high-sensitivity units designed to operate on lower wattage. Matching the electrical demands correctly ensures your new audio setup performs efficiently and clearly.
Gathering the Right Tools
Transitioning to the preparation phase requires gathering specific implements. Having the correct equipment on hand prevents frustrating installation delays. It also protects your delicate interior plastics from suffering permanent cosmetic damage.
You likely possess a few of these items in your garage already. The required tools are generally affordable and easily sourced from local hardware stores. Proper preparation seems to dictate the overall success of this cosmetic and electrical intervention.
Essential Hand Tools
You will need a specific set of mechanical tools to execute the door teardown safely. A comprehensive screwdriver set and a metric socket wrench collection usually handle the metal fasteners. However, you also need a dedicated plastic panel removal tool.
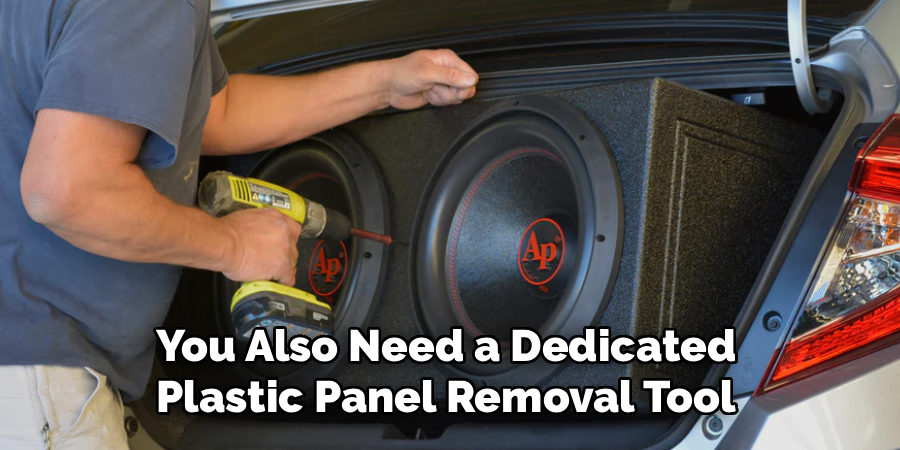
Using metal screwdrivers to pry off interior trim pieces represents a common, highly destructive beginner mistake. A metal shaft easily gouges soft vinyl and tears expensive leather surfaces. A plastic pry tool distributes pressure evenly.
These specialized plastic levers pop retaining clips loose without leaving permanent scars on your door panels. Treating your interior with mechanical respect prevents the project from becoming an expensive cosmetic regret.
Wiring Harnesses and Adapters
The electrical connection phase often intimidates weekend mechanics. Fortunately, the aftermarket audio industry provides massive benefits through vehicle-specific wiring harness adapters. These inexpensive plastic connectors plug directly into your factory wiring.
Utilizing these adapters means you do not need to cut, splice, or solder any original cables. This plug-and-play approach maintains the vehicle’s electrical integrity completely intact. It also makes the entire upgrade fully reversible if you ever decide to sell the vehicle.
You should also look for custom plastic mounting brackets designed for your specific car model. These brackets adapt aftermarket circular frames to fit odd-shaped factory door openings, eliminating the need to drill new holes into your sheet metal.
Step by Step Guide: How to Upgrade Speakers in Car
We now transition into the core instructional phase of the project. By following this precise sequence, you could safely execute the installation without compromising your vehicle’s safety systems. Disconnect the negative battery terminal before beginning any work.
Isolating the power supply prevents accidental electrical shorts while you manipulate the wiring. Knowing exactly how to upgrade speakers in car requires patience and a methodical approach.
Step 1: Remove the Door Panels
Accessing the factory units requires you to remove the interior door cards completely. Inspect the door carefully for hidden screws, which often sit behind interior handles or beneath the armrests. Some manufacturers also hide small bolts behind the window control switch panels.
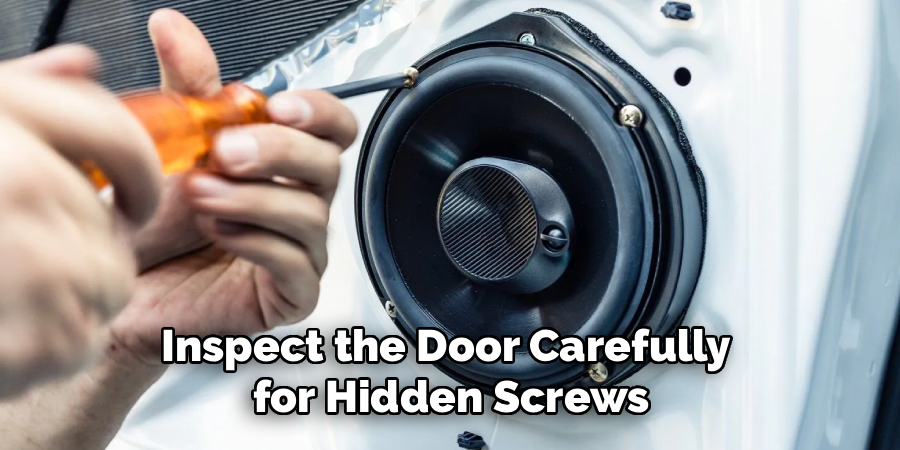
Once you remove the visible metal fasteners, take your plastic pry tool. Slide it gently between the metal door frame and the edge of the plastic interior panel. Pry outward slowly to unclip the hidden retaining fasteners located around the perimeter.
Lift the entire panel upward to clear the window sill channel. Carefully unplug any electrical connectors for the power locks and windows before setting the panel aside in a safe, dry location.
Step 2: Swap the Speakers
You can now clearly see the factory unit mounted to the bare metal door frame. Unbolt the original screws and pull the paper cone away from the mounting cavity. Unplug the factory wire from the back of the magnet.
If your installation requires an aftermarket plastic mounting bracket, attach it to the door frame now. Seat the new unit into the bracket gently. Ensure the metal rim rests completely flush against the mounting surface.
A flush mount prevents unwanted air leaks, which could severely degrade bass response. Secure the new unit using the provided hardware. Do not overtighten these screws, as extreme pressure can easily crack the plastic casing or warp the metal basket.
Step 3: Connect and Test
The final electrical steps require careful routing of your new wires. Connect your vehicle-specific wiring harness adapter to the factory plug dangling inside the door. Slide the metal spade terminals securely onto the positive and negative tabs of your new unit.
Ensure the wires rest securely away from the moving window track mechanism. You should temporarily reconnect the vehicle battery to test the system before reassembling the door. Turn on the stereo and fade the sound entirely to that specific door channel.
Listen closely for proper volume, vocal clarity, and the absence of static. If the audio sounds crisp and full, you can confidently press the door panel back into its clips and reinstall the hidden screws.
Troubleshooting Common Issues
When installing or testing audio components, you might encounter some common problems. Below are tips to address these issues effectively.
No Sound from the Speaker
If the speaker produces no sound, double-check the wiring connections. Ensure that the positive and negative wires are securely connected to the correct terminals. Check for any pinched or damaged wires and replace them if necessary. Additionally, verify that the stereo is set to the correct input or channel for testing.
Static or Distorted Audio
If you hear static or distorted audio, inspect the ground connection of your stereo system. A poor ground can introduce unwanted noise. Tighten the ground wire or clean the contact point if rust or dirt is present. Also, make sure that the speaker wires do not cross over any power cables, as this can cause interference.
FAQs About Car Stereo Troubleshooting
Why Is My Car Stereo Not Turning On?
This issue could be caused by a blown fuse, a loose wire, or a faulty connection. Check the stereo’s fuse and the wiring harness for any signs of damage. If everything looks fine, the issue may be with the stereo unit itself.
How Can I Improve Sound Quality in My Car?
To enhance sound quality, make sure the speakers are properly mounted and free of defects. Adjust the equalizer settings on your stereo to suit your preferences, and consider upgrading to higher-quality speakers or an external amplifier.
What Causes Static Noise in My Car Speakers?
Static noise is often caused by a poor ground connection or interference from power cables. Inspect and tighten the ground wire and ensure speaker wires are routed away from any power wires.
Why Does My Car Stereo Keep Restarting?
A stereo that frequently restarts could have a loose power or ground connection. Check the wiring for any loose connections, and secure them if necessary. An old or failing battery might also be the culprit.
Can I Install a New Stereo in Any Car?
Most vehicles can accommodate aftermarket stereos, but you may need an installation kit or wiring adaptor specific to your car’s make and model. Always double-check compatibility before purchasing a new stereo.
Conclusion
Taking apart your vehicle’s interior might initially feel like an intimidating endeavor. However, breaking the process down into logical, manageable steps reveals a highly rewarding weekend project. We have examined the importance of physical dimensions, electrical matching, and the safety protocols required for panel removal.
Knowing exactly how to upgrade speakers in car empowers you to take complete control of your daily audio experience. You no longer have to rely on expensive audio shops to achieve high-fidelity sound. Verifying exact fitment and utilizing wiring adapters ensures a clean, professional-grade installation.
You might eventually consider exploring sound-deadening materials to further isolate road noise from your cabin. Gather your plastic pry tools, research your vehicle’s specifications, and prepare to hear your favorite music exactly as the recording engineers intended.

About
Ora Hayes is a distinguished figure in the world of DIY Thecarfixes, with over a decade of expertise in automotive diagnostics and high-performance maintenance. Her professional focus lies in merging mechanical precision with modern digital tools, fostering repair solutions that are both cost-effective and highly reliable. As the author of Thecarfixes, Ora Hayes delves into the art and science of automotive restoration, inspiring car owners and hobbyist mechanics alike.
Education
RMIT University (Melbourne, Australia) Associate Degree in Automotive Engineering — Focus on vehicle dynamics, industry-driven repair protocols, and advanced diagnostics. Gained hands-on experience with traditional mechanical tools and modern ECU remapping software.
Nottingham Trent University (United Kingdom) Bachelor’s in Mechanical Design and Automotive Engineering (Honors) — Specialized in automotive systems with a focus on blending technical engineering with everyday usability. Participated in industry projects, working with leading automotive manufacturers to gain real-world insights into vehicle longevity.
Publications and Impact
In Thecarfixes, Ora Hayes shares her insights on troubleshooting complex engine issues, material durability, and strategies for efficient garage setups. Her writing bridges the gap between professional mechanic knowledge and the home enthusiast’s needs, making it a must-read for both everyday drivers and seasoned gearheads.




