

Turning the ignition key only to hear a rapid, hollow clicking sound often initiates a specific type of modern panic. We rely heavily on automotive reliability for our daily routines. When that mechanical reliability suddenly falters, the resulting silence feels distinctly isolating.
A dead engine historically demanded waiting hours for a tow truck. You might have found yourself awkwardly flagging down a stranger, hoping they carried heavy jumper cables in their trunk. That dependent paradigm has shifted entirely over the last decade.
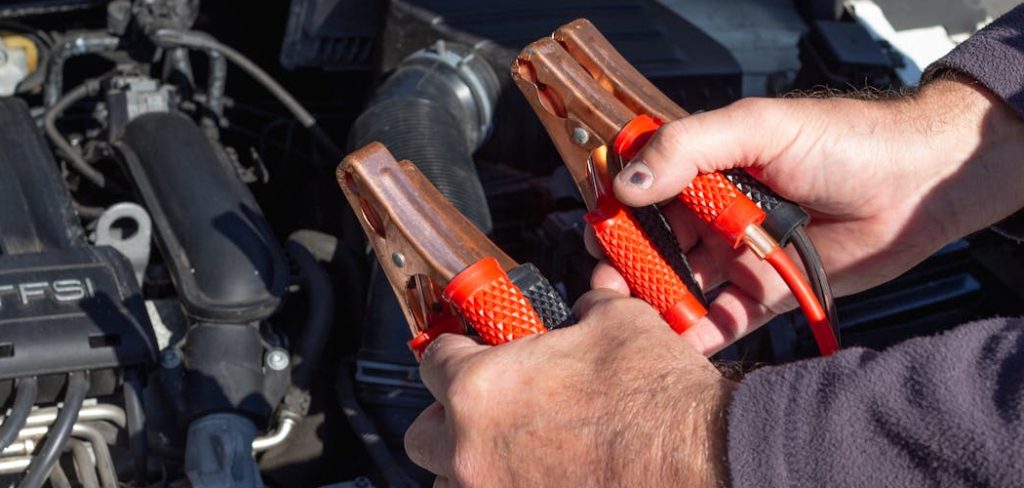
Knowing exactly how to jump a car with portable battery fundamentally alters how we experience automotive failure. Modern jump boxes offer a surprising level of roadside independence. These compact devices function as highly condensed chemical power reserves.
They appear to deliver a massive, instantaneous surge of electricity directly to a dormant starter motor. We will examine the underlying chemistry of these devices and the specific physical steps required to use them safely. Reclaiming your mobility might take only a few minutes if you approach the situation methodically.
Understanding Portable Jump Starters
Traditional jumper cables rely heavily on a secondary vehicle acting as an electrical donor. This outdated method introduces uncontrollable variables into your repair process. You essentially trust the health of a stranger’s electrical system to revive your own.
A portable jump box isolates the diagnostic process entirely. These units bypass the dead onboard circuitry to force rotational energy straight into your engine block. Understanding how they manage this feat requires a brief look at their internal physical composition.
The technology powering these devices has evolved rapidly. What once required a heavy, rolling cart can now fit comfortably inside a standard glovebox.
Lithium-Ion vs. Lead-Acid Models
Automotive accessory aisles typically offer two distinct categories of portable power. Older jump packs utilized traditional lead-acid chemistry. These bulky units weighed upwards of thirty pounds and occupied significant trunk space.
Lead-acid models do provide decent performance in extreme freezing temperatures. However, they naturally discharge over time and require constant maintenance charging. The industry has largely abandoned this heavy chemistry in favor of lighter alternatives.
Modern lithium-ion packs represent a massive leap in consumer convenience. A high-quality lithium unit weighs less than a textbook and holds a dormant charge for several months. They often include secondary features like USB charging ports, which might suggest a broader utility for camping or power outages.
Matching Cranking Amps to Your Engine
Purchasing the correct device requires a basic understanding of electrical measurement. You must look past the marketing terminology and focus entirely on the peak amp rating. Amperage essentially acts as the sheer physical muscle needed to turn a heavy internal combustion engine.

A compact four-cylinder sedan requires relatively little electrical force to start. Conversely, a massive diesel truck demands an incredible surge of power to compress its thick cylinders. You should consult your vehicle specifications to find your required cold cranking amps.
Buying a device with a higher amp rating than your engine technically needs is completely safe. The vehicle starter will only draw the specific amount of electricity it requires. Oversizing your portable unit simply ensures it will not struggle during a bitterly cold winter morning.
Crucial Safety and Preparation Steps
Making hasty electrical connections in a dark parking lot invites completely unnecessary risks. Modern power banks do feature built-in reverse polarity protection. Handling automotive electrical systems still requires a healthy degree of caution and situational awareness.
You must park your vehicle in a safe location away from flowing traffic. Turn off all interior accessories, including the radio and the climate control fan. Remove the physical key from the ignition entirely to prevent sudden power surges across the delicate computer network.
Taking two minutes to prepare your environment prevents secondary mechanical failures. A methodical approach always yields safer results.
Inspecting the Battery for Damage
You must perform a visual inspection of the dead unit before attaching any metal clips. Look closely at the plastic casing for physical stress fractures or bulging sides. A swollen plastic case often indicates that the internal acid has frozen and expanded.
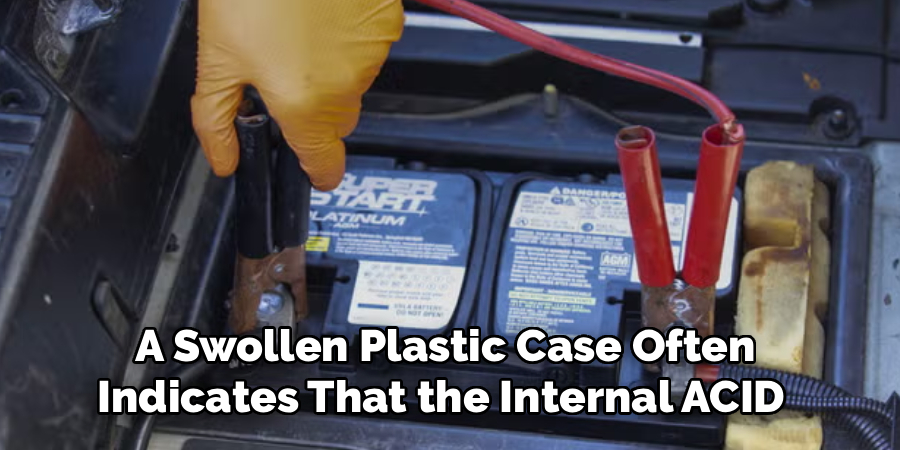
Attempting to push electricity into a physically compromised unit could easily cause a violent chemical reaction. You might also notice a thick, white crust forming around the metal lead posts. This acidic corrosion acts as a severe electrical insulator.
Heavy corrosion prevents the jump box from making a solid connection. You should brush this white powder away carefully with a stiff nylon tool before proceeding.
Locating the Proper Grounding Point
Connecting jumper cables involves a commonly misunderstood safety requirement. Most drivers naturally assume they should connect the negative clamp directly to the negative battery post. This seemingly logical action actually creates a significant hazard.
Standard lead-acid batteries naturally vent highly flammable hydrogen gas during discharge cycles. Attaching a live clamp directly to the negative post frequently generates a small electrical spark. Introducing a spark into an invisible cloud of hydrogen gas might lead to a localized flash fire under your hood.
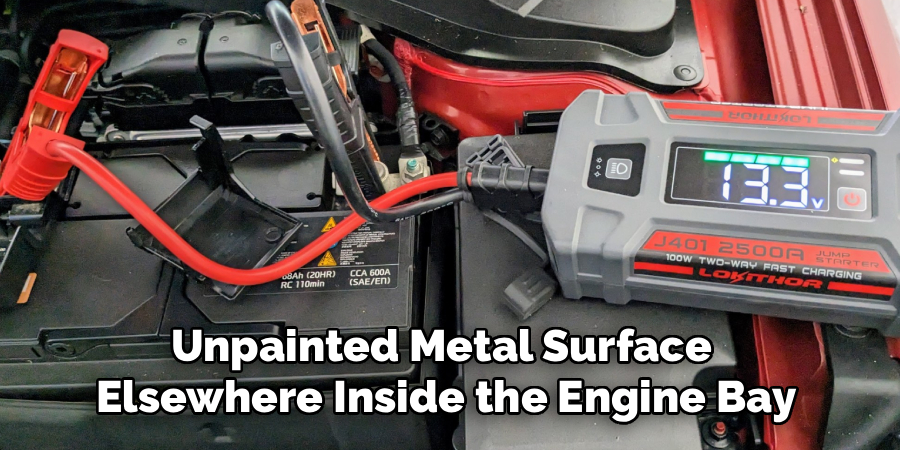
You must locate a solid, unpainted metal surface elsewhere inside the engine bay. A heavy alternator bracket or a specific grounding stud provided by the manufacturer serves as a much safer grounding point. This keeps any potential sparks far away from the volatile chemical casing.
How to Jump a Car With Portable Battery: Step-by-Step Guide
We now transition into the physical application of this diagnostic theory. Following this exact sequence prevents accidental short circuits. You should keep the portable device completely turned off until all physical connections rest securely in place.
Rushing the application of electricity frequently damages the sensitive microprocessors scattered throughout modern vehicles. This primary guide on how to jump a car with portable battery isolates the risk factors completely.
Patience acts as your primary diagnostic tool here. Breathe deeply and observe the mechanical layout before making your move.
Step 1: Connect the Clamps in the Correct Order
The physical connection sequence dictates the safety of the entire operation. Take the red positive clamp from your power pack and attach it directly to the red positive terminal on the dead vehicle. Ensure the sharp metal teeth bite firmly into the lead post to maximize the conductive surface area.
You must then take the black negative clamp and move away from the battery entirely. Attach this black clamp to the bare metal grounding point you identified during your earlier inspection. Wiggle both clamps slightly to verify they sit tightly against the metal.
Loose clamps will restrict the flow of amperage, causing the jump box to fail. Route the thick connecting cables carefully. They must stay entirely clear of moving engine parts like the serpentine belt or the plastic cooling fans.
Step 2: Power On the Device and Start the Engine
You may now introduce electricity into the dormant circuit. Press the primary power button on your portable unit. Most modern devices feature a small LED indicator light that turns solid green when it detects a proper, safe connection.
Sit in the driver’s seat and depress the brake pedal. Turn the ignition key or press the push-to-start button firmly. The engine should immediately crank over and settle into a smooth idle.
If the starter motor hesitates or clicks weakly, stop trying immediately. Wait roughly sixty seconds before attempting a second crank. Forcing the lithium power bank to discharge repeatedly without resting can easily overheat its internal chemical cells.
Step 3: Disconnect the Cables Safely
The final step requires removing the equipment while the engine actively spins. You must leave the vehicle running so the internal alternator can begin replenishing the empty onboard power storage. Turn off the portable power bank immediately.
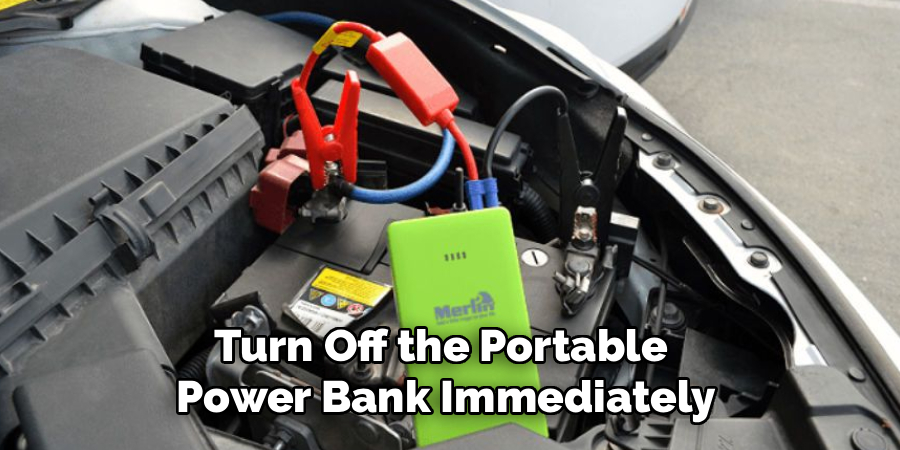
The disconnection process follows the exact reverse order of your initial setup. Remove the black negative clamp from the distant grounding bracket first. You then remove the red positive clamp from the live battery terminal.
Pack your portable device away securely in its protective case. You should drive the vehicle continuously for at least thirty minutes. This extended drive time allows the alternator to push enough electricity back into the system for your next reliable start.
Common Troubleshooting Tips
Diagnosing Battery Issues
If your vehicle still struggles to start after a jump, it may indicate a deeper issue. Check the battery terminals for corrosion—an accumulation of white or greenish residue that can hinder the connection. Ensure the clamps are secured tightly and inspect the battery for visible damage such as cracks or leaks. If problems persist, it might be necessary to test the battery with a multimeter to verify its voltage.
Understanding When to Replace Your Battery
Batteries have a limited lifespan, typically ranging from three to five years under normal conditions. If your battery frequently loses charge or cannot hold a charge even after prolonged driving, it may be time for a replacement. Consulting a professional to perform a load test can help determine whether it’s worth replacing. Always choose a battery that matches the specifications of your vehicle for optimal performance.
FAQs About Portable Battery Devices
How Do I Know If My Portable Battery Device Is Fully Charged?
Most portable battery devices come with indicator lights or a display screen. These lights or screens typically show the charging status. Refer to the device’s manual for specific guidance on how to interpret the indicators.
Can I Use the Device in Extreme Weather Conditions?
Portable battery devices are designed to function within specific temperature ranges, typically listed in the user manual. Extreme cold or heat can impact the device’s performance and longevity. Always store and use the device within the recommended parameters.
How Often Should I Recharge My Portable Battery Device?
Even when not in use, it’s advisable to recharge the device every three to six months to ensure optimal performance. Regular maintenance charging helps preserve its battery life.
Is It Safe to Leave the Device Connected to My Car Battery?
No, it is not recommended to leave the portable battery device connected to your car battery for extended periods. Once your car has started, disconnect the device as instructed to avoid overloading or damaging the device.
What Should I Do If the Device Isn’t Working?
First, check the connections to ensure everything is properly connected. If the device still doesn’t work, consult the troubleshooting section of your user manual or contact the manufacturer for support.
Conclusion
A dead engine in an empty parking lot no longer has to ruin your entire schedule. We have examined the distinct advantages of lithium-ion chemistry over outdated, heavy jumper cables. Taking the time to understand electrical limits protects you from relying on unpredictable strangers for roadside assistance.
Knowing exactly how to jump a car with portable battery grants you a profound sense of mechanical independence. You must always remember the core safety principles outlined above. Match the peak amperage to your engine size, connect the red clamp first, and utilize a bare metal ground to prevent sparks.
Your vehicle represents a significant financial and practical investment. Treat its electrical architecture with the calculated respect it deserves. Recharge your portable unit as soon as you return home, ensuring it stands ready for the next unexpected silence.

About
Ora Hayes is a distinguished figure in the world of DIY Thecarfixes, with over a decade of expertise in automotive diagnostics and high-performance maintenance. Her professional focus lies in merging mechanical precision with modern digital tools, fostering repair solutions that are both cost-effective and highly reliable. As the author of Thecarfixes, Ora Hayes delves into the art and science of automotive restoration, inspiring car owners and hobbyist mechanics alike.
Education
RMIT University (Melbourne, Australia) Associate Degree in Automotive Engineering — Focus on vehicle dynamics, industry-driven repair protocols, and advanced diagnostics. Gained hands-on experience with traditional mechanical tools and modern ECU remapping software.
Nottingham Trent University (United Kingdom) Bachelor’s in Mechanical Design and Automotive Engineering (Honors) — Specialized in automotive systems with a focus on blending technical engineering with everyday usability. Participated in industry projects, working with leading automotive manufacturers to gain real-world insights into vehicle longevity.
Publications and Impact
In Thecarfixes, Ora Hayes shares her insights on troubleshooting complex engine issues, material durability, and strategies for efficient garage setups. Her writing bridges the gap between professional mechanic knowledge and the home enthusiast’s needs, making it a must-read for both everyday drivers and seasoned gearheads.




