

Waking up to a vehicle that refuses to start often initiates a highly frustrating morning routine. You turn the key, expecting the engine to crank, but hear only a rapid clicking sound. Many drivers immediately check the voltage, assuming a flat 12 volts indicates a healthy system.
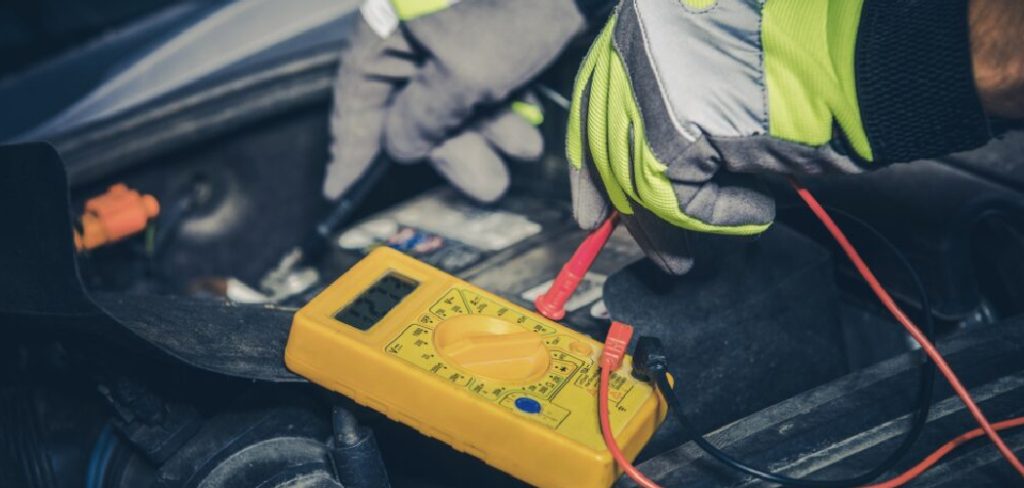
This assumption frequently proves incorrect in modern automotive diagnostics. Understanding the actual current flow provides a much clearer picture of overall electrical health. Voltage simply measures electrical pressure, while amperage measures the actual volume of working energy.
Learning how to test amps on a car battery might seem intimidating to the weekend mechanic. However, it serves as a highly practical skill for diagnosing hidden electrical drains. We will explore the mechanics of amperage and the specific tools required to measure it accurately.
You can pinpoint elusive electrical issues without paying for an expensive diagnostic fee at a dealership. Approaching this task requires methodical patience and a basic understanding of direct current physics.
Understanding Amperage and Battery Health
Providing context on how vehicle electrical systems function appears necessary before making any physical connections. You might think of voltage as the water pressure in a garden hose. Amperage, on the other hand, represents the sheer volume of water flowing through that same hose.
Amperage acts as the physical muscle needed to turn a heavy, high-compression starter motor. Knowing this flow rate remains critical for diagnosing deep-seated electrical problems that simple voltage checks completely miss. A power unit could easily show perfect voltage but lack the physical amps to do any actual work.
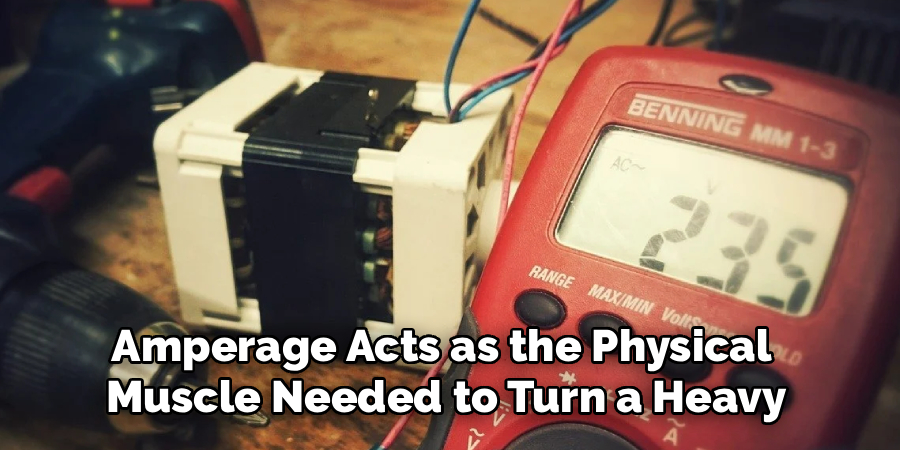
Degraded internal lead plates often create this specific illusion of health. The battery holds just enough surface charge to fool a basic voltmeter. Yet, it collapses immediately when the starter requests a massive volume of current.
Cold Cranking Amps (CCA) vs. Cranking Amps (CA)
Manufacturers print specific terminology on standard vehicle power cells to help consumers understand their capabilities. Cold Cranking Amps (CCA) generally measure the ability to start an engine in freezing temperatures. Freezing weather severely thickens engine oil and slows the internal chemical reactions of the battery itself.
Conversely, Cranking Amps (CA) measure starting power in mild, everyday weather conditions. These numbers provide a necessary baseline for understanding what your electrical system should ideally output. You should locate these figures on the manufacturer sticker before performing any physical tests.
Comparing your test results against these printed factory ratings reveals the true degradation of the unit. A battery rated for 600 CCA that only delivers 200 amps clearly requires immediate replacement.
Why Amperage Matters More Than Voltage
Stored potential differs greatly from actual, usable working power. A power unit might display a perfect 12.6 volts on a diagnostic screen while resting. Yet, it could still fail entirely to turn the engine over if it lacks the necessary amperage capacity.

Testing the amps reveals the true structural health of the internal lead plates and chemical electrolyte. It exposes internal sulfation that frequently hides behind superficially healthy voltage readings. Sulfation occurs when lead sulfate crystals harden on the internal plates, permanently reducing the area available for chemical reactions.
This crystallization essentially chokes off the flow of current. Relying solely on a voltmeter might lead you to replace the starter motor or alternator unnecessarily. Testing the actual current output prevents this costly misdiagnosis.
Essential Tools for Automotive Electrical Testing
Attempting this diagnostic project requires minimal, but highly specific, electronic equipment. These testing devices remain quite affordable compared to standard hourly shop labor rates. You likely already possess some of these items if you perform basic home repairs.
Preparing your workspace ensures physical safety before you touch any sensitive engine components. You must gather reliable gear to avoid misinterpreting the data your vehicle attempts to communicate. Using substandard tools frequently introduces unpredictable variables into your diagnostic process.
A well-lit, dry garage serves as the ideal environment for tracking down electrical gremlins.
Choosing the Right Digital Multimeter
Measuring current safely demands specific safety features within a digital multimeter. The tool must be able to handle at least 10 amps continuously without melting its internal circuitry. It should feature distinct, separate ports for the testing probes to isolate voltage testing from high-amperage testing.
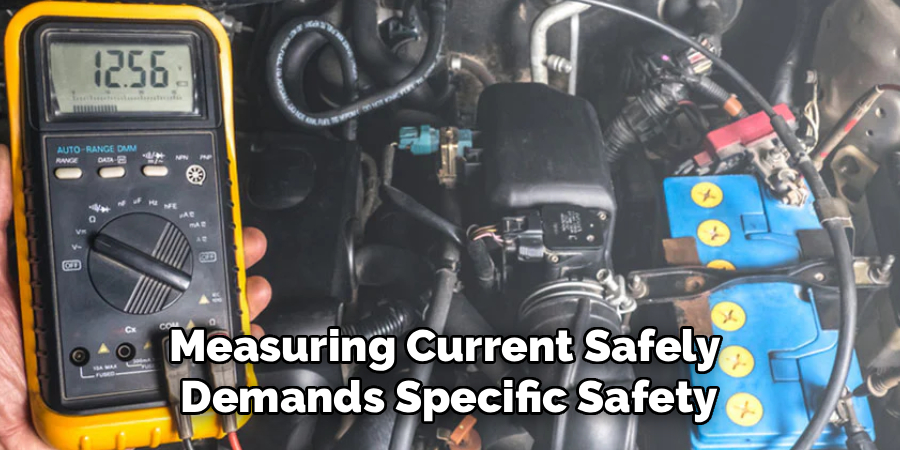
Proper internal fuses act as a highly necessary physical safeguard for the operator. They protect the device if the electrical surge somehow exceeds the expected parameters during the testing phase. Using a cheap, unfused meter could result in the device popping or smoking in your hands.
Ensure your test leads feature thick rubber insulation without any visible cracks or exposed wire. Damaged leads introduce extreme safety hazards when measuring direct automotive current.
Dedicated Carbon Pile Load Testers
Testing massive current delivery sometimes requires a secondary, more specialized tool option. A dedicated carbon pile load tester physically simulates the heavy strain of a starter motor engaging. It forces the battery to dump hundreds of amps into a highly resistive internal coil.
These devices measure the exact output of cold cranking amps under extreme simulated stress. They provide a definitive pass or fail grade for the electrical unit based on its performance under thermal load. This takes the guesswork out of determining absolute battery health.
While a multimeter measures small parasitic drains perfectly, a carbon pile tester evaluates the sheer brute force of the system. Professional mechanics rely heavily on load testers to condemn dying batteries with absolute certainty.
Step-by-Step Guide: How to Test Amps on a Car Battery
We now transition into the physical testing and diagnostic phase. Following this precise sequence allows you to safely measure the exact amount of electricity flowing through your system. Understanding exactly how to test amps on a car battery requires patience and methodical movements.
Rushing the physical connection process frequently causes blown fuses inside your testing equipment. You must force the vehicle’s computer modules to enter a deep sleep state before measuring the resting draw.
Any disruption to the circuit during the test will wake these computers up. This sudden awakening spikes the amperage and ruins your baseline reading.
Step 1: Prepare the Vehicle and Multimeter
Park the vehicle on a completely flat, stable surface away from foot traffic. Turn off all accessories, including interior dome lights, the climate control radio, and the ignition itself. Remove the key from the cabin to prevent proximity sensors from keeping the security modules awake.
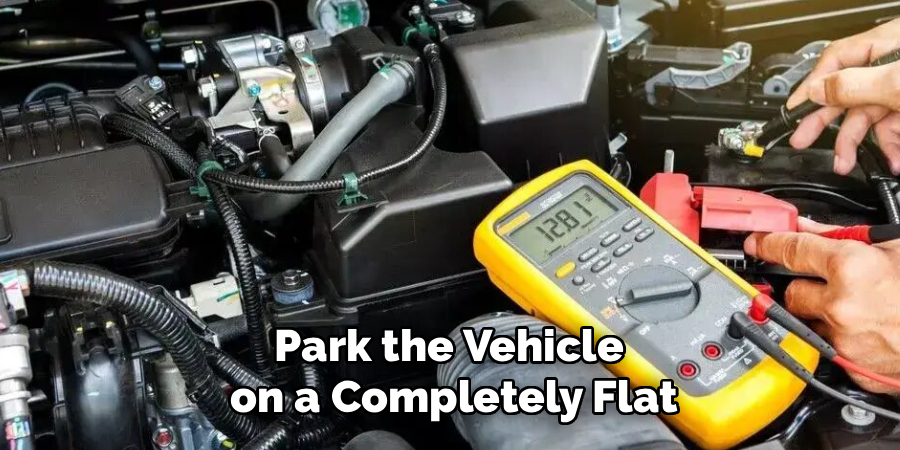
Set up your digital multimeter carefully before approaching the engine bay. Plug the solid black test probe firmly into the common port, typically labeled COM. Plug the red probe directly into the dedicated 10A or 20A socket.
Starting with the highest available measurement setting prevents accidental damage to the sensitive internal electronics of the meter. Wear wraparound safety glasses and remove any metal jewelry from your hands and wrists. This simple precaution prevents accidental electrical arcs while you lean over the metallic engine bay.
Step 2: Disconnect the Negative Terminal
You must physically break the vehicle’s electrical circuit to measure the invisible flow of current. Locate the negative post, which typically features a minus sign stamped into the lead or a black cable cover. Loosen the retaining nut on the clamp with a properly sized metric wrench.
Gently lift the metal cable clamp off the lead post and push it slightly aside. You must always manipulate the negative side rather than the positive side during this specific test. Removing the ground wire first entirely eliminates the risk of shorting a metal tool against the steel chassis of the car.
Such an accidental short could cause severe, blinding sparks. It might also permanently fry the delicate microprocessors inside the vehicle’s engine control unit.
Step 3: Connect in Series and Read the Draw
Measuring hidden amperage requires completing the broken circuit directly through your testing device. Touch the solid metal tip of the black probe to the bare lead post of the battery. Next, touch the metal tip of the red probe to the metallic clamp of the negative cable you just removed.
Electricity now flows completely out of the battery, through the internal circuitry of the multimeter, and into the vehicle. Read the digital display carefully after waiting several minutes for the system to settle. A perfectly healthy modern vehicle typically pulls between 20 and 50 milliamps while totally asleep.
A significantly higher number, such as 250 milliamps, strongly indicates a parasitic drain is actively killing the power supply. This elevated drain suggests a computer module, an aftermarket alarm, or a stuck relay refuses to shut down properly. You would then pull individual fuses one by one until the high reading drops, thereby isolating the faulty circuit.
Common Causes of Parasitic Drain
Faulty Electrical Components
One of the common causes of parasitic drain is defective electrical components. Worn-out alternators, malfunctioning power door locks, or failing switches can remain active even when the vehicle is turned off, slowly depleting the battery over time. Regular inspection and timely replacement of faulty components can help prevent unnecessary power loss.
Aftermarket Installations
Aftermarket accessories, such as custom sound systems, alarms, or GPS trackers, can sometimes be improperly wired or incompatible with the vehicle’s electrical system. This improper integration can lead to excessive power consumption when the car is off, causing battery drain. Ensuring proper installation by a qualified professional can mitigate this issue effectively.
Frequently Asked Questions
How Can I Prevent My Car Battery From Draining Overnight?
To prevent your car battery from draining overnight, make sure all lights are turned off when the vehicle is parked, including interior and trunk lights. Additionally, avoid leaving electronic devices or aftermarket accessories plugged in, as they may draw power even when the car is off. Regularly checking the battery’s condition and ensuring proper electrical system maintenance can also help.
Can A Faulty Alternator Cause Battery Drain?
Yes, a faulty alternator can lead to battery drain. If the alternator is not functioning properly, it may fail to recharge the battery while the engine is running, which could result in the battery depleting faster than usual. Regular alternator inspections and timely replacements are essential for maintaining a healthy battery.
Are Aftermarket Accessories A Common Cause Of Battery Drain?
Aftermarket accessories, such as custom sound systems or alarm systems, can become a common cause of battery drain if they are not properly installed. Incorrect wiring or compatibility issues often lead to excessive power consumption. It is recommended to have a professional handle the installation to prevent such problems.
How Often Should I Check My Car Battery?
It is a good practice to check your car battery every six months or as recommended by your vehicle’s manufacturer. Additionally, inspect it if you notice signs of battery issues, such as difficulty starting the car, dim headlights, or unusual warning lights on the dashboard. Regular maintenance can prolong the life of your battery.
Conclusion
Testing your vehicle’s electrical flow does not require an advanced electrical engineering degree. Knowing exactly how to test amps on a car battery gives the vehicle owner total analytical control over basic diagnostics. It prevents the profound frustration of unexpected morning breakdowns and costly tow truck fees.
You must always remember to observe basic safety protocols and use a properly rated, fused multimeter connected in series. Understanding the vast functional difference between simple voltage and working current changes how you approach automotive maintenance entirely.
Taking the time to measure the resting draw may reveal minor issues before they destroy your expensive power cells completely. Grab your safety glasses, set up your multimeter, and confidently check the true health of your vehicle’s complex electrical architecture.

About
Ora Hayes is a distinguished figure in the world of DIY Thecarfixes, with over a decade of expertise in automotive diagnostics and high-performance maintenance. Her professional focus lies in merging mechanical precision with modern digital tools, fostering repair solutions that are both cost-effective and highly reliable. As the author of Thecarfixes, Ora Hayes delves into the art and science of automotive restoration, inspiring car owners and hobbyist mechanics alike.
Education
RMIT University (Melbourne, Australia) Associate Degree in Automotive Engineering — Focus on vehicle dynamics, industry-driven repair protocols, and advanced diagnostics. Gained hands-on experience with traditional mechanical tools and modern ECU remapping software.
Nottingham Trent University (United Kingdom) Bachelor’s in Mechanical Design and Automotive Engineering (Honors) — Specialized in automotive systems with a focus on blending technical engineering with everyday usability. Participated in industry projects, working with leading automotive manufacturers to gain real-world insights into vehicle longevity.
Publications and Impact
In Thecarfixes, Ora Hayes shares her insights on troubleshooting complex engine issues, material durability, and strategies for efficient garage setups. Her writing bridges the gap between professional mechanic knowledge and the home enthusiast’s needs, making it a must-read for both everyday drivers and seasoned gearheads.




