

You know the feeling—your engine stumbles at idle, chews through more fuel than usual, maybe even spits and coughs under acceleration. Annoying, no question. Such hiccups may suggest your ignition or valve timing is somewhere south of “just right.” The nastier thing is, if these internal pistons and valves are even slightly out of sync, you risk more than poor performance. Left unchecked, these issues might tiptoe toward expensive mechanical disaster.

Let’s be upfront: sorting out car timing can feel overwhelming. At a glance, diagrams and technical jargon seem designed to confound. Yet, with the right foundation—an understanding of what’s happening under that hood and a willingness to proceed with patience—the task becomes much less daunting. This isn’t about memorizing every nuance of engine design. It’s about thinking stepwise and keeping your wits about you. The following guide on how to fix car timing offers plenty: what to gather, where to pay attention, and when to pause and scrutinize your progress.
Tools and Materials You’ll Need
To fix car timing, you’ll need a few tools and materials on hand. Here’s a list of the essentials:
- A set of wrenches
- A timing light
- New spark plugs (if needed)
- A new timing belt (if needed)
- An engine timing cover gasket (if needed)
- A service manual for your specific vehicle model
- Basic mechanic’s gloves and safety glasses
It’s important to have the right tools in order to properly fix car timing. Using incorrect or subpar tools can lead to mistakes and potentially cause further damage to your vehicle. If you don’t already own these tools, consider investing in them before attempting any repairs.
7 Simple Step-by-step Guidelines on How to Fix Car Timing
Step 1: Prepare Your Vehicle for Safety and Accessibility
If you’re tempted to jump straight in, pause. Safety isn’t merely a checkbox—it’s foundational. Park on solid ground (no gravel or inclines) and set the parking brake firmly. Before you touch anything metal, disconnect the negative battery cable. There’s no drama in avoiding accidental sparks or the engine cranking unexpectedly when your fingers are nearby.
With that settled, sweep aside loose junk from the engine bay. Good lighting helps; even a cheap clip lamp beats cursing in the shadows. Prop the hood in place. Track down your engine’s timing marks: for most, one is etched around the crankshaft pulley, another along the timing cover. And, yes, now is the moment to crack open the service manual—resist the urge to wing it. Time spent squinting at diagrams now will save hours and possibly a few dozen colorful expletives later.
Step 2: Locate and Clean the Timing Marks
Tracing down the timing marks can be oddly satisfying, or deeply frustrating. Older cars, in particular, seem to accumulate a layer of grime untouched since the last century. Somewhere beneath it lies the notch—likely on the pulley—and the corresponding degree scale stamped on the block.
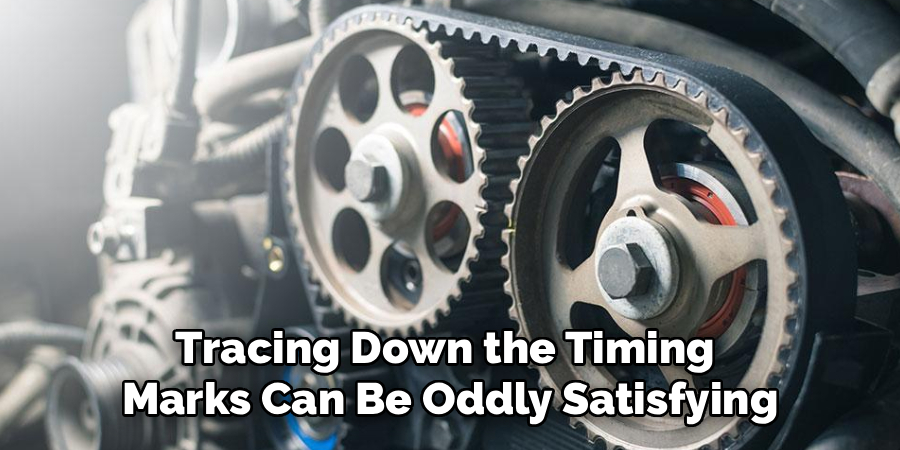
So scrub. Use degreaser, a wire brush, and patience. Once you reveal the marks, don’t just nod and move on. Make those notches pop with a bold swipe of chalk or paint. The payoff comes later—the marks seem to glow under the strobe of a timing light, eliminating one more variable when things get hectic later. If you skip this, you risk hunting shadows in a blinking engine bay. It’s not worth the trouble.
Step 3: Hook Up the Timing Light Correctly
Timing lights come with an assortment of clamps: usually red and black for battery terminals, and a thicker clamp designed for the spark plug wire of cylinder one. Double-check your manual if there’s any doubt which is the “number one” wire—it varies.
Attach the red clamp to the battery positive, the black to the negative or solid ground, and leave nothing loose. Alligator clips that pop free halfway through can ruin your day. The thicker inductive pickup is vital; clamp it securely to the correct plug wire. Note the direction arrow—point it toward the spark, not away. Keep cables clear of fans, pulleys, and anything that spins. Trust me, nobody forgets the sight (or sound) of a timing light cable whipped into a serpentine belt.
Step 4: Loosen the Distributor Hold-Down Bolt
You can’t adjust timing with the distributor locked in place. The hold-down bolt is often in a mischievous spot, buried beneath vacuum hoses or tucked just out of socket-wrench reach. A specialty distributor wrench can be handy here, but sometimes an awkward dance with crowfoots and extensions is unavoidable.
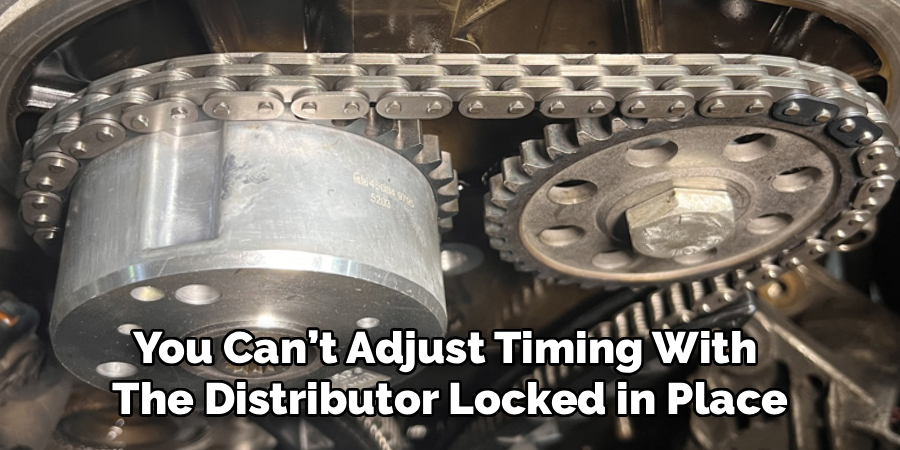
Loosen the bolt just enough to let the body rotate with effort—too loose, and vibration could spin it wild; too tight, and you’ll be muscling it with both hands. Don’t actually remove the bolt. Save yourself a headache.
Step 5: Start the Engine and Check the Current Timing
So, everything’s set. Reconnect that battery cable. Now start the engine. Let it idle a while—cold engines can mask underlying issues, and most require a warm-up to the proper operating temperature for any timing adjustments to be meaningful.
Turn off the usual suspects—fans, radio, HVAC. If the manual mentions unplugging a vacuum advance hose, do that now and don’t forget to block the port. Shine the timing light at your highlighted marks. As the strobe fires, you’ll see the crank pulley appear to freeze in place. Watch where the mark lands on the degree scale. Is it on spec, or adrift? Make note—a few degrees off is all it takes to sour performance.
Step 6: Adjust the Distributor to Correct the Timing
If the marks don’t align, it’s time for careful adjustment. Hold the distributor cap and nudge—never wrench—the housing in tiny increments. The engine note may change: a rise or fall in pitch, a bit more or less vibration. Keep the strobe on the marks as you ease things into place.
Every millimeter counts. You might need only a hair’s breadth to bring the mark into the correct alignment. Don’t let go just yet—the distributor likes to spring back unless firmly steadied.
Step 7: Tighten the Bolt and Verify Your Work
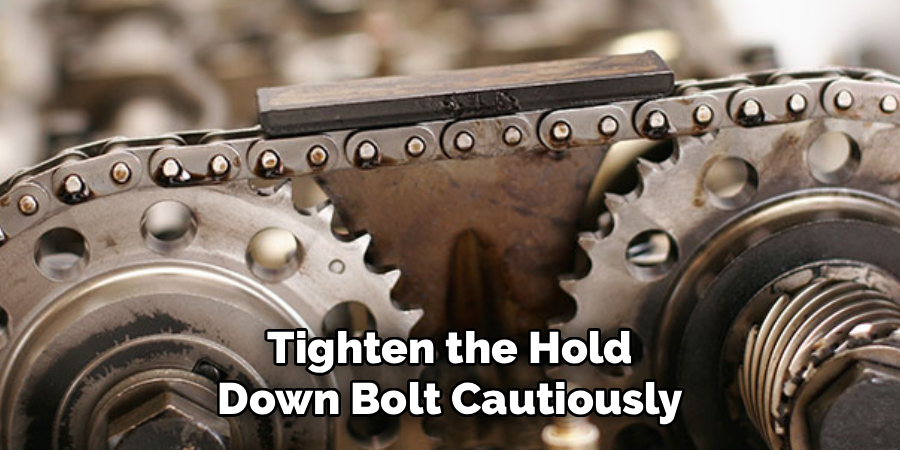
With the timing set, fix the distributor in place. Tighten the hold-down bolt cautiously. It’s all too easy to nudge the distributor just enough to undo your precision efforts. Secure, but not gorilla-tight. With the engine still idling, recheck the marks. They shouldn’t have budged a whisker; if they have, repeat Step 6.
Now, turn off the engine, clear away tools, reconnect any vacuum hoses, and close the hood. Take the car for a test spin—not a wild one, just a few regular miles. You ought to feel smoother throttle response, steadier idle, and less rattling or hesitation. Sometimes, the difference is night and day.
Following these steps on how to fix car timing will bring back your car’s engine to its best performance.
Common Mistakes to Avoid
Let the engine warm up, however impatient you may be. An adjustment made cold earns you little but confusion. Many novices also forget to remove the vacuum advance—results will be nonsense if you don’t. Make sure the timing light pickup is on the correct wire; the rest is wasted effort.
Don’t get careless about cable placement; tools caught in a fan blade don’t survive. And beware the temptation to overtighten the distributor bolt—a cracked distributor housing is an expensive, annoying problem.
Do You Need To Use Professionals?
Adjusting timing on older cars with conventional distributors isn’t particularly arcane, assuming you have patience, some dexterity, and the aforementioned timing light. Newer engines, however, are another matter entirely. Sophisticated electronics, computer-controlled ignition sequences, and intricate timing belts or chains mean there’s little margin for a casual pass with a wrench. Miss a step replacing a timing belt on an interference engine, and pistons might collide with valves in a blink—what follows isn’t pretty.
If all this sounds ominous or you’re working in cramped quarters, it’s not defeatist to consult a professional. Sometimes, discretion beats valiant guesswork and a busted engine.
How Much Will It Cost?
On an older machine, costs are usually modest. A dependable timing light can be found for about thirty to sixty dollars (shop used, and it may be less), while chalk and specialty hand tools add a pittance. Take the same task to a shop, and expect a bill in the $100–$200 range, labor and diagnostics combined.

If the issue is a worn timing belt or chain, not just distributor drift, brace for a bigger bill: $500–$1000 is common, with model specifics pushing it higher. That’s just the way it is—labor isn’t cheap.
Frequently Asked Questions
Q1: What Happens If My Car Timing Is Off?
Mistimed engines tend to run poorly—you’ll feel a lack of power, possibly shaking at idle, and fuel efficiency goes downhill fast. Occasionally, you’ll hear knocking or pinging, especially under load. Left unchecked, worse can follow: engine overheating or even serious internal damage if things really go south.
Q2: Can I Adjust Car Timing Without A Timing Light?
Technically, you could try adjusting by ear or with a vacuum gauge. This is a bit like tuning a piano with intuition alone—possible, but usually misguided. The timing light’s the one tool that lays bare exactly what’s happening, and skipping it almost always leads to rough running and higher emissions.
Q3: How Often Should Car Timing Be Checked?
If you drive a car with an old-school distributor, add timing checks to your major tune-up routine, or whenever you pass the 30,000-mile mark. Modern engines, governed by computers, usually take care of themselves—unless a sensor fails. Timing belts, on the other hand, do require periodic replacement. Always follow the manufacturer’s interval—40,000 or 60,000 miles is typical, but some stretch all the way to 100,000.
Restoring Your Engine’s Rhythm
Taking even a single morning to set engine timing properly can be transformative. A vehicle that’s been sputtering for months may start to feel, well, almost new. With a reliable timing light, some planning, and a willingness to actually read the manual, home mechanics can tackle a task that might otherwise rack up a hefty shop fee.
Keep your manual handy, double-check your process, and make sure you have the right parts before taking things apart. When the day arrives, timing light in one hand and socket wrench in the other, give your car the careful, measured attention it deserves. Thanks for reading this guide on how to fix car timing.

About
Ora Hayes is a distinguished figure in the world of DIY Thecarfixes, with over a decade of expertise in automotive diagnostics and high-performance maintenance. Her professional focus lies in merging mechanical precision with modern digital tools, fostering repair solutions that are both cost-effective and highly reliable. As the author of Thecarfixes, Ora Hayes delves into the art and science of automotive restoration, inspiring car owners and hobbyist mechanics alike.
Education
RMIT University (Melbourne, Australia) Associate Degree in Automotive Engineering — Focus on vehicle dynamics, industry-driven repair protocols, and advanced diagnostics. Gained hands-on experience with traditional mechanical tools and modern ECU remapping software.
Nottingham Trent University (United Kingdom) Bachelor’s in Mechanical Design and Automotive Engineering (Honors) — Specialized in automotive systems with a focus on blending technical engineering with everyday usability. Participated in industry projects, working with leading automotive manufacturers to gain real-world insights into vehicle longevity.
Publications and Impact
In Thecarfixes, Ora Hayes shares her insights on troubleshooting complex engine issues, material durability, and strategies for efficient garage setups. Her writing bridges the gap between professional mechanic knowledge and the home enthusiast’s needs, making it a must-read for both everyday drivers and seasoned gearheads.




