

Welcome to the wonderful world of automotive troubleshooting! There is nothing quite like sliding into a freezing vehicle on a crisp winter morning and eagerly pressing that warming button, only to remain entirely completely cold. A broken warming pad transforms an otherwise comfortable daily commute into a deeply unpleasant, shivering experience. Fortunately, you do not need an expensive mechanic to solve this frustrating electrical issue.
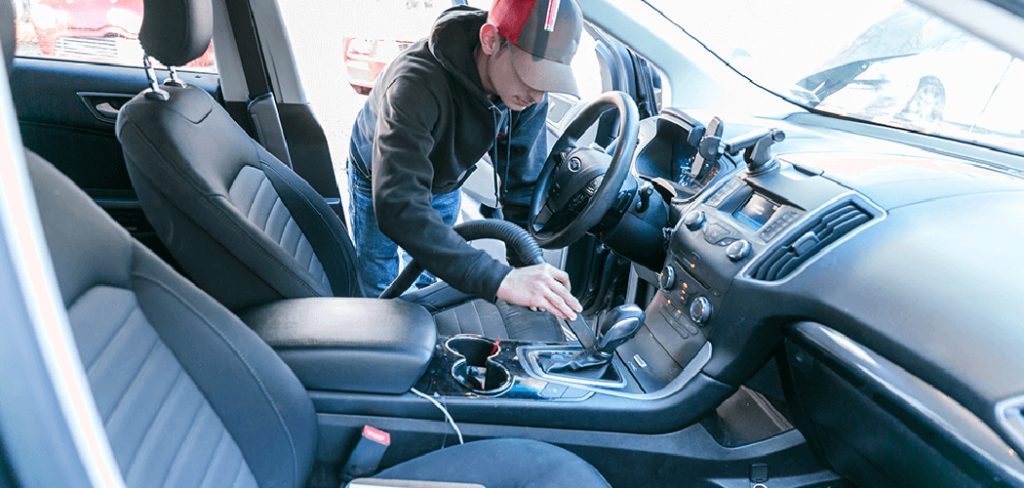
If you are wondering exactly how to fix car seat heater components, you have found the perfect beginner-friendly resource. We will walk you through diagnosing the electrical faults, checking the basic fuses, and replacing the internal warming pads safely. You only need a few basic hand tools, a simple digital multimeter, and a bit of weekend patience to restore your cozy winter driving experience. Let us grab our safety glasses, open the vehicle doors, and bring that wonderful, comforting warmth back to your daily commute!
Step-by-Step Guide: How to Fix Car Seat Heater
Step 1: Locate and Inspect the Fuse Box
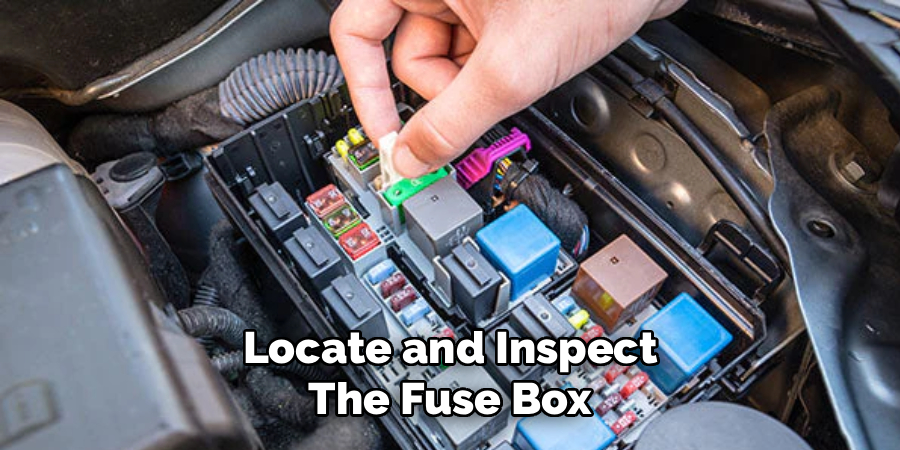
Before you start tearing your vehicle interior apart, you must always check the absolute simplest electrical component first. Automotive warming systems draw massive amounts of electrical current, which frequently causes their dedicated protective fuses to blow out completely. Grab your vehicle owner’s manual and locate the specific interior or under-hood fuse box containing the warming circuit. Pull the small plastic fuse out using needle-nose pliers and inspect the tiny metal bridge resting inside the colorful plastic casing. If that delicate metal bridge looks completely snapped or visibly scorched, simply pressing a brand new replacement fuse into the slot might instantly solve your entire problem.
Step 2: Test the Dashboard Control Switch
If the protective fuse looks completely perfectly intact, your next logical troubleshooting target is the physical dashboard control switch. Years of aggressively pressing this plastic button, spilling morning coffee, and accumulating interior dust frequently ruins the delicate internal electrical contacts. You can carefully pop the plastic switch out of the center console using a flat plastic trim removal tool. Once the switch hangs completely free, use a standard digital multimeter to verify that electrical current actively flows completely through the mechanism when pressed. A completely dead switch requires a simple, inexpensive plug-and-play replacement part to restore your comforting interior warmth immediately.
Step 3: Examine the Wiring Harness Connectors
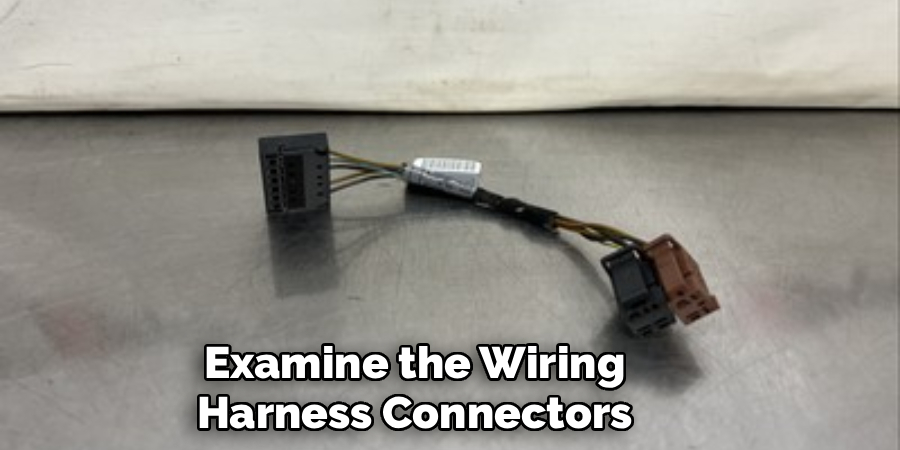
Electrical faults frequently hide entirely out of sight, completely tucked away underneath your comfortable driving chair. You must slide your chair entirely backward and grab a bright flashlight to inspect the thick bundle of wires resting directly on the floorboard. Look very closely for any heavy wires that look visibly pinched, cleanly severed, or heavily corroded by salty winter boots. Sometimes, the primary plastic connector simply shakes completely loose after years of driving over massive neighborhood potholes. Firmly pressing these plastic connectors back together tightly restores the lost electrical connection and immediately brings your frozen warming pad back to life.
Step 4: Check the Element
When the switches and wires pass your inspection perfectly, the internal warming pad itself becomes the primary suspect. You must disconnect the main harness underneath the chair and probe the two pad terminals directly using your digital multimeter. You are looking for electrical continuity, which proves the long internal copper heating wire remains completely unbroken. If your multimeter screen displays infinite resistance, the delicate copper wire inside the cushion has officially snapped. A completely snapped internal wire means you must proceed forward with removing the entire chair to replace the dead warming pad with a brand new unit.
Step 5: Remove the Chair from the Vehicle
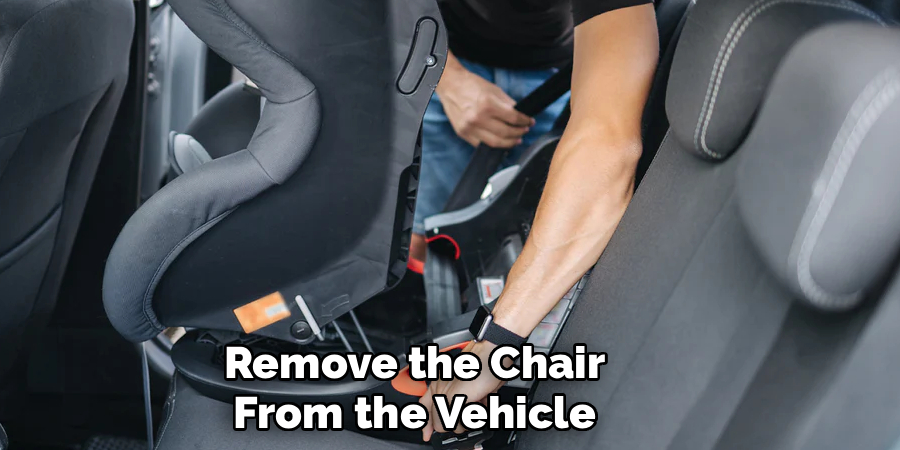
Taking the heavy chair completely out of your vehicle sounds incredibly intimidating, but it essentially requires removing just four heavy steel bolts. First, you absolutely must disconnect your primary vehicle battery to prevent accidentally triggering the explosive safety airbags hidden inside the upholstery. Once the battery sits safely disconnected for twenty minutes, use a heavy socket wrench to remove the thick bolts anchoring the metal sliding tracks to the floorboard. Carefully lean the heavy chair backward, unclip any remaining electrical safety harnesses, and gently lift the entire assembly out through the wide open passenger door.
Step 6: Peel Back the Leather Upholstery
With the heavy assembly resting safely on your clean garage workbench, you must carefully expose the damaged internal components. Look closely beneath the bottom foam cushion to locate the small plastic clips or metal hog rings holding the leather or cloth cover tightly in place. Use heavy pliers to snap the metal rings or unclip the long plastic retainers gently. Slowly peel the fabric cover upward and backward, completely exposing the bare yellow foam cushion resting underneath. Take your time during this delicate physical process to avoid accidentally tearing the expensive exterior fabric or ripping the supportive foam base.
Step 7: Remove and Replace the Heating Pad
Once you completely expose the bare foam cushion, you will clearly see the thin, white warming pad glued directly to the surface. Gently peel the dead, broken pad away from the yellow foam, being incredibly careful not to gouge deep holes into the soft supportive material. Take your brand new replacement pad, peel off the sticky adhesive backing paper, and press it firmly onto the exact same spot. Route the new electrical wires precisely down through the existing hole in the foam cushion, ensuring they do not pinch or bind anywhere along their hidden path.
Step 8: Reassemble and Test the System
The final rewarding stage of your weekend project involves putting everything back together precisely as you found it. Pull the fabric cover tightly back down over the new pad and secure the edges using brand new metal hog rings or the original plastic clips. Carry the heavy assembly carefully back into your vehicle, reconnect the primary electrical harnesses firmly, and bolt the metal tracks safely back to the solid floorboard. Finally, reconnect your main battery, start the engine, and press your dashboard control button. Feeling that wonderful, soothing warmth slowly radiating through the fabric provides an immense feeling of profound mechanical accomplishment.
Frequently Asked Question
Can I Repair The Broken Wire Inside The Pad?
- We strongly advise against attempting to solder or tape a snapped copper wire inside the existing warming pad.
- The thin internal wires bend and flex constantly when you sit down, which instantly breaks temporary solder joints.
- A poorly repaired electrical wire creates a massive fire hazard that can melt your expensive upholstery completely.
- Purchasing a brand new replacement pad remains the absolute safest, most reliable method for permanently solving this issue.
How Much Does A Replacement Pad Cost?
- A high-quality aftermarket warming pad typically costs between fifty and one hundred dollars at your local auto parts store.
- Exact factory replacement parts purchased directly from the vehicle dealership usually cost significantly more, sometimes exceeding two hundred dollars.
- The physical installation process remains exactly the same regardless of which specific replacement brand you ultimately choose.
- Doing this labor-intensive job yourself saves you hundreds of dollars in expensive professional dealership labor rates.
Will Removing The Chair Trigger My Airbag Light?
- Yes, disconnecting the yellow safety harnesses underneath the chair while the battery remains connected absolutely triggers a dashboard warning light.
- You must always disconnect the negative terminal on your primary engine battery and wait twenty full minutes before starting.
- This waiting period completely drains the backup power reserves inside the sensitive airbag control module.
- Always completely reconnect every single yellow safety plug under the chair before you finally reconnect the main engine battery.
Why Does Only The Backrest Heat Up?
- Most modern vehicles utilize two entirely separate warming pads connected together in a continuous electrical series.
- The bottom cushion endures significantly more physical stress from passengers constantly sitting down and sliding outward.
- The delicate wires inside the bottom cushion usually snap first, breaking the electrical circuit completely.
- You typically only need to replace the damaged bottom unit to restore complete functionality to both seating sections.
Do I Need Special Tools For The Upholstery?
- You can absolutely complete this entire job using standard household hand tools like screwdrivers and heavy socket wrenches.
- However, purchasing a specialized hog ring plier tool makes reattaching the tight fabric cover significantly easier and faster.
- These specialized, inexpensive pliers securely hold the small metal rings open while you clamp them onto the underlying frame.
- A simple plastic trim removal tool also heavily protects your delicate dashboard plastics when removing the fragile control switch.
Conclusion
Restoring the comforting warmth to your daily winter commute serves as an incredibly rewarding and highly practical weekend mechanical endeavor. By taking the crucial time to carefully check your protective fuses, test your electrical switches, and methodically replace the damaged internal pads, you guarantee long-lasting automotive comfort. You no longer have to settle for a freezing, miserable morning drive simply because an invisible wire snapped beneath your fabric.
Understanding exactly how to fix car seat heater systems empowers you to tackle moderately complex interior vehicle repairs with immense confidence. The wonderful, soothing heat radiating against your back serves as a fantastic, daily reward for your deliberate troubleshooting efforts. Put away your digital multimeter, secure your socket wrenches, and enjoy your spectacular newly restored driving comfort today! Your comfortable, warm vehicle cabin absolutely makes those dark, freezing winter mornings significantly more enjoyable.

About
Ora Hayes is a distinguished figure in the world of DIY Thecarfixes, with over a decade of expertise in automotive diagnostics and high-performance maintenance. Her professional focus lies in merging mechanical precision with modern digital tools, fostering repair solutions that are both cost-effective and highly reliable. As the author of Thecarfixes, Ora Hayes delves into the art and science of automotive restoration, inspiring car owners and hobbyist mechanics alike.
Education
RMIT University (Melbourne, Australia) Associate Degree in Automotive Engineering — Focus on vehicle dynamics, industry-driven repair protocols, and advanced diagnostics. Gained hands-on experience with traditional mechanical tools and modern ECU remapping software.
Nottingham Trent University (United Kingdom) Bachelor’s in Mechanical Design and Automotive Engineering (Honors) — Specialized in automotive systems with a focus on blending technical engineering with everyday usability. Participated in industry projects, working with leading automotive manufacturers to gain real-world insights into vehicle longevity.
Publications and Impact
In Thecarfixes, Ora Hayes shares her insights on troubleshooting complex engine issues, material durability, and strategies for efficient garage setups. Her writing bridges the gap between professional mechanic knowledge and the home enthusiast’s needs, making it a must-read for both everyday drivers and seasoned gearheads.




