

That low, persistent hum or uneven grinding sound following you down the road? It may not just be your imagination. In my experience, noises like these can sometimes signal a wheel bearing giving up the ghost—not a crisis, exactly, but certainly not the soundtrack for a relaxing drive. The wheel bearing itself, humble as it looks, carries outsized responsibility, quietly supporting the wheel’s rotation and, frankly, your safety. Ignoring it is a bit like ignoring leaky boots in a rainstorm: eventually, you’ll regret it.
I suspect this type of repair work seems intimidating to many—wrenches, jacks, the mysterious “press” people mention in forums. Maybe you picture an oily-handed pro under a lift, tightening bolts while a radio blares in the background. The truth is, with patience and appropriate caution, replacing a wheel bearing at home is feasible for most moderately handy people. I’ll attempt to talk you through the nuts and bolts of this process on how to replace wheel bearings on a car, neither glossing over the awkward bits nor pretending it’s magic. Whether it’s the cost or the satisfaction you’re after, doing it yourself remains the most direct route.
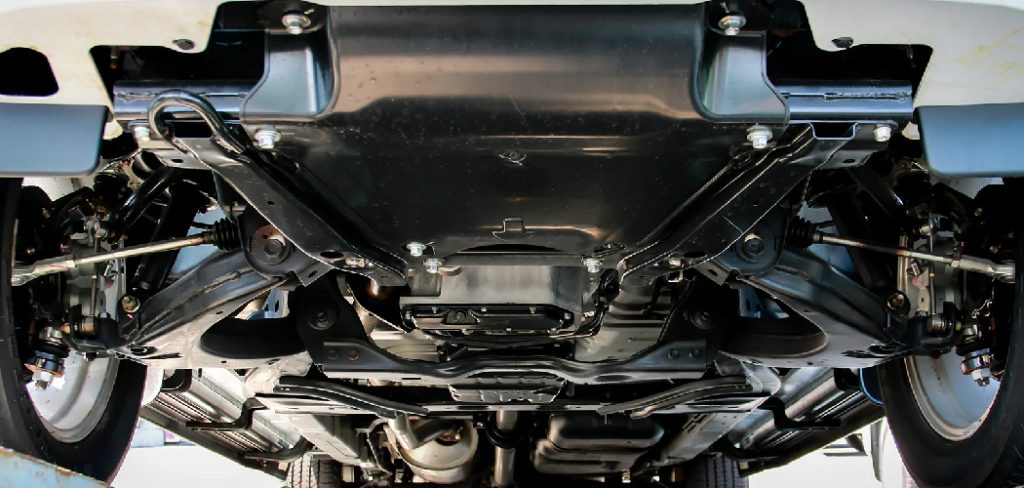
Tools and Materials You’ll Need
Before starting the process of replacing a wheel bearing, it’s important to make sure you have all the necessary tools and materials. Here’s a list of items you’ll need:
- Jack and Jack stand
- Lug wrench
- Wheel chocks
- Wheel bearing grease
- New wheel bearings (specific to your car model)
- New cotter pin
- Large flathead screwdriver
- Pliers or vice grips
- Rubber mallet or hammer
- Pry bar or large socket
- Cleaning solvent or brake cleaner
- Rags or shop towels
7 Simple Step-by-step Guidelines on How to Replace Wheel Bearings on a Car
Step 1: Loosen the Lug Nuts and Lift Your Vehicle
First thing: a flat, stable surface is non-negotiable. A sloped driveway or a patchy bit of gravel just isn’t worth the gamble. I always yank the parking brake on with a little more gusto than usual—better paranoid than pancaked. Use your lug wrench to crack the nuts on the offending wheel loose, but don’t spin them all the way off just yet.
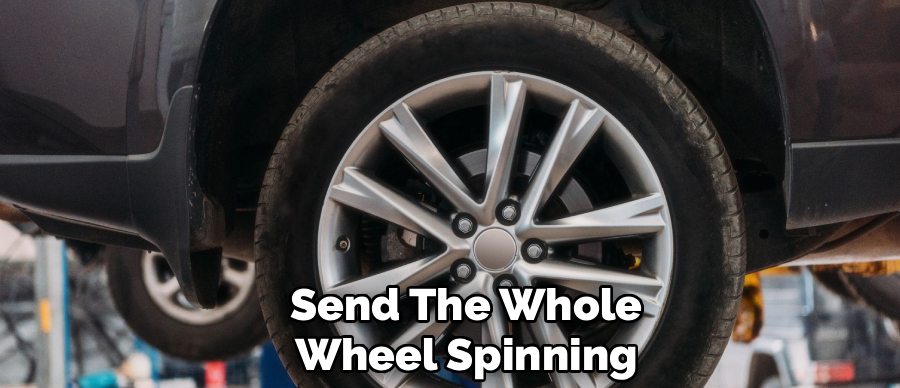
Why? While the tire is still grounded, you are much less likely to send the whole wheel spinning as you fight with stubborn nuts. Jack the car at the manufacturer’s recommended point—look it up if you’re unsure, as this detail matters. When you’ve got enough lift, position those jack stands firmly. Never, ever trust the jack alone; they have a reputation for letting people down at the least opportune moment.
Once you’re sure the car’s not going anywhere, finish removing the lug nuts and wheel. I’ll admit, I still get mildly anxious at this stage—it all feels very exposed. Set the wheel somewhere both safe and out of your immediate workspace, or you will trip over it. You’d be amazed at how often that happens.
Step 2: Remove the Wheel and Brake Components
Now that you’ve got a clear line of sight, you’re after the brake caliper. Usually, there are two main mounting bolts (tucked around the back of the knuckle), sometimes blanketed by a bit of road grime. Put all removed bolts in a shallow dish or magnetic tray; I’d lost too many to gravity before learning this lesson. Gently work the caliper loose—here’s where it pays to be careful. Dangling by the hose? That’s how brake jobs escalate into brake line replacements. Hang it from the suspension with a wire or a bungee cord and move on.
As for the rotor, it may practically fall into your lap, or it might feel glued on due to rust. If you resort to a mallet (rubber only!), avoid striking the smooth surface, especially if you hope to keep using it. Slide the rotor onto a dust-free spot—a flattened cardboard box works in a pinch.
Step 3: Remove the Axle Nut and Hub Assembly
Now we see the axle nut—a sometimes intimidating, often stubborn nut at the heart of the hub. Usually torqued much tighter than anything else, it doesn’t give up without protest. First check for a cotter pin or “staked” section and extract/flatten as necessary (needle-nose pliers work). Affix that super-sized socket to an equally long breaker bar. Occasionally, I’ve had to recruit a second pair of hands to press the brake pedal so the entire hub doesn’t rotate as I put my whole weight into it.
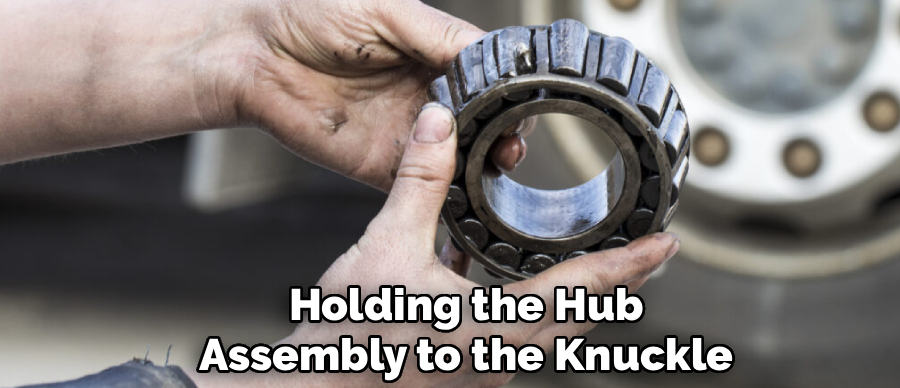
Once victorious, shift your attention to the bolts holding the hub assembly to the knuckle. There could be three, or four; sometimes just two if the design is quirky. Soak them in rust-penetrant and let it soak—impatience breaks bolt heads faster than you’d expect. When loose, slide the hub off the axle with either meek cooperation or, in cases of corrosion, a persuasive slide hammer. Prepare for resistance.
Step 4: Take Out the Old Wheel Bearing
Here things diverge, depending on your setup. For a bolt-in hub, the bearing typically leaves with the assembly—this is mercifully simple. If your car uses a press-in bearing, you’re entering more technical territory. The bearing is, for lack of a better word, jammed in there by design, and you’ll need significant force to persuade it out.
To get the knuckle off the car, you’ll remove the lower ball joint, the outer tie rod, and probably the strut mount. At this point, it pays to have your steps mapped out, or you risk a tangle of disconnected parts. The actual pressing-out of the bearing, if done at home, requires correct adapters and glacial patience. If that’s too much, a neighborhood machine shop will usually press bearings in and out for a modest fee. Safety glasses: not just for show here. Pieces snap under pressure.
Step 5: Clean the Housing and Install the New Bearing
Before you start reassembly, stop. Any lingering grit or rust needs to be obliterated. Armed with a wire brush, be deliberate—don’t leave flakes that could cause poor seating. I’m stubborn about using brake cleaner to finish. For press-in bearings, the lightest film of grease in the housing helps with installation, but avoid slathering it everywhere.
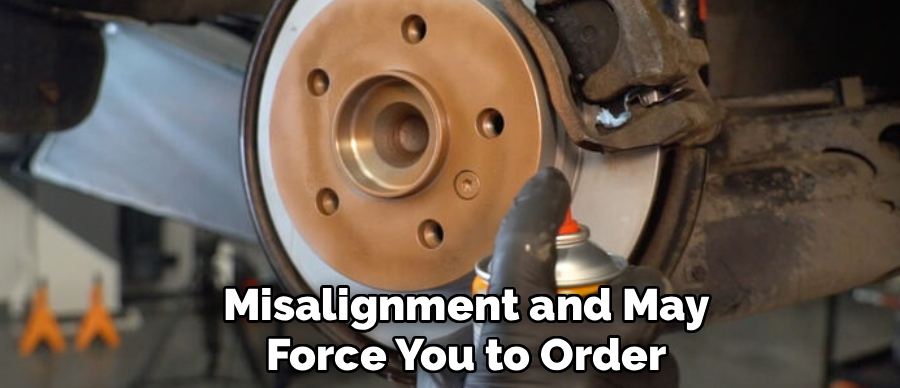
If using a hydraulic press, align the bearing without haste—rushing leads to misalignment and may force you to order a second new bearing. If you’re lucky and have a bolt-on assembly, simply line up the splines and mounting holes, thread the bolts by hand, and then reach for your torque wrench. Every vehicle has its own specification, often down to a single foot-pound. Don’t guess here; check your manual.
Step 6: Reattach the Hub Assembly and Brake Components
Time for reassembly—which usually means carefully retracing your previous steps in reverse, except for the inevitable moment you realize you forgot a washer. Thread the axle nut on by hand first, then snug it up with your socket. This is where the torque wrench comes back out; too loose and the bearing will develop play, too tight and you risk cooking it to an early grave. Don’t omit a new cotter pin if the design calls for it.
Reinstall the brake rotor and gently ease the caliper back onto the rotor, making sure those pads are properly lined up. Seat all bolts with confidence, but without brute force; stripped threads at this stage will have you cursing. Take two minutes to double-check every fastener you touched before moving on.
Step 7: Reinstall the Wheel and Lower the Car
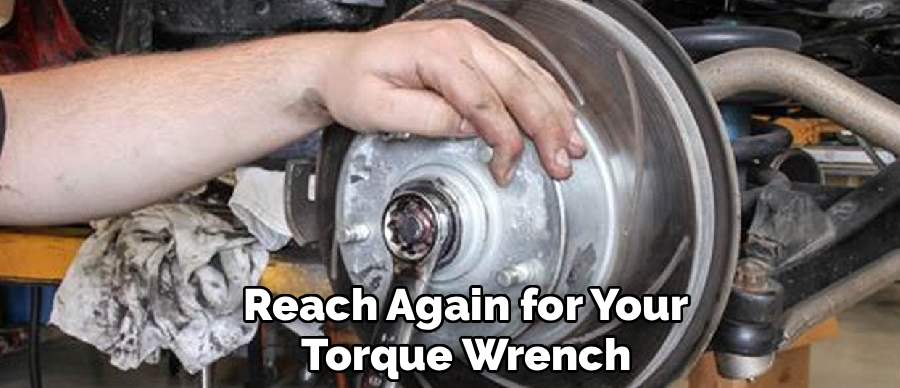
With the hard work behind you, it’s almost over. Offer up the wheel to the hub, spin each nut on by hand to evade cross-threading, and then snug the pattern in a star or crisscross fashion. Remove the jack stand with care—this is not the time to rush or let your mind wander. Lower the car until the weight is back on the tire, then reach again for your torque wrench and follow the specified sequence for the final tightening.
Everything put back together? Take a moment—gather your tools, clear your workspace, and then drive slowly in a circle or two, listening (with more intensity than usual) for any sounds that shouldn’t be there. A good result is silence, or at worst, the music you had playing before all this began.
Following these steps on how to replace wheel bearings on a car can save you time and money compared to taking it to a mechanic. However, it is important to note that if you are not confident in your abilities or do not have the necessary tools, it is best to seek professional help.
Common Mistakes to Avoid
It’s honestly surprising how many otherwise careful people get tripped up by axle nut torque. There’s a range, and your service manual lists an actual number—guessing is not worth the ruined bearing. I’ve also seen folks slap everything back together only to find a seized brake caliper or cracked pad: check them while you’re in there.
Resist the urge to hammer a new bearing directly; if it looks tough, use a press or the proper tool. Cheapening out on cotter pins is another false economy—they’re designed for one-time use, and that’s it.
How Much Will It Cost?
The price tag at a professional garage? Sometimes eye-watering; depending on the car, the going rate lands somewhere in the $300–$800 per corner, mostly labor. For those clocking in at home, parts run $50–$150 apiece for decent bearings or hub units.
Tool costs may eat a slice of your upfront savings, especially if you must buy or rent specialty gear, but after that hurdle, you’re likely to stay well under the shop’s total.
Frequently Asked Questions
Q1: How Long Does It Take To Replace A Wheel Bearing?
For someone comfortable with this sort of work and with all the pieces ready, you might finish in two or three hours. Your first time? Block out an afternoon and expect a discovery or two—rusted bolts, stuck hubs, or a tool you swore you had but can’t find. Don’t rush. Saving time is good; cutting corners is not.
Q2: Can I Drive With A Bad Wheel Bearing?
Strictly speaking, you can, but it’s unwise, bordering on reckless. A failing bearing heats up, produces metal shavings, and sometimes, if left to their own devices, can seize the wheel entirely—a scenario nobody wishes to witness firsthand. Worst-case, the wheel can detach. Don’t keep putting it off once the warning signs start.
Q3: Should I Replace Both Wheel Bearings At The Same Time?
Though not an absolute rule, there’s some reasoning behind doing both front and rear bearings at once, especially on older or higher-mileage vehicles. They wear at a similar pace, given identical terrain and use. If one gives out, the other may not be far behind. Changing both does make for a longer afternoon, but you’re less likely to revisit this exact repair soon.
Ready for a Smoother, Quieter Ride?
Learning to replace a wheel bearing—messy, sometimes frustrating, occasionally triumphant—is one way to invest in both your vehicle and your skillset. Gather your tools, pay attention to the details, and let patience be your guiding principle, especially when coaxing reluctant bolts or battling rust.
With a bit of luck and plenty of attention, that aggravating noise should be gone at last. Maybe tuck this guide aside for your next foray into the garage. Thanks for reading this guide on how to replace wheel bearings on a car.

About
Ora Hayes is a distinguished figure in the world of DIY Thecarfixes, with over a decade of expertise in automotive diagnostics and high-performance maintenance. Her professional focus lies in merging mechanical precision with modern digital tools, fostering repair solutions that are both cost-effective and highly reliable. As the author of Thecarfixes, Ora Hayes delves into the art and science of automotive restoration, inspiring car owners and hobbyist mechanics alike.
Education
RMIT University (Melbourne, Australia) Associate Degree in Automotive Engineering — Focus on vehicle dynamics, industry-driven repair protocols, and advanced diagnostics. Gained hands-on experience with traditional mechanical tools and modern ECU remapping software.
Nottingham Trent University (United Kingdom) Bachelor’s in Mechanical Design and Automotive Engineering (Honors) — Specialized in automotive systems with a focus on blending technical engineering with everyday usability. Participated in industry projects, working with leading automotive manufacturers to gain real-world insights into vehicle longevity.
Publications and Impact
In Thecarfixes, Ora Hayes shares her insights on troubleshooting complex engine issues, material durability, and strategies for efficient garage setups. Her writing bridges the gap between professional mechanic knowledge and the home enthusiast’s needs, making it a must-read for both everyday drivers and seasoned gearheads.




