

Welcome, fellow home gardeners and DIY beginners! We spend countless joyful hours pruning delicate rose bushes, maintaining heavy wooden gates, and fixing broken wheelbarrows. When you possess the patience to cultivate a thriving backyard oasis, you already have the exact mindset needed for basic auto repair. Occasionally, a minor parking lot scrape or a rogue shopping cart damages your vehicle, leaving a nasty dent right above the tire.
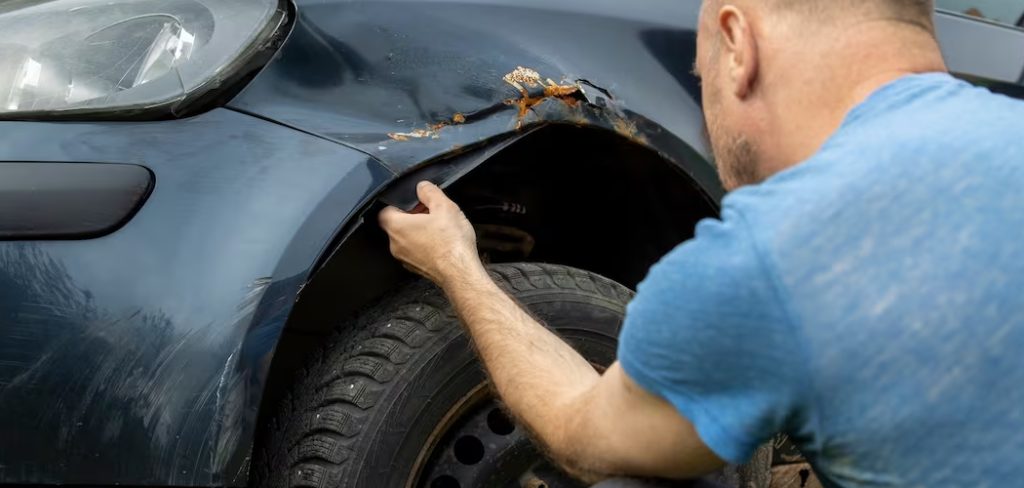
Learning exactly how to remove car fender sections offers a wonderful, beginner-friendly solution to instantly boost your vehicle’s curb appeal. You do not need expensive professional mechanical experience or specialized heavy machinery to achieve stunning visual results. This simple weekend project allows you to transfer your methodical gardening skills directly into the garage. We will walk you through the entire process using highly accessible tools. Let us grab our trusty socket wrenches and transform your dented vehicle today!
Step-by-Step Guide: How to Remove Car Fender
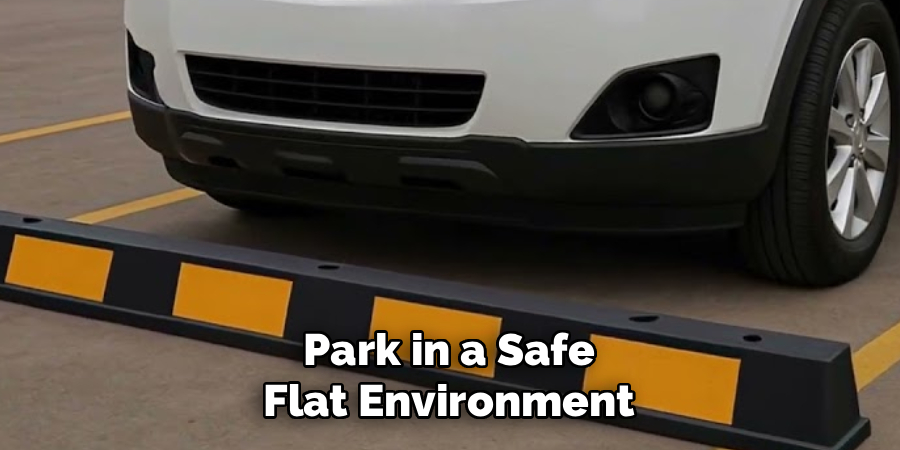
Step 1: Park in a Safe, Flat Environment
Before you pick up a single wrench, you must carefully select the perfect physical environment for your automotive project. Just like choosing a flat, sunny spot for a new raised vegetable bed, your vehicle requires a stable foundation. Park your car on a completely level concrete garage floor or a wide asphalt driveway. Working on soft garden dirt or uneven gravel creates a highly dangerous situation if the vehicle shifts unexpectedly. Engage the emergency parking brake firmly and place heavy wooden blocks behind the rear tires to prevent any accidental rolling. A stable, solid surface guarantees your personal safety while you maneuver around the delicate exterior body panels.
Step 2: Disconnect the Primary Battery Cables
Safety always comes first when dealing with heavy mechanical equipment. Modern vehicles contain intricate electrical wiring harnesses running directly behind the exterior metal skins to power the turn signals and headlights. Grab a small socket wrench and carefully detach the negative cable from your primary car battery. Tucking this heavy black cable safely away ensures you will not accidentally trigger an electrical short circuit or deploy an airbag while working. Taking this crucial preventative measure protects both your delicate hands and the expensive internal computer systems. Treat this step just like shutting off the main water valve before repairing a broken backyard sprinkler pipe.
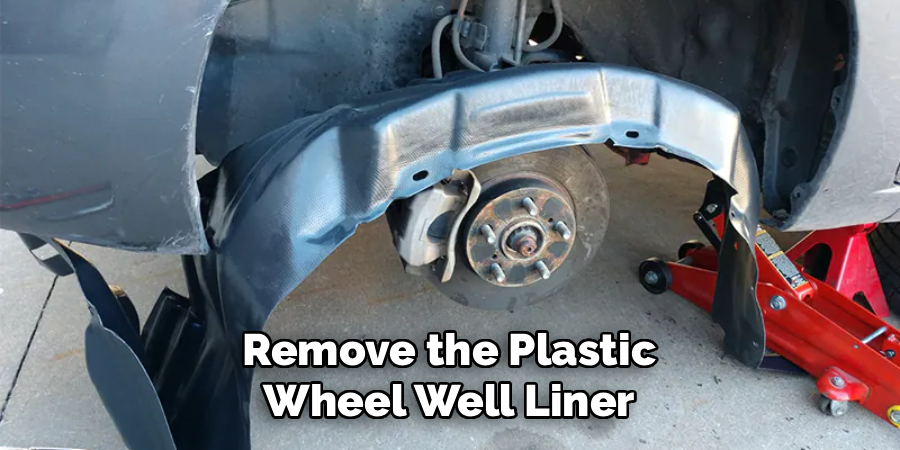
Step 3: Remove the Plastic Wheel Well Liner
To gain proper physical access to the hidden internal bolts, you must first extract the protective plastic liner resting inside the wheel well. This curved plastic shield acts exactly like a heavy layer of garden mulch, protecting the delicate internal components from flying rocks and splashing mud. Grab a small flathead screwdriver and gently pry out the plastic retaining clips holding the dark liner securely in place. Take your time to avoid snapping these fragile plastic fasteners, placing them carefully into a small magnetic tray for safekeeping. Pull the flexible liner downward and set it aside on the clean concrete floor.
Step 4: Detach the Front Bumper Cover
The front bumper cover typically overlaps the front edge of the metal side panel, meaning you must carefully loosen it before proceeding. You do not need to pull the entire plastic bumper entirely off the vehicle. Simply locate the specific screws securing the bumper corner to the front edge of the damaged metal panel. Use your socket set to carefully extract these specific bolts, gently pulling the flexible plastic bumper cover forward just enough to reveal the hidden bracket underneath. This delicate maneuvering requires the same gentle patience you use when untangling delicate climbing ivy vines from a wooden trellis.
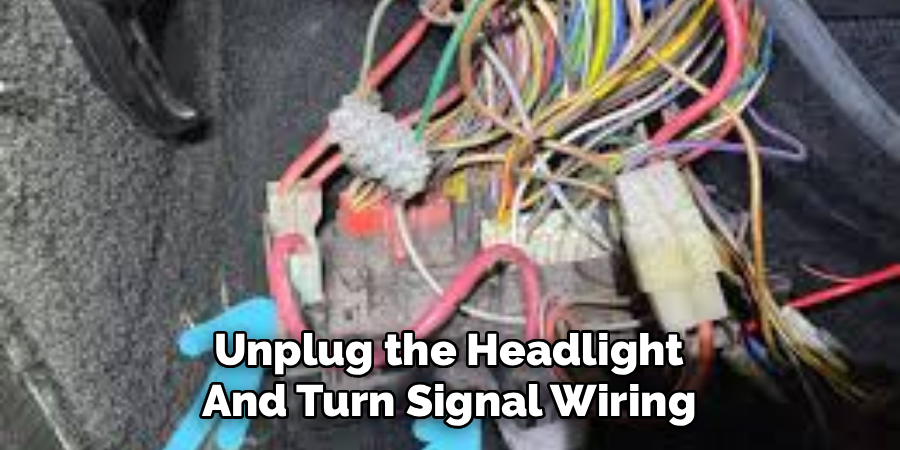
Step 5: Unplug the Headlight and Turn Signal Wiring
With the plastic bumper cover gently pulled away, you can now clearly see the intricate electrical wires feeding into your headlight assembly and side marker lamps. You must completely sever these electrical connections to free the metal panel. Reach behind the light housing and firmly press the small plastic release tabs on the electrical wiring harness connectors. Wiggle the plastic plugs gently backward until they pop completely free from the sockets. Avoid pulling directly on the fragile copper wires, as this easily causes permanent electrical damage. Let the loose wiring harnesses hang safely inside the empty engine bay cavity.
Step 6: Master how to remove car fender Fasteners
Now comes the most critical phase where you finally unbolt the heavy steel from the main automotive chassis. Look closely along the top edge hidden beneath the open hood, down the inner door hinge pillar, and underneath the bottom rocker panel. You will discover a series of hexagonal mounting bolts holding the heavy steel securely against the structural frame. Use a standard ratchet and a specialized extension bar to carefully break each tight bolt loose. Keep a firm grip on the heavy steel as you extract the final top fastener, ensuring the panel does not unexpectedly drop and scratch the surrounding paint.
Step 7: Carefully Lift the Damaged Panel Away
With every single mounting bolt safely resting inside your magnetic parts tray, the damaged metal panel is completely detached from the automotive frame. Enlist a helpful gardening friend or family member to assist you with this awkward lifting phase. Grasp the metal firmly by the top edge and the wheel arch, lifting it gently upward and pulling it smoothly away from the vehicle body. Watch the inner door hinges closely to ensure the sharp metal edges do not scrape against your pristine front door. Carry the heavy, dented unit over to a safe resting spot on your driveway.
Step 8: Clean the Exposed Inner Chassis
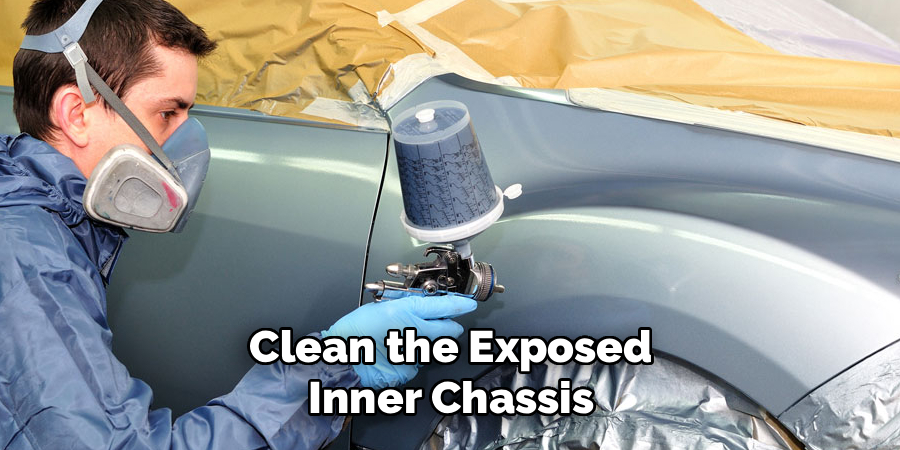
The final rewarding step of your wonderful weekend teardown project involves preparing the exposed inner structure for the fresh replacement part. Years of harsh outdoor driving frequently leave behind thick layers of embedded road grime, sticky tar, and trapped autumn leaves hidden behind the metal skin. Vigorously scrub the entire exposed structural frame using a stiff bristle brush and warm, heavy-duty degreasing soap. Removing the heavy environmental grime prevents future rust and ensures your brand new replacement panel sits perfectly flush against the chassis. Wipe the bare metal dry completely before you begin installing the beautiful new exterior skin.
You do not need expensive professional mechanical experience or specialized heavy machinery to achieve stunning visual results. This simple weekend project allows you to transfer your methodical gardening skills directly into the garage. We will walk you through the entire process using highly accessible tools. Let us grab our trusty socket wrenches and transform your dented vehicle today!
Frequently Asked Question
What Tools Are Required For This Automotive Project?
- You only need a few basic mechanical hand tools to successfully complete this straightforward exterior teardown project at home.
- A comprehensive metric socket set serves as your primary instrument for extracting the main mounting bolts.
- A standard flathead screwdriver easily pops out the fragile plastic retaining clips holding the wheel well liner.
- A magnetic parts tray proves incredibly helpful for organizing the various screws and fasteners so they do not get lost on the garage floor.
How Long Does The Complete Teardown Process Take?
- A meticulously prepared DIY beginner can typically complete this entire physical extraction process in roughly one to two hours.
- The total duration depends entirely on your specific vehicle model and whether you encounter any severely rusted or seized mounting bolts.
- Taking your time to carefully organize the hardware and gently release the plastic clips prevents frustrating accidental damage.
- Rushing the teardown often leads to scratched paint on the adjacent doors or broken electrical wiring harnesses.
Do I Need To Jack Up The Vehicle?
- While you can technically access the inner wheel well liner with the tires resting on the ground, elevating the car makes the job significantly easier.
- Using a sturdy hydraulic floor jack to lift the front corner provides incredible ergonomic access to the hidden bottom bolts.
- Always secure the elevated vehicle with heavy-duty steel jack stands before reaching underneath the chassis.
- Removing the front tire completely gives you a massive, unobstructed physical workspace for your socket wrenches.
Can I Reuse The Plastic Retaining Clips?
- In most cases, you can absolutely reuse the original plastic retaining clips if you extract them gently without snapping the brittle prongs.
- However, older vehicles exposed to harsh winter climates often feature heavily degraded, highly brittle plastic fasteners.
- If a clip breaks during the extraction process, you must replace it with a brand new unit from the local auto parts store.
- Failing to secure the inner liner tightly causes annoying high-speed vibrations and allows destructive moisture to penetrate the inner chassis.
Should I Tape The Surrounding Body Panels?
- Applying a protective layer of thick masking tape to the adjacent body panels serves as a fantastic, stress-free strategy for cautious beginners.
- Run a wide strip of blue painter’s tape exactly along the front edge of the driver’s door and the hood alignment gaps.
- This delicate tape barrier physically protects your pristine, expensive paint job if you accidentally slip with a heavy steel socket wrench.
- Removing the tape afterward leaves no sticky residue and guarantees a flawless aesthetic finish.
Conclusion
Transforming your dented, weathered vehicle by extracting damaged exterior body panels serves as a wonderfully fulfilling weekend endeavor. By taking the crucial time to properly secure the vehicle, carefully remove the inner plastic liners, and methodically unbolt the heavy steel from the chassis, you guarantee fantastic visual results. You no longer have to settle for driving a battered vehicle that detracts from the pristine beauty of your perfectly manicured driveway and blooming garden beds.
Understanding exactly how to remove car fender components empowers you to seamlessly blend your patient gardening mindset with highly rewarding mechanical repair skills. The immense pride you receive from successfully completing this physical teardown will serve as a fantastic daily reward for your deliberate creative efforts. Gather your loose mounting bolts, sweep the garage floor, and prepare the exposed chassis for its beautiful new replacement skin today! Your reliable daily driver absolutely deserves the exact same dedicated care and attention as your thriving backyard sanctuary.

About
Ora Hayes is a distinguished figure in the world of DIY Thecarfixes, with over a decade of expertise in automotive diagnostics and high-performance maintenance. Her professional focus lies in merging mechanical precision with modern digital tools, fostering repair solutions that are both cost-effective and highly reliable. As the author of Thecarfixes, Ora Hayes delves into the art and science of automotive restoration, inspiring car owners and hobbyist mechanics alike.
Education
RMIT University (Melbourne, Australia) Associate Degree in Automotive Engineering — Focus on vehicle dynamics, industry-driven repair protocols, and advanced diagnostics. Gained hands-on experience with traditional mechanical tools and modern ECU remapping software.
Nottingham Trent University (United Kingdom) Bachelor’s in Mechanical Design and Automotive Engineering (Honors) — Specialized in automotive systems with a focus on blending technical engineering with everyday usability. Participated in industry projects, working with leading automotive manufacturers to gain real-world insights into vehicle longevity.
Publications and Impact
In Thecarfixes, Ora Hayes shares her insights on troubleshooting complex engine issues, material durability, and strategies for efficient garage setups. Her writing bridges the gap between professional mechanic knowledge and the home enthusiast’s needs, making it a must-read for both everyday drivers and seasoned gearheads.




