

Snow, ice, mud, and steep gravel roads can make even a capable vehicle lose traction. tire chains help the tire bite into slippery surfaces by adding metal contact points between the rubber and the road. store-bought chains are usually the safest choice, but some drivers, farmers, off-road users, and emergency-minded vehicle owners want to understand how tire chains are built and fitted. learning how to make chains for tires can help you understand the parts, sizing, safety checks, and limits before you attempt a homemade set.
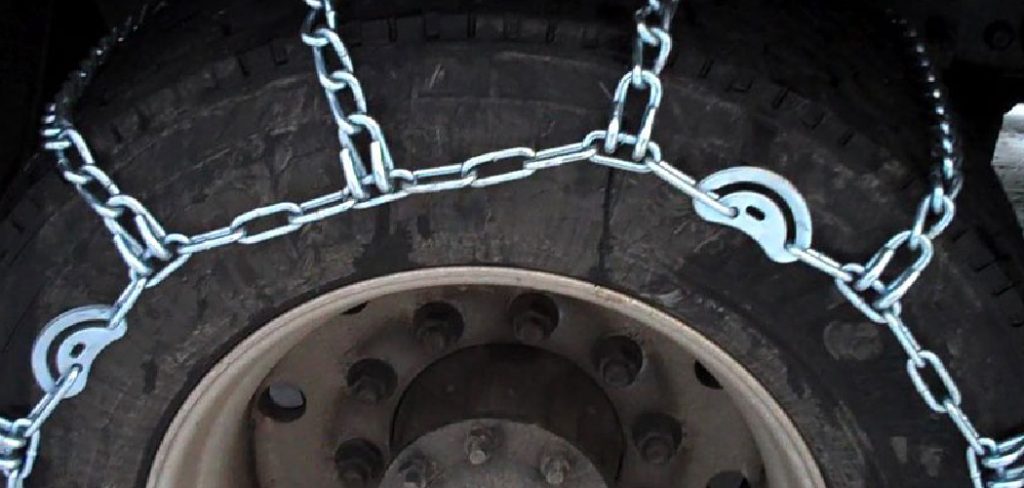
This guide is written for beginners, but it uses practical, expert-level safety advice. homemade tire chains must be strong, balanced, properly fitted, and tested at low speed before use. poor construction can damage tires, brake lines, fenders, suspension parts, or the road surface. in many areas, chain use is also limited by law, so check local rules before driving with them.
Why Making Tire Chains Matters
Understanding homemade tire chain construction helps you plan for emergency traction, off-road work, and remote winter travel. it also helps you inspect commercial chains more confidently because you know what each part does. a well-made chain pattern can improve grip on snow, ice, mud, and loose ground, especially at low speeds.
The biggest benefit is control. when you measure, fit, and test the chains yourself, you learn how tight they should be, where they may rub, and when they are unsafe to use. this knowledge can prevent damage and improve safety. still, homemade chains should never replace proper winter tires, safe driving habits, or certified chains when road rules require approved equipment.
Step-By-Step Guide To How to Make Chains for Tires
Step 1: Start by Deciding Where the Chains Will Be Used
chains for slow off-road driving can be different from chains used on public winter roads. if you plan to drive on highways, commercial rated chains are usually the better and safer option.
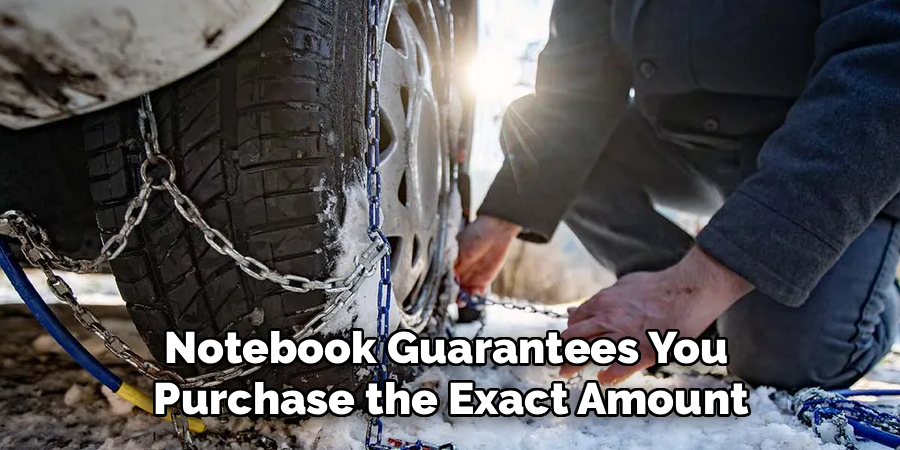
check your owner’s manual before buying materials. some vehicles have very little clearance around the tire, strut, brake hose, or wheel well. if the manual says chains are not allowed, do not install homemade chains. also confirm whether your vehicle needs chains on the front tires, rear tires, or all four tires based on its drive system.
Step 2: Measure The Tire Correctly
accurate measurement is the base of a safe fit. read the tire size from the sidewall, then measure the tire’s tread width and outer circumference with a flexible tape measure. measure around the center of the tread, not around the rim.
you also need to check clearance behind the tire. turn the steering wheel fully left and right if you are working on front tires. look for brake lines, suspension parts, plastic liners, and fender edges. the chain must not hit these parts while driving. leave enough room for movement because tires flex under weight and while turning.
Step 3: Choose Strong Chain And Connectors
use welded steel chain with links strong enough for vehicle use. light decorative chain, thin hardware chain, or unknown scrap chain can snap under load. for many passenger vehicles, low-profile chain is important because bulky links can hit the wheel well. trucks and tractors may need heavier chain, but only if there is enough clearance.
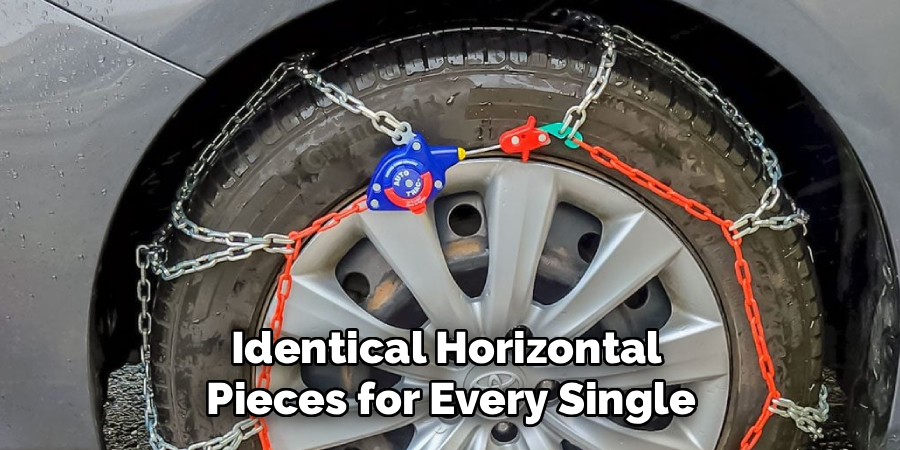
you will also need side chain, cross chain, connecting links, hooks, and a tensioning method. quick links, repair links, or chain hooks should match the chain’s strength. avoid mixing weak connectors with strong chain because the weakest part will fail first.
Step 4: Cut The Side Chains To Length
the side chains run around both sides of the tire and hold the cross chains in place. lay the chain on the ground beside the tire and mark the length needed to circle the tire sidewall area. the chain should wrap around the tire with enough extra length to connect securely.
cut two equal side chains for each tire. one will sit on the inner side of the tire and the other on the outer side. use a bolt cutter, angle grinder, or heavy chain cutter made for the chain size. after cutting, inspect each end for sharp burrs and remove rough edges.
Step 5: Build The Cross Chain Pattern
cross chains run across the tire tread and create the grip. place the two side chains parallel on the ground, spaced about the width of the tire tread. then position short chain sections between them. keep the spacing even so the tire rolls smoothly and traction feels balanced.
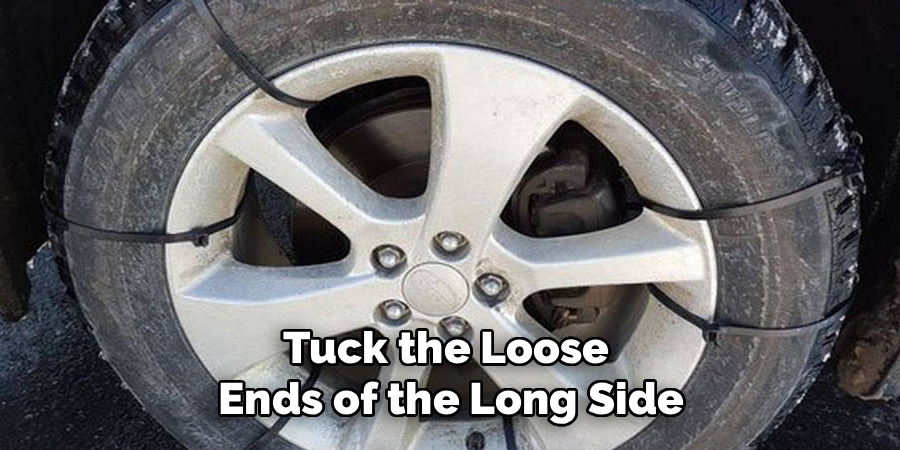
for passenger vehicles, cross chains are often spaced several inches apart. too few cross chains reduce grip, while too many can create a rough ride and add stress. attach each cross section firmly to the side chains using matching connectors. make sure each connection faces away from the tire when possible to reduce rubbing.
Step 6: Fit On The Wheel
lay the finished chain flat in front of or behind the tire, depending on how you plan to install it. remove twists before placing it over the tire. the cross chains should sit across the tread, and the side chains should rest evenly along both sidewalls.
connect the inner side first if access allows, then connect the outer side. do not leave loose chain hanging near the axle, brakes, or suspension. once connected, roll the vehicle forward a short distance so the chain can settle around the tire. then stop, park safely, and check the fit again.
Step 7: Add Tension And Check Clearance
a tire chain must be snug, but not so tight that it damages the tire. use a chain tensioner, rubber adjuster, spring tensioner, or built-in tightening link to remove slack. the chain should not slap the fender or shift far to one side while the tire turns.
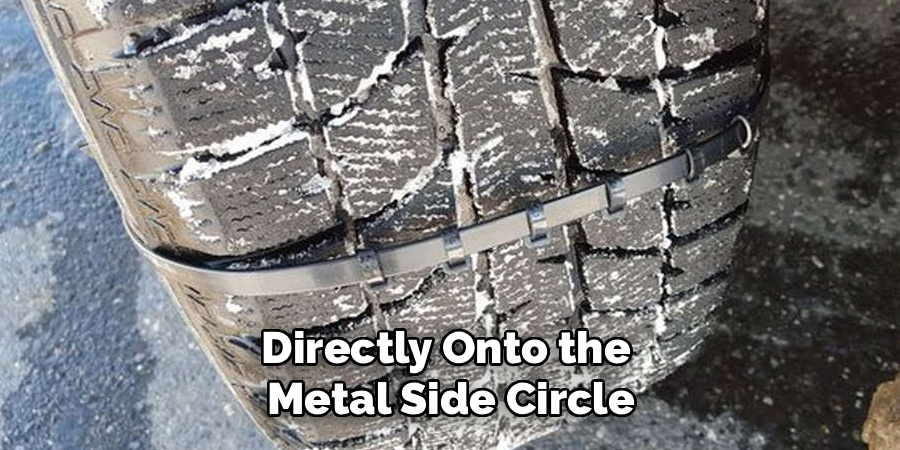
after tightening, inspect the inside of the tire carefully. this area is easy to miss, but it is where serious damage can happen. look for contact with brake hoses, struts, control arms, or wiring. if there is not enough clearance, remove the chain and do not use it on that vehicle.
Step 8: Test At Low Speed Before Real Use
test the chains in a safe open area before relying on them in snow or mud. drive slowly for a short distance, then stop and inspect everything. listen for clicking, banging, rubbing, or whipping sounds. these noises can mean the chain is loose, twisted, or hitting the vehicle.
tighten again after the first short test because chains often settle into place. keep speed low when using homemade chains. even well-fitted chains can fail if driven too fast or used on dry pavement. if the vehicle shakes heavily or the chain shifts, remove it and correct the problem before continuing.
Frequently Asked Questions
Can Homemade Tire Chains Be Used On Public Roads?
homemade tire chains may not be legal on public roads in every area. some places require approved traction devices that meet specific standards. even where they are allowed, they must not damage the road or create a hazard. before using them outside private property, check local winter driving rules. if you need chains for highway travel, certified commercial chains are usually the safest and most reliable choice.
What Type Of Chain Is Best For Tire Chains?
welded steel chain is usually the best choice because it is stronger than light utility chain. the exact size depends on the vehicle, tire clearance, and intended use. passenger cars often need lower-profile chain, while trucks, tractors, and off-road vehicles may handle heavier links. never use decorative chain, worn chain, or chain with weak unknown connectors. the chain and all hooks should have similar strength.
Can Tire Chains Damage My Vehicle?
yes, tire chains can damage a vehicle if they are loose, oversized, poorly centered, or used on a vehicle with limited clearance. damage can happen to tires, fenders, brake lines, suspension parts, and wheel well liners. this risk is higher with homemade chains because the fit depends on your measurements and assembly. always test slowly, recheck tension, and remove the chains if you hear rubbing or banging.
Should Tire Chains Go On The Front Or Rear Tires?
chain placement depends on the vehicle’s drive system. front-wheel-drive vehicles usually need chains on the front tires, while rear-wheel-drive vehicles usually need them on the rear tires. all-wheel-drive and four-wheel-drive vehicles may have specific rules in the owner’s manual. putting chains on the wrong tires can reduce control and affect braking or steering. when in doubt, follow the manufacturer’s guidance for your exact model.
How Fast Can You Drive With Tire Chains?
you should drive slowly with tire chains, especially homemade ones. many commercial chain makers recommend staying around 30 mph or lower, but homemade chains may require even lower speeds. speed increases stress on every link and connector. it also makes a loose chain more likely to whip against the vehicle. drive only as fast as conditions safely allow, and stop right away if the vehicle vibrates or makes unusual noise.
Conclusion
Making tire chains takes careful planning, accurate measuring, strong materials, and patient testing. the process is not just about wrapping metal around a tire. you must confirm clearance, build balanced cross chains, secure every connector, tighten the fit, and test at low speed before using them in real conditions.
If you decide to learn how to make chains for tires, treat safety as the main goal from start to finish. check your vehicle manual, follow local laws, use strong parts, and inspect the chains often. when road use or high-speed travel is involved, choose certified commercial chains for the safest result.

About
Ora Hayes is a distinguished figure in the world of DIY Thecarfixes, with over a decade of expertise in automotive diagnostics and high-performance maintenance. Her professional focus lies in merging mechanical precision with modern digital tools, fostering repair solutions that are both cost-effective and highly reliable. As the author of Thecarfixes, Ora Hayes delves into the art and science of automotive restoration, inspiring car owners and hobbyist mechanics alike.
Education
RMIT University (Melbourne, Australia) Associate Degree in Automotive Engineering — Focus on vehicle dynamics, industry-driven repair protocols, and advanced diagnostics. Gained hands-on experience with traditional mechanical tools and modern ECU remapping software.
Nottingham Trent University (United Kingdom) Bachelor’s in Mechanical Design and Automotive Engineering (Honors) — Specialized in automotive systems with a focus on blending technical engineering with everyday usability. Participated in industry projects, working with leading automotive manufacturers to gain real-world insights into vehicle longevity.
Publications and Impact
In Thecarfixes, Ora Hayes shares her insights on troubleshooting complex engine issues, material durability, and strategies for efficient garage setups. Her writing bridges the gap between professional mechanic knowledge and the home enthusiast’s needs, making it a must-read for both everyday drivers and seasoned gearheads.




