Welcome, fellow home gardeners! We spend weekends loading our vehicle trunks with heavy bags of topsoil, ceramic pots, and delicate nursery plants. Hauling all that extra weight requires a vehicle with a highly reliable stopping system. Just as you water your raised beds, your vehicle requires vital liquids to function safely on the road. If your dashboard warning light illuminates while driving home from the local nursery, learning exactly how to add brake fluid to car becomes an essential life skill.
Leaving this mechanical maintenance task to a professional shop costs valuable money that you could spend on rare heirloom seeds instead. This beginner-friendly tutorial walks you safely through the entire fluid replacement process without requiring any advanced mechanical knowledge. We will cover locating the master cylinder, checking the translucent reservoir levels, and pouring the fresh liquid without spilling a single drop. Let us grab a clean microfiber rag, step away from the blooming flower beds for a moment, and secure your safe transportation!
Step-by-Step Guide: How to Add Brake Fluid to Car
Step 1: Park on a Flat Concrete Surface
Parking your vehicle on a perfectly level concrete driveway mimics the importance of leveling a new raised garden bed before planting seeds. An uneven surface provides an inaccurate reading of your vital automotive liquids, causing you to accidentally overfill the reservoir chamber. Before beginning this mechanical project, shift your automatic transmission firmly into the park position and engage the emergency brake for maximum personal safety. Turn the engine completely off and allow the hot mechanical components to cool down while you wash the fresh garden dirt off your hands. Taking these basic safety precautions prevents dangerous accidents.
Step 2: Purchase the Correct Chemical Formula
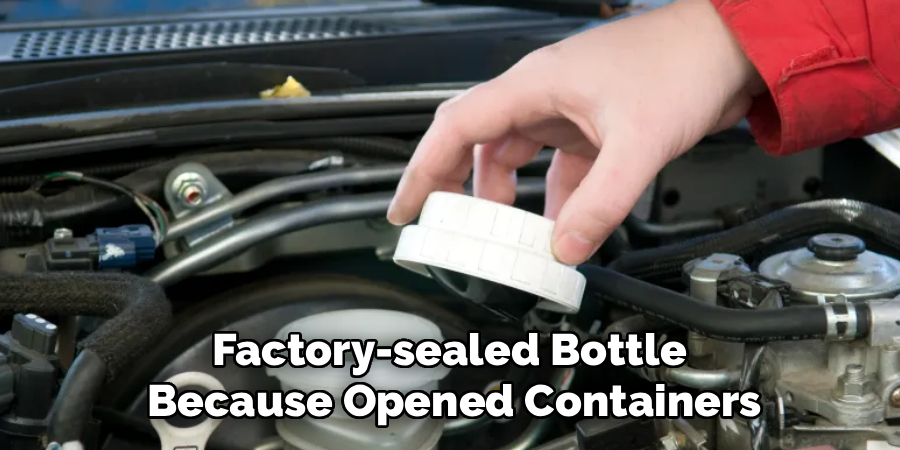
Much like choosing the specific organic fertilizer for your delicate tomato plants, you must select the exact chemical formula designed specifically for your vehicle model. Automotive stopping systems generally utilize either DOT 3 or DOT 4 synthetic chemical mixtures. You can easily find this required specification printed directly on the plastic reservoir cap or inside your thick factory owner manual. Purchasing the wrong chemical type severely damages the internal rubber seals, leading to total mechanical failure. Always buy a brand new, factory-sealed bottle because opened containers quickly absorb invisible atmospheric moisture that ruins the liquid completely.
Step 3: Pop the Vehicle Hood Securely
Gaining physical access to your engine bay feels very similar to opening the heavy wooden door of your backyard storage shed. Reach underneath your interior steering wheel and pull the primary plastic release lever until you hear a loud mechanical pop. Walk to the front bumper, slide your fingers under the metal lip, and locate the secondary safety latch to lift the heavy painted panel completely upward. Secure the metal hood prop rod firmly into its designated structural hole to prevent the heavy lid from falling on your head. Ensure the engine bay receives plenty of bright natural sunlight.
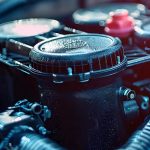
Step 4: Locate the Master Cylinder Reservoir
Finding the correct plastic container under the hood requires the exact same sharp observation skills you use to spot tiny aphids on your rose bushes. Look directly toward the back of the engine bay, usually situated very close to the driver side windshield wiper cowl. You will spot a small, slightly translucent plastic container mounted directly on top of a large, circular metal booster disk. The dark plastic cap usually features explicit warning labels or distinct yellow lettering identifying it as the stopping system container. Take your time identifying this specific part before touching any surrounding mechanical components.
Step 5: Clean the Reservoir Cap Thoroughly
Preventing dirt from entering your mechanical system is just as crucial as keeping aggressive weeds out of your newly planted vegetable rows. Grab a clean, dry microfiber cloth and vigorously wipe all the accumulated road grime, grease, and dust away from the plastic cap and surrounding container neck. Even a tiny microscopic particle of dirt falling into the chemical chamber can severely clog the narrow hydraulic lines. Taking thirty seconds to wipe the area completely clean guarantees the sensitive internal valves remain pristine and functional during your heavy weekend nursery hauling trips.

Step 6: Check the Current Liquid Level
Assessing the remaining liquid volume requires a careful visual inspection through the translucent plastic housing. Look closely at the exterior side of the container to locate the molded plastic lines labeled specifically as minimum and maximum markers. Gently rock the vehicle by pushing the front bumper to make the yellowish liquid slosh slightly, making the exact volume line much easier to identify in the bright afternoon sunlight. If the liquid rests completely below the minimum threshold line, you definitely need to add more chemical formula to restore proper hydraulic pressure for your daily neighborhood driving needs.
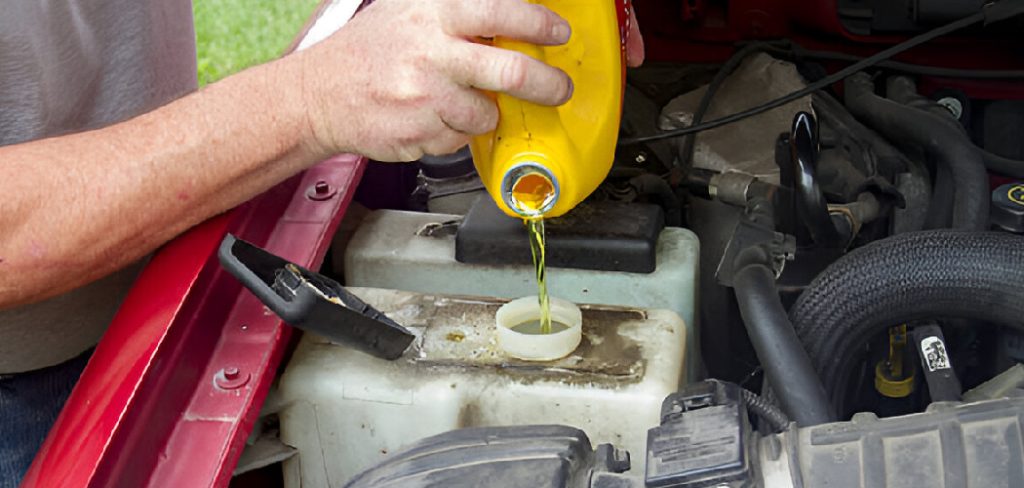
Step 7: Master exactly fluid to car safely
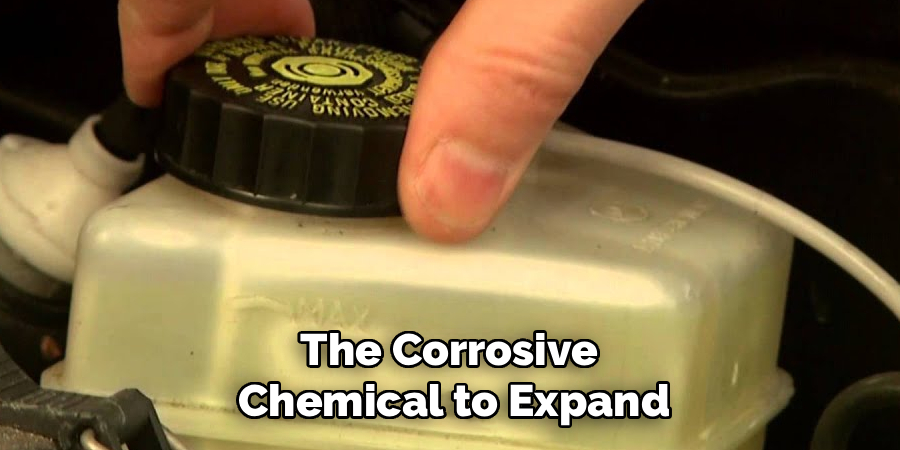
Now comes the crucial moment to replenish your vital hydraulic system. Open your fresh bottle of chemical formula and carefully unscrew the cleaned plastic reservoir cap. Slowly pour the synthetic liquid directly into the open chamber, utilizing a small clean plastic funnel to prevent messy accidental spills. You must stop pouring immediately once the liquid reaches the molded maximum fill line marked on the exterior housing. Overfilling the container causes the corrosive chemical to expand and overflow onto your painted metal fenders when the engine compartment heats up during a long highway drive.
Step 8: Replace the Cap and Wash Your Hands
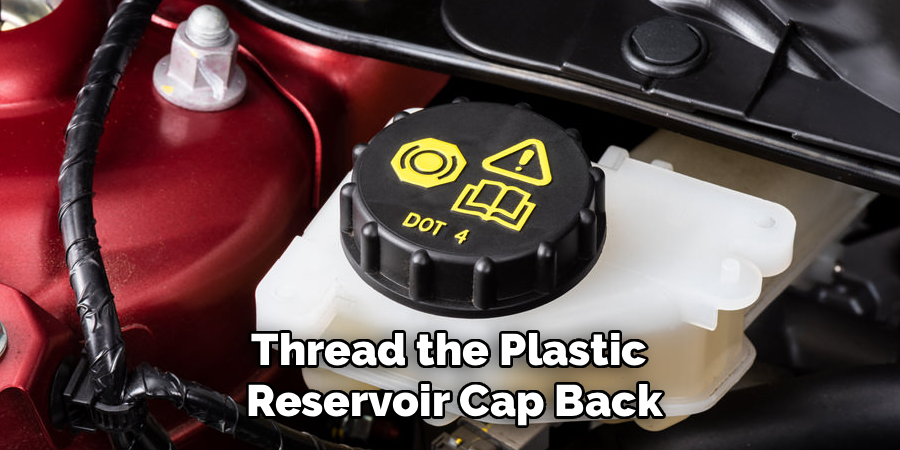
Finalizing your mechanical maintenance project requires the exact same thorough cleanup you perform after a messy afternoon of repotting indoor houseplants. Thread the plastic reservoir cap back onto the container neck, turning it clockwise until it tightens securely and forms a perfect airtight seal. Remove the metal hood prop rod and lower the heavy metal panel until it latches firmly shut. Immediately wash your hands with heavy-duty soap and warm water, as these synthetic automotive chemicals irritate sensitive human skin. Store any leftover chemical formula safely on a high garage shelf away from children.
Frequently Asked Question
How Often Should I Check My Hydraulic Levels?
- Automotive experts highly recommend checking your hydraulic fluid reservoir at least once every six months.
- A fantastic habit involves inspecting the container every time you perform an oil change or swap your seasonal wiper blades.
- Regular visual inspections help you catch slow system leaks before they become highly dangerous highway emergencies.
- If you frequently haul incredibly heavy loads of gardening mulch or potting soil, consider checking the liquid levels every three months instead.
What Color Should The Synthetic Liquid Be?
- Brand new synthetic hydraulic formulas usually appear completely clear with a very slight, transparent yellowish tint.
- As the liquid ages and absorbs microscopic moisture, it slowly turns into a dark, murky brown color.
- If your reservoir looks completely black or contains visible floating rust particles, a simple liquid top-off will not fix the issue.
- Dark, heavily contaminated fluid requires a complete professional system flush to restore proper stopping power to your heavy vehicle.
Can I Mix Different Chemical Formulas Together?
- You should absolutely never mix different numerical grades of hydraulic formulas inside your vehicle container.
- Combining DOT 3 and DOT 4 liquids drastically alters the boiling point and severely compromises your overall stopping safety.
- Additionally, never mix silicone-based formulas with standard glycol-based mixtures, as they turn into a thick, damaging chemical sludge.
- Always refer directly to your owner manual and strictly purchase the exact chemical grade recommended by the original factory engineers.
Why Does The Liquid Level Drop Over Time?
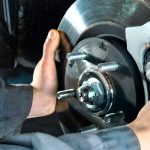
- The liquid volume naturally decreases very slowly as your friction pads gradually wear down from daily neighborhood driving.
- The hydraulic calipers must push further outward to grip the metal rotors, pulling more fluid from the primary reservoir chamber.
- However, a sudden, drastic drop in the reservoir level almost always indicates a dangerous physical leak in the flexible rubber hoses.
- If you must refill an empty container every single week, schedule an immediate professional mechanical inspection.
How Do I Dispose Of Old Chemical Bottles?
- Automotive chemicals remain highly toxic and legally require specialized environmental disposal methods in most local municipalities.
- You must never pour leftover synthetic formulas down your household drain or directly into your beautiful backyard garden soil.
- Place the tightly sealed bottle inside a heavy plastic bag and transport it directly to your local auto parts store.
- Most commercial automotive retailers operate free recycling programs that safely process hazardous mechanical liquids for community residents.
Conclusion
Maintaining your personal vehicle provides incredible peace of mind when hauling heavy landscaping supplies back to your home. By taking the time to locate the master cylinder, clean the plastic cap, and pour the fresh synthetic formula carefully, you guarantee a remarkably safe driving experience for your entire family. You do not have to feel completely overwhelmed by basic mechanical tasks just because you prefer spending your weekends tending to beautiful flower beds.
Understanding exactly how to add brake fluid to car transforms a potentially stressful dashboard warning light into a highly manageable, incredibly simple weekend maintenance chore. The noticeable improvement in your stopping responsiveness serves as a fantastic reward for your careful preparation efforts. Close your heavy metal hood, wash your hands thoroughly, and return confidently to your blooming garden knowing your primary transportation remains fully protected!
About
Ora Hayes is a distinguished figure in the world of DIY Thecarfixes, with over a decade of expertise in automotive diagnostics and high-performance maintenance. Her professional focus lies in merging mechanical precision with modern digital tools, fostering repair solutions that are both cost-effective and highly reliable. As the author of Thecarfixes, Ora Hayes delves into the art and science of automotive restoration, inspiring car owners and hobbyist mechanics alike.
Education
RMIT University (Melbourne, Australia) Associate Degree in Automotive Engineering — Focus on vehicle dynamics, industry-driven repair protocols, and advanced diagnostics. Gained hands-on experience with traditional mechanical tools and modern ECU remapping software.
Nottingham Trent University (United Kingdom) Bachelor’s in Mechanical Design and Automotive Engineering (Honors) — Specialized in automotive systems with a focus on blending technical engineering with everyday usability. Participated in industry projects, working with leading automotive manufacturers to gain real-world insights into vehicle longevity.
Publications and Impact
In Thecarfixes, Ora Hayes shares her insights on troubleshooting complex engine issues, material durability, and strategies for efficient garage setups. Her writing bridges the gap between professional mechanic knowledge and the home enthusiast’s needs, making it a must-read for both everyday drivers and seasoned gearheads.