

It happens to almost everyone at some point. You rush out the door, keys in hand, morning coffee balanced precariously, only to find your car silent—the battery’s dead, and your plans might be too. Towing it to a shop is an unpleasant option; waiting for roadside assistance, equally so. But—assuming you’ve got a bit of patience and a standard outlet close at hand—you might not need to call for help at all. Charging a car battery at home isn’t only possible, it’s often more straightforward than people realize.
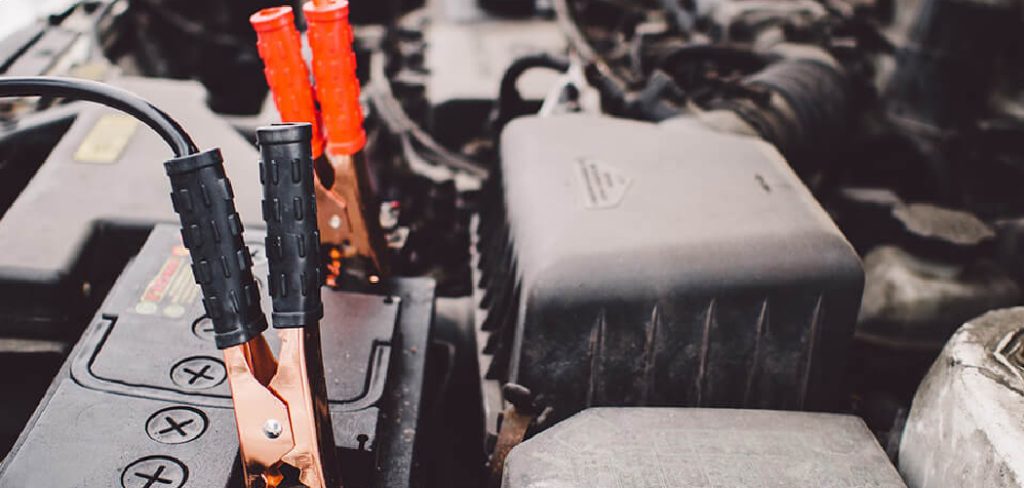
Of course, a few caveats need mentioning. You’ll want to be careful. Electricity isn’t forgiving of mistakes. The right tools in steady hands, with a clear understanding of what’s happening beneath the hood, make the difference between a hassle-free recharge and, well, a fire extinguisher moment you’ll rue (and retell).
Here, I’ll walk through not just the mechanics, but some context and caution, drawing from experience and those occasional moments when things don’t go exactly as the manual suggests. In this guide on how to charge car battery with home electricity, we’ll cover the basics and provide some tips for a successful and safe recharge.
Can You Charge a Car Battery with Home Electricity?
Technically, yes. Any standard household electrical supply provides alternating current (AC), while a car battery provides direct current (DC). You cannot—and, it’s worth stressing, must not—attempt to connect a battery straight to a wall outlet.
That path only leads to disaster. Instead, the job falls to a battery charger designed to convert that AC into battery-friendly DC before anything reaches your vehicle. Plug the charger into the wall, clamp it to the battery, and let the technology bridge the gap.
Understanding Car Battery Basics
The car battery is no mysterious black box: it’s a simple 12-volt lead-acid device at heart. What’s actually happening inside? There are plates made of lead, marinating in a bath of sulfuric acid mixed with water—the “electrolyte.” As you twist your key, the battery kicks a jolt to the starter motor, breathing life into the engine.
Once things are turning over, the alternator steps in, keeping everything powered and quietly charging the battery so the process can continue—a cycle, unless something interrupts it. A weak alternator, leaving the lights on too long, or brutal cold snaps are just a few common culprits behind a depleted battery.
Types of Battery Chargers for Home Use
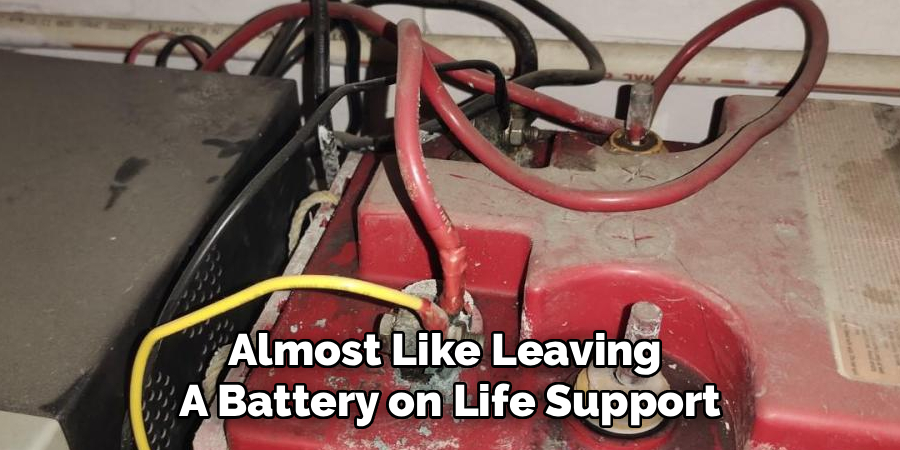
Selecting a charger might seem trivial, but the details matter. Some chargers are “smart”: they keep tabs on the battery’s state, adjust the charging speed as needed, and shift into a gentle “trickle” mode once full. These tend to be forgiving for the forgetful. There are trickle chargers proper as well—very low and slow, almost like leaving a battery on life support indefinitely (a solid pick for infrequently used vehicles).
Then, there’s the no-frills manual charger. It blasts power at a fixed rate, and the responsibility falls on you to shut it off before the battery gets overfed—otherwise, you risk boiling the insides or warping the plates.
Tools and Materials You’ll Need
Aside from a charger, you’ll need the right tools and materials for charging a car battery. These may include:
Jumper Cables or Jumper Pack:
You can use these to jump-start your vehicle if your battery is completely drained.
Safety Glasses and Gloves:
Protect yourself from potential hazards while handling batteries.
Battery Terminal Cleaner:
Use this to remove any corrosion on the battery terminals before charging.
Charger Extension Cord (Optional):
This allows you to charge your vehicle from a distance, without having to move it closer to an outlet.
7 Practical Steps on How to Charge Car Battery With Home Electricity
Step 1: Prepare Your Work Area and Vehicle
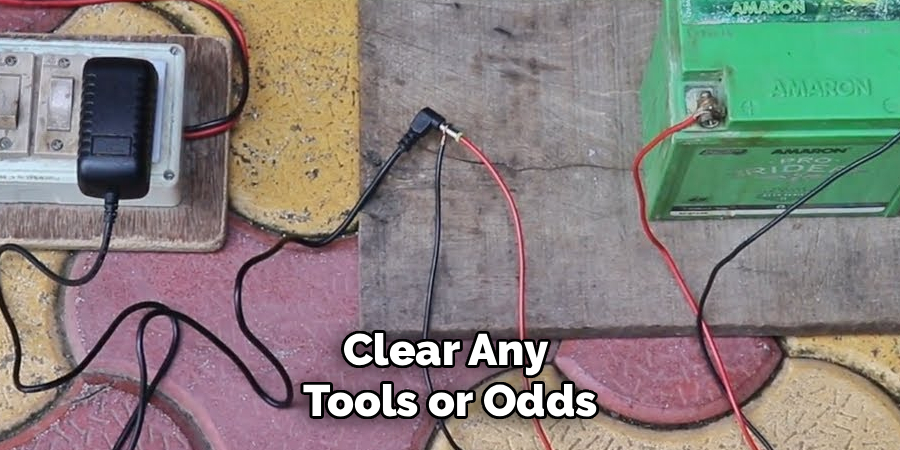
First, don’t charge a battery in a cramped, stuffy space. Hydrogen gas—unseen and flammable—drifts out during charging, and it doesn’t take much to cause trouble. If you can, charge in the driveway or with the garage door open. Turn everything off—ignition, lights, the works. Safety gear goes on before the hood comes up. Clear any tools or odds and ends from the battery area; distractions lead to mistakes.
Step 2: Clean the Battery Terminals
If you see chalky, pale green or white deposits on the battery posts, take a minute to scrub them away. Electricity—all things equal—will always choose the path of least resistance. Corrosion acts like a roadblock. A wire brush is best, but baking soda with water can do in a pinch. Finish up with a dry rag so no moisture lingers. Skipping this step almost guarantees frustration later.
Step 3: Position the Charger Safely
Here’s a detail that’s easy to gloss over: where you put the charger matters. Give it room and set it on a dry, stable surface as far from the battery as your cables will allow. Don’t rest it right on top—that’s just asking for trouble if it gets warm or if a spark ignites something escaping the battery. And—perhaps too obvious, but worth saying—make sure the charger isn’t plugged in yet.
Step 4: Connect the Charger to the Battery
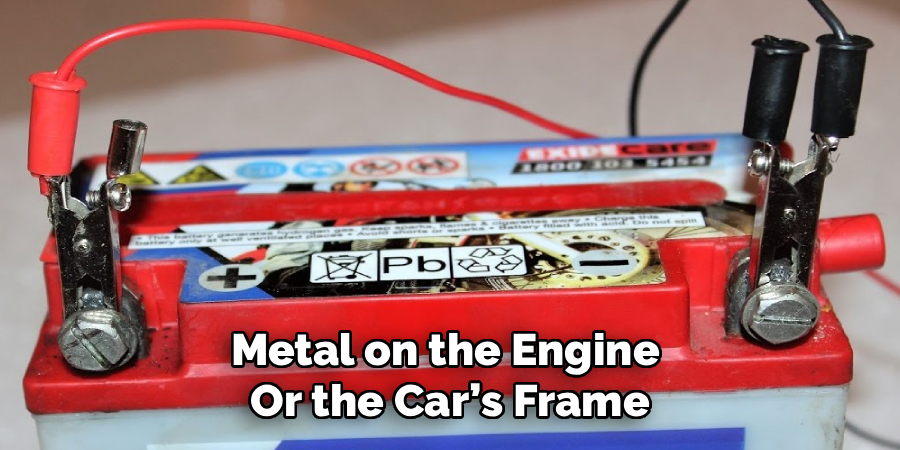
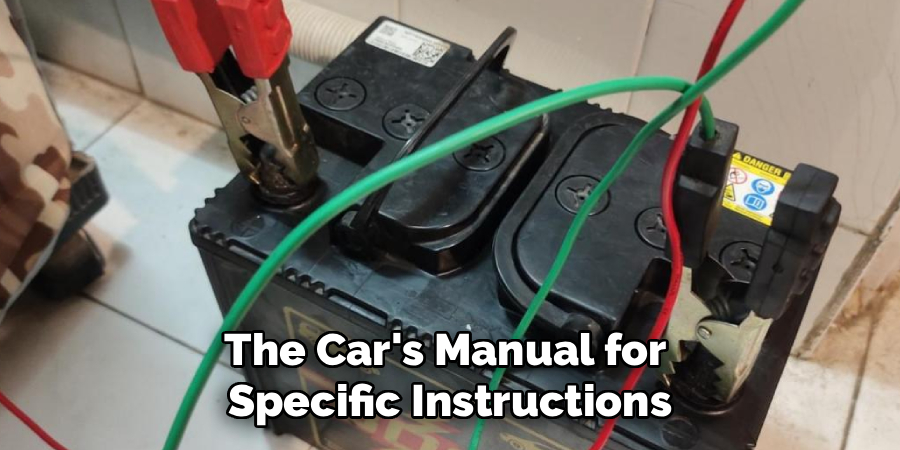
Connection order is not negotiable. The red clamp to the battery’s positive terminal (almost always marked with “+” or a bright red cover) comes first. The black clamp doesn’t go directly onto the negative terminal, not if you want to avoid sparks near the battery. Instead, clamp it to a solid, unpainted section of metal on the engine or the car’s frame—farther away from those flammable gases.
Step 5: Set the Charger and Plug It In
At this point, take a breath. Glance over your charger’s settings. With a smart charger, just confirm “12V” and pick a gentle charging rate—a lower amp setting is easier on the battery, though it may take longer. Speed isn’t always your friend here. Once the settings are set, plug in the charger and turn it on. If it blinks to life with an indicator, you’re in business.
Step 6: Monitor the Charging Process
Let’s be clear: leaving a battery wholly unattended isn’t wise, smart charger or not. Every couple of hours, check the progress. Is the battery getting unusually warm? Any strange hissing or a sour, sulfur smell creeping in? If so, cut the power at the wall first, then disconnect. Overcharging or a faulty battery can cause real harm. Under normal conditions, though, all you’ll need is patience—charging could take a few hours or overnight, depending on your charger and how flat the battery was.
Step 7: Disconnect the Charger Properly
This is one detail that trips up even attentive folks: turn off and unplug the charger before removing the clamps. Powering down first prevents sparks at the exact moment you’re closest to the action. Remove the black (negative) clamp from the chassis or engine, then finish by taking the red (positive) clamp off the battery post. Wind up your cables, stow the charger, and lower the hood. Give the ignition a try; if all went well, the engine should start readily, no drama.
Following these steps on how to charge car battery with home electricity can ensure a safe and successful charging process. It is important to always refer to the car’s manual for specific instructions on how to charge the battery, as different car models may have different procedures.
Common Mistakes to Avoid
Wiring errors multiply headaches. Clip the clamps to the wrong posts and you can do real damage, sometimes instantly. Never attempt to charge a battery that’s frozen solid—that rarely ends well, and a thaw is absolutely necessary.
Don’t rest the charger on the battery itself, either; that’s a fire hazard. Leaving manual chargers running overnight, unsupervised? That’s a surefire way to destroy an otherwise salvageable battery.
Signs of a Healthy vs. Failing Battery
A healthy battery shows itself honestly: crisp engine starts, bright headlights even without the engine roaring, no odd bulges on the case.
Anything less—sluggish starts, dimming lights, needing a jump more than once in a blue moon, or spotting a swollen case—should set off alarm bells. Gassing and bulging usually signal permanent internal damage.
Maintenance Tips for Battery Health
Wipe the battery and posts from time to time. A bit of anti-corrosion spray goes a long way in keeping terminals conductive. Check if the battery is snug in its little tray; rattling around over potholes isn’t doing it any favors.
Frequent short drives are a quiet battery killer, as the alternator barely has time to recoup spent energy. If you’re planning to let the car sit for weeks, invest in a trickle charger. That small habit may add a year or more to your battery’s life.
When to Replace the Battery?
Batteries rarely announce their retirement ahead of time. Three to five years is typical—some last longer, others die first winter.
If repeated charging doesn’t stick, if your dashboard battery light glows cryptically, or if the case is physically deformed, it’s time to seek a replacement rather than trying to eke out a few more starts.
When to Seek Professional Help?
Certain issues are best left to the pros. If you notice a sharp rotten-egg smell near the battery—think sulfur—it’s leaking, overcharged, or both. That’s hazardous. Similarly, if your battery won’t stay charged more than a couple of days or shows signs of cracking or swelling, you may have problems deeper in the car’s electrical system or with the alternator.
At that point, a mechanic’s expertise (and diagnostic tools) are worth every penny.
Frequently Asked Questions
Q1: How Long Does It Take to Charge a Car Battery at Home?
There’s no single answer. If your charger delivers four to eight amps, you’re looking at anywhere from 10 to 24 hours to revive a flat battery. Faster chargers can do the trick in less time, but charging gently tends to produce longer-lived batteries.
Q2: Can I Leave My Car Battery Charging Overnight?
With a modern smart charger, yes—these devices sense when the battery is topped off, then slip into a maintenance mode to prevent excess charging. Manual chargers, however, lack this safeguard; leaving one plugged in overnight is almost guaranteed to damage the battery.
Q3: Do I Need to Disconnect the Battery from the Car to Charge It?
Not necessarily. If you connect the negative clamp to a solid chassis ground and confirm everything is off, charging in place is fine. Some people prefer to remove the battery for a more thorough cleaning or to avoid any risk to the car’s electronics—but for most, charging in situ works well.
Wrapping Up Your Battery Charging Journey
Knowing how to recharge a battery at home lets you cut down on unnecessary trips for help, not to mention wasted time in a cold driveway. Keep a trustworthy charger in the garage, review the steps before you start, and you’ll likely never be caught completely off-guard.
If your battery simply refuses to revive or shows warning signs, make use of local auto parts stores—they can test and replace it, sometimes in the same visit. Thanks for reading this guide on how to charge car battery with home electricity.

About
Ora Hayes is a distinguished figure in the world of DIY Thecarfixes, with over a decade of expertise in automotive diagnostics and high-performance maintenance. Her professional focus lies in merging mechanical precision with modern digital tools, fostering repair solutions that are both cost-effective and highly reliable. As the author of Thecarfixes, Ora Hayes delves into the art and science of automotive restoration, inspiring car owners and hobbyist mechanics alike.
Education
RMIT University (Melbourne, Australia) Associate Degree in Automotive Engineering — Focus on vehicle dynamics, industry-driven repair protocols, and advanced diagnostics. Gained hands-on experience with traditional mechanical tools and modern ECU remapping software.
Nottingham Trent University (United Kingdom) Bachelor’s in Mechanical Design and Automotive Engineering (Honors) — Specialized in automotive systems with a focus on blending technical engineering with everyday usability. Participated in industry projects, working with leading automotive manufacturers to gain real-world insights into vehicle longevity.
Publications and Impact
In Thecarfixes, Ora Hayes shares her insights on troubleshooting complex engine issues, material durability, and strategies for efficient garage setups. Her writing bridges the gap between professional mechanic knowledge and the home enthusiast’s needs, making it a must-read for both everyday drivers and seasoned gearheads.




