

Everyone dreads that moment: you slip into the driver’s seat, turn the key (or push the button), and nothing happens. Dead battery—again. The frustration builds, especially when this becomes an unwelcome part of your morning routine. Instinctively, most people point the finger at the battery itself. Yet, in more vehicles than you might expect, the true issue is a malfunction somewhere else entirely, lurking quietly beneath the hood.
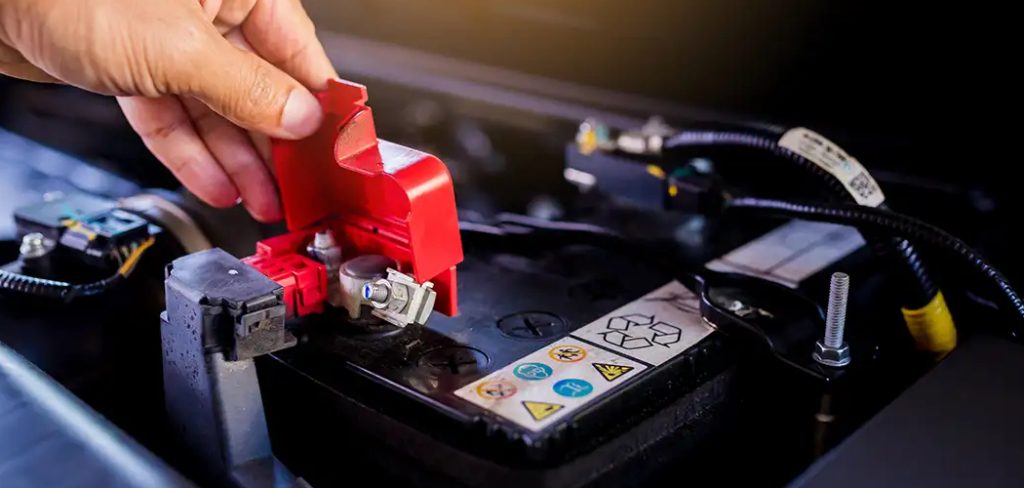
So, let’s talk honestly—knowing how to tell if the alternator is behind all your battery woes is one of those unglamorous but oddly satisfying life skills. It might save you not only half a day fiddling in your driveway or a string of “wish I hadn’t gone to that shop” repair bills, but quite a bit of exasperation too. You don’t need to be an engineer to get to the bottom of this. With the right approach and tools, finding the culprit is well within reach. In this guide on how to check if alternator is draining battery
How the Alternator Actually Works?
If you imagine your vehicle’s electrical system as a partnership, the battery and alternator are the co-managers. The battery’s job—brief but necessary—is to give a burst of electricity that wakes the engine from sleep. After that, the baton passes to the alternator. Now, the alternator doesn’t conjure energy from thin air: it converts the motion of the engine’s crankshaft into actual, usable electricity.
Where does this energy go? Lighting up the road at night, cooling you off on muggy afternoons, powering the radio when you’re stuck in traffic, and more. And just as important, the alternator is quietly topping up the battery, restoring what was spent so your car is ready for next time. When everything’s as it should be, the battery remains in good spirits—full of charge and dependable.
Can an Alternator Actually Drain a Battery?
It might sound counterintuitive, but yes, the component designed to recharge the battery can also be the thing that empties it. Usually, this odd state of affairs comes down to an internal failure you may never have suspected. Here’s where things get a bit technical: alternators generate alternating current (AC), but your car’s battery prefers direct current (DC). Enter the rectifier—a collection of diodes—whose main job is to keep current moving in the right direction.
Think of these diodes as slightly grumpy gatekeepers. Electricity should flow to the battery, not sneak back to the alternator when the engine’s off. But if just one of those diodes gives up and sticks open, suddenly you have a two-way street, and energy slowly trickles right out of your battery overnight. Instead of waking up to a reliable engine, you’re left wondering why your battery (especially a nearly-new one) won’t hold a charge.
What Are the Telltale Signs?
You don’t need to be a seasoned mechanic to pick up on some warning signs—some obvious, others more subtle. If your car routinely needs a jump-start, despite replacing the battery recently, it’s an early clue. Here’s where things get slippery: your vehicle may start just fine right after you turn it off, but give it a few hours, and suddenly it won’t even clatter to life.
Keep an ear out as well. Are your headlights wavering between bright and dim? Does a soft whine sneak from the engine compartment? Has the battery warning light decided to make itself at home on your dashboard? Sometimes there’s even a faint buzzing from the alternator itself when the ignition’s off—not exactly a reassuring soundtrack. Any of these might point towards the alternator as the guilty party, though there’s always some margin for error. Electrical faults are rarely straightforward.
Tools You’ll Need
While diagnosing an alternator issue may seem intimidating, it can actually be quite simple if you have the right tools. The following are some of the essential tools you’ll need to diagnose an alternator problem:
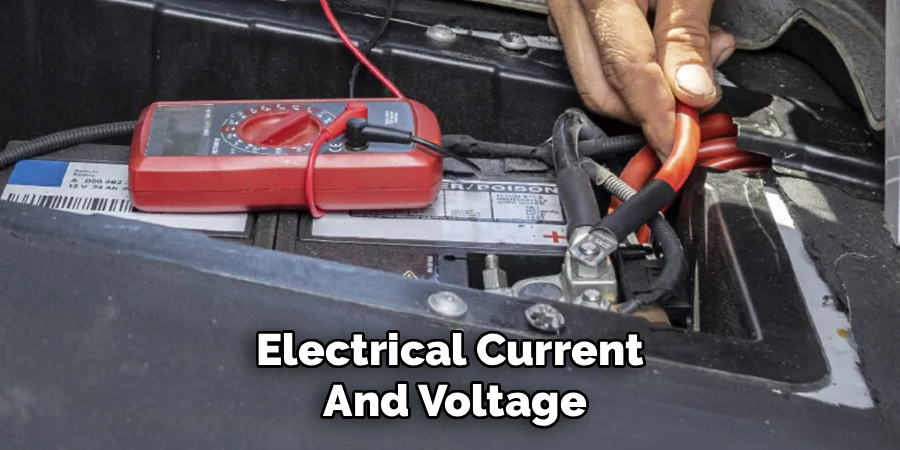
Multimeter:
This device measures electrical current and voltage and is crucial for testing the output of your alternator.
Battery Charger:
A battery charger can help determine whether a dying battery is causing issues or if it’s a problem with the alternator itself.
Circuit Tester:
This tool allows you to test individual circuits for any faults or malfunctions.
Socket Wrench Set:
You’ll need this set to remove and replace the alternator if necessary.
6 Simple Steps on How to Check if Alternator is Draining Battery
Step 1: Prepare the Stage
First, park your car somewhere flat, safe, and well-ventilated. Set the parking brake. With the engine off and key out, double-check that no electrical accessories are left on—not even the dome light.
If you need the hood up, there’s a minor (sometimes overlooked) trick: on many cars, sensors will keep “waking up” the electronics if they sense the hood is open. Gently trip the hood latch with a screwdriver to convince the car that every door is closed. Afterward, give it 30-45 minutes to settle down—the car’s computers need time to go to sleep. Skip this wait, and you’ll be measuring ordinary system draw, not a problem.
Step 2: Locate Your Targets
Once the vehicle’s electronics have quieted, open the hood. Find the battery—usually a chunky box with terminals marked + (often red) and – (almost always black). Clean away any corrosion; bad contacts will skew results.
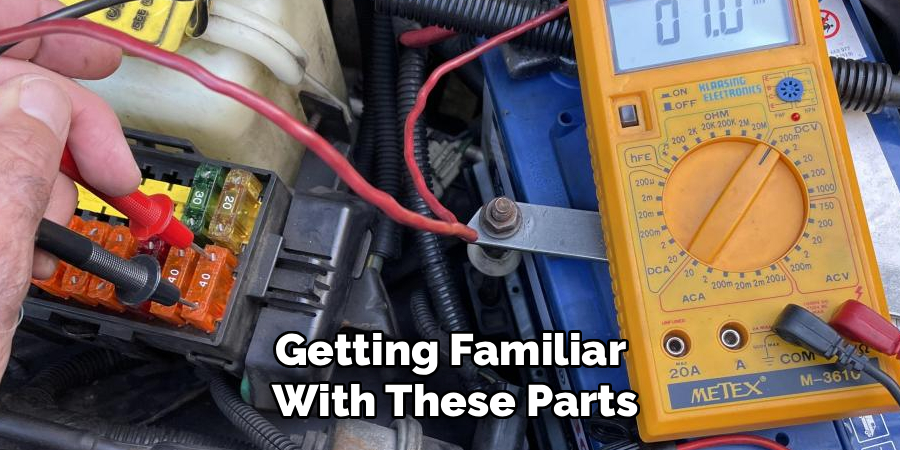
As for the alternator, look for a round, finned component, typically driven by a belt. Check the wiring attached to the back; the thickest one is probably the B+ cable, heading directly to the battery. Getting familiar with these parts now means less chaos later on.
Step 3: Ready the Multimeter
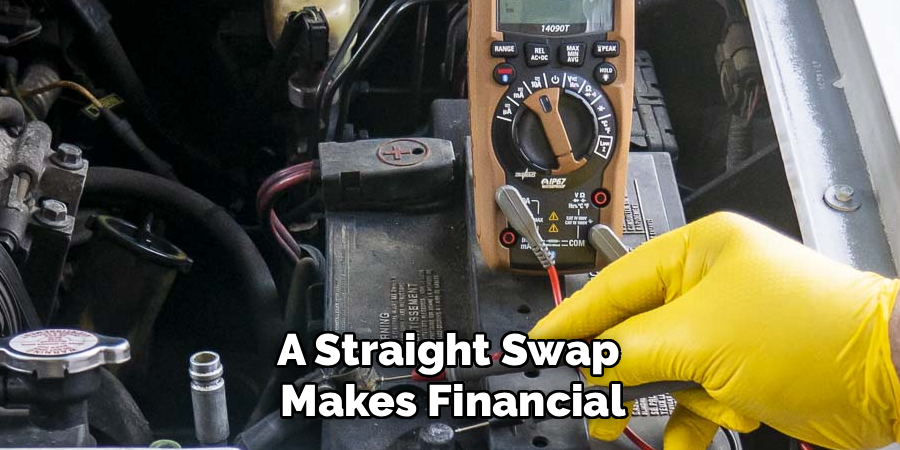
Before testing, let’s set up the multimeter properly. The black lead goes into the “COM” slot; the red lead should be plugged into the 10A or 20A port (not the usual voltage one—you don’t want to blow its fuse). Set the dial to the highest current (AMP) range available.
Switch it on and wait for the display to show zero or close to it. Only when you’re confident everything’s set up correctly should you move to the live wires. Don’t rush this step.
Step 4: Do the Parasitic Draw Test
With the multimeter in hand and your wrench ready, gently loosen the nut on the battery’s negative terminal. Slide the cable off. Now, one probe on the battery post, the other on the terminal clamp you just removed—the multimeter is now in series.
What number do you see? For a vehicle at rest, a draw between 0.020 and 0.050 amps is typical. Anything much higher—think 0.5 amps and up—is not. If your reading is way above normal, congratulations, you’ve confirmed there’s a drain somewhere. Keep the setup as is for the next test.
Step 5: Isolate the Alternator
Time for a slightly fiddly bit. With the multimeter still connected, find the main (B+) cable running to the alternator and remove it—take care, and don’t let any metal parts hit the engine block (unless you enjoy spectacular sparks). Use electrical tape or even a glove to shield the exposed terminal and prevent accidental shorting. Once the cable is disconnected and stowed, glance back at your multimeter.
Step 6: Interpret the Results
This is the moment of truth. Has the current draw dropped to that normal range (20–50 milliamps)? If so, that’s a strong sign—though not absolute proof—that the alternator’s internal diodes may well be leaking current back to the system. If you see no change, however, it’s time to move on; something else is responsible, not the alternator. At this point, reconnect what you’ve removed and consider methodically removing interior fuses one by one to narrow down the culprit.
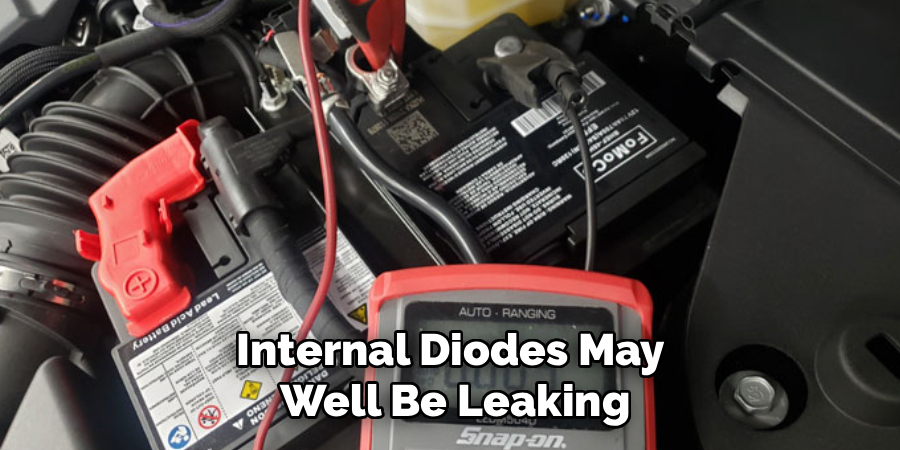
Following these steps on how to check if alternator is draining battery, you can easily determine the root cause of your car battery draining issue. Remember to always take proper safety precautions when working with electrical components in your vehicle.
What Triggers Alternator Drain?
While failed diodes are usually to blame, it isn’t always that neat. Sometimes it’s layers of metallic dust or stray grime forming unintended bridges inside the alternator.
Corroded wires and a sticky voltage regulator can leave the alternator partially active after shutdown. High under-hood heat doesn’t help—over the years, it breaks down insulation and weakens electronic components.
Pitfalls—What Not to Do
Several things trip up even savvy home mechanics. Testing the system before waiting for the computers to sleep, for example, leads to red herrings. Measuring current in parallel instead of series is a classic blunder and usually results in a blown multimeter fuse.
And here’s a word of caution: never remove battery cables while the engine’s running—this mistake can fry electronics faster than you’d expect.
Is It Time to Call a Pro?
If working around live wires gives you pause—or you just can’t seem to get a clear reading—there’s no shame in heading to a reputable repair shop.
Experienced technicians have specialized tools that make tracking down elusive electrical faults much easier, especially if your engine bay looks crammed or if bolts won’t budge without half the car being dismantled.
How to Fix It?
Once you’ve identified the alternator as the source, what are your options? Typically, replacing the alternator outright is the easiest, most reliable fix. Quality replacements (either new or remanufactured with all new internals) will serve you well.
While it is possible to rebuild certain alternators—swapping out the diode bridge and other small parts—this is only a good idea if you already have comfort with soldering and disassembly. For most, a straight swap makes financial and practical sense.
Frequently Asked Questions
Q1: Can a Bad Alternator Destroy a Decent Battery?
In many cases, yes. A malfunctioning alternator that continually drains a battery can repeatedly cause deep discharge cycles. This process (sulfation, for the technically minded) eats away at the lead plates, making it virtually impossible for the battery to hold a charge, no matter how many times you try to revive it.
Q2: What is a “Normal” Parasitic Draw, Anyway?
Most vehicles these days have a background drain, usually between 20 and 50 milliamps. That’s enough to keep alarms, clock memories, and keyless systems ticking over. Consistently higher draws—over 50 milliamps—aren’t standard, and usually indicate a fault somewhere.
Q3: Will Jump-Starting Fix a Battery Drained by the Alternator?
Temporarily, yes—your engine will start, but the original issue remains. This trick merely sidesteps the underlying failure. Once you shut off the car, the battery will lose charge again if the alternator is still leaking current.
Securing Your Vehicle’s Electrical Health
Tracking down the source of a battery drain is rarely as straightforward as we’d like. Still, methodically testing the alternator can rule in (or out) one of the most frequent causes.
With patience and a multimeter, you’ll avoid wasting money on batteries that were never the cause. Whether you’re making the repair yourself or sharing the details with a professional, you’re better prepared to keep your vehicle reliable—and your mornings less eventful. Thanks for reading this guide on how to check if alternator is draining battery.

About
Ora Hayes is a distinguished figure in the world of DIY Thecarfixes, with over a decade of expertise in automotive diagnostics and high-performance maintenance. Her professional focus lies in merging mechanical precision with modern digital tools, fostering repair solutions that are both cost-effective and highly reliable. As the author of Thecarfixes, Ora Hayes delves into the art and science of automotive restoration, inspiring car owners and hobbyist mechanics alike.
Education
RMIT University (Melbourne, Australia) Associate Degree in Automotive Engineering — Focus on vehicle dynamics, industry-driven repair protocols, and advanced diagnostics. Gained hands-on experience with traditional mechanical tools and modern ECU remapping software.
Nottingham Trent University (United Kingdom) Bachelor’s in Mechanical Design and Automotive Engineering (Honors) — Specialized in automotive systems with a focus on blending technical engineering with everyday usability. Participated in industry projects, working with leading automotive manufacturers to gain real-world insights into vehicle longevity.
Publications and Impact
In Thecarfixes, Ora Hayes shares her insights on troubleshooting complex engine issues, material durability, and strategies for efficient garage setups. Her writing bridges the gap between professional mechanic knowledge and the home enthusiast’s needs, making it a must-read for both everyday drivers and seasoned gearheads.




