

Let’s face it, few things gum up an otherwise smooth day like discovering your taillight’s shattered to bits—likely in the wake of a minor scrape in some crowded parking lot, or that fender bender you thought didn’t even leave a mark. Ignore it, though, and you’re looking at more than a cosmetic issue.
Cracks act as tiny invitations for rain and grit, potentially short-circuiting your lights. And yes, that dreaded ticket—for “faulty equipment”—is surprisingly easy to obtain. Yet, handing the repair over to a shop? Not always necessary. If you’re even remotely comfortable with a pair of scissors and a roll of tape, chances are you can patch it up yourself for next to nothing and keep your brake lights gleaming.
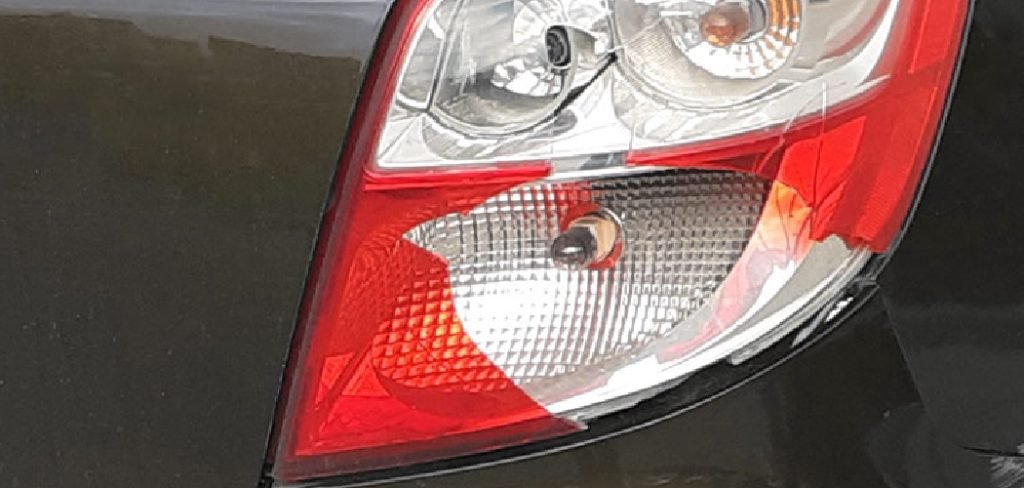
The good news is there’s no sorcery or dealership fees involved. In all likelihood, this is a straightforward fix; you’ll need only a handful of items—most of which you probably already have scattered around your garage. If you’re methodical and give the job the tiniest bit of patience, you can restore a solid weatherproof shield over those bulbs. What follows isn’t just a to-do list, but a practical series of steps on how to fix broken tail light plastic—hard-earned by drivers everywhere who’ve learned (sometimes the wet way) what works.
Tools and Materials You’ll Need
- Philips head screwdriver
- Flathead screwdriver
- Replacement bulb(s)
- Electrical tape or heat-shrink tubing
- Sandpaper (optional)
- Clear plastic adhesive or epoxy glue
7 Simple Step-by-step Guidelines on How to Fix Broken Tail Light Plastic
Step 1: Clean the Damaged Area Thoroughly
Don’t gloss over this first job. Adhesive won’t hold on if the lens is still coated in last winter’s road salt or a stubborn film of wax. If the tape doesn’t stick, the repair simply won’t survive the first honest rainstorm. Soak the surface with mild soapy water or glass cleaner, scrubbing every contour until it looks unimpeachably clear. Use that microfiber cloth—a paper towel will only leave lint behind.
After the initial cleaning, dab some rubbing alcohol on the cracked site. Why? Because the oils and residues that survive soap can be sneaky, but will sabotage your efforts if left. Set the rag aside, take a step back, and give it a moment in the open air. Moisture lingering under the tape is an invisible enemy—don’t rush ahead to step two until it’s fully dry.
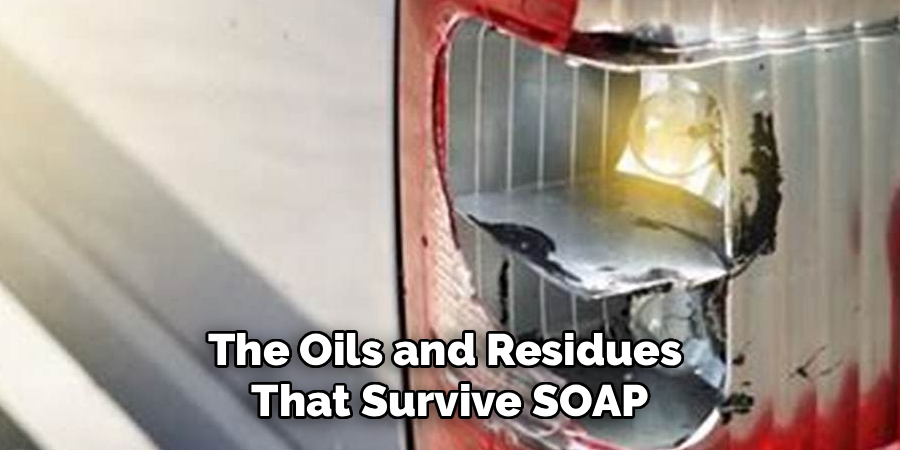
Step 2: Remove Loose Plastic Fragments Carefully
Now for a bit of judgment. Inspect the crack. Any slivers of plastic that are loose need to go, even if it pains you to toss away what looks salvageable. Pinch and gently work away any pieces that are barely hanging on; you don’t want future vibrations shaking them loose beneath your repair.
Notice any edges that could catch a thumb? A quick light sanding with fine-grit paper will help. Don’t go overboard—just smooth the immediate area of the break. Let the rest of the tail light be; the “fix” should blend, not expand the damage with fresh marks.
Step 3: Measure the Cracked or Broken Section
Case in point: measuring seems trivial, but it can save you twice the time in the end. Take a look at the size and shape of the break, noting any curves that make a straight ruler questionable. Your patch or tape needs to cover not just the obvious damage, but should extend a generous half-inch or so on every side. Overkill? Maybe, but better a little too much than a little too little. If the break dances around a corner, a flexible measuring tape helps.
If you misjudge, you’ll end up with a patchwork quilt effect—multiple bits cobbled together—that usually isn’t watertight and looks, let’s be honest, messy.
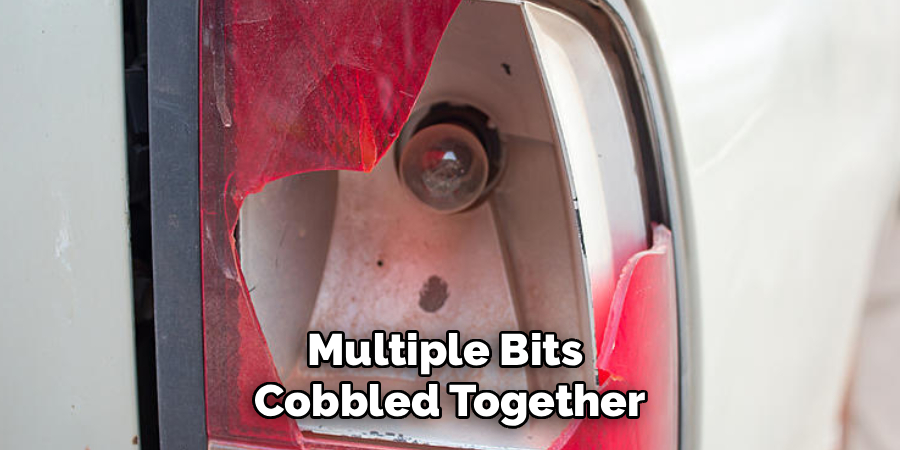
Step 4: Cut the Repair Tape or Lens Panel
Once you have dimensions, unspool your repair tape. Resist the urge to eyeball it. Sharp scissors or a fresh blade matter here—a jagged edge is more likely to peel off, especially where the tape meets a ridge. As you snip, it’s a small effort to round the corners. Those sharp right angles might seem unimportant, but they wind up catching on car washes, sponges, or even the wind itself, making the failure of the patch almost inevitable. Smooth, curved edges stay put longer.
Step 5: Apply the Repair Material to the Tail Light
Patience pays here. Peel the tape’s backing back a few millimeters—a little at a time, not the full strip all at once. This gives you control and helps prevent the tape from sticking to itself or misaligning. Press down the very first edge just beyond the break, attach with some gentle pressure, and start unspooling the length, smoothing it as you go.
If you’re bridging a true gap in the plastic (where a piece is just missing), stretch the tape a bit to create a tight seal rather than letting it sag into the void. Crooked application is all too common, generally because haste took over. Realign if necessary, but don’t jerk the tape—reshuffling only increases the risk of weakening the bond.
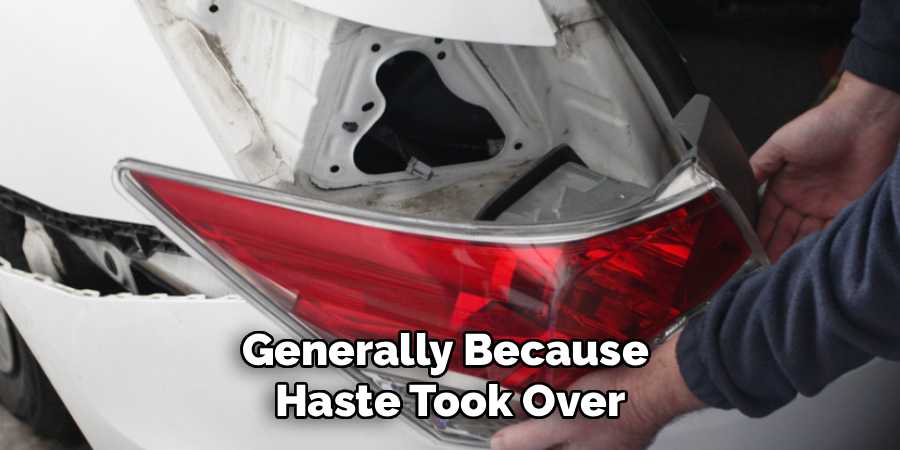
Step 6: Smooth Out Any Air Bubbles or Wrinkles
Even with careful placement, imperfections sneak in. You need to address these right away: air bubbles, in particular, aren’t just cosmetic—they can trap moisture, possibly causing the tape to peel. Use the side of your thumb or something smooth (a plastic card or squeegee, maybe) to press from the center out toward each edge.
Find a bubble that just won’t move? Rather than yanking off the patch in frustration, try piercing it with a sterilized needle or pin, then press flat. The hole won’t compromise the patch, provided you seal it with firm pressure at the end.
Step 7: Inspect Your Work and Test the Light
Once you’ve applied the tape, take a breath. Walk around the car, looking for edges, lifting or gaps where the patch meets the light. Is everything flush and snug? Rain has a talent for finding the tiniest entry point, so examine it from different angles. Done? All that remains is the function test. Flip on your car’s headlights, test the turn signals, and have someone pump the brakes while you check from behind. Light should shine through, clearly, and without distortion. If it’s too dim or noticeably blocked, the tape may be too thick or misaligned.
Following these steps on how to fix broken tail light plastic can help you save time and money. It is a simple and effective solution that can be done at home without having to take your car to a mechanic or body shop.
Common Mistakes to Avoid
It’s tempting to cut corners. Some try to patch a light that’s still a bit grimy or wasn’t left to dry completely—don’t. You’ll only double your work.
Using regular duct tape or transparent packing tape might seem clever in a pinch, but these adhesives fail quickly outdoors, often leaving you with faded, sticky residue and zero protection for your wiring.
Do You Need To Use Professionals?
There’s a case to be made for calling in a professional, but only under certain circumstances. If it’s just a cracked lens and you’ve still got structural integrity, you’re probably fine with DIY. If, however, you’re staring at shattered plastic with wiring and bulbs in plain sight, or nothing at all is staying in place, it could be time for a new assembly.
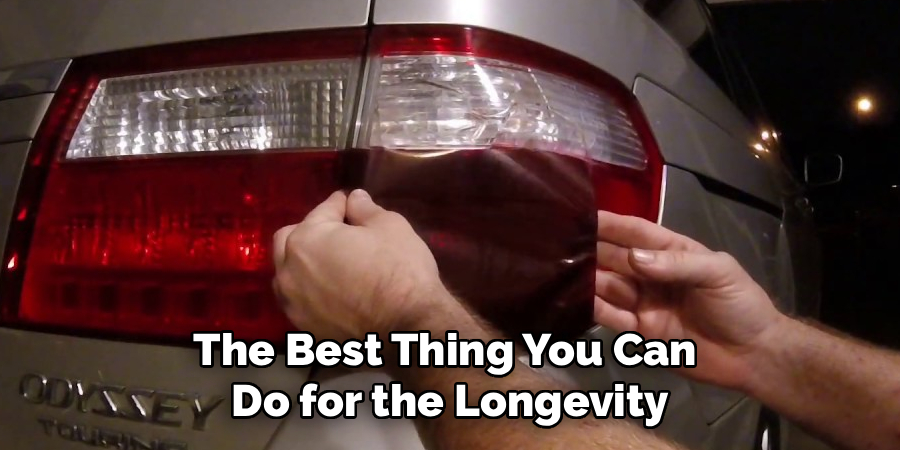
Sometimes, knowing your limits is the best thing you can do for the longevity of your vehicle—and your peace of mind.
How Much Will It Cost?
Want the numbers? For most at-home repairs, you’re rarely spending more than a $10 or $15—repair kits are priced accordingly at chain parts stores. In contrast, walking into a dealership for a replacement can quickly add up, with part costs frequently climbing into the low hundreds before labor is factored in.
It’s not unusual for a modern tail light to rival the cost of a small household appliance.
Frequently Asked Questions
Q1: Can I Drive With A Broken Tail Light?
A1: Technically, you can, but you risk more than an awkward conversation with a police officer. Safety matters here—other drivers need to see your signals. And passing white light through a red lens, or a visible break, is a surefire way to pick up a ticket. Tape is a temporary fix, but it’s far better than nothing.
Q2: Will Repair Tape Pass A Vehicle Inspection?
A2: That depends. Some inspectors may allow a repair if light isn’t leaking and the bulb’s working, but many jurisdictions are far more particular, requiring an unbroken lens for official approval. It’s wise to look up your local laws or, better yet, ask directly.
Q3: How Long Does A DIY Plastic Repair Last?
A3: If done well, a patch can hold for months—sometimes longer. The specialty adhesives used in automotive kits are engineered to stand up to rain, sudden temperature swings, and sunlight. That said, check the patch now and again; if the corners lift, it’s time for a redo.
Keeping Your Vehicle Safe and Legal
Getting onto a repair fast not only keeps your car looking presentable but also helps avert sneaky water damage where you least expect it. These steps should get you through until you’re ready for a proper replacement housing.
And when that time comes, don’t forget to check the vehicle manual for the precise part number—saving you a second trip to the store, or a back-and-forth with an online order that doesn’t fit. Thanks for reading this guide on how to fix broken tail light plastic.

About
Ora Hayes is a distinguished figure in the world of DIY Thecarfixes, with over a decade of expertise in automotive diagnostics and high-performance maintenance. Her professional focus lies in merging mechanical precision with modern digital tools, fostering repair solutions that are both cost-effective and highly reliable. As the author of Thecarfixes, Ora Hayes delves into the art and science of automotive restoration, inspiring car owners and hobbyist mechanics alike.
Education
RMIT University (Melbourne, Australia) Associate Degree in Automotive Engineering — Focus on vehicle dynamics, industry-driven repair protocols, and advanced diagnostics. Gained hands-on experience with traditional mechanical tools and modern ECU remapping software.
Nottingham Trent University (United Kingdom) Bachelor’s in Mechanical Design and Automotive Engineering (Honors) — Specialized in automotive systems with a focus on blending technical engineering with everyday usability. Participated in industry projects, working with leading automotive manufacturers to gain real-world insights into vehicle longevity.
Publications and Impact
In Thecarfixes, Ora Hayes shares her insights on troubleshooting complex engine issues, material durability, and strategies for efficient garage setups. Her writing bridges the gap between professional mechanic knowledge and the home enthusiast’s needs, making it a must-read for both everyday drivers and seasoned gearheads.




