

Any driver who’s found themselves late for work, or just trying to get home on a bitter night, knows how jarring it is to turn the key and hear nothing but a reluctant click. A dead battery doesn’t just stop your car—it brings your plans to a halt. There’s a certain practicality, almost an independence, in knowing how to revive it yourself. If you can grasp the basics of car battery charging, you spare yourself the cost and impatience of waiting around for someone in a neon vest to show up.
Worth noting: car batteries aren’t especially forgiving if mistreated. Done wrong, charging can fry sensitive electrical components or, if you’re especially unlucky, lead to personal injury. This guide on how to use battery charger on car lays out the what, where, how, and why, though I’d caution—treat every step as essential, because with batteries, shortcuts often end messily.
Understanding Car Battery Charging
Think of the battery as the quiet foundation of your car, holding a reservoir of electrical energy. Its main job, naturally, is to provide that first jolt of current that starts the engine, as well as power lighting and those all-important heated seats. While the engine runs, the alternator does its best to replenish what’s spent. That’s the theory, anyway. In practice, a rash of short trips, a forgotten dome light, or just a stretch of unkind weather can leave the battery lagging behind, unable to keep up.
When that happens, an external charger becomes a lifeline, nudging current back into the battery. Why take it slow? Rushing the process with too many current risks internal overheating. (You might not see it at first, but battery life suffers.) There may be a temptation to use the fastest settings, but a patient, measured charge mimics the alternator’s natural rhythm—favoring long-term health over a quick fix.
Types of Battery Chargers
Retail shelves are crowded with a confusing assortment of gadgets, not all of which will suit your particular situation. Trickle chargers, for example, deliver a whisper of current over many hours or even days; they’re better for keeping seldom-driven vehicles topped up, not for emergencies. Plain manual chargers dish out current until you tell them to stop—risky, unless you’re the attentive type. So-called “smart” chargers take more liberty, automatically switching modes or shutting off when they sense the battery is full, and usually requiring less babysitting.
Then there are jump starters. These aren’t so much chargers as portable shock paddles—they get you started once but won’t restore a depleted battery’s overall charge. The upshot? Decide if you’re looking for emergency resuscitation, routine maintenance, or slow but sure recovery. One charger rarely does it all.
Tools and Equipment Needed
Safety Precautions
Some people treat batteries as dumb hunks of plastic and lead until something pops or hisses. Don’t do that. Try to work outside or near an open garage door—the gases released during charging can turn a simple situation into a very dangerous one if confined. Any fire hazard—matches, cigarettes, even a stray spark—should be nowhere near the battery or charger.
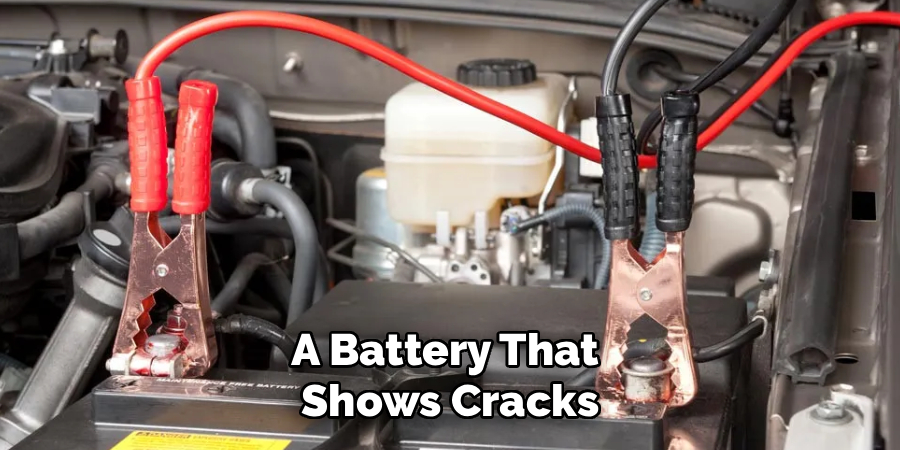
Take off rings, watches, or anything metal that could accidentally bridge the terminals and create a nasty, painful short. Only touch the battery once the engine is switched off and the key is out. A battery that shows cracks, leaks, or any swelling is on borrowed time; don’t attempt to charge it. It’s not worth the risk.
7 Simple Step-by-step Guidelines on How to Use Battery Charger on Car
Step 1: Prepare the Vehicle and Work Area
Begin by steering your car into an open, stable space—no one wants to breathe fumes in a closed garage. Once parked, kill the engine, remove the ignition key, and set the parking brake firmly. It’s odd how overlooked this is, but any loose rags or clutter near the battery can cause trouble, so clear them away.
Unplug the charger before even thinking about connecting anything. Put on your gloves and glasses. Open the hood—remembering to secure it so it doesn’t bonk your head—and have a good look around for leaks or wayward wires. Any sign of flammable debris needs to be dealt with before you go any further. Think of this as setting the stage for a safe, drama-free repair.
Step 2: Locate and Clean the Battery Terminals
Identifying the battery’s hiding spot is usually simple, but carmakers occasionally tuck them in odd places. Glovebox owner’s manuals can spare you unnecessary searching. When you’ve found the battery, the red (positive) terminal usually has a plus sign or a crimson cover, while the negative is marked by a minus sign and a black cable.
Corrosion—a flaky crust that can be white or green—often coats these terminals. It looks harmless, but blocks current. A wire brush does the trick; using a little baking soda and water helps loosen stubborn buildup. When finished, dry everything thoroughly. Clean connections are essential for both safety and good electrical flow.
Step 3: Connect the Positive Cable
Still unplugged? Good. Grab the charger’s red clamp and secure it to the positive (+) terminal. Sometimes the clamp feels unsure or wobbly—don’t ignore it, adjust until solid. Make sure the cable stays clear of other engine parts and certainly isn’t close to anything hot or moving.
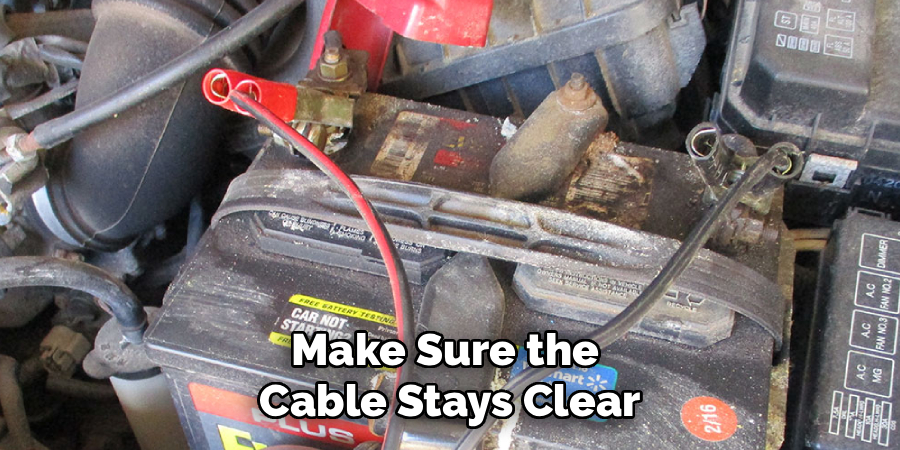
There is a sequence to this for a reason: connecting the positive side first reduces accidental sparks. Avoid letting the clamp brush against other metal pieces—it’s a surefire way to create a startling zap.
Step 4: Connect the Negative Cable
The second act involves the black (negative) clamp, but here, don’t clip it to the negative battery post if you can avoid it. Instead, look for a stout, unpainted bit of metal on the chassis or engine, maybe a bracket or bolt well away from the battery. This reduces the chance that a stray spark will meet flammable hydrogen gas. Only use the actual negative terminal as a last resort.
Test that clamp for a sturdy grip, too. Both connections should be safe from moving belts or fans. Taking an extra moment here minimizes all kinds of annoying or hazardous mishaps later.
Step 5: Set the Charger Settings
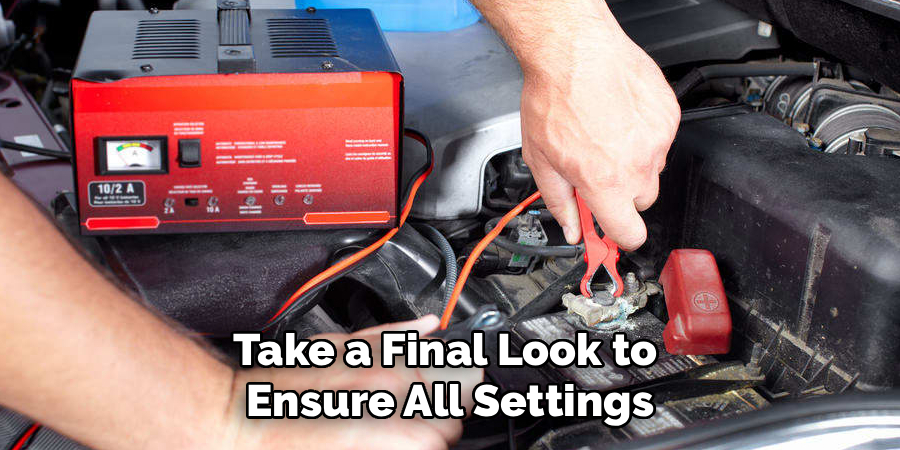
Before connecting to the wall outlet, check the charger’s dials or buttons. Most car batteries run on 12 volts, but it’s wise to confirm. For batteries, slow and steady wins the race—a setting in the range of 2–10 amps works well for most charges, while higher power heats things up; this risks damage.
Notice if your charger allows you to select a battery type—AGM, Gel, Flooded, and so forth. Refer to the label stamped onto the battery. Guessing wrong can harm either the charger or the battery. Take a final look to ensure all settings match the job at hand; frustration is often a product of small, overlooked details.
Step 6: Turn on and Monitor the Charger
Plug the charger into the wall and, if needed, switch it on. Lights or displays should show charging has begun; some units indicate amperage or percent completed. Manual chargers demand attention—you must turn them off at the right moment. Leave one alone all day with the battery in it, and you could come back to find a cinder block.
Step 7: Disconnecting Properly
When finished charging, shut off the charger first. Unplugthes cord from the wall outlet next. Lastly, disconnect charging clips in reverse order of attachment (negative clip first). Never touch both clips at once when they are still connected to something else. After removing the charger’s clips, confirm that all doors are closed before starting up again.
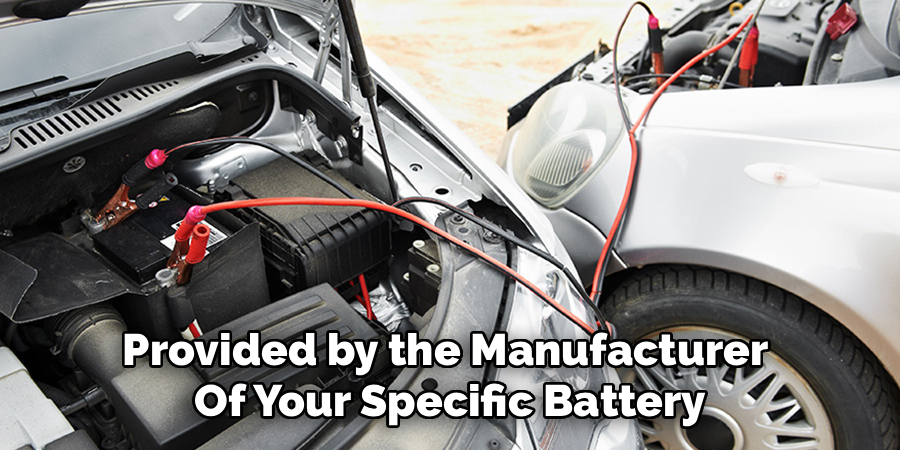
Following these steps on how to use battery charger on car can help you avoid common mistakes and ensure that your car battery stays healthy and functional. Always follow the instructions provided by the manufacturer of your specific battery charger, as well as any guidelines or warnings from your vehicle’s manual.
Additional Tips for Maintaining a Healthy Car Battery
- Regularly check the water levels in your battery (if it is not maintenance-free) and top up with distilled water if necessary.
- Keep your battery terminals clean and free from corrosion. You can use a wire brush or battery cleaning solution for this.
- Avoid overcharging your battery, as this can cause damage and shorten its lifespan. Most modern battery chargers have automatic shut-off features to prevent overcharging.
- If you are not planning on using your car for an extended period of time, it is recommended to disconnect the negative cable from the battery to avoid drainage.
- Consider investing in a trickle charger or maintainer, especially if you live in colder climates where batteries tend to drain faster.
Conclusion
Proper car battery maintenance is essential for ensuring the longevity and reliability of your vehicle. By following the tips outlined above, such as regular cleaning, avoiding overcharging, and using a trickle charger when necessary, you can prevent unnecessary breakdowns and extend the life of your battery.
Taking these simple steps on how to use battery charger on car will save you time, money, and frustration in the long run, keeping your vehicle ready to go whenever you need it.

About
Ora Hayes is a distinguished figure in the world of DIY Thecarfixes, with over a decade of expertise in automotive diagnostics and high-performance maintenance. Her professional focus lies in merging mechanical precision with modern digital tools, fostering repair solutions that are both cost-effective and highly reliable. As the author of Thecarfixes, Ora Hayes delves into the art and science of automotive restoration, inspiring car owners and hobbyist mechanics alike.
Education
RMIT University (Melbourne, Australia) Associate Degree in Automotive Engineering — Focus on vehicle dynamics, industry-driven repair protocols, and advanced diagnostics. Gained hands-on experience with traditional mechanical tools and modern ECU remapping software.
Nottingham Trent University (United Kingdom) Bachelor’s in Mechanical Design and Automotive Engineering (Honors) — Specialized in automotive systems with a focus on blending technical engineering with everyday usability. Participated in industry projects, working with leading automotive manufacturers to gain real-world insights into vehicle longevity.
Publications and Impact
In Thecarfixes, Ora Hayes shares her insights on troubleshooting complex engine issues, material durability, and strategies for efficient garage setups. Her writing bridges the gap between professional mechanic knowledge and the home enthusiast’s needs, making it a must-read for both everyday drivers and seasoned gearheads.




