

If you’ve ever found yourself staring helplessly at a car that won’t start, you know how much rides on a healthy battery. Even a small amount of corrosion at the terminals can ruin your morning—or your week. The job of cleaning those terminals might sound intimidating, but truthfully, it’s something most folks could do on a lazy Saturday with a few basic supplies and no special training.
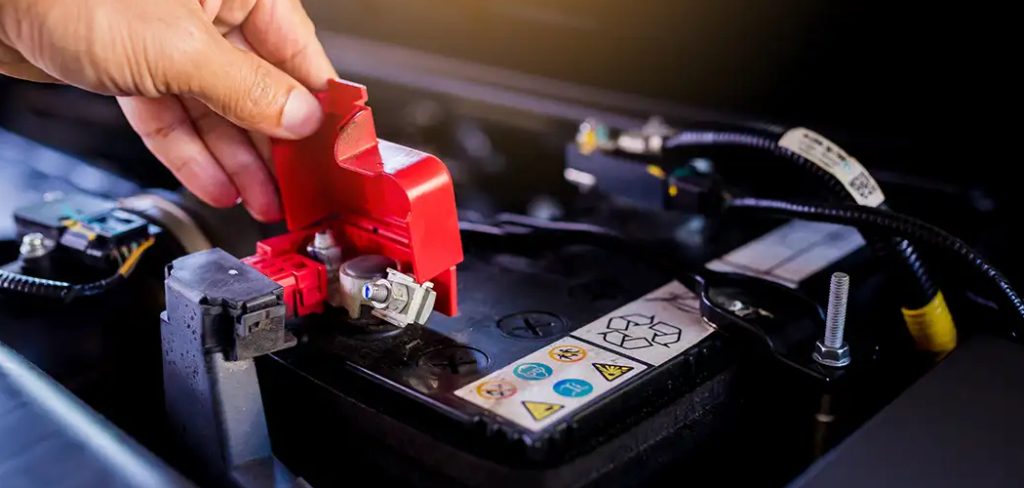
You don’t need to be a mechanic or have some mystical garage wisdom: you just need common sense, patience, and a willingness to get your hands a little dirty. Should you keep up with it, you might avoid that frantic search for jumper cables (or worse, a tow truck). In this guide on how to clean a car battery terminal, we’ll cover the basics and give you a few tips to make things easier.
Tools and Materials You’ll Need
Before getting started, gather the necessary tools and materials. These are all common household items that you probably already have on hand, making this an accessible DIY task for anyone.
- Baking soda
- Water
- Gloves (optional but highly recommended)
- Wrench or pliers
- Wire brush or toothbrush
- Clean cloth or rag
7 Real-world Steps on How to Clean a Car Battery Terminal
Step 1: Prioritize Safety and Prep Work
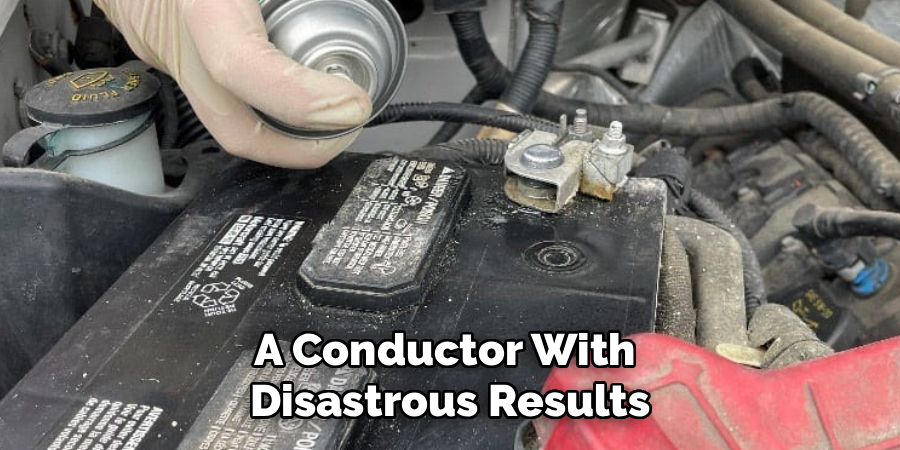
Whenever you poke around under that hood, it pays to take safety seriously. Batteries aren’t harmless—sulfuric acid can burn, and explosive gases occasionally lurk around poorly maintained units. Slip on those goggles right away, and make a habit of wearing gloves, too. Acid splashes aren’t just the stuff of urban legend. Also (this is easy to overlook), take off metal rings and watches. Strange as it sounds, an errant wedding band can quickly become a conductor with disastrous results.
After you’re suited up, give your vehicle the same consideration. Park somewhere airy—outdoors, ideally, or at least with the garage door wide open. Switch off the ignition and take the keys out entirely. If you’ve just come home, let the engine settle for half an hour so you’re not leaning over a hot motor. Is all this excessive? Perhaps. On the other hand, it’s a lot better to have a safe, unhurried workspace than to nurse a burn or short-circuit the battery because you were in a rush.
Step 2: Disconnect the Battery Cables
Cutting all power should be your first move. Always start by disconnecting the negative (black) cable first—it’s usually marked with a minus sign and will likely have a black cover or wire. Use a wrench to loosen the clamp, and, if it seems stuck, ease it open gently with a flathead screwdriver. No need for brute force.
When the negative clamp comes off, push it aside so it can’t slide back into place by accident. Then address the positive (red, plus-marked) cable, following the same gentle process. You want these cables separated and clear for the duration; bumping them back onto the terminals prematurely could spark trouble—literally. Once they’re out of the way, you can finally focus on the actual cleaning.
Step 3: Inspect for Damage and Severe Wear
Don’t reach straight for the cleaning supplies. Now’s your chance to notice problems that baking soda and elbow grease can’t solve. Check the battery case for cracks or weird bulges, peer closely at the cables, and examine the posts for fraying or serious rust. Any leaking fluid? That’s a situation for a professional, not a DIY fix.
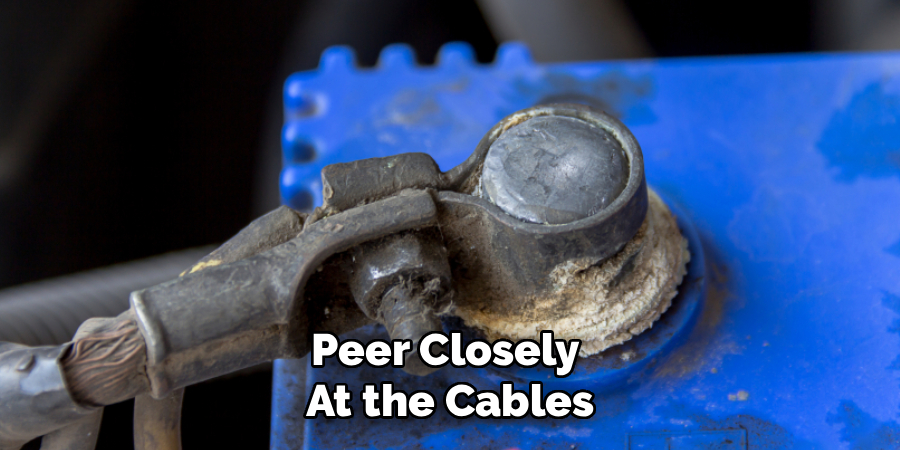
If the battery seems solid, turn your attention to the corrosion itself. This usually looks like flaky, crusty deposits—white, pale blue, and sometimes even greenish—building up around the posts and clamps. It’s not all created equal; a light dusting brushes off easily, while heavy build-up might require a more stubborn approach. Spotting serious structural decay, as opposed to just a dusty surface, can mean the difference between a job well done and a warning that you need a new battery.
Step 4: Mix Up Your Cleaning Solution
Commercial chemicals tend to overpromise. In reality, cheap kitchen baking soda works almost too well for this. In a cleaned-out cup or bowl, stir one heaping spoonful of baking soda into a cup of warm water (the warmth helps the soda dissolve—cold water just doesn’t do the trick). Mix it until there’s no grainy grit left.
What about people who like shortcuts? You could sprinkle dry soda directly on the metal, then add a splash of water. This will create a fizzy mess, but it’s effective in a pinch. That said, having a premixed solution is easier to pour and control, especially if you’re trying not to splash acid onto your fenders.
Step 5: Apply the Solution and Scrub
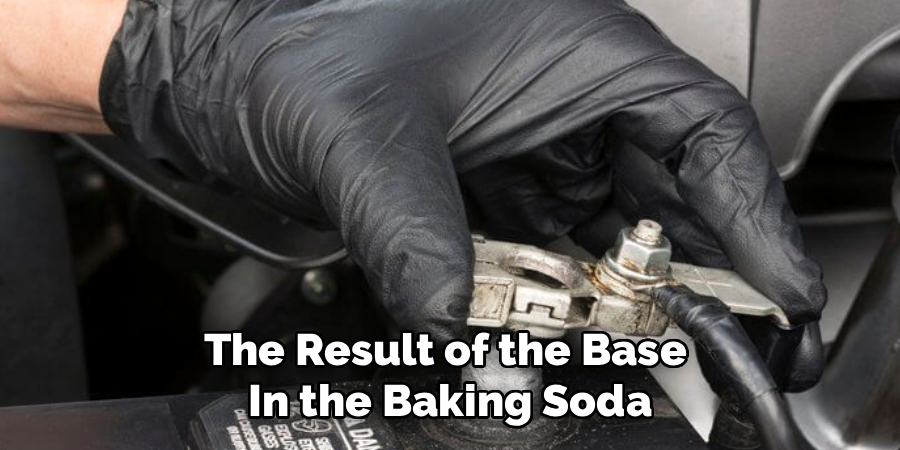
Here’s where things might get interesting. Pour or squirt your baking soda mixture directly over the patches of corrosion. You’ll probably hear fizzing and see bubbles right away—the result of the base in the baking soda reacting with the acid residue on the metal. Let it foam away for a minute or two; it softens up the worst of the crust.
When the fizz settles down, attack the area with your brush. Scrub tight circles around and under the clamps, inside and out. You’ll probably need to re-dip the brush as you go, especially if the corrosion is thick. Stubborn spots might take time, but eventually, you’ll reveal clean, metallic surfaces. Resist the urge to stop early—anything left behind could invite new corrosion.
Step 6: Rinse and Dry Everything
Dousing your battery in water is not the point. Take care here: either mist the terminals with a spray bottle or dribble just enough water to rinse away the baking soda and grime. Overdoing it risks washing dirty water into the battery’s guts, which can cause problems you don’t want.
With the residue rinsed, dry everything properly—not just a lazy wipe, but a thorough going-over with a clean towel or microfiber cloth. Focus on the tops of the battery, posts, and inside each clamp. The goal is to banish lingering moisture, which is, ironically, another enemy of a strong electrical connection. If you have compressed air, use it to clear water from tight corners, but don’t lose sleep if you don’t—it’s a luxury, not a requirement.
Step 7: Protect the Clean Metal and Reconnect
You’re almost there. Before you put everything back together, apply a little petroleum jelly over the terminals and inside the cable clamps. Some folks swear by anti-corrosion spray, which does the trick, too. Either way, you’re simply creating a barrier so corrosive gases have a harder time making a home on your nice, clean posts.
When you’re ready to reconnect, go in reverse order: connect the positive cable first (red, plus sign), tighten it securely, and then move on to the negative cable. Tug lightly on both to make sure they’re seated firmly. Loose cables can make for maddening electrical gremlins. This simple step—tight, neat cables—may spare you hours of troubleshooting down the line.
Following these steps on how to clean a car battery terminal can greatly improve the lifespan and functionality of your car battery. Regular maintenance should also include checking the terminals for any signs of corrosion, cleaning them as needed, and ensuring tight connections.
Common Mistakes to Avoid
There are plenty of ways to make a mess—or worse, to get hurt—if you’re careless. Never, for instance, disconnect the positive cable first. If your wrench touches metal, you could spark a dangerous arc.
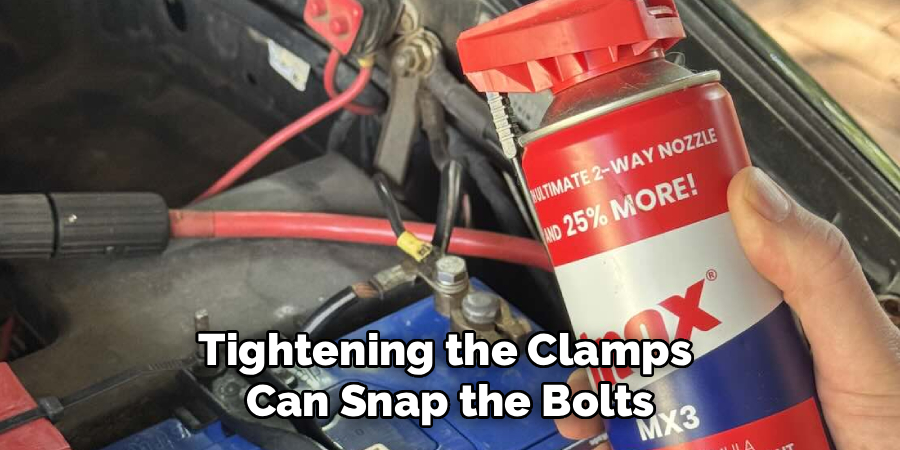
Cranking down too hard when tightening the clamps can snap the bolts or deform the battery post—a little caution beats out muscle. And be careful not to flood the vent caps with your cleaning mixture; that liquid shouldn’t get inside.
Do You Need To Use Professionals?
Most drivers are perfectly capable of handling this job. Still, not everything is as simple as it looks online. Cracks, leaks, or a bulging battery? Leave it to someone with proper gear. If you finish the job and your engine still refuses to turn over, something bigger may be at play—internal battery failure or electrical faults.
In those moments, a certified technician has the tools and know-how to diagnose what’s really wrong.
Frequently Asked Questions
Q1: How Often Should I Clean My Car Battery Terminals?
Twice a year is usually enough—about every six months. If you drive through sweltering summers, bitter winters, or lots of rain, corrosion can build up much faster. In that case, check more often. Getting in the habit of glancing at your battery whenever you do other routine maintenance can help you spot trouble before it’s serious.
Q2: Can I Use Coca-Cola To Clean Battery Terminals?
Surprisingly, yes. The acids in Cola will eat away at corrosion, but the sticky syrup it leaves behind is a magnet for dirt and insects—and makes future cleanups a chore. Baking soda and water are cleaner, cheaper, and won’t leave your engine bay smelling like a soda fountain.
Q3: Will Cleaning The Terminals Fix A Completely Dead Battery?
Only if the problem is corrosion at the terminals. If the battery is old or the cells have failed internally, no amount of scrubbing will resurrect it. Sometimes you’ll clean everything and still get no response—in those cases, a battery replacement is probably on your horizon.
Wrap Up Your Battery Maintenance Routine
None of this should take more than an hour, and the benefit—a car that starts right up when you need it—makes the minor effort worthwhile. Regular cleaning can save you money, frustration, and last-minute roadside emergencies. Next time the urge strikes, grab those gloves, check the terminal ends, and give your car’s electrical heart a little care. The confidence you’ll have, knowing the battery is healthy, might be the best return for such a mundane chore.
If you’re still reading, maybe it’s time to pop the hood and give your own battery a quick once-over. Sometimes, peace of mind is just a scrub and a rinse away. Thanks for reading this guide on how to clean a car battery terminal.

About
Ora Hayes is a distinguished figure in the world of DIY Thecarfixes, with over a decade of expertise in automotive diagnostics and high-performance maintenance. Her professional focus lies in merging mechanical precision with modern digital tools, fostering repair solutions that are both cost-effective and highly reliable. As the author of Thecarfixes, Ora Hayes delves into the art and science of automotive restoration, inspiring car owners and hobbyist mechanics alike.
Education
RMIT University (Melbourne, Australia) Associate Degree in Automotive Engineering — Focus on vehicle dynamics, industry-driven repair protocols, and advanced diagnostics. Gained hands-on experience with traditional mechanical tools and modern ECU remapping software.
Nottingham Trent University (United Kingdom) Bachelor’s in Mechanical Design and Automotive Engineering (Honors) — Specialized in automotive systems with a focus on blending technical engineering with everyday usability. Participated in industry projects, working with leading automotive manufacturers to gain real-world insights into vehicle longevity.
Publications and Impact
In Thecarfixes, Ora Hayes shares her insights on troubleshooting complex engine issues, material durability, and strategies for efficient garage setups. Her writing bridges the gap between professional mechanic knowledge and the home enthusiast’s needs, making it a must-read for both everyday drivers and seasoned gearheads.




