

If you flip open your gas cap one afternoon and spot a reddish-brown crust working its way through the tank, well, that’s not exactly a great start to your ride. Even if you’re the sort who prefers to ignore problems, rust inside a motorcycle’s fuel system won’t disappear on its own. Those crumbling flecks don’t just look bad. Given enough time, they’ll clog up your fuel lines, push debris straight into the carb or injectors, and, on an unlucky day, may even strand you miles from home. All things considered, dealing with tank corrosion sooner rather than later will usually save your engine and quite possibly your patience.

Is rust removal some arcane skill, reserved for veteran mechanics with fancy tools? Not at all. With a handful of everyday supplies and a little resolve, most riders can take on this job in a weekend, right in the garage. The steps on how to get rust out of motorcycle gas tank aren’t complex, but there are a few important details that make the process smoother—and save you trouble later. What follows is an honest, straightforward breakdown of how you can clear rust from your motorcycle’s gas tank, without wrecking the metal or your mood.
Tools and Materials You’ll Need
To get started, gather the following tools and materials:
- Safety glasses
- Gloves
- Respirator mask (optional but recommended)
- Baking soda
- White vinegar
- Water
- Funnel
- Hose (approximately 3 feet in length)
- Flexible wire or string (approximately 2 feet in length)
- Screwdriver
- Paper towels or a clean cloth
- Rust inhibitor or rust converter (optional)
- Gasoline tank sealant (optional)
7 Practical Steps on How to Get Rust Out of Motorcycle Gas Tank
Step 1: Drain and Remove the Gas Tank
Let’s start at the only sensible place—the bottom. Any fuel in there (even a cup) is laced with old varnish and sediment. Place a legitimate gas can under the tank, disconnect the fuel line, and let gravity do the rest. Rock the bike around to get every last bit. Don’t pour spent fuel down a drain or into the dirt; local regulations generally expect you to bring such stuff to a waste facility.
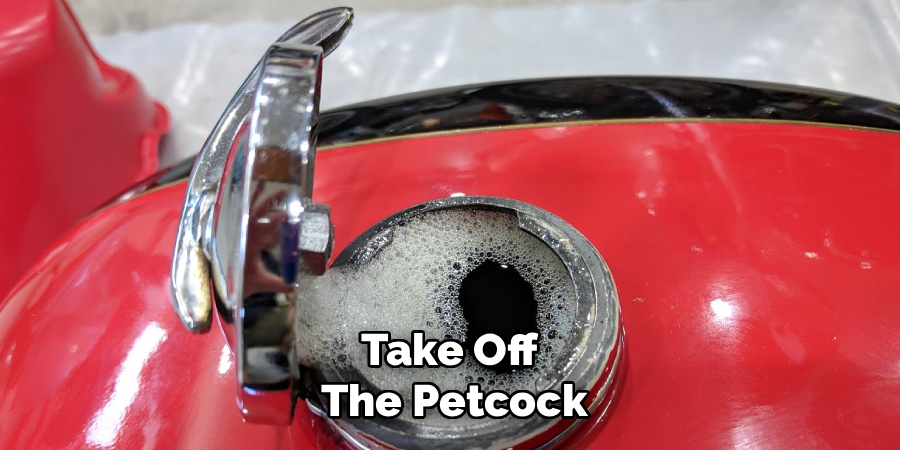
After draining, you’ll unbolt the tank. Most bikes will require you to unplug the wires for the fuel sensor and disconnect any stray hoses. Work slowly—painted surfaces are infuriatingly easy to scratch against handlebars and sharp seat rails. Set the tank down gently on a thick towel or a hunk of cardboard, away from other projects. Take off the petcock, gas cap, and filter. For every opening, plug it with a stopper or lay several tight layers of strong tape.
Step 2: Rinse with Soap and Water
With the tank off and sealed up, you’ll need to kick out the gasoline fumes and all the caked-on varnish before thinking about rust. There’s no secret formula here: heavy-duty dish soap squirted straight in, followed by a generous pour of warm water. Halfway full is good—it lets you agitate things without drowning your arms.
Cap everything tightly. Now, shake the tank for all its worth. The idea is to hurl soapy water into every nook and seam where dirt or old fuel might hide. After a couple of minutes, drain that murky mess and run clean water through once or twice, agitating each time. You want every bubble of soap out. What’s left is a tank ready for the hard stuff.
Step 3: Add Abrasive Hardware
Here’s the twist: chemical baths don’t always stand a chance against thick crusts of rust. This is where you toss in some “help.”—handfuls of loose hardware like sharp nuts, short bolts, or a short chunk of chain. Important: Count those bits before they go in. Everyone thinks they’ll remember, then loses track. A bolt left rattling inside can turn into a noisy mystery or worse, tear up an otherwise good pump or sensor later.
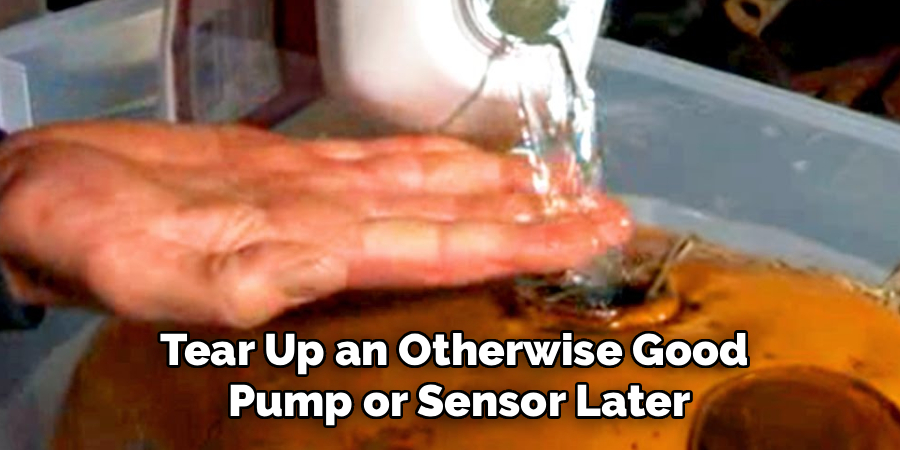
Drop them in the tank. If you opt for a chain, let an end dangle outside for easy retrieval. Don’t use anything so tiny it’ll wedge inside a seam forever. These rough edges do the majority of the physical work, scraping the interior with each move. The next step puts chemistry into play, but it’s this gritty “dance” that starts to break up the real scale.
Step 4: Pour in the Rust Remover
Now comes the heart of the cleaning process. If you trust commercial removers, check the label—some want dilution. Pour it in as directed. For those sticking to basics, fill to the brim with white vinegar. Topping off the tank ensures the solution reaches all curves—especially up by the filler neck, a notorious rust zone thanks to condensation.
Double-check your seals now. Any solution leaks will harm paint, which is a sickening sight after the effort you just put in. Vinegar relies on acetic acid, which is easy enough on the good metal but will steadily dissolve rust. Store-bought removers sometimes use phosphoric acid or chelating agents, which attack rust faster and may leave behind a thin, anti-corrosion film. Weigh speed against cost and pick your preferred product.
Step 5: Agitate the Tank—And Yourself
With both hardware and liquid inside, you’re a chemist and a manual laborer at once. Hold the tank, roll, tilt, and shake it until you hear the nuts and bolts scraping every surface. That scraping, with the acid silently gnawing away, is the working formula. Ten minutes of this is enough to start, but be ready for a marathon.
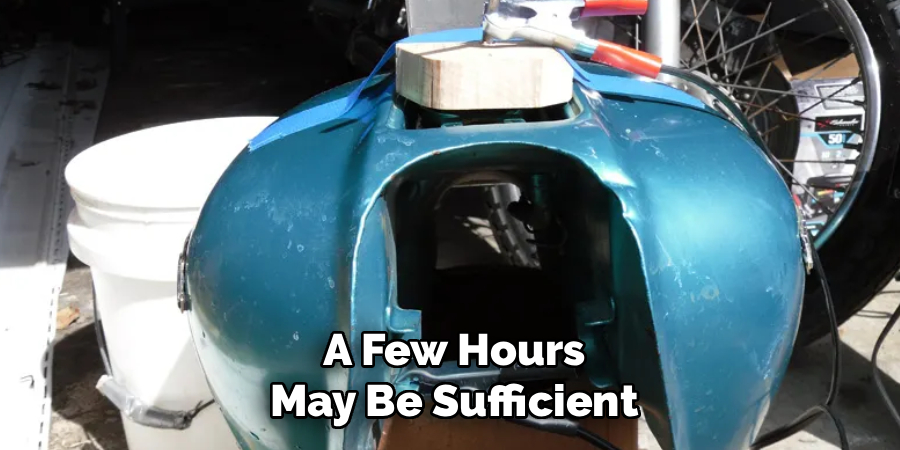
For vinegar, plan to let it soak at least 24 hours—come back occasionally for another vigorous shake. If you used a quicker-acting commercial remover, a few hours may be sufficient. It can be tempting to dump everything early, but stubborn rust often lurks in unseen crevices. Let the solution and metal do their work, while you take breaks and check in every so often.
Step 6: Drain, Count, and Neutralize
After soaking, pull the plug. Dump the solution and, just as importantly, all the hardware. Count—again. Every nut, bolt, or chain segment should reappear. The result in your bucket? Usually, something resembling weak coffee grounds—grimy, dark, a satisfying mess if you know what it looked like inside before.
Here’s where it often goes wrong: raw steel is instantly inclined to rust as soon as it’s exposed to air and moisture. To ward off this “flash rust,” fill the empty tank with a gallon of warm water and half a cup of baking soda. Shake thoroughly, as always, then drain. That mild alkaline wash halts the chemical bite of whatever you used earlier and buys you time for a proper drying.
Step 7: Rinse and Dry Before the Clock Runs Out
This step has foiled many a careful home mechanic. Rinse the tank until the baking soda and grime are out and the water runs perfectly clear. Now, there’s no time for dawdling: even in mild humidity, bare steel can start to flash rust in under an hour. Don’t just sit it in the sun and hope.
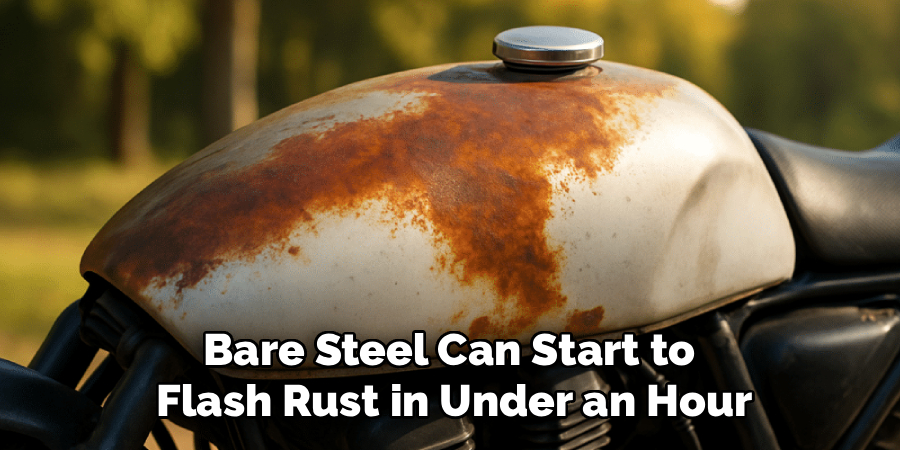
A shop vac set to blow, an air compressor nozzle, or, if you’re desperate, a gentle heat gun—get warm, moving air inside as soon as possible. The goal is absolutely dry seams and baffles, no exceptions. Once you’re certain not a drop remains, lightly spritz some water-displacing fluid (WD-40 is popular) inside, or swirl a bit of two-stroke oil around—the idea is to seal up the fresh metal. Now the tank is ready for service.
Following these steps on how to get rust out of motorcycle gas tank, you can prevent further damage to your motorcycle and ensure its optimal performance. Additionally, regular maintenance and inspection of your gas tank, especially during the off-season, can help avoid rust buildup and potential problems in the future.
Common Pitfalls
People often miscalculate the risk of flash rust, leaving tanks damp for just an hour and then wondering where the new orange dust came from. Equally, losing count of bolts or screws inside the tank is surprisingly common—and an easy way to create new problems after refitting.
It also bears repeating: never improvise with flammable or caustic chemicals, no matter how frustrated you get. The risks far outweigh a modest saving in time.
Should You Call a Pro?
Most owners can wipe out surface rust with a DIY approach and save the cash for their next ride. However, when corrosion has eaten holes or left the tank thin and fragile, you’re in another league.
That’s when a specialist—someone with ultrasonic cleaning gear, welding tools, and industrial liners—may well be your last hope before hunting down a new tank. Don’t feel defeated if you need expert help; structural rust may be genuinely beyond repair at home.
Frequently Asked Questions
Q1: Can I Use White Vinegar To Remove Rust From My Motorcycle Tank?
A1: Vinegar works. It’s cheap, easy to get, and the acid inside moves slowly but steadily against rust. You’ll need patience—heavier buildups often need more than a full day of soaking time. Compared with commercial removers, vinegar is gentle but much slower.
Q2: How Long Should I Leave The Rust Remover Inside The Gas Tank?
A2: It all comes down to the product and how bad the rust is. Bottled removers with heavy acids may sort things out in under an hour, sometimes up to a few. Home remedies, like vinegar or citric acid, test your willpower—minimum 24 hours, potentially longer. Always, always read labels and err on the side of caution.
Q3: How Do I Prevent Rust From Returning After Cleaning The Tank?
A3: An empty tank fills quickly with humid air, leading to renewed rust. As odd as it sounds, keeping your gas tank full—especially during long storage—minimizes internal condensation. If you’re after permanent peace of mind, consider a two-part sealer: those kits coat interior surfaces with a fuel-resistant epoxy that repels water and fumes equally.
Conclusion
Nobody says this job is thrilling, but the rewards are real. Taking a few hours to properly clean, treat, and seal your tank can fend off headaches for seasons to come. Rushing or skipping steps tends to invite the very problems you set out to avoid. With patience and care, you can put your tank back on, fill it with clean gas, and ride out knowing your fuel system is as clear as your conscience.
The next open road feels a bit nicer without worrying about what’s rusting beneath you. Thanks for reading this guide on how to get rust out of motorcycle gas tank.

About
Ora Hayes is a distinguished figure in the world of DIY Thecarfixes, with over a decade of expertise in automotive diagnostics and high-performance maintenance. Her professional focus lies in merging mechanical precision with modern digital tools, fostering repair solutions that are both cost-effective and highly reliable. As the author of Thecarfixes, Ora Hayes delves into the art and science of automotive restoration, inspiring car owners and hobbyist mechanics alike.
Education
RMIT University (Melbourne, Australia) Associate Degree in Automotive Engineering — Focus on vehicle dynamics, industry-driven repair protocols, and advanced diagnostics. Gained hands-on experience with traditional mechanical tools and modern ECU remapping software.
Nottingham Trent University (United Kingdom) Bachelor’s in Mechanical Design and Automotive Engineering (Honors) — Specialized in automotive systems with a focus on blending technical engineering with everyday usability. Participated in industry projects, working with leading automotive manufacturers to gain real-world insights into vehicle longevity.
Publications and Impact
In Thecarfixes, Ora Hayes shares her insights on troubleshooting complex engine issues, material durability, and strategies for efficient garage setups. Her writing bridges the gap between professional mechanic knowledge and the home enthusiast’s needs, making it a must-read for both everyday drivers and seasoned gearheads.




