

Let’s be honest—a clean car is a joy to look at, but most of us wince when the hood pops open. Underneath that shiny exterior, it’s almost guaranteed that dirt, oil, and the occasional mysterious leaf have found a home. These layers don’t just look bad, either; they cover up oil leaks and slow you down whenever you want to do the most basic checks.
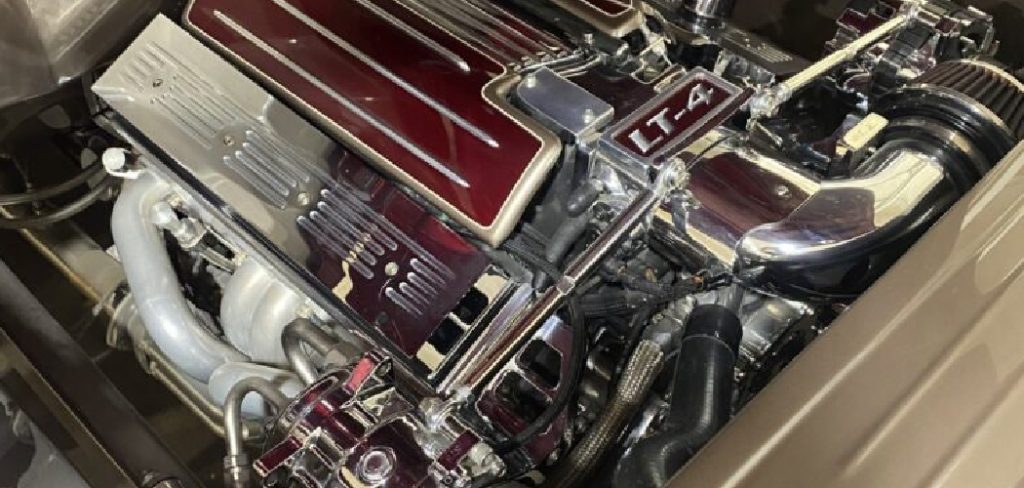
Is it worth the trouble to get your engine bay spotless? For many, tidying up under the hood isn’t about impressing car show judges—it’s a way to protect all the little rubber and plastic bits that keep things running smoothly. This isn’t rocket science, but it does require some patience if you want to avoid electrical headaches or guessing at which wires are safe to soak. In this guide on how to wash the engine bay, we’ll show you how to do it safely and simply.
The Importance of Cleaning Your Engine Bay
Cleaning your engine bay not only makes your car look better but also has practical benefits. An accumulation of dirt, grime, and grease can cause problems such as clogged air filters, corroded components, and decreased efficiency. Regularly cleaning your engine bay can help prevent these issues and keep your car running smoothly.
Additionally, a clean engine bay can make it easier to spot any leaks or potential mechanical problems. By removing the layer of dirt and debris that often covers the engine, you can quickly identify any areas that may need attention before they become bigger issues.
Is It Safe to Wash an Engine Bay?
Cleaning an engine compartment isn’t inherently dangerous. Most modern cars are, at least in theory, designed to survive rainstorms, minor floods, and splashing from puddles. But theory and practice sometimes part ways. The real hazards? High-pressure water in the wrong places and those caustic cleaners that promise miracles but eat through seals and sensors. Washing away years of grime is possible—but only if you wield the hose (and chemicals) with intent and restraint, not bravado.
Tools and Materials You’ll Need
Don’t improvise here; collecting the necessary equipment in advance wards off a fair share of headaches later.
- Automotive engine degreaser (choose one formulated for your car, not just the cheapest on the shelf)
- Detailing brushes, soft and stiff-bristle, for different surfaces
- A stack of plastic grocery bags or kitchen wrap
- Roll of masking tape or a handful of rubber bands
- Microfiber towels (lots—you’ll use more than you think)
- Hose with a nozzle that mists instead of blasts
- Protective gloves and safety glasses (the degreaser stings, trust me)
- Rubber or plastic trim protectant for afterward
7 Not-quite-glamorous, but Effective Steps on How to Wash the Engine Bay
Step 1: Cool Down the Engine
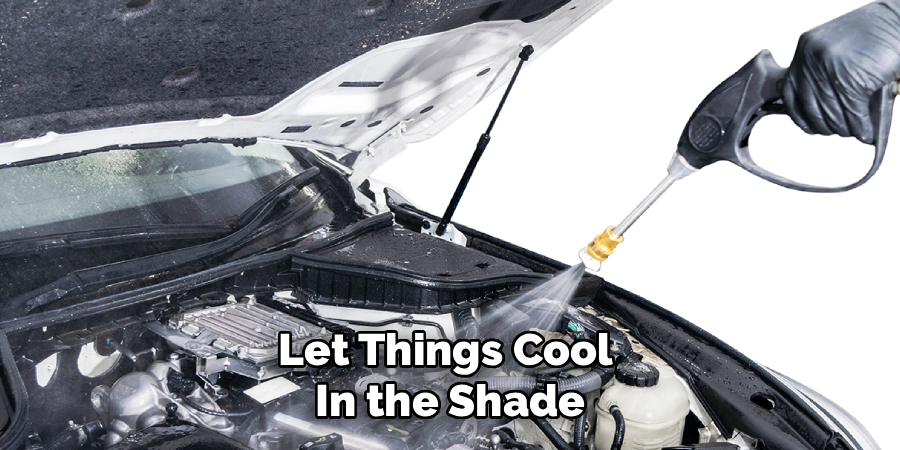
First rule? Never rush this. Spraying frigid water onto a hot engine block—no matter how satisfying the hiss—can warp metal and send you straight to the mechanic. After a drive, let things cool in the shade. If the engine is lukewarm, that’s fine; the heat helps loosen gunk. But the exhaust manifold and any obviously hot parts? If you can’t keep your hand on them, wait. Doubling back to check is worth the lost time.
Step 2: Disconnect the Battery
Water and electricity: not friends. Unfasten the negative battery cable (use a wrench, don’t just yank) and move it aside where it can’t snap back to the post. By the way, if you’re feeling particularly careful—or just want extra elbow room—pull the battery out altogether. You’ll gain better access to whatever is lurking in the tray underneath. Just wear gloves; car batteries are not gentle on hands.
Step 3: Cover Sensitive Components
Some parts of the bay should never get wet. Grab those plastic bags and cover the alternator, distributor (if your car has one), air intake, and any visible electrical connectors. Everything wrapped? Good. Seal with tape or rubber bands so nothing wiggles free. Most manufacturers work hard to waterproof their wiring, but it only takes a single stray jet of water in the wrong place to turn an ordinary Sunday project into a no-start Monday morning.
Step 4: Apply the Engine Degreaser
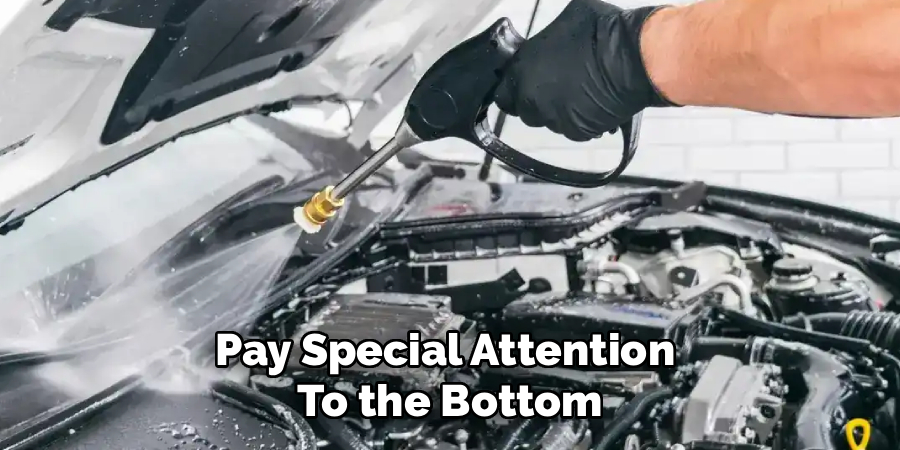
Once it’s sealed up, spray degreaser everywhere you see grime. Pay special attention to the bottom of the engine block (gravity has a tendency to send messes downward), around fluid reservoirs, and along the firewall. Be careful near painted areas—many degreasers are not kind to clear coats or wax. Let it soak for 10–15 minutes; don’t rush. If nothing seems to budge? Go in with a second round. Sometimes the most stubborn deposits don’t get the memo the first time around.
Step 5: Get Scrubbing
Time to roll up your sleeves. The degreaser’s chemical magic helps, but elbow grease finishes the job. Use stiff brushes for metal and softer ones for plastic and rubber. Tackle one section at a time rather than darting around the bay. Start high and work down so filth cascades toward spots you’ll hit next. Tight spaces around hoses and reservoirs tend to collect the worst dirt—give them a little extra attention.
Step 6: Rinse—Gently!
Now for the most nerve-racking part: rinsing. Select the softest nozzle setting, aiming for a gentle shower rather than a jet that could pierce a weather seal or force water into those connectors you just protected. Rinse from the windshield toward the bumper, helping everything drain away from delicate parts. Leftover degreaser isn’t harmless—over time, it warps rubber and fades plastic, so give things a thorough once-over.
Step 7: Dry and Protect
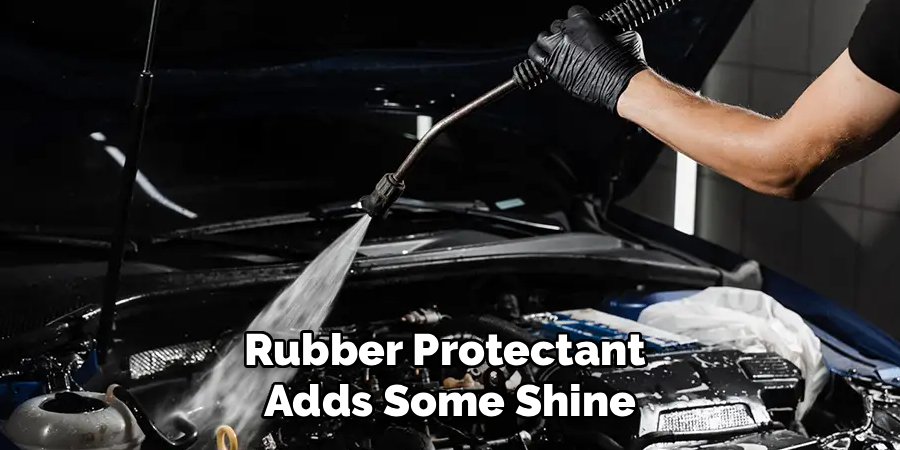
Don’t just walk away. Standing water causes spots and may invite rust if you’re unlucky. Either break out the air compressor or a leaf blower to chase water out of crevices, then follow up with microfiber towels. Once it’s dry, remove all the covers and reconnect the battery. For that finishing touch, a spritz of plastic and rubber protectant adds some shine and helps keep the dust at bay, at least for a little while.
Following these steps on how to wash the engine bay will not only keep your car looking clean and well-maintained, but it can also help prevent potential issues down the road. A clean engine bay allows for easier inspection of components, making it easier to spot any leaks or damage that may need to be addressed. It also helps to maintain the resale value of your car, as a well-kept engine bay can give the impression that the rest of the vehicle has been taken care of as well.
Maintenance Thoughts
How often should you bother with all this? It depends. A couple of deep cleans a year works for most. But if you live where salt or dust are daily battles, more frequent washes may be necessary.
Don’t forget the easy-to-miss debris—leaves, pine needles—that loves to wedge itself in the cowl under the windshield. Taking two minutes to remove them can save you from a drainage clog come rainy season.
Common Mistakes to Sidestep
Some slip-ups are all too familiar: using a high-pressure washer under the hood, dousing a hot engine, or forgetting to cover the alternator and intake.
Each of these can cause headaches, sometimes costly ones. It’s strange how the simplest misstep becomes obvious only after the fact.
Staying Safe
It might seem obvious, but personal safety is too often overlooked. Heavy-duty gloves and real safety glasses are a must. That degreaser isn’t forgiving on skin or eyes, and debris dislodged during scrubbing can catch you off-guard.
Good ventilation is not just a suggestion—work on your driveway or somewhere the fumes disperse easily. And whatever you rinse off the car, try not to let it run into your local storm drain (engine runoff is the last thing our waterways need).
Frequently Asked Questions
Q1: Can I Use Dish Soap To Clean My Engine Bay?
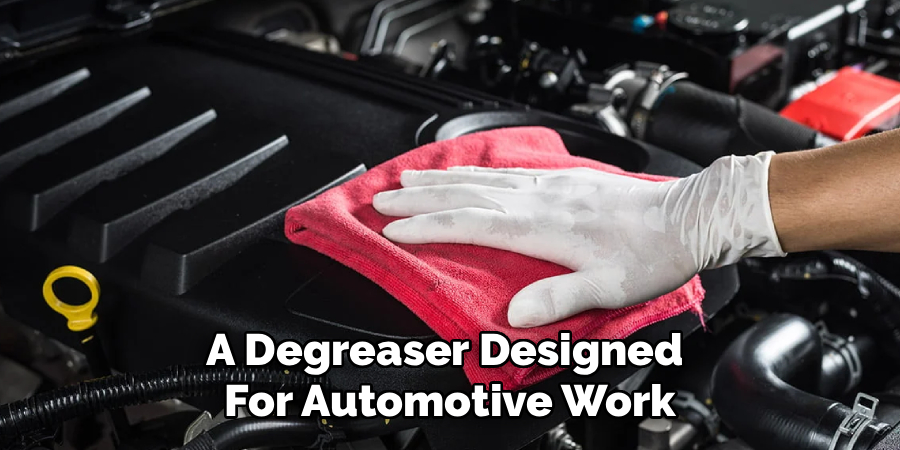
Tempting as it may be to reach for kitchen soap, most dish detergents are overly harsh on rubber and can strip away factory coatings that protect metal. It’s smarter (and safer) to stick with a degreaser designed for automotive work.
Q2: How Long Does It Take To Wash an Engine Bay?
Plan for 45 minutes to an hour and a half, assuming you’re attentive about cooling, wrapping, scrubbing, and drying. If you keep the bay fairly clean most of the year, this process will, thankfully, take far less time.
Q3: Will Cleaning the Engine Void my Warranty?
Unlikely, as long as you aren’t reckless. Follow the safe steps in your manual, and you should be fine. Use a pressure washer or flood the air intake, though, and you could be looking at an expensive repair that the warranty won’t touch.
Conclusion
Spending some time under the hood—on your terms—keeps both your hands and your car in better shape. It’s easier to spot little problems, swap out fluids, or just take pleasure in knowing your car is cleaner than most people’s kitchens.
The process isn’t glamorous, but it’s rewarding in a way only car owners truly understand. Thanks for reading this guide on how to wash the engine bay.

About
Ora Hayes is a distinguished figure in the world of DIY Thecarfixes, with over a decade of expertise in automotive diagnostics and high-performance maintenance. Her professional focus lies in merging mechanical precision with modern digital tools, fostering repair solutions that are both cost-effective and highly reliable. As the author of Thecarfixes, Ora Hayes delves into the art and science of automotive restoration, inspiring car owners and hobbyist mechanics alike.
Education
RMIT University (Melbourne, Australia) Associate Degree in Automotive Engineering — Focus on vehicle dynamics, industry-driven repair protocols, and advanced diagnostics. Gained hands-on experience with traditional mechanical tools and modern ECU remapping software.
Nottingham Trent University (United Kingdom) Bachelor’s in Mechanical Design and Automotive Engineering (Honors) — Specialized in automotive systems with a focus on blending technical engineering with everyday usability. Participated in industry projects, working with leading automotive manufacturers to gain real-world insights into vehicle longevity.
Publications and Impact
In Thecarfixes, Ora Hayes shares her insights on troubleshooting complex engine issues, material durability, and strategies for efficient garage setups. Her writing bridges the gap between professional mechanic knowledge and the home enthusiast’s needs, making it a must-read for both everyday drivers and seasoned gearheads.




