

Car remotes make daily driving easier, but they can stop working after a battery change, replacement, or loss of synchronization. If you are searching for how to program a car remote, you are likely trying to reconnect a key fob so it can lock, unlock, or start your vehicle again.
Remote programming is the process of pairing a transmitter with your car’s receiver. Some vehicles let you do this from the driver’s seat with a simple sequence. Others require dealer software, a locksmith tool, or a scan device.
This guide explains the process in a beginner-friendly way, without assuming every vehicle works the same. You will learn how to check your remote, prepare the car, enter programming mode, pair one or more remotes, test the buttons, and know when professional help is the smarter choice.
Why Car Remote Programming Matters
Car remote programming matters because your key fob is part of your vehicle’s access and security system. When it is not paired correctly, you may lose remote locking, panic alarm control, trunk release, or push-button start functions.
Correct programming also helps prevent wasted money. Many people replace a remote when the real issue is a weak battery, wrong fob type, or missed programming step.
Understanding the basics can save time, reduce stress, and help you explain the problem clearly if you need help from a dealership or automotive locksmith. It also helps you avoid forcing buttons, damaging the remote case, or buying an incompatible replacement.
Step-By-Step Guide To How To Program A Car Remote
Step 1: Confirm The Remote Matches Your Vehicle
Before you try any programming steps, make sure the remote is compatible with your vehicle’s make, model, year, and trim. Two remotes may look almost identical but use different frequencies, button layouts, or internal chips.
Check the part number printed inside the fob case or on the back cover. You can compare it with your owner’s manual, dealer parts information, or a trusted automotive locksmith.
This step matters because an incompatible remote will not pair, no matter how carefully you follow the process. Starting with the correct remote prevents confusion and saves time.
Step 2: Replace Or Check The Battery
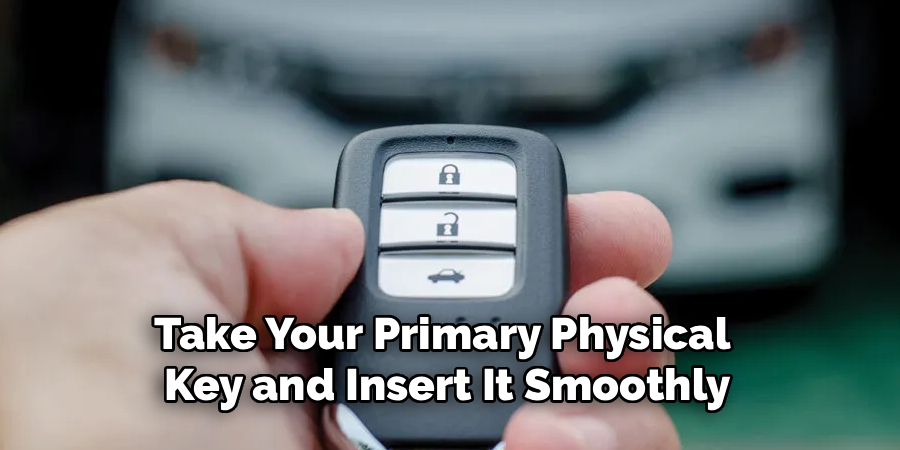
A weak battery is one of the most common reasons a remote fails. Before programming, open the remote carefully and check the coin-cell battery. Many key fobs use batteries such as CR2032 or CR2025, but you should verify the correct type for your remote.
Install the battery with the positive and negative sides facing the right direction. If the contacts look dirty or bent, gently clean or adjust them.
After replacing the battery, press a button and look for a small indicator light if your remote has one. A healthy battery gives the programming process a better chance of working.
Step 3: Review The Owner’s Manual
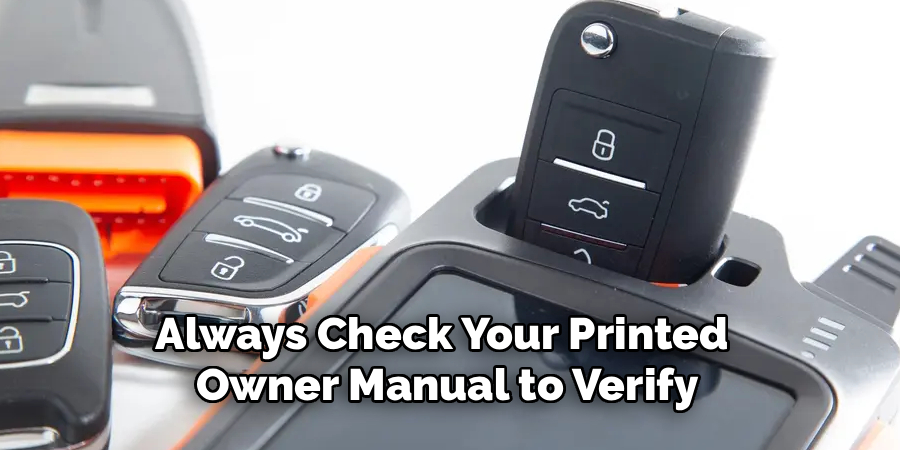
Your owner’s manual is the best starting point because remote programming steps can vary widely. Some cars use a key cycling sequence, while others require door lock actions, dashboard menu settings, or diagnostic equipment.
When learning how to program a car remote, avoid relying on random instructions that may apply to a different model year. Even small changes in the vehicle’s security system can affect the process.
Look for sections about keyless entry, remote transmitter, smart key, or replacement keys. If the manual says dealer programming is required, onboard pairing may not be available.
Step 4: Prepare The Vehicle For Pairing
Once you have the correct remote and a strong battery, prepare the vehicle. Sit in the driver’s seat with all doors closed. Keep the key, remote, and any extra remotes within easy reach.
Make sure the vehicle battery is charged. A weak car battery can interrupt programming mode or cause the system to exit before pairing is complete.
Turn off lights, radio, climate controls, and accessories if the manual recommends it. This helps reduce distractions and keeps the process simple. Many programming sequences are timed, so read the steps first before you begin.
Step 5: Enter Programming Mode
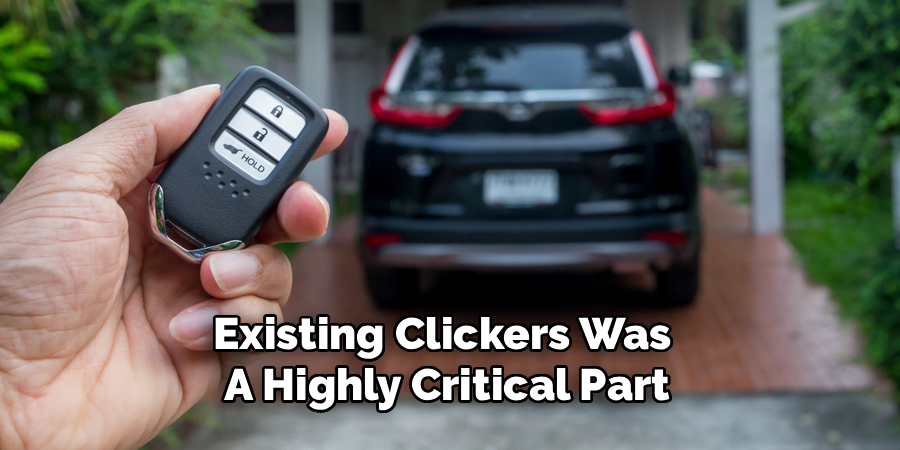
Programming mode tells the vehicle to listen for a remote signal. Depending on the car, this may involve turning the ignition from off to on several times, pressing the door lock switch, opening and closing the driver door, or using a dashboard setting.
When following steps for how to program a car remote, timing is important. If the manual says to complete actions within a few seconds, move steadily and avoid long pauses.
The car may confirm programming mode with a door lock cycle, horn chirp, dashboard message, or flashing light. If nothing happens, restart from the beginning and check the sequence.
Step 6: Pair Each Remote One At A Time
After the vehicle enters programming mode, press the required button on the remote. This is often the lock or unlock button, but some vehicles require both buttons at once.
If the pairing succeeds, the car may lock and unlock the doors, flash the hazard lights, or make a chime. Repeat the process for each additional remote while the vehicle remains in programming mode.
Many vehicles erase old remotes when new ones are added, so you may need to pair every remote during the same session. This includes spare fobs that already worked before.
Step 7: Test All Remote Functions
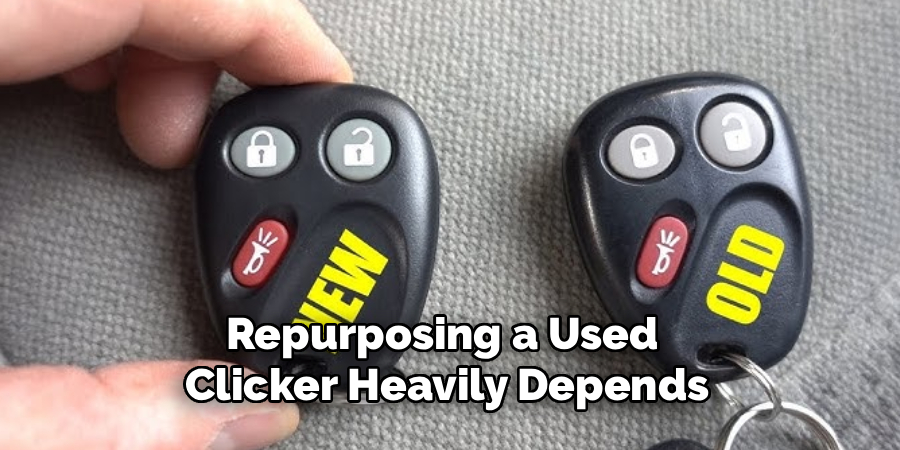
After pairing, exit programming mode as directed by the manual. This may happen when you turn the ignition off, open the door, or wait a few seconds.
Now test the remote from close range first. Press lock, unlock, trunk release, panic, and remote start if your vehicle supports it. If those work, step farther away and test again.
Also check that the physical key blade works in the door, if your fob includes one. For smart keys, make sure the vehicle detects the fob inside the cabin and starts normally.
Step 8: Troubleshoot Or Get Professional Help
If the remote still does not work, do not assume it is defective right away. Common issues include a wrong part number, weak vehicle battery, incorrect programming sequence, damaged remote buttons, or a blown fuse in the door lock system.
Some vehicles do not support onboard remote programming at all. In those cases, a dealership or automotive locksmith must use special equipment to register the remote.
Professional help is also smart if your vehicle uses an immobilizer chip, push-button start system, or advanced security module. These systems often need secure software access.
Frequently Asked Questions
Can I Program A Car Remote Myself?
Yes, many older and some newer vehicles allow self-programming from the driver’s seat. The exact process depends on the make, model, and year. Some vehicles require a working master key or an already programmed remote before you can add another one. If your manual says special equipment is required, you will need a dealership or locksmith.
Why Won’t My Key Fob Enter Programming Mode?
Your car may not enter programming mode if the sequence is wrong, the timing is too slow, a door is open, or the vehicle battery is weak. It may also happen if your model does not support onboard programming. Check the owner’s manual carefully and verify that the remote part number matches your vehicle before trying again.
Do I Need To Program All Remotes At Once?
In many vehicles, yes. Some systems erase previously stored remotes when programming mode begins. If that happens, only the remotes paired during that session will work afterward. To avoid losing access to a spare remote, gather every fob you want to use before starting the process and pair them one after another.
Is Remote Programming The Same As Key Programming?
Not always. Remote programming usually controls lock, unlock, trunk, and panic functions. Key programming may involve the immobilizer chip that allows the engine to start. A remote can sometimes unlock the doors but still fail to start the car if the transponder or smart key system has not been programmed correctly.
When Should I Call A Locksmith Or Dealer?
Call a locksmith or dealer if your vehicle does not support onboard programming, if you lost all keys, or if the remote is part of a smart key system. You should also get help if repeated attempts fail after battery replacement and part number checks. A professional can test the remote and program it with the right tools.
Conclusion
Programming a car remote can be simple, but the exact process depends on your vehicle’s design. Start by confirming compatibility, checking the battery, reading the manual, preparing the car, entering programming mode, pairing each remote, and testing every function.
If the remote will not pair, the issue may be a weak battery, wrong fob, missed timing step, or a system that requires professional equipment. Knowing how to program a car remote helps you handle basic pairing with confidence and recognize when expert support is needed.

About
Ora Hayes is a distinguished figure in the world of DIY Thecarfixes, with over a decade of expertise in automotive diagnostics and high-performance maintenance. Her professional focus lies in merging mechanical precision with modern digital tools, fostering repair solutions that are both cost-effective and highly reliable. As the author of Thecarfixes, Ora Hayes delves into the art and science of automotive restoration, inspiring car owners and hobbyist mechanics alike.
Education
RMIT University (Melbourne, Australia) Associate Degree in Automotive Engineering — Focus on vehicle dynamics, industry-driven repair protocols, and advanced diagnostics. Gained hands-on experience with traditional mechanical tools and modern ECU remapping software.
Nottingham Trent University (United Kingdom) Bachelor’s in Mechanical Design and Automotive Engineering (Honors) — Specialized in automotive systems with a focus on blending technical engineering with everyday usability. Participated in industry projects, working with leading automotive manufacturers to gain real-world insights into vehicle longevity.
Publications and Impact
In Thecarfixes, Ora Hayes shares her insights on troubleshooting complex engine issues, material durability, and strategies for efficient garage setups. Her writing bridges the gap between professional mechanic knowledge and the home enthusiast’s needs, making it a must-read for both everyday drivers and seasoned gearheads.




