

Engines are, at their core, a controlled dance of parts and timing, and the camshaft position sensor is one of those quiet players that, when it goes out of step, throws off the whole performance. If the sensor fails, a surprising range of problems can creep in: a rough or wandering idle, an engine that drinks more gas than usual, or—most annoyingly—a stubborn refusal to start. Suddenly, a little sensor becomes the difference between getting to work and calling for a tow.
Now, you might glance at the mass of wires and bolts under your hood and think: surely this is a specialist’s turf. That’s not always the case. With a cautious approach and some basic tools, you can handle this job yourself. The process isn’t magic, but it does save both time and—perhaps more persuasively—money. In this guide on how to replace camshaft position sensor, we’ll walk you through the steps so that you can get your car back on the road in no time.
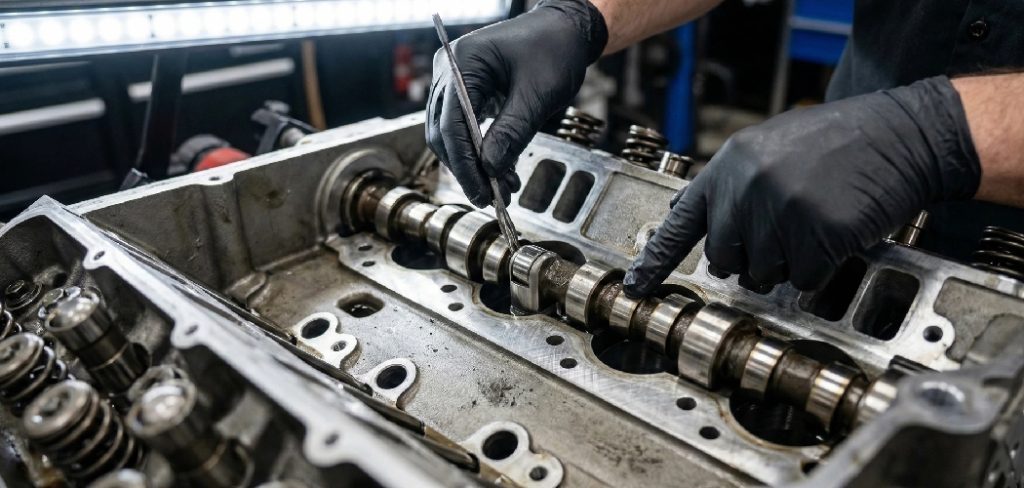
Signs of a Faulty Camshaft Position Sensor
Jumping straight into the engine without knowing what’s actually wrong is rarely wise. So how do you know your sensor is the culprit? If the dashboard’s check engine light is glowing and the OBD-II scanner spits out codes like P0340, that’s your first, not infallible, hint. These codes tend to flag issues with the sensor circuits directly.
But the dashboard doesn’t tell the whole story. You may notice the engine hiccups as you accelerate, misfires for no apparent reason, or gives you a hard time at the gas pump. Sometimes, after turning the key, the engine grinds endlessly before deciding to start. In many cases, these warning signs suggest the sensor is on its way out, especially when they begin to overlap. Still, there’s always a chance something else is to blame, so keep an open mind.
Tools and Materials You’ll Need
Before you touch a single bolt, gather the right gear:
- Replacement camshaft position sensor, specific to your vehicle (don’t trust “universal” fits)
- Socket set, likely 10mm or 8mm, but always double-check
- Flathead screwdriver for coaxing stubborn connectors
- Safety glasses and mechanics’ gloves; if you’ve ever stabbed a knuckle on a hot engine, you know why
- OBD-II code reader—to reset fault codes after the job
- A clean rag, ideal for mopping up oil or debris around the sensor
Safety Precautions
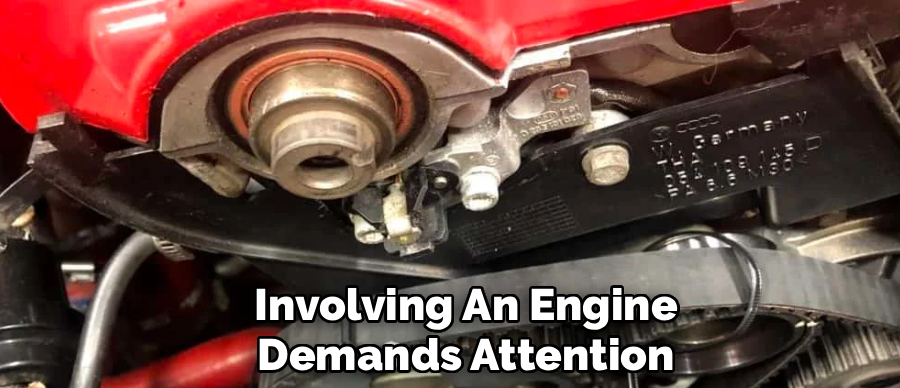
Any chore involving an engine demands attention to safety—or, more bluntly, a healthy respect for things that can burn or jolt you. Wait until the engine cools completely before starting. Once that’s done, park on a level spot and set your parking brake. One step that’s sometimes skipped in a rush: disconnect the battery’s negative terminal.
Yes, it seems tedious. But it’s the best single defense against shorting something expensive, or accidentally “waking up” an electrical system that doesn’t appreciate being disturbed.
7 Simple Step-by-step Guidelines on How to Replace Camshaft Position Sensor
Step 1: Locate the Sensor
Begin with detective work. Where is the sensor? Its position changes from car to car, from engine to engine. Sometimes it’s staring right at you from the top of the cylinder head. On others, it hides at the back of the valve cover—right where your hand refuses to fit. Often, it’s settled near the timing belt. If your first glance doesn’t spot it, grab the service manual or (let’s be honest) look up a reliable photo or diagram. What you seek is generally a knobby black plastic cylinder, anchored with one bolt and plugged into a wiring harness. Identifying it now is easier than undoing unnecessary bolts later.
Step 2: Disconnect the Battery
With the sensor’s location sorted out, attention shifts to the battery. Pop the hood, find the negative terminal (it’s typically black, marked with a minus), and use the proper wrench or socket to loosen it. Slip off the cable and, crucially, secure it so it doesn’t flop back into place while your focus is elsewhere. This step isn’t just a safety lecture—some cars actually reset minor computer glitches after the sensor swap. Gives you a clean slate to work from.
Step 3: Remove the Electrical Connector
The next hurdle is detaching the wiring. Most cam sensors use a connector designed never to come loose accidentally; expect a fiddly tab or clip that resists removal. Press or pry the release while wiggling—not yanking—the connector. Dirt, heat, and time may have glued it in place; a flathead screwdriver helps, but go slow, as tugging on wires invites trouble. It’s always easier to fix a stubborn connector than a broken one.

Step 4: Unscrew the Mounting Bolt
With the harness out of the way, set your sights on the sensor’s bolt. Usually, there’s just one—an 8mm or 10mm head in most cases. If clearance is tight, use an extension on your ratchet. Sometimes bolts resist being persuaded, especially after years in a hot engine bay; patience and firm, gradual pressure win the day. Once you free the bolt, don’t drop it. That single moment of carelessness can mean ten more minutes fishing it from somewhere unreachable.
Step 5: Remove the Old Sensor
With the bolt gone, the sensor should come free. Should—sometimes that’s wishful thinking. The rubber O-ring can glue itself in place after thousands of heat cycles and miles. Try a gentle twist-and-pull; if it won’t budge, a light tap with a screwdriver handle might help. Avoid brute force; breaking the sensor off inside the engine escalates the job quickly. When the old sensor does come out, use a rag to clean the port—oil and dirt here cause headaches for the new part.
Step 6: Install the New Sensor
Pause to compare the new and old sensors. Their shape and connectors should match precisely. Lightly oil the new O-ring before installation—this tiny step makes a difference, allowing the sensor to slide in without pinching. Align the bolt holes, push the new sensor into place until it sits flat, and only then insert the bolt by hand. If it catches or feels cross-threaded, pull back and realign; stripped engine threads are a nightmare you’d rather avoid.

Step 7: Reconnect Everything and Test
Bolt the sensor down snugly, not insanely tight—you just need it secure. Plug in the connector; a solid click signals it’s in place. Restore the negative cable to the battery. Now, moment of truth: start the vehicle. Ideally, the engine comes to life, perhaps smoother than before. Any codes lingering in the computer may clear themselves after a few runs, but using your OBD-II tool to erase them immediately saves worry. A quick drive should confirm whether the sputtering and stalls have vanished.
Following these steps on how to replace camshaft position sensor can help improve the overall performance of your vehicle. Additionally, keeping up with regular maintenance and replacing faulty parts can save you time and money in the long run.
Troubleshooting After Replacement
So, what if things still aren’t quite right? If the check engine light stays on or the symptoms continue, double-check your work. That connector might not be fully seated—or perhaps the wiring is damaged somewhere along its length.
Even veteran mechanics sometimes grab the wrong part by mistake; a sensor that fits but doesn’t match your engine’s requirements will refuse to cooperate. Retrace your steps. The fix is often simpler than it appears.
Tips for a Successful Replacement
A methodical approach usually wins out. Snap a few reference pictures before disconnecting anything; future-you will appreciate it when it comes time to put everything back. If you’re working over an open portion of the engine, use a cloth as a catch net for stray bolts.
Always, always lubricate a new O-ring—it keeps things sealed and makes the job easier next time.
Common Mistakes to Avoid
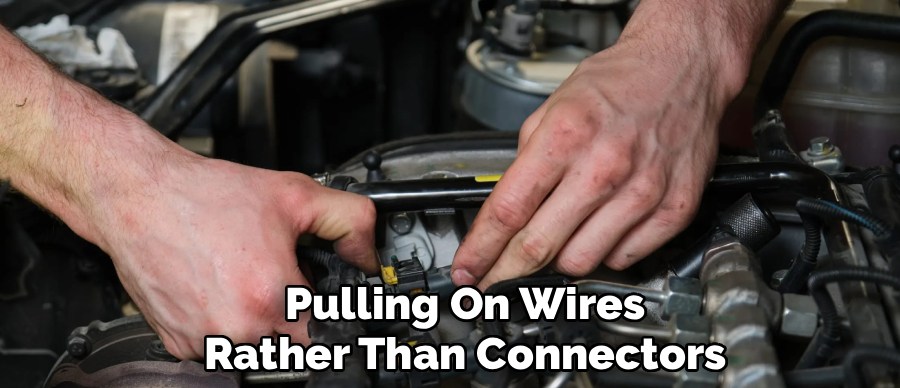
Skipping the battery disconnect can land you in electrical trouble, and pulling on wires rather than connectors damages those delicate pins you can’t see. Forgetting to oil the new O-ring is an invitation for leaks down the road, and overtightening bolts (or cross-threading them) creates more work than the ten seconds you might have saved.
Finally, never assume a persistent issue is the sensor alone; sometimes the problem runs deeper in the system.
When to Seek Professional Help?
Not every job should be a solo mission. If your sensor seems embedded behind intake manifolds—requiring parts removal that you’re not prepared to handle—there’s no shame in handing things off to a professional. If new codes keep popping up, especially electrical faults, specialized diagnostics may be necessary.
And if the sensor snaps off in place or won’t budge, a shop will have the extraction tools needed (and the insurance, if something goes very wrong).
Frequently Asked Questions
Q1: Can I Drive With A Bad Camshaft Position Sensor?
You can—but it’s not advisable. The car may enter a limp mode, guzzle gas, or stall at the least opportune moments. Prolonged driving could eventually leave you stranded, or worse, cause deeper engine issues.
Q2: How Long Does It Take To Replace A Camshaft Position Sensor?
If the part is easy to reach, expect to spend 15 to 30 minutes from start to finish. For sensors buried behind other engine bits, budget an hour or more and don’t cut corners by skipping preparatory steps.
Q3: Will Replacing The Sensor Clear The Check Engine Light?
In most cars, the light turns off after a few normal drives with the new sensor in place. In some, it’s stubborn and needs an OBD-II scanner to reset it. Clearing the fault code manually gives you immediate closure—otherwise, wait and see.
Conclusion
Swapping out a camshaft position sensor may seem minor, but the savings—and the satisfaction—are real. Careful preparation, measured steps, and a bit of patience turn an annoying engine issue into a manageable home fix. Follow the procedure, work safely, and double-check everything as you reassemble.
If you’ve made it this far—well done. With luck, your engine will reward you with smooth starts for miles to come. For your next DIY session, keep your vehicle’s manual handy and don’t rush. Reliable repairs are built on patience. Thanks for reading this guide on how to replace camshaft position sensor.

About
Ora Hayes is a distinguished figure in the world of DIY Thecarfixes, with over a decade of expertise in automotive diagnostics and high-performance maintenance. Her professional focus lies in merging mechanical precision with modern digital tools, fostering repair solutions that are both cost-effective and highly reliable. As the author of Thecarfixes, Ora Hayes delves into the art and science of automotive restoration, inspiring car owners and hobbyist mechanics alike.
Education
RMIT University (Melbourne, Australia) Associate Degree in Automotive Engineering — Focus on vehicle dynamics, industry-driven repair protocols, and advanced diagnostics. Gained hands-on experience with traditional mechanical tools and modern ECU remapping software.
Nottingham Trent University (United Kingdom) Bachelor’s in Mechanical Design and Automotive Engineering (Honors) — Specialized in automotive systems with a focus on blending technical engineering with everyday usability. Participated in industry projects, working with leading automotive manufacturers to gain real-world insights into vehicle longevity.
Publications and Impact
In Thecarfixes, Ora Hayes shares her insights on troubleshooting complex engine issues, material durability, and strategies for efficient garage setups. Her writing bridges the gap between professional mechanic knowledge and the home enthusiast’s needs, making it a must-read for both everyday drivers and seasoned gearheads.




