

There’s a certain satisfaction in looking after your own car, especially when it comes to brakes—a system that, frankly, can get neglected more than it should. The prospect might seem daunting, I’ll admit; the idea of tinkering with something as vital as the brakes has discouraged plenty of drivers from raising the hood and giving it a go.
However, with a measure of patience and a sensible approach, putting new brake pads in a caliper often turns out to be less complicated than the anxious voice in your head expected. It’s about more than money, too. Tackling this project gives you genuine insight into the upkeep of your vehicle, putting a bit more control and confidence in your hands.
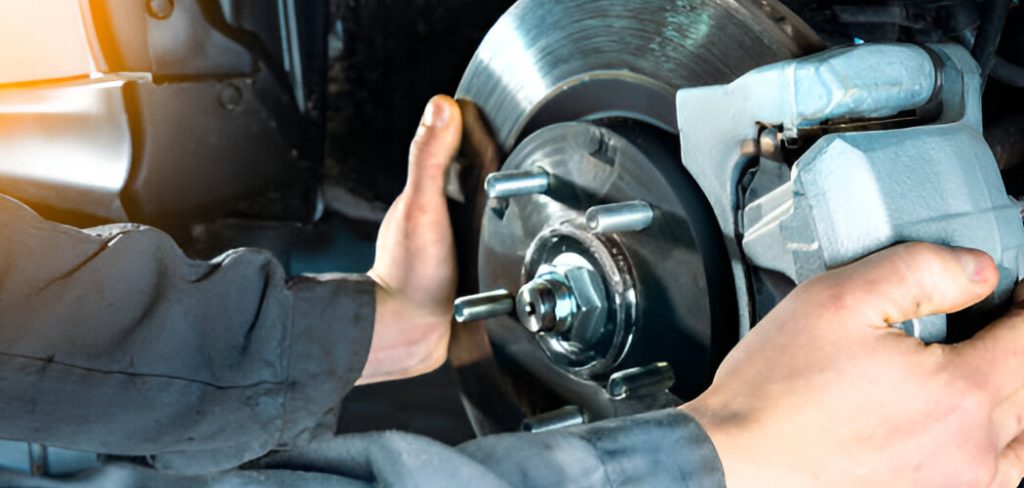
If you’ve decided to go headlong into this essential bit of car maintenance, you could do far worse than read on. What follows isn’t “one simple trick” or a magical shortcut, but a detailed, realistic guide rooted in real-world process. I’ll outline the specific tools you need (no, that crusty adjustable wrench from the bottom drawer won’t do the trick), highlight relevant safety steps, and walk through each major stage of swapping your brake pads.
These aren’t suggestions for “optimal road safety” served with a cheery wink from a marketing team. They’re practicalities you’ll actually rely on in a home garage, possibly with grease up to your elbows and a neighbor poking their head in, asking what on earth you’re up to. In this guide on how to put brake pads in caliper, we’ll cover everything you need to know.
Signs You Need New Brake Pads
Your car isn’t subtle about trouble—especially with the brakes. One unmistakable clue: that irritating, shrill whine or faint squawk when you press down on the pedal. This isn’t just ambient city noise; the sound comes from a tiny metal tab built into the pad as a warning. Ignore it, and the next sound you’ll hear—metal grinding into the rotor—is less a suggestion and more a plea. By that point, the cost and damage are, let’s say, unavoidably clear.
Of course, not every symptom blares quite so loudly. Maybe your brake pedal suddenly feels soft, almost marshy underfoot, and it travels surprisingly far before your car even thinks about slowing. Or you notice a rhythmic shake pulsing through the pedal, perhaps even the steering wheel, as you coast to a stop. These sensations can hint at trouble with the rotors, possibly heat-warped after thousands of miles of hard use.
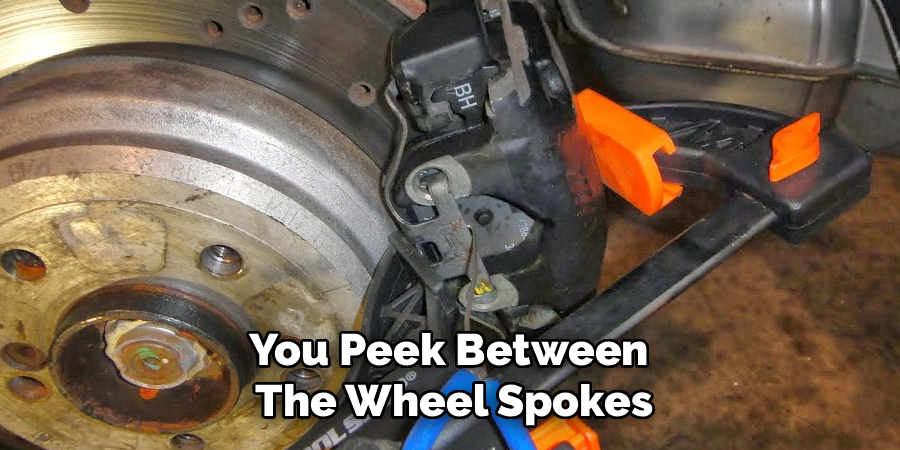
Some drivers like to take a visual approach. If you peek between the wheel spokes and spot a frail sliver of brake pad—anything under a quarter-inch is suspect, albeit few carry rulers for such a purpose—it’s wise to act now, not “next time.” And if the dashboard brake warning light flashes at you? That’s a gentle nudge turning into a stern warning. Leaving that unattended is a gamble with safety.
Tools and Materials You’ll Need
To properly diagnose and replace your brake pads, you’ll need a few tools and materials. Here’s a list of the essentials:
- Jack or lift: To elevate your vehicle safely.
- Wheel chocks: To prevent your car from rolling while you work on it.
- Lug wrench: For removing lug nuts on the wheels.
- C-clamp: Used to compress the caliper pistons when replacing brake pads.
- Brake cleaner spray: Helps remove grime and debris from brake components.
- New brake pads: Ensure they are the correct size for your vehicle.
- A service manual or online guide: For step-by-step instructions specific to your make and model.
Safety Precautions
If there’s any automotive job that can’t afford shortcuts, it’s brake work. Gravity doesn’t care if you’re late for work or only need “just another minute” under the car. Choose a concrete driveway or a garage floor, nothing sloped or soft. Parking brake? Absolutely. Wheel chocks behind the tires you’re not working on—just grab a chunk of scrap wood if you must, but don’t skip it.
Never trust your life to a jack alone: lower the car onto jack stands before loosening so much as a single bolt. Car bodies can shift with barely a whisper of warning, so double-check those stands for solid placement. Keep your goggles handy; brake dust isn’t something you want in your eyes, especially with older cars potentially housing asbestos. A dust mask is cheap insurance, and gloves—preferably nitrile or mechanics’ versions—shield your hands from mysterious fluids and whatever lurks beneath the wheel well. Sticking to these steps makes the process safer and, frankly, far less nerve-wracking.
7 Simple Step-by-step Guidelines on How to Put Brake Pads in Caliper
Step 1: Loosen the Lug Nuts and Lift the Vehicle
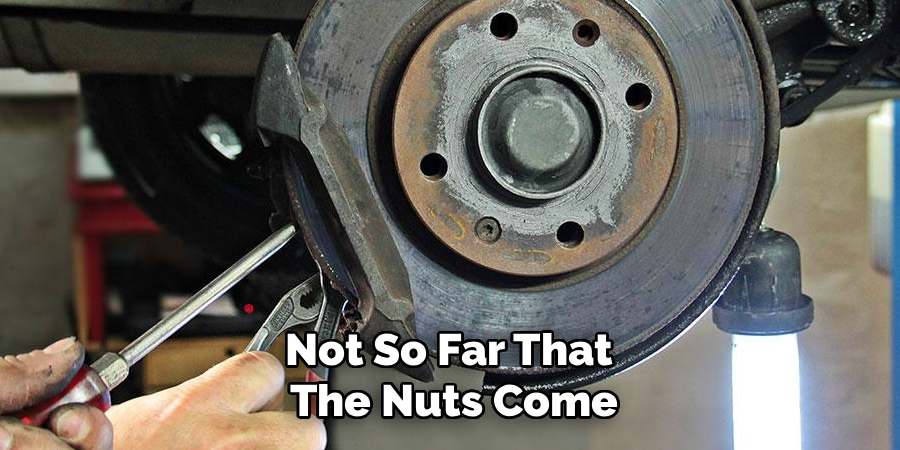
It helps to loosen the lug nuts before the car is airborne. Otherwise, you’ll just spin the wheel uselessly while wrestling the wrench. A turn or two is fine—enough to break the initial tension, but not so far that the nuts come loose on their own. Once this is done, position your floor jack beneath the correct lifting point (your owner’s manual should show you where, if you’re unsure). Lift the car just enough to clear the wheel. Slide a jack stand under a sturdy part of the frame—many people use the pinch weld or a reinforced rail—and gently lower the car so it rests solidly.
Take a moment for the ritual “shake test”: give the car a careful shove and make sure nothing rocks or teeters unexpectedly. If it does, reset everything; a few extra minutes here could save more than time.
Step 2: Remove the Wheel and Locate the Brake Caliper
Unthread the loosened lug nuts and lift off the wheel. Rolling it under the rocker panel offers a slight margin of safety, just in case the unthinkable happens and a jack stand fails. With the wheel off, you’ve got a clear look at what you’re working with: the brake rotor (that’s the gleaming disc) and the caliper hugging one edge. You’ll notice a thick rubber brake hose, not exactly decorative, carrying fluid from the master cylinder. While you’re here, have a glance for obvious leaks—dark streaks, oily surfaces, or gouged rotor faces.
Acquaint yourself with where everything lives. Getting familiar now makes later steps far less confusing, and there’s always the small satisfaction of feeling knowledgeable when a passerby peeks in.
Step 3: Unbolt and Remove the Brake Caliper
Peering around the back side of the caliper, you’ll spot a pair of bolts—often called slider bolts—that keep the assembly secure. Grab the right socket or combination wrench and ease these out. On some vehicles, the bolt wants to spin with a guide pin; if so, brace it with an open-end wrench while working the main bolt free.
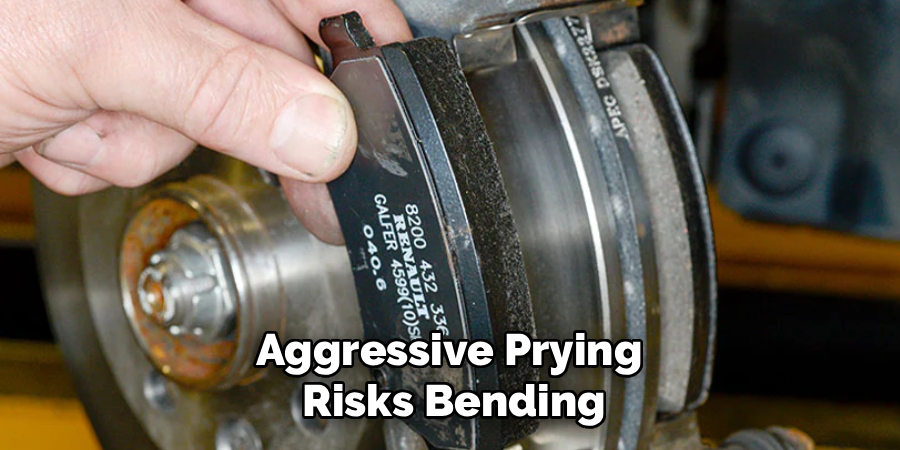
Once loose, lift the caliper straight and clear of the rotor. Sometimes it resists, perhaps stuck by rust or a stiff piston. Wiggle it gently or use a wide flathead screwdriver to encourage movement; aggressive prying risks bending or cracking the caliper. As soon as you’ve got it off, hook it up with your bungee cord or wire, so it hangs safely from the spring or an available bracket. Hanging it from the hose might work for a moment, but over time it could tear internally and—well, the consequences aren’t worth finding out.
Step 4: Remove the Old Brake Pads and Hardware
With the caliper out of the way, the brake pads are just sitting there, ready to slide out horizontally from their place in the caliper bracket. Set the old pads aside—most auto parts shops will dispose of them responsibly, by the way. If you’re curious, compare the thickness of the used pads to your replacements; sometimes, “worn out” looks more dramatic in person than you’d expect.
Look for any hardware clips or attached shims—note how they’re oriented and set them aside if they’re still serviceable. Next, use your wire brush on the bracket, scraping away crusted dust or rust. Don’t cut corners here, since a dirty bracket prevents the new pads from gliding smoothly. Follow up with a healthy blast from your can of brake cleaner, and wipe down the area thoroughly. Fresh pads on a grimy bracket lead to headaches down the road, so take your time.
Step 5: Compress the Caliper Piston
This part sometimes unnerves people. As pads get thinner, the piston inside the caliper creeps further outward to “chase” the disappearing friction material. Your new pads will be much thicker, so you need the piston pushed back in. To avoid issues with overflowing brake fluid, pop the hood and briefly loosen the cap on your brake master cylinder reservoir. Place an old pad over the piston as a buffer, and either use a C-clamp or the correct piston tool to slowly ease it back into the caliper housing. Don’t rush this; gradual pressure prevents damaging delicate rubber seals inside. Fast, jerky squeezing risks ruining an otherwise functional caliper—which, as you might guess, defeats the purpose of a DIY brake job.
Step 6: Install the New Hardware and Brake Pads
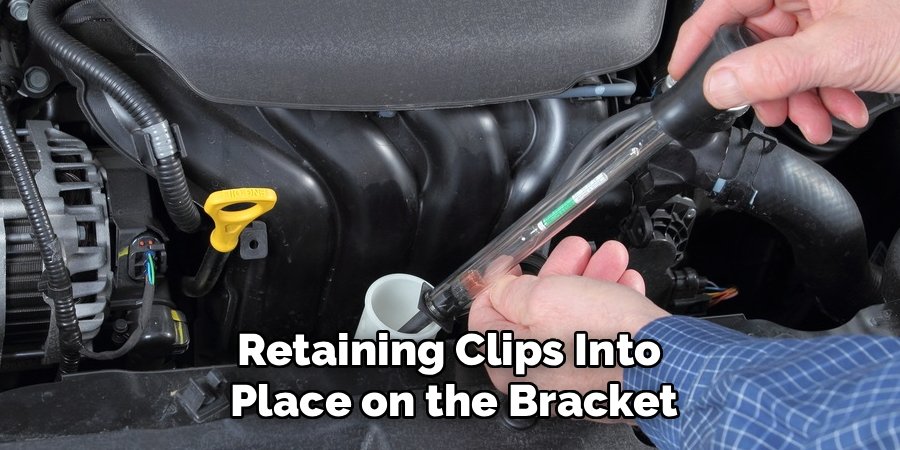
Now, snap the new abutment or retaining clips into place on the bracket—these ensure smooth movement for your pads. Go sparingly with caliper grease, dabbing only where the pad backing meets the clips. Any on the pad’s friction side (or the rotor) is a mistake you’ll regret; grease burns off into smoke and ruins stopping power.
Slide the new pads into place, making sure their thick, friction-coated sides face the rotor—and double-check the shape matches the curve of the disc. They should settle in snugly but not require brute force. If a pad hangs up, pause and recheck the clips and channels for obstructions. Pads refusing to seat are a warning of a problem best addressed now, not discovered in traffic.
Step 7: Reinstall the Caliper and Wheel
Take down the caliper from its makeshift hanger and position it over the new pads. With the piston compressed, this should go smoothly. Reinsert your cleaned slider bolts and torque them to the manufacturer’s specs—a good habit, as too loose risks the caliper wiggling free, too tight could strip threads.
Wipe off fingerprints and stray grease from the rotor with brake cleaner and a clean rag. Position the wheel back onto the hub, engaging the lugs by hand to start each one. Once all are in, raise the car slightly, remove the jack stand, then lower the car to the ground. Only when the wheel is supporting weight do you fully tighten the nuts—in a star pattern, to keep pressure even.
Just before moving the car, pump the brake pedal several times. It’ll likely feel soft at first, but it should soon firm up as the caliper piston presses the new pads snugly against the rotor. Skipping this leaves you with a dangerous lack of stopping power for the first few feet—never a risk worth taking.
Following these steps on how to put brake pads in caliper will ensure that your car is safe and ready to hit the road again. Regularly checking and replacing brake pads is an important part of vehicle maintenance, as worn-out pads can greatly reduce braking efficiency and jeopardize the safety of both the driver and others on the road.
Common Mistakes to Avoid
There’s no pride in skipping safety gear or rushing through steps; injuries and botched jobs usually trace back to impatience. Failing to loosen the reservoir cap before compressing the piston leads to pointless pressure buildup. Letting the caliper hang from the rubber hose damages the line—sometimes subtly, other times obviously—and is an invitation to serious leaks. Forgetting to grease the sliding pins leads to pads wearing unevenly, or unwelcome brake squeal during that next commute.
It’s easy to forget, in the rush of finishing, to pump up the brake pedal before setting off. Give yourself a moment at the end to press the pedal until it feels solid; that simple pause is sometimes all that separates a smooth drive from a close call at the end of the driveway.
Maintenance Tips
Want your new pads to last? Ease off aggressive braking when you can—anticipate stops, avoid tailgating, simple as that. Check fluid levels periodically, and have the entire hydraulic fluid system flushed every two to three years. Brake dust collects fast, especially on alloy wheels; washing it off regularly with water and mild soap does wonders for both appearance and component longevity.
Routine brake inspections during tire rotations don’t just spot trouble—they offer peace of mind. Listen, also, for any return of that telltale squeal; prompt inspection and action save money and stress down the line. Paying attention isn’t paranoia—it’s just sound practice.
When to Seek Professional Help?
There’s value in handling your own repairs, no doubt. But sometimes, issues crop up that are better left to professionals—puddles of brake fluid beneath the tire, for instance, or a brake pedal that feels mushy even after repeated bleeding. These can point to master cylinder issues or leaks in places only well-equipped shops can handle efficiently.
Heavily corroded or seized pistons and bolts requiring specialized tools might not be worth the frustration (or the risk of snapped hardware). High-end vehicles with electric parking brakes usually need computer diagnostics to reset and safely release calipers—DIY approaches there can quickly lead to expensive mistakes. If you’re ever in doubt, asking for help won’t cost you nearly as much as guessing wrong.
Frequently Asked Questions
Q1: How Long Do New Brake Pads Typically Last?
Pad lifespan varies, sometimes wildly, but most sets provide service anywhere from 30,000 to around 70,000 miles. Urban driving—with its relentless stop-start pattern—wears them much faster than highway cruising. Weight matters as well; larger vehicles (think SUVs and trucks) work their brakes harder, so don’t expect economy car intervals.
Q2: Can I Replace Only the Brake Pads Without Changing the Rotors?
Yes, if the rotors are still smooth, evenly thick, and show no deep grooves or grooving, you can skip replacement. But if your finger catches on ridges or you see blue heat marks, they should be resurfaced or swapped for new ones. Installing new pads on a gouged or warped rotor compromises stopping ability and often leads to vibration almost immediately.
Q3: What Is the Difference Between Ceramic and Metallic Brake Pads?
Ceramic pads are celebrated for being quiet and producing little dust—city commuters often appreciate them. Semi-metallic versions, blended with steel or copper fibers, shed heat more efficiently and bite harder, particularly useful if you tow trailers or frequently drive in hilly regions. They’re usually noisier, but their resilience under stress can outweigh the sound factor for many drivers. Ceramic pads may cost a touch more, yet their cleanliness and predictable wear patterns often win over cautious buyers.
Empowering Your Automotive Maintenance Journey
Doing your own brakes isn’t just about saving a bundle on garage fees. It’s proof you’re willing to pick up the wrench and take charge of your safety. Naturally, the process comes with pitfalls and the potential for setbacks, but with attention and a bit of humility, most home mechanics find themselves both challenged and deeply rewarded by the task.
Armed with genuine know-how—not just a few borrowed tips but actual understanding of what’s happening under each wheel—you’ll approach your next drive not with nagging doubts, but with the quiet confidence that comes from direct, hands-on care of your vehicle. Take pride in every detail, every clean part, and every silent, smooth stop. That’s the reward—a car you can trust, and the grounded sense that comes from having done it yourself. Thanks for reading this guide on how to put brake pads in caliper.

About
Ora Hayes is a distinguished figure in the world of DIY Thecarfixes, with over a decade of expertise in automotive diagnostics and high-performance maintenance. Her professional focus lies in merging mechanical precision with modern digital tools, fostering repair solutions that are both cost-effective and highly reliable. As the author of Thecarfixes, Ora Hayes delves into the art and science of automotive restoration, inspiring car owners and hobbyist mechanics alike.
Education
RMIT University (Melbourne, Australia) Associate Degree in Automotive Engineering — Focus on vehicle dynamics, industry-driven repair protocols, and advanced diagnostics. Gained hands-on experience with traditional mechanical tools and modern ECU remapping software.
Nottingham Trent University (United Kingdom) Bachelor’s in Mechanical Design and Automotive Engineering (Honors) — Specialized in automotive systems with a focus on blending technical engineering with everyday usability. Participated in industry projects, working with leading automotive manufacturers to gain real-world insights into vehicle longevity.
Publications and Impact
In Thecarfixes, Ora Hayes shares her insights on troubleshooting complex engine issues, material durability, and strategies for efficient garage setups. Her writing bridges the gap between professional mechanic knowledge and the home enthusiast’s needs, making it a must-read for both everyday drivers and seasoned gearheads.




