

Let’s be honest: few things ruin a day like your car sputtering to a halt at the worst possible time. Maybe it’s a freezing morning, maybe it’s pouring rain, but there’s the familiar dread as the engine won’t turn over…and you’re picturing an expensive tow. Trouble with the fuel system sneaks up on a lot of us. Yet, with some patience and a bit of know-how, many drivers could sidestep major hassle — and avoid paying for work they could manage themselves.
Testing the fuel pump control module may sound daunting, but it’s a practical starting point when troubleshooting fuel delivery problems. The job of this little module is pretty specific. It manages how much gas gets to your engine, and when it fails, well… Let’s just say the symptoms don’t waste any time making themselves known. Below, I’ll walk you through exactly what you need to spot trouble, check the module, and — if you’re up for it — do the initial work in your own garage. Or kitchen. (Wait, no, scratch that. Gas fumes and omelets don’t mix.) In this guide on how to test a fuel pump control module, you will know everything about the fuel pump control module.
Symptoms of a Faulty Fuel Pump Control Module
What signals should you watch for before you decide to dig in? It’s usually not subtle. For starters, you might notice the engine cranking but refusing to fire up — as if it’s teasing you. This often points to the module failing to send power to the pump, leaving the engine starved of fuel. Sometimes, you’ll feel the car hesitate or stall out, which seems to happen at especially inconvenient moments — say, while merging onto a highway or climbing a steep grade. The engine may run rough, or just cut out, leaving you wondering whether it’s going to cooperate at all.
Another red flag is fuel efficiency that suddenly nosedives. If the module tells the pump to go all out all the time, your car will burn through fuel with reckless abandon. And there’s the check engine light — modern vehicles keep a close eye on this system, and will trigger a code if something odd happens with voltage or pressure. Intermittent chugging or stutters, a light that won’t quit, mystery stalling: often, these odd behaviors will nudge you to scrutinize the fuel pump module before looking elsewhere.
How Does the Fuel Pump Control Module Work?
So, what is this module doing, aside from possibly sending you into a panic? For lack of a better metaphor, it’s the liaison between your car’s computer and the pump itself. Most of the time, you barely notice it. When you’re waiting at a stoplight, the demand for fuel drops off, and the module cuts the pump voltage to slow it down. This keeps the pump from running itself into an early grave.
Step on the gas, though, and it’s a different story. The main computer signals for more fuel; the module answers that call by hiking the current and giving the pump the extra juice needed to build pressure. It’s not a one-time action, either. The module is in near-constant conversation with sensors and circuits throughout your drive, making these micro-adjustments. But let any wiring corrode, or expose the module to moisture and heat for long enough, and you’ll start seeing nonsense. That’s why, when something’s off, a simple voltage test is so revealing.
Tools and Equipment Needed for Electrical Troubleshooting
Basic Tools
- Multimeter
- Circuit Tester
- Wire Strippers
- Wire Crimper
- Screwdrivers
- Pliers
Advanced Tools
- Oscilloscope
- Clamp Meter
- Thermal Imaging Camera
- Logic Probe
- Continuity Tester
Safety Equipment
- Gloves
- Safety Glasses
- Protective Clothing
- Fire Extinguisher
Safety Precautions
It bears repeating: cars mix electricity and combustible fuel in close quarters, so give safety a little more than a passing glance. Goggles and rubber gloves are indispensable, even if they make you look like a mad scientist. Unhook the negative battery terminal before poking around, because a single stray spark near fuel lines is a risk you really don’t want to take.
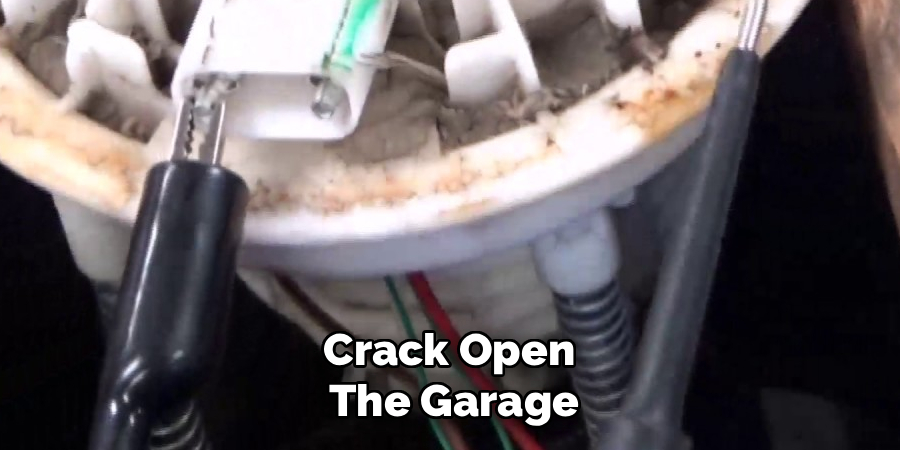
Ventilation is another thing people ignore at their peril. Crack open the garage, or pull the car out into the driveway. Gas fumes gather fast, and you won’t know about it until you’re lightheaded or, worse, there’s a spark. Keep a fit-for-purpose extinguisher on hand (your kitchen model won’t cut it). And, truly, skip the cigar for now — open flames near a fuel system are asking for trouble. Slow down, think it through, and you’ll keep yourself and your tools, and, ideally, your home, unharmed.
7 Practical Steps on How to Test a Fuel Pump Control Module
Step 1: Find the Module
Locating the module can be an exercise in frustration. Carmakers change their minds every few years about where to hide it. You might find it bolted under a rear seat, tucked behind trunk carpet, or — in trucks — fastened to the frame by the spare tire. The service manual usually knows; otherwise, a bit of online sleuthing (or a trusted old-school mechanic friend) helps.
Once you find the spot, set aside time to gently pry off the interior trim or shields. Yank too hard, and you’ll be buying replacement clips. Note how the wiring runs — it’ll save you a headache later when you put it all back together.
Step 2: Check for Obvious Damage
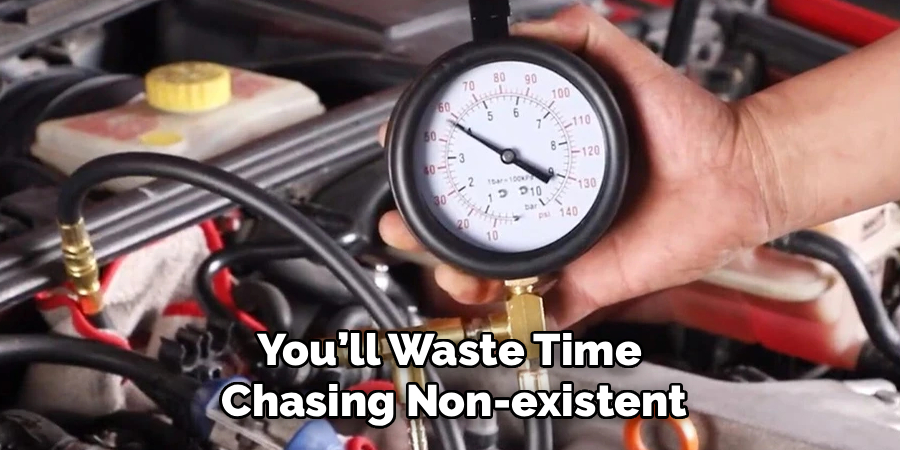
Before you start with measurements or scans, give everything a good look. These modules often weather a harsh environment, and corrosion is a recurring villain. Any sign of rust or cracks in the outer case? That’s not just cosmetic — moisture may have already invaded.
Next, focus on the wires and the plug. Look for chewed insulation (mice have no respect for your vehicle) or melted sections, which may suggest electrical overloads. Pop the connector loose and inspect the pins. Any corrosion, especially the powdery kind, spells trouble. If you see obvious physical problems, repair them first — otherwise, you’ll waste time chasing non-existent electronic faults.
Step 3: Check the Battery Voltage
The module can’t do much without a healthy battery. If yours isn’t holding a charge, the rest of your troubleshooting will go nowhere. Set your multimeter to volts, touch the red lead to the positive terminal and the black to the negative. Most charged batteries should show somewhere between 12.4 and 12.6 volts with the engine off. Anything less, and you might want to charge or replace it before continuing.
If the voltage is off, pause and fix the battery issue. Skipping this step means you’re likely to misdiagnose something further along the system and end up replacing parts that weren’t broken to begin with.
Step 4: Scan for Trouble Codes
Don’t underestimate the value of the OBD-II scanner — it gives you a snapshot of what the car’s computer thinks is wrong. Plug it into the port, usually under the dash, and turn the ignition to “On.” Don’t start the engine. Let the scanner talk to the computer and spit out any codes related to the fuel system.
Pay close attention to codes mentioning the fuel pump circuit, pressure irregularities, or communication failures. Codes like P025A or P0627 often appear when the module can’t keep up or has failed outright. Make note of every code — cross-checking those with your manual can keep you from barking up the wrong tree. One last thing: codes rarely prove the module is bad, but they do narrow down what you should check next.
Step 5: Test the Ground
Here’s a step that’s easy to overlook but will drive you mad if you do. The module needs a solid ground to function, and corrosion or loose fittings are common causes of erratic behavior. Grab your multimeter, set it to resistance (the ohm symbol), and use the wiring diagram to figure out which pin on the connector is the ground.
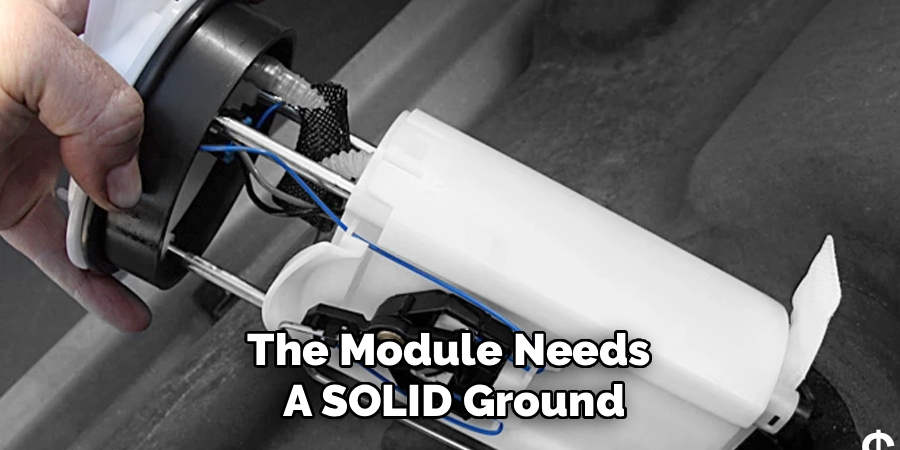
Touch one probe to the ground pin and the other to a clean metal spot on the chassis. Look for a reading under five ohms. Anything higher could signal rust or a bad connection, in which case, trace the wire back and clean (or reattach) it. Electrical gremlins can easily masquerade as failed modules, so don’t skip this.
Step 6: Ensure Power is Reaching the Module
If you’re satisfied that the ground is good, the next step is making sure power is actually getting to the module. Reconnect the battery if you unplugged it. With the ignition on, use the multimeter — set to voltage — and back-probe the power supply wire per your manual’s schematic.
Ideally, you’ll see around 12 volts at the supply pin. If you get nothing, the trouble is upstream: a blown fuse, a faulty relay, or a break somewhere in the wiring. Don’t let this send you down a rabbit hole; just work systematically, checking each link in the chain.
Step 7: Check Output to the Pump
This is the moment of truth. You want to see if the module is delivering voltage to the fuel pump itself. Keep everything connected, find the right output wire, and gently back-probe it with your multimeter’s red lead. The black lead goes back to the ground.
The voltage here may bounce a bit — that’s normal, as the module may pulse the output to match demand. If you have a helper, ask them to try turning the engine over. The reading should rise as the module tries to get the pump ready for ignition. If you see nothing, and power/ground checked out earlier, the odds are strong that the module’s guts have given up and you’ll need a replacement.
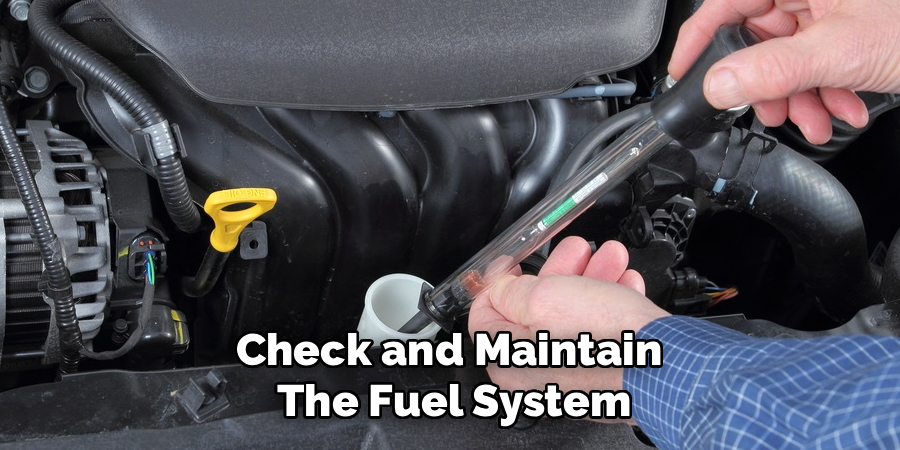
Following these steps on how to test a fuel pump control module can help diagnose and troubleshoot any potential issues with the fuel pump. It is important to regularly check and maintain the fuel system in order to ensure the proper functioning of your vehicle’s engine. In addition, be sure to follow manufacturer guidelines when replacing or repairing any components related to the fuel system.
Common Mistakes to Avoid
It’s tempting to rush through, but missing the basics makes this process a headache. Skipping a visual check for rust or damage? That eats up hours needlessly. Ignoring the battery’s voltage could send you off on unrelated wild-goose chases.
Forcing multimeter probes into fragile connector pins is another, more expensive, error. Taking a diagnostic code at face value without physical checks — well, that’s a fast route to replacing good parts. Oh, and an uncalibrated multimeter? That can undo all your good work with a single, badly measured reading.
When to Call a Mechanic?
There’s no shame in not wanting to unravel a spaghetti bowl of wiring, especially when diagrams are hard to interpret. Some jobs stretch the limits of what’s practical for a home mechanic — for instance, fixing a melted wiring harness. If your voltage and resistance readings make no sense and fluctuate wildly, there’s a good chance a shop’s specialized diagnostic equipment will pinpoint the issue much more quickly.
Also, certain problems can only be spotted by folks with experience and tools not found in most home garages — like oscilloscopes that watch the computer’s digital handshake with the module. If you hit a wall, or simply don’t feel confident, it’s smart — and safer — to have someone with more gear and know-how step in.
Frequently Asked Questions
Q1: Can a bad fuel pump control module cause a misfire?
Yes — at least, it certainly can under some conditions. If the module falters and can’t supply the pump with enough juice, pressure drops, and your engine runs lean. That lean burn often leads to misfires, with the most trouble showing up during hard acceleration, when the engine is hungriest for fuel.
Q2: What does it cost to swap out the module?
Prices jump around depending on your vehicle. As a ballpark, most modules cost between $100 and $300 if you buy from an auto parts store. Add labor — often one or two hours — if you’re paying a mechanic. So, total costs might land between $300 and $600. Drive an unusual model or a premium brand? Brace for the higher end.
Q3: Is it dangerous to drive with a bad control module?
Advisable? Not really. If the module quits altogether, you lose fuel delivery immediately. Engine dies, power steering and brakes go away — not something you want happening at speed. If you suspect a serious problem, it’s wise to fix things before venturing onto busy streets.
Wrapping Up Your Fuel Pump Control Module Test
Testing a fuel pump control module isn’t magic, nor is it only for professionals. Slow down, keep safety top of mind, and work methodically. Accurate checks of battery, ground, supply, and output will tell you what you need to know about the health of your module.
Have your repair manual handy, double-check multimeter readings, and give yourself time. Sometimes patience and a careful look save a whole lot of money. And you’ll probably be more confident the next time that check engine light refuses to go away. Thanks for reading this guide on how to test a fuel pump control module.

About
Ora Hayes is a distinguished figure in the world of DIY Thecarfixes, with over a decade of expertise in automotive diagnostics and high-performance maintenance. Her professional focus lies in merging mechanical precision with modern digital tools, fostering repair solutions that are both cost-effective and highly reliable. As the author of Thecarfixes, Ora Hayes delves into the art and science of automotive restoration, inspiring car owners and hobbyist mechanics alike.
Education
RMIT University (Melbourne, Australia) Associate Degree in Automotive Engineering — Focus on vehicle dynamics, industry-driven repair protocols, and advanced diagnostics. Gained hands-on experience with traditional mechanical tools and modern ECU remapping software.
Nottingham Trent University (United Kingdom) Bachelor’s in Mechanical Design and Automotive Engineering (Honors) — Specialized in automotive systems with a focus on blending technical engineering with everyday usability. Participated in industry projects, working with leading automotive manufacturers to gain real-world insights into vehicle longevity.
Publications and Impact
In Thecarfixes, Ora Hayes shares her insights on troubleshooting complex engine issues, material durability, and strategies for efficient garage setups. Her writing bridges the gap between professional mechanic knowledge and the home enthusiast’s needs, making it a must-read for both everyday drivers and seasoned gearheads.




