

Maintaining a clean fuel system arguably dictates the baseline performance of any internal combustion engine. Over time, varnish, dirt, and carbon deposits inevitably accumulate within the hidden plumbing of your vehicle. This gradual buildup restricts the steady, pressurized flow of gasoline required for optimal combustion.
Knowing exactly how to clean fuel injector rail components offers a highly practical defense against these parasitic performance losses. This guide provides a structured, mechanical approach to tackling this specific maintenance task safely. We will examine the specialized tools required and the exact physical steps needed to dislodge stubborn debris.
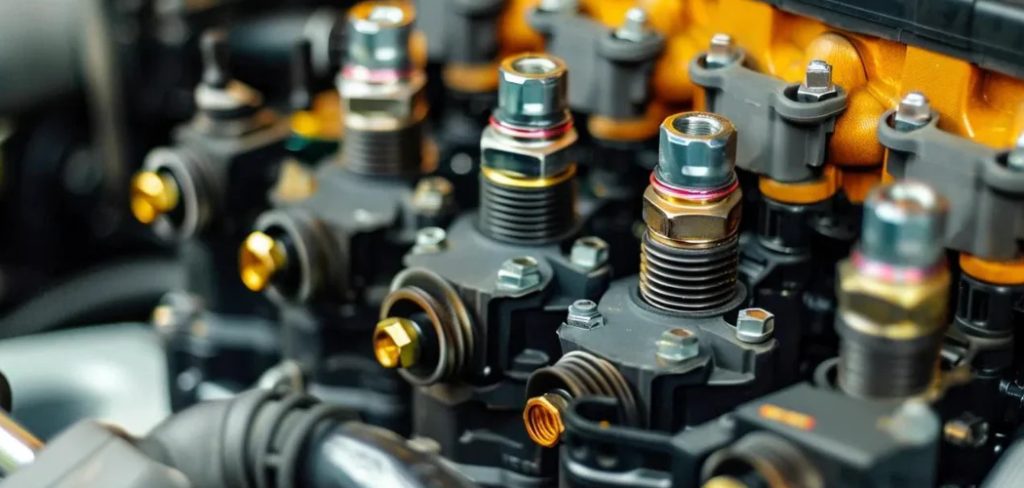
Carefully executed manual cleaning often yields results that simple chemical additives cannot replicate. By understanding the underlying fluid dynamics of your engine, you can restore lost power and improve overall drivability.
Understanding the Fuel Injector Rail System
Gaining a functional understanding of your engine’s fuel delivery architecture helps clarify the repair process. The rail itself serves as the central distribution hub for your engine’s combustible liquids. It receives pressurized fluid and routes it methodically to individual cylinders.
The Role of the Fuel Rail
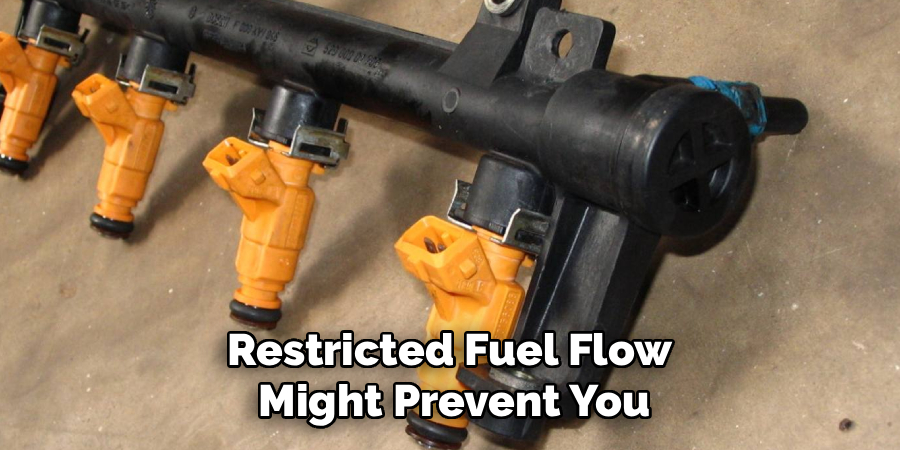
The fuel rail is essentially a heavy-duty pipe, typically cast from steel or composite plastics, bolted directly across the intake manifold. It receives high-pressure gasoline directly from the electric fuel pump situated in the rear tank. From there, it distributes this liquid evenly to each fuel injector.
Keeping this central corridor free of physical obstructions ensures that every cylinder receives the precise volume of fuel commanded by the engine computer. A restriction here effectively starves the entire system. It forces the engine to run lean, which raises internal temperatures to dangerous levels.
How Carbon and Debris Build Up
Gasoline is not a perfectly clean solvent. It contains various additives, seasonal detergents, and trace impurities that degrade over time. When an engine shuts off, residual thermal energy essentially bakes the fuel left sitting inside the metal rail.
This thermal breakdown gradually creates hard varnish deposits and sticky, brown resins. These resins coat the inner walls of the pipe, narrowing the passage. Eventually, they flake off and clog the microscopic filter screens of the injectors attached below.
Recognizing the Symptoms of a Clogged Fuel Rail
Identifying the early warning signs of restricted fuel flow might prevent you from being stranded on the shoulder of a highway. Engines communicate their mechanical distress through subtle, recognizable operational changes. Recognizing these physical patterns dictates your diagnostic approach.
Rough Idling and Engine Misfires
A partially blocked fuel rail distributes gasoline unevenly across the engine block. This localized starvation causes specific cylinders to misfire, which translates into a severely vibrating engine at a traffic light. The engine control unit usually detects this incomplete combustion cycle within milliseconds.
It may suggest a deeper blockage by illuminating the check engine light on your dashboard. Ignoring this flashing amber warning often leads to unburned fuel destroying the catalytic converter.
Poor Fuel Economy and Sluggish Acceleration
When the rail cannot supply adequate fluid volume on demand, the vehicle struggles to accelerate smoothly. You might notice a terrifying hesitation when pressing the gas pedal to merge into fast-moving highway traffic. The engine simply cannot breathe.
Furthermore, the computer frequently compensates for these erratic pressure drops by commanding richer fuel mixtures overall. This desperate over-correction drastically lowers your actual gas mileage. Drivers might find themselves visiting the filling station far more frequently.
Essential Tools and Safety Precautions
Working with raw, pressurized gasoline requires strict adherence to physical safety protocols. A casual approach to fuel systems often ends in a localized fire. Gathering the correct equipment beforehand guarantees a highly controlled repair environment.
Gathering the Right Cleaning Supplies
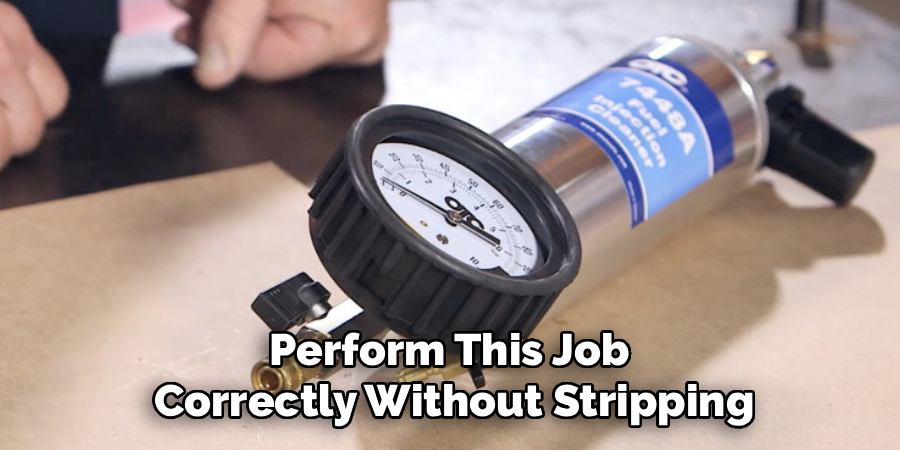
You need a specific set of hand tools to perform this job correctly without stripping delicate bolts. Assemble a basic metric socket set, a pressurized can of specialized fuel injection cleaner, replacement rubber O-rings, and heavy-duty shop towels.
Wearing nitrile gloves and wraparound safety glasses is absolutely mandatory. These protect your skin and eyes from harsh chemical solvents and unpredictable gasoline spray. Gasoline easily absorbs through bare skin, causing systemic toxicity.
Depressurizing the Fuel System Safely
Never unbolt a fuel line without removing the resting pressure first. The system holds gasoline at extremely high pressure even when the ignition is completely turned off, and the key is removed.
You must locate the fuel pump fuse in the main fuse box, remove it, and crank the engine until it starves and stalls out. This critical step drains the residual pressure safely. It prevents a dangerous, pressurized geyser of fuel when you finally disconnect the main supply hose.
Step-by-Step Guide: How To Clean Fuel Injector Rail
This core instructional section walks you through the physical removal and deep cleaning process. Follow these systematic steps carefully. Proceeding with measured caution appears to ensure the thorough removal of internal varnish without damaging delicate plastic clips.
Step 1: Disconnect the Battery and Wiring Harnesses
Begin by disconnecting the negative terminal on your vehicle’s battery. This eliminates the risk of accidental electrical sparks near open fuel lines.
Next, carefully unclip the electrical connectors attached to each individual fuel injector. Press the plastic locking tabs gently to avoid snapping the brittle, heat-cycled material. Move the main wiring harness securely out of your immediate work area.
Step 2: Detach the Main Fuel Supply Line
Place several thick shop towels directly underneath the primary connection point. These will catch the inevitable residual drips of gasoline that escape the line.
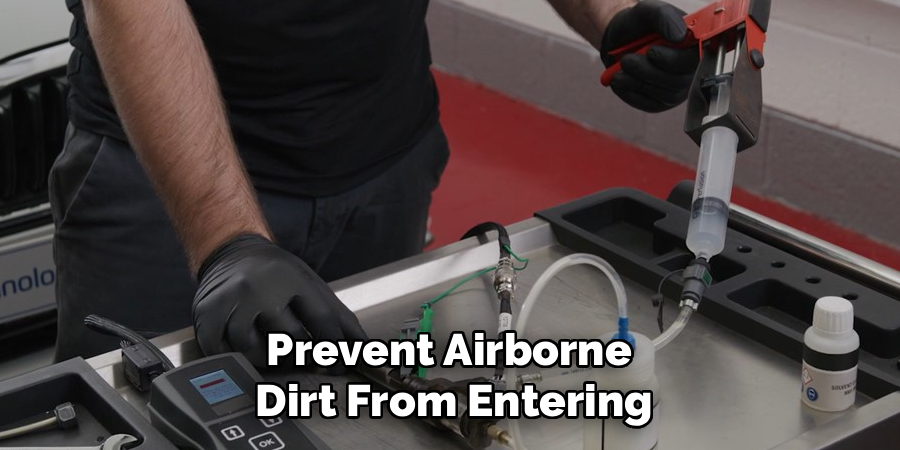
Use the appropriate quick-disconnect tool or a specialized line wrench to unfasten the main fuel supply hose from the rail itself. Wrap the open end of the hose in a clean rag and tuck it aside to prevent airborne dirt from entering the main tank line.
Step 3: Unbolt and Remove the Fuel Rail
Locate the mounting bolts securing the rail to the engine’s aluminum or plastic intake manifold. Remove these bolts using your socket set, keeping them organized in a magnetic tray.
Grasp the rail firmly with both hands. Pull straight upward with steady, even pressure to pop the injectors out of their seated positions in the manifold. Carefully lift the entire assembly away from the engine bay and place it on a clean, well-lit workbench.
Step 4: Separate the Injectors from the Rail
Remove the small metal retaining clips holding each injector securely to the rail body. Pull the injectors straight out of their corresponding ports with a slight twisting motion.
Set the injectors safely aside on a clean microfiber towel. This separation provides you with completely unobstructed access to the hollow interior of the rail pipe for a deep chemical flush.
Step 5: Flush the Rail with Cleaning Solvent
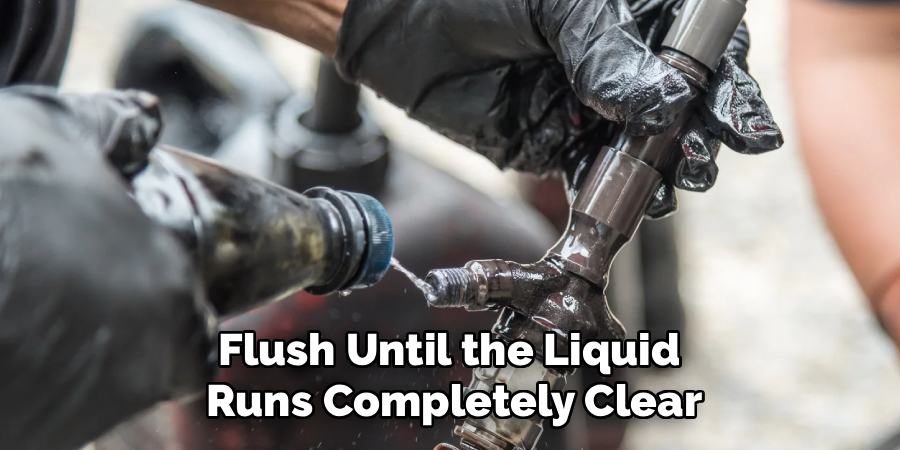
Attach the plastic straw nozzle to your pressurized can of fuel injection cleaner. Insert the straw directly into the main supply port of the disconnected rail. Spray a generous amount of solvent inside.
Cover the open ports with your gloved hands and gently agitate the fluid back and forth. Drain the dirty, brown solvent into a chemical catch pan. Repeat this chemical flush until the liquid runs completely clear.
Step 6: Install New O-Rings and Reassemble
Never reuse old, flattened rubber seals. Coat your brand-new O-rings with a tiny drop of clean motor oil and slide them onto the injectors.
Press the injectors firmly back into the clean rail and secure their retaining clips. Guide the assembled unit back into the intake manifold, pushing down evenly until the O-rings seat fully. Finally, tighten the mounting bolts to the manufacturer’s exact torque specification.
Chemical Additives vs. Manual Cleaning
Vehicle owners frequently wonder if pouring a bottle of cleaner into the gas tank achieves the same result as physical removal. Understanding the stark difference between these two approaches dictates the appropriate repair strategy.
The Limits of Pour-In Treatments
Fuel tank additives offer decent preventative maintenance for newer, relatively clean vehicles. They continually dissolve microscopic buildup as you drive down the road.
However, these highly diluted chemicals lack the concentrated strength required to break through thick, baked-on varnish. If your rail is already severely restricted, a pour-in additive will likely fail to restore flow. It simply cannot cut through heavy calcification.
Why Physical Removal is Superior
Taking the rail off the engine entirely allows you to use undiluted, highly pressurized solvents directly on the heavy carbon deposits. It physically flushes the debris out of the system and into a drain pan.
Conversely, tank additives simply push the softened sludge further down the line. This action often forces the debris straight into the delicate injector screens. This phenomenon may suggest why “chemical tunes” sometimes cause worse engine clogs immediately after use.
Post-Cleaning Engine Testing
Validating your mechanical work ensures the vehicle is safe to drive in public traffic. Reconnecting a high-pressure fuel system requires careful, deliberate observation. You must verify systemic integrity before hitting the road.
Checking for Fuel Leaks
Reinstall the fuel pump fuse and reconnect the negative battery terminal. Turn the ignition key to the accessory position without actually starting the engine. This action primes the fuel pump and pressurizes the lines.
Carefully inspect every fitting, O-ring, and hose connection with a bright flashlight. You must verify there is absolutely no seeping or dripping gasoline before proceeding. A single drop of fuel dictates that you must tear the system down and reseat the O-rings.
Verifying Smooth Operation
Start the engine and let it idle in park. The engine might stumble or run roughly for a few seconds as it purges trapped atmospheric air from the newly cleaned rail. Do not panic if it sputters briefly.
Observe the tachometer closely. The idle should eventually stabilize into a smooth, consistent rhythm. This steady RPM indicates that fuel is distributing perfectly evenly to all cylinders once again.
Long-Term Maintenance Tips
Protecting your freshly cleaned components extends their operational lifespan significantly. A few simple driving habits might prevent the rapid return of stubborn carbon sludge. Preventive care always costs less than reactive repairs.
Using Top-Tier Fuel
Always attempt to fill your tank with Top-Tier certified gasoline from reputable, high-volume stations. These specific fuels contain mandatory, elevated levels of advanced chemical detergents.
These detergents actively wash the inside of the fuel rail and intake valves while you drive. They keep the internal metal surfaces spotless, preventing resins from taking hold in the first place.
Regular Filter Changes
Adhere strictly to the manufacturer’s recommended schedule for replacing the inline fuel filter. A fresh filter traps rust and dirt particles right at the gas tank.
It stops these abrasive contaminants long before they ever reach the engine bay. The filter acts as the primary physical defense mechanism for your newly cleaned rail assembly.
Conclusion
Restoring your vehicle’s baseline performance requires attention to the critical pathways that deliver fuel to the combustion chamber. Ignoring these hidden pipes often leads to mysterious hesitations, rough starts, and wasted gasoline. Learning how to clean fuel injector rail assemblies equips you with the mechanical ability to eliminate rough idling and maximize your fuel economy at home.
Taking the time to depressurize the system safely, remove the physical components, and flush them thoroughly with concentrated solvents provides results that simple pour-in additives simply cannot match. Always remember to prioritize safety by working in a well-ventilated area and replacing all rubber O-rings during reassembly. By incorporating high-quality fuel and routine filter changes into your long-term maintenance plan, you will protect your hard work and enjoy a smooth, highly responsive driving experience for thousands of miles.

About
Ora Hayes is a distinguished figure in the world of DIY Thecarfixes, with over a decade of expertise in automotive diagnostics and high-performance maintenance. Her professional focus lies in merging mechanical precision with modern digital tools, fostering repair solutions that are both cost-effective and highly reliable. As the author of Thecarfixes, Ora Hayes delves into the art and science of automotive restoration, inspiring car owners and hobbyist mechanics alike.
Education
RMIT University (Melbourne, Australia) Associate Degree in Automotive Engineering — Focus on vehicle dynamics, industry-driven repair protocols, and advanced diagnostics. Gained hands-on experience with traditional mechanical tools and modern ECU remapping software.
Nottingham Trent University (United Kingdom) Bachelor’s in Mechanical Design and Automotive Engineering (Honors) — Specialized in automotive systems with a focus on blending technical engineering with everyday usability. Participated in industry projects, working with leading automotive manufacturers to gain real-world insights into vehicle longevity.
Publications and Impact
In Thecarfixes, Ora Hayes shares her insights on troubleshooting complex engine issues, material durability, and strategies for efficient garage setups. Her writing bridges the gap between professional mechanic knowledge and the home enthusiast’s needs, making it a must-read for both everyday drivers and seasoned gearheads.




