

There’s a good chance your car’s suspension does far more each day than you realize—much of it quietly, and, if it’s working properly, without fanfare. Every jarring pothole, every sharp turn, every start and stop sends energy right through this assembly of springs and metal. Over time, the system gets tired. If pieces start to let go, the first sign may be a rougher ride. Worse, you might lose a bit of steering precision—always unnerving and occasionally dangerous.
So, can a careful look under the car save you some grief (and cash) down the line? Quite possibly. Many serious suspension problems begin as minor, easy-to-miss flaws. Give your vehicle a little attention now and then, and you might catch a $25 bushing before it becomes a $500 headache. Below, you’ll find practical steps—nothing so abstract as “delve into the mechanics,” just plain advice—to assess your suspension, right at home and without industrial equipment. In this guide on how to check suspension on a car, we’ll take a look at some key components and how to inspect them.
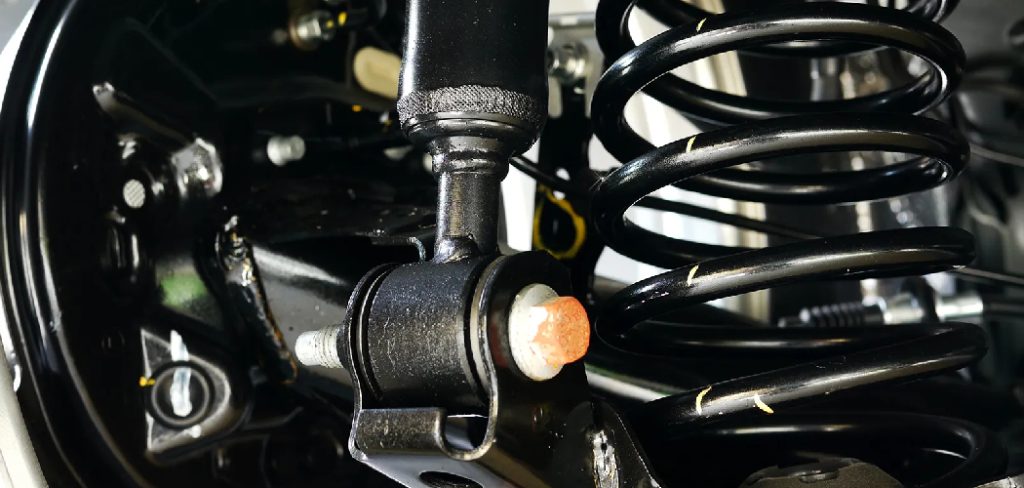
Understanding Car Suspension Components
Let’s not get lost in jargon. What you’re dealing with is a collection of parts, most of which are designed to cushion, connect, or pivot. You’ll hear about shocks and struts—they’re the bits handling much of the up-and-down punishment. Springs? They take the big hits, helping the vehicle bear its own weight and smoothing out the nastier moments when you encounter road imperfections.
Then there are control arms. These link each wheel to the chassis, allowing up-and-down travel but (hopefully) not much else. Ball joints and bushings serve as the system’s “joints,” letting things move without clanking or binding. Don’t forget the tie rods. These slender bars connect your steering to the wheels—without them, your turns go nowhere.
Tools and Materials You’ll Need
- Jack and a jack stand (or a vehicle lift)
- Lug wrench
- Wheel chocks
- Socket set
- Wrenches (open-end and box-end)
- Torque wrench
- Ball joint separator tool or pickle fork
- Pry bar
Safety Precautions
It’s easy to gloss over this bit, but let’s not. Lifting a two-ton chunk of metal over your head is, at best, mildly risky and, at worst, disastrous if you’re hasty. Find a flat, hard surface for your inspection—this is not a job for the lawn or gravel driveway. Set the parking brake, and grab a couple of chocks for the wheels you aren’t lifting. (You’d be surprised how quickly a car can roll if given the chance.)
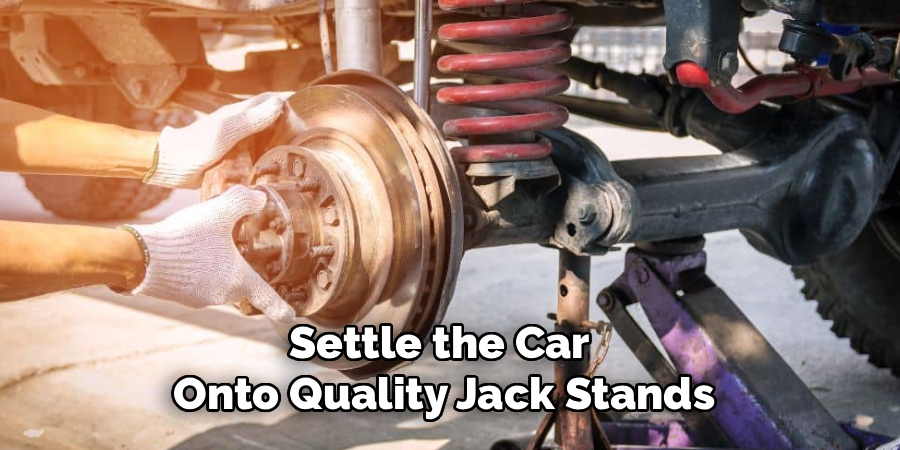
Here’s one non-negotiable: lifting with just a floor jack is a gamble. Always settle the car onto quality jack stands, placing them beneath the official lift points—not wherever looks sturdy. Once you think it’s stable, give the car a careful nudge. If it wobbles or shifts, rethink your setup.
6 Step-By-Step Guidelines: How to Check Suspension on a Car
Step 1: The Bounce Test
Here’s a classic that mechanics have sworn by for decades. At each corner of the car—say, over the front right wheel—put your weight on the body, push down, then let go. What you want to see is a prompt return to the original height, with maybe a single up-and-down after. If the car keeps bouncing, your shocks are likely gasping their last breath. Not scientific, but effective, at least as a rough screen. Repeat at all four corners; problems are rarely symmetrical.
Step 2: Visual Inspection of Shocks and Struts
After hoisting the car (safely), grab that flashlight and start peering around the wheel wells. Shocks and struts are usually cylindrical and, in good shape, should be clean or lightly dusty—liquid isn’t part of the deal. If you see oil or grime pasted to their surfaces, that’s almost always a sign of internal seal failure. Fluid leaking out means the shock can’t do its job. Bent or dented casings? Never ideal—looks like trouble, and it probably is.
Step 3: Tires and Their Wear Patterns
Think of tires as tattletales; they rarely keep secrets. Run your hands across the treads and see if you can detect odd variations: dips, waves, or “scalloping.” This unevenness, called “cupping,” typically points to weak shocks or struts—not something you want on a high-speed drive. Excessive wear along just one edge signals possible component or alignment trouble. Many times, the problem comes back to worn bushings or tie rods.
Step 4: Bushings and Ball Joints
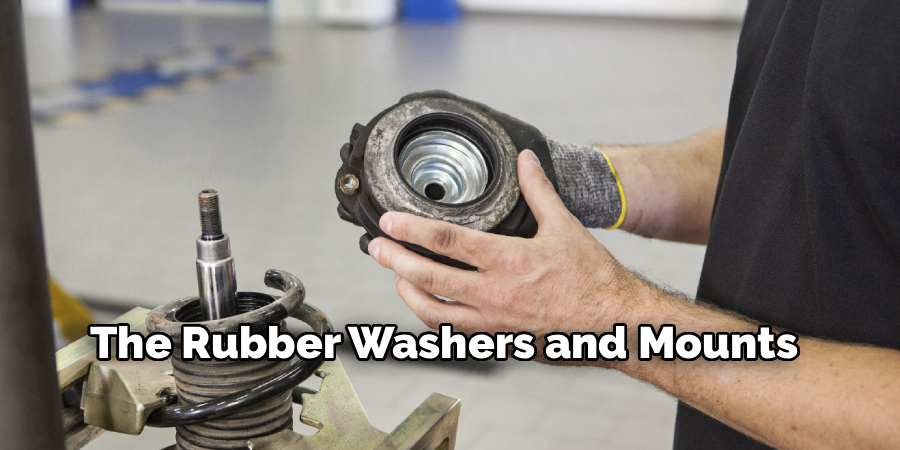
Rubber bushings degrade—there’s no mystery there. Environmental exposure, time, and friction all play a part. With your light, seek out the rubber washers and mounts. Are they cracked, crushed, or disappearing altogether? Then the replacement is overdue. Take a pry bar and gently check for wiggle at the ball joints and arms. Anything more than barely-perceptible play—especially if it comes with a “clunk”—suggests these joints may have outlived their service.
Step 5: Steering Feel and Handling
No need for a racetrack. Even in a quiet parking lot, sloppy suspension makes itself known. Turn the wheel both ways at low speed—no music, no distractions. Does the car respond with confidence, or do you sense a disconnect, like there’s a delay between your input and the response? Under braking, does the front end dive abruptly? When you accelerate, does the rear squat down in a way that feels off? Such behavior hints that springs or shocks can’t handle the forces involved. It isn’t just “character”—it’s a signal to investigate.
Step 6: Listen for Odd Noises
While you drive over broken pavement or speed bumps, pay close attention to what you hear—and turn down the radio. Metallic clunking on bumps often points to shot ball joints or sway bar links. Prolonged squeaking, especially during turns or over bumps, can indicate dried-out bushings or metal-on-metal contact. Diagnosis by ear isn’t foolproof, but odd sounds rarely resolve themselves.
Following these steps on how to check suspension on a car can help you stay safe and keep your vehicle running smoothly.
Common Suspension Problems
No system lasts forever, least of all parts that bear the brunt of potholes, salt, and time. Fluid leaking from shocks is a consistent troublemaker, as is the slow death of bushings leading to off-center alignments and poor handling.
Coil springs, especially in areas with winter salt use, have a nasty habit of snapping. Ball joints and tie rod ends, overlooked but vital, occasionally let go—sometimes with little warning. It bears mentioning: losing one at highway speed is, in a word, terrifying.
When to Replace Suspension Parts?
Mileage is only a rough yardstick. Some may suggest inspecting at 50,000 miles; others get double, depending on road conditions and maintenance. Short drives over endless gravel? Expect a shorter lifespan. If you see leaking seals, torn bushings, or a spring in more than one piece, don’t wait.
Fail the bounce test or notice unsettling body movement under braking, and your suspension is almost certainly crying for help.
Common Mistakes to Avoid
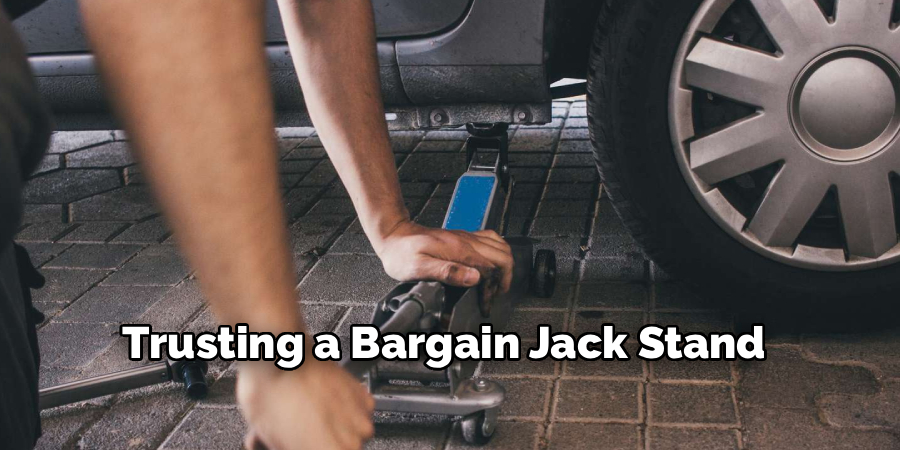
- Trusting a bargain jack stand or skipping them altogether invites disaster.
- Only fixing a single corner when two are worn guarantees imbalanced, unpredictable handling.
- Ignoring strange tire wear in hopes it will “even out” later is wishful thinking—tires aren’t self-healing.
- Prying on aluminum components with metal tools risks permanent damage.
- Neglecting a wheel alignment after new parts? That’s a shortcut that leads to premature tire wear and steering headaches.
Maintenance Tips
Prevention, unsurprisingly, beats cure. Every oil change or tire swap offers a good reason for a quick inspection—look for odd leaks, check rubber bits, test alignment by feel. Keep tires at recommended pressure; under- or over-inflation stresses suspension and steering parts.
When possible, steer clear of curb hopping and deep ruts, and avoid overloading the vehicle. During winter, rinse off salt and grime; neglecting this can accelerate rust, especially on coil springs and arms.
When to Visit a Mechanic?
Not every job belongs in the driveway. If you feel out of your depth, don’t press on—safety trumps pride. Should the car pull stubbornly to one side, or the wheel shakes violently at speed, don’t guess at causes.
Mechanics have presses for bushings, laser tools for alignment, and—importantly—liability insurance. Sometimes, it’s smartest to let a pro take over.
Frequently Asked Questions
Q1: How Much Does It Cost To Fix a Car Suspension?
Tough question. Sometimes, a $120 sway bar link sorts things out. Other times, a full rebuild—struts, arms, alignment—blows right past $1,000. Cost depends on your car’s make, which parts are done for, and labor rates in your area.
Q2: Can I Drive With A Bad Suspension System?
Is it possible? Yes. Is it advisable? Not really. With failing suspension, stopping distances grow, and the car’s reactions become unpredictable, especially during emergencies. Ignore blown shocks or worn joints, and other parts degrade faster, including your tires.
Q3: How Long Do Shock Absorbers And Struts Last?
Manufacturers will often suggest checking after 50,000 miles, but the lifespan fluctuates wildly. Highway cruisers can hit 100,000 miles on originals, while cars used for hauling or in rough country will get less. When in doubt, check for leaks or excess bounce.
Conclusion
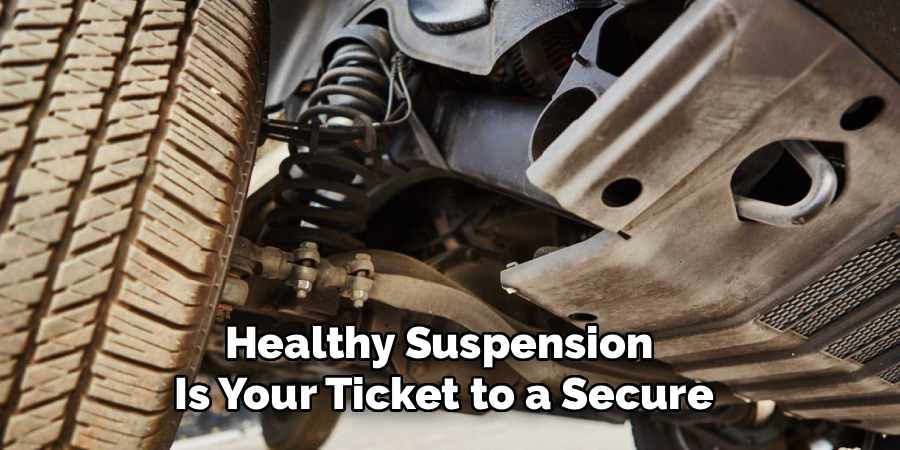
There’s no room for complacency here. A healthy suspension is your ticket to a secure, comfortable commute—and sometimes, to avoiding disaster. React promptly to odd sounds, weird movement, or suspicious leaks.
Sometimes, all you need is a wrench and willingness; other times, you’ll want a specialist. Whatever the case, regular checks make all the difference. Thanks for reading this guide on how to check suspension on a car.

About
Ora Hayes is a distinguished figure in the world of DIY Thecarfixes, with over a decade of expertise in automotive diagnostics and high-performance maintenance. Her professional focus lies in merging mechanical precision with modern digital tools, fostering repair solutions that are both cost-effective and highly reliable. As the author of Thecarfixes, Ora Hayes delves into the art and science of automotive restoration, inspiring car owners and hobbyist mechanics alike.
Education
RMIT University (Melbourne, Australia) Associate Degree in Automotive Engineering — Focus on vehicle dynamics, industry-driven repair protocols, and advanced diagnostics. Gained hands-on experience with traditional mechanical tools and modern ECU remapping software.
Nottingham Trent University (United Kingdom) Bachelor’s in Mechanical Design and Automotive Engineering (Honors) — Specialized in automotive systems with a focus on blending technical engineering with everyday usability. Participated in industry projects, working with leading automotive manufacturers to gain real-world insights into vehicle longevity.
Publications and Impact
In Thecarfixes, Ora Hayes shares her insights on troubleshooting complex engine issues, material durability, and strategies for efficient garage setups. Her writing bridges the gap between professional mechanic knowledge and the home enthusiast’s needs, making it a must-read for both everyday drivers and seasoned gearheads.




