

Seeing a sudden amber illumination on your dashboard often provokes an immediate sense of mechanical dread. Many drivers immediately assume this glowing text indicates a catastrophic engine failure or an impending repair bill. The reality, however, is usually far less severe.
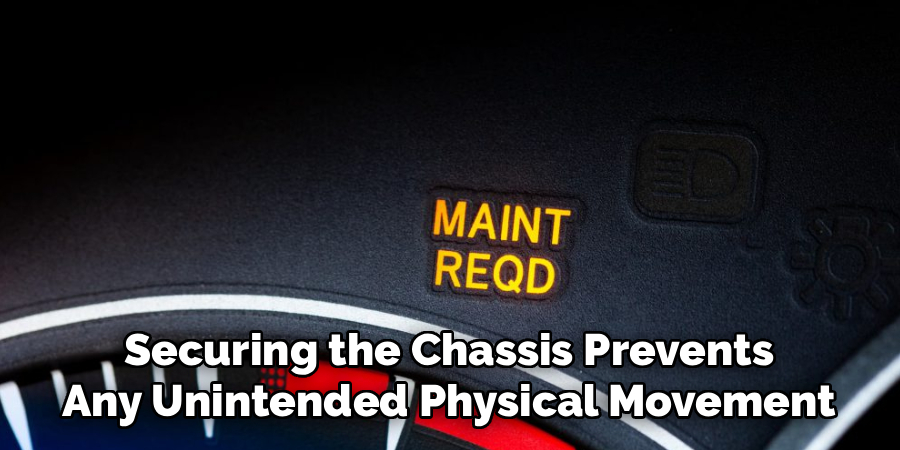
The “MAINT REQD” light on a Toyota Tacoma typically represents nothing more than a digital calendar. Automakers design these internal systems to track the physical distance your truck travels between service intervals. Knowing exactly how to reset maint required on toyota tacoma appears to be a highly practical skill for any owner.

This simple electronic procedure might save you an unnecessary trip to the local dealership. Our guide provides a structured methodology for clearing that persistent dashboard reminder safely. By understanding these electronic triggers, you could approach routine truck maintenance with a much more analytical mindset.
Understanding The Maintenance Required System
Modern trucks rely heavily on digital processing to monitor component health and fluid degradation. A brief overview of why this specific warning exists might clarify its actual purpose. It appears to indicate a scheduled service interval rather than an active mechanical emergency.
Engineers implemented this mileage-based alert to encourage proactive fluid management. The system theoretically protects the engine block from premature degradation by reminding the owner to visit a mechanic. You must differentiate this routine reminder from a genuine diagnostic fault.
Mileage-Based Tracking Versus Diagnostic Codes
The maintenance required indicator operates almost entirely on a rudimentary digital odometer counter. It typically illuminates every five thousand miles since the last time a technician triggered the reset sequence. This predictable interval aligns perfectly with standard factory oil change recommendations.
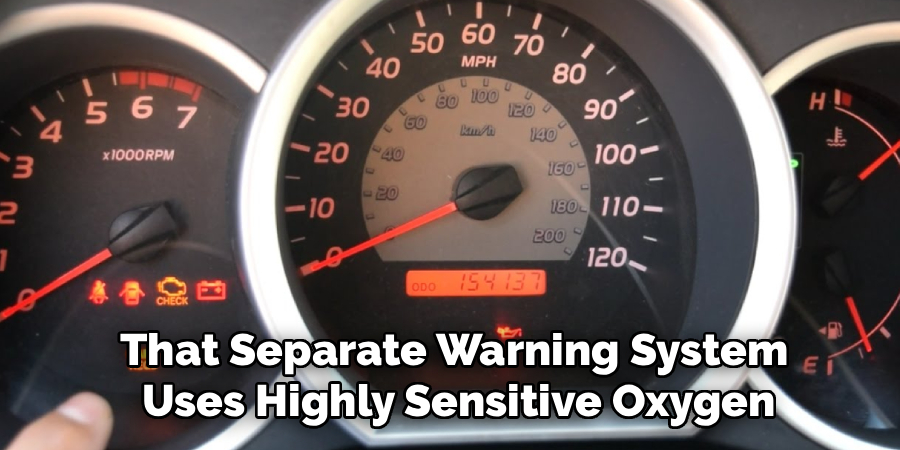
Contrast this simple counter with the actual Check Engine Light. That separate warning system uses highly sensitive oxygen and pressure sensors to detect genuine emissions faults or engine misfires. The maintenance light merely suggests that your engine oil is getting older.
The Significance Of Routine Lubrication
Understanding the electronic alert means acknowledging the physical maintenance it demands from the driver. The primary service interval for a Toyota Tacoma involves draining the engine oil and rotating the tires. These physical actions prevent uneven tread wear and damaging friction.
While clearing the dashboard light is incredibly easy, the driver should actually perform the physical work. Resetting the digital counter without changing the oil might slowly destroy the engine over time. You must balance digital compliance with actual mechanical stewardship.
Preparation And Safety Considerations
Interacting with the vehicle’s ignition requires a baseline level of situational awareness. You should prepare the cabin environment before pressing any dashboard buttons. Rushing this process occasionally leads to user error or skipped steps.
The reset sequence demands a specific series of power cycles. You cannot perform these actions while driving down the highway safely. Securing the chassis prevents any unintended physical movement during the procedure.
Securing The Vehicle On Level Ground
Direct your Tacoma onto a relatively flat surface before starting the electronic reset. Shift the automatic transmission firmly into the Park position. Manual transmission owners should leave the stick in first gear.
Engage the emergency parking brake with a firm pull or mechanical press. Because this process involves powering the ignition without starting the engine, you want the chassis completely immobilized. This simple physical precaution reduces any lingering safety risks.
Identifying Your Specific Ignition Hardware
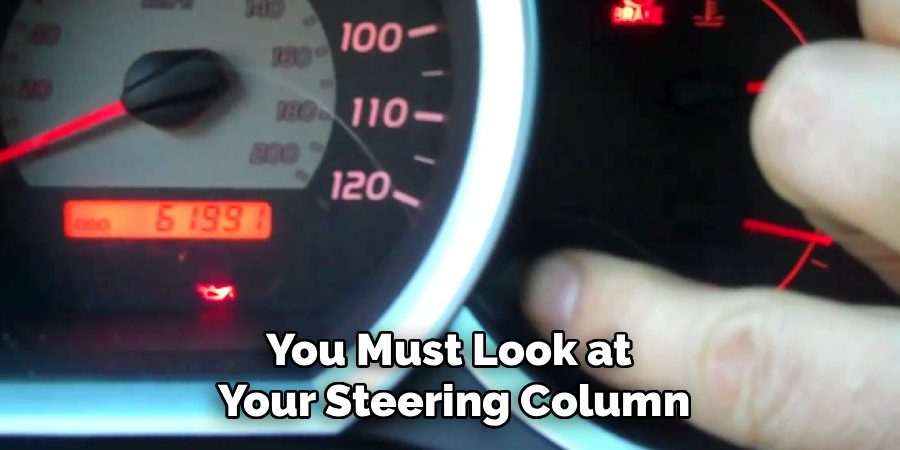
The interior architecture of the Tacoma changed significantly over the last few generations. You must look at your steering column to identify your specific starting mechanism. The reset protocol varies slightly depending on your hardware.
Older models utilize a traditional metal key inserted directly into a mechanical cylinder. Newer variations feature a modern electronic push-button start system. Recognizing this distinction early prevents immense frustration during the primary instructional steps.
Step-by-Step Guide: How To Reset Maint Required On Toyota Tacoma
Executing the reset requires a methodical, almost rhythmic physical sequence. Following these instructions closely usually clears the digital reminder safely. Reassure yourself that this entire process takes less than sixty seconds.
The system requires you to manipulate the trip computer while cycling the main vehicle power. It might take a practice run to get the timing exactly right. Patience typically yields a successful outcome.
Step 1: Turn The Ignition To The On Position
Power up the dashboard without actually igniting the engine block. For traditional keyed ignitions, turn the metal key two clicks to the right. The dashboard warning lights should illuminate brightly.
If you own a push-button model, keep your foot completely off the brake pedal. Press the start button exactly two times. This specific action powers the electronics without engaging the starter motor.
Step 2: Set The Display To Trip A
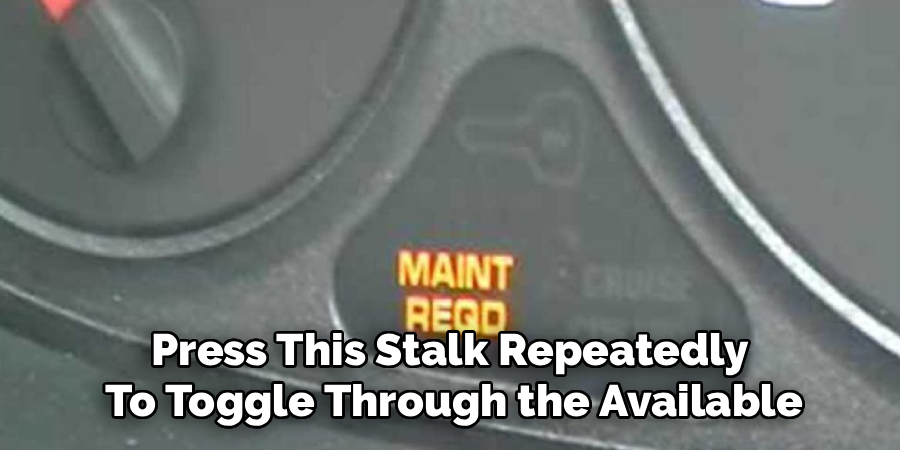
Look directly at the digital odometer screen in the center of your gauge cluster. Locate the small plastic Trip/Reset stalk protruding from the plastic gauge lens. Press this stalk repeatedly to toggle through the available mileage menus.
You must stop pressing when the screen clearly displays “TRIP A” in the corner. Some older Tacoma models might require you to leave it on the main “ODO” screen instead. We generally recommend trying Trip A first, as it covers the vast majority of modern production years.
Step 3: Power Down The Ignition Completely
Once the correct mileage reading sits prominently on the screen, you must sever the power. Turn the physical key backward and remove it entirely from the cylinder. Push-button users should press their start button one time to shut the electronics off.
Shutting the computer down while it rests on this specific screen prepares the internal module. It essentially primes the digital logic gate for the upcoming hard reset sequence. The dashboard should now be completely dark.
Step 4: Press And Hold The Trip Reset Button
This step requires a bit of physical coordination. Reach forward and press the Trip/Reset stalk inward toward the dashboard. You must hold it down firmly with steady, unwavering pressure.
Do not release your finger during the next phase of the procedure. Breaking physical contact with this button will instantly abort the entire reset protocol. Maintain your grip until the sequence finalizes.
Step 5: Power The Ignition While Holding
While keeping your finger firmly anchored on the stalk, you must restore power to the cabin. Turn the keyed ignition two clicks forward to the “On” position again. Push-button owners should press their start button twice while keeping their foot off the brake pedal.
Powering the dashboard while actively pressing the reset button triggers the hidden diagnostic mode. The computer recognizes this highly specific physical combination. It realizes you are attempting to clear the scheduled service interval.
Step 6: Wait For The Sequence To Finalize
Keep watching the digital odometer screen carefully as the dashboard lights up. You should see a series of small flashing dashes appear across the display. These dashes will begin to disappear one by one, counting down to zero.
Sometimes, the “MAINT REQD” light itself will blink rapidly several times. Wait until the screen displays a row of zeros or returns to your normal mileage reading. You may finally release the plastic stalk once this visual confirmation occurs.
Alternative Reset Methods For Newer Models
Highly contemporary Tacoma models abandon the plastic dashboard stalk entirely. Toyota migrated these functions into the digital menus controlled directly by the steering wheel. This modernization requires a slightly different analytical approach.
You will use the directional pad on the steering wheel to scroll through the multi-information display. The logic remains the same, but the physical interface feels much more akin to a smartphone. Navigating these menus is relatively intuitive.
Navigating The Steering Wheel Menu
Power the truck on using the push-button start. Use the left and right arrows on the steering wheel pad to scroll through the menus. You are looking for the gear icon, which represents the settings screen.
Press the center button to enter this configuration area. Scroll downward until you highlight “Vehicle Settings” on the list. Select this option to access the deeper maintenance sub-menus.
Selecting The Scheduled Maintenance Prompt
Inside the vehicle settings, you should see an option labeled “Scheduled Maintenance” or simply “Maintenance Reset.” Click the center button to select this specific prompt. A confirmation screen will appear asking if you want to reset the data.
Use the upward arrow to highlight the “Yes” option. Press the center button to confirm your choice. A message stating “Reset Complete” will flash briefly on the screen, and the amber warning light should disappear immediately.
Troubleshooting A Stubborn Dashboard Light
Sometimes the digital sequence fails on the very first attempt. Drivers often face minor frustrations when the light refuses to extinguish. Approaching the problem analytically usually reveals a simple user error.
A failed reset does not imply a broken computer module. It normally suggests a slight timing discrepancy during the manual button presses. You can simply turn the truck off and try the sequence again.
Timing Errors And Button Slippage
The sequence relies heavily on continuous physical contact with the reset stalk. If your finger slips for even a fraction of a second while turning the key, the computer aborts the process. You must maintain firm pressure throughout the entire countdown.
Ensure you are turning the key to the second click, not the third. Engaging the starter motor will ruin the sequence entirely. Take a deep breath and perform the actions with deliberate, measured movements.
Odometer Screen Discrepancies
Toyota altered the baseline reset requirement across different production years. If holding the button on the “TRIP A” screen fails, cycle the screen to the main “ODO” display instead. Repeating the entire press-and-hold sequence from this main screen typically cures the most stubborn maintenance lights.
This slight adjustment seems to indicate a shift in factory programming logic. Older trucks frequently prefer the total odometer reading as the starting point. Experimenting with both screens usually solves the digital puzzle.
Conclusion
An illuminated dashboard rarely warrants immediate panic or severe anxiety. The maintenance required indicator functions merely as a helpful mileage tracker designed to protect your engine block. It quietly counts the distance you travel to ensure your oil remains relatively fresh.
Finding the correct digital screen and mastering the ignition sequence guarantees a flawless reset. This minor electronic chore requires no specialized tools or expensive diagnostic scanners. You can perform it safely in your driveway in under a minute.
Understanding exactly how to reset maint required on toyota tacoma empowers you to handle routine alerts with quiet confidence. You no longer have to rely on a dealership technician to clear your screen. Always remember to perform the actual fluid changes before clearing the light, ensuring your truck remains reliable for the long road ahead.

About
Ora Hayes is a distinguished figure in the world of DIY Thecarfixes, with over a decade of expertise in automotive diagnostics and high-performance maintenance. Her professional focus lies in merging mechanical precision with modern digital tools, fostering repair solutions that are both cost-effective and highly reliable. As the author of Thecarfixes, Ora Hayes delves into the art and science of automotive restoration, inspiring car owners and hobbyist mechanics alike.
Education
RMIT University (Melbourne, Australia) Associate Degree in Automotive Engineering — Focus on vehicle dynamics, industry-driven repair protocols, and advanced diagnostics. Gained hands-on experience with traditional mechanical tools and modern ECU remapping software.
Nottingham Trent University (United Kingdom) Bachelor’s in Mechanical Design and Automotive Engineering (Honors) — Specialized in automotive systems with a focus on blending technical engineering with everyday usability. Participated in industry projects, working with leading automotive manufacturers to gain real-world insights into vehicle longevity.
Publications and Impact
In Thecarfixes, Ora Hayes shares her insights on troubleshooting complex engine issues, material durability, and strategies for efficient garage setups. Her writing bridges the gap between professional mechanic knowledge and the home enthusiast’s needs, making it a must-read for both everyday drivers and seasoned gearheads.




