A clean car audio installation is about more than loud sound. Good wiring helps your stereo, speakers, and amplifier work safely without noise, power loss, blown fuses, or electrical damage. If you are searching for how to wire car audio, you likely want a clear process that does not feel overwhelming.
This guide explains the basics in a beginner-friendly way. You will learn how to plan the system, choose safe wiring, route cables, make solid connections, and test everything before daily use. Whether you are adding new speakers, an amplifier, or a subwoofer, careful wiring makes the system sound better and last longer.
Why Proper Car Audio Wiring Matters
Proper car audio wiring protects your vehicle and helps your system perform as designed. A poor installation can cause weak sound, alternator whine, blown fuses, overheating wires, or even fire risk. The right wire gauge, fuse size, cable routing, and ground connection all matter.
Good wiring also improves sound quality. Clean signal paths reduce noise, while secure power and ground connections help amplifiers deliver steady output. Planning the job before you start saves time and prevents mistakes like pinched wires, loose terminals, or cables routed too close to heat. If the system is complex, professional help is a smart choice.
Step-By-Step Guide To How to Wire Car Audio
Step 1: Disconnect The Battery
Start by disconnecting the negative battery cable. This prevents accidental shorts while you work on power wires, speaker wires, or stereo connections. A short circuit can damage electronics quickly, so do not skip this step.
Use the correct wrench to loosen the negative terminal, then move the cable away from the battery post so it cannot touch by accident. If your vehicle has security codes, memory settings, or sensitive electronics, check the owner’s manual before disconnecting power. Once the battery is disconnected, you can work with much less risk while routing and connecting wires.
Step 2: Plan The System Layout
Plan where each part of the system will go before running any cables. Decide where the head unit, amplifier, speakers, subwoofer, fuse holder, and ground point will be located. Good planning helps you measure wire length accurately and avoid messy routing.
Think about airflow around the amplifier because it can get warm during use. Avoid placing it where cargo can hit it or where water may collect. Also consider service access. You should be able to reach fuses, terminals, and adjustments later. A simple layout drawing can prevent confusion once panels and trim pieces are removed.
Step 3: Choose The Right Wire Gauge And Fuse
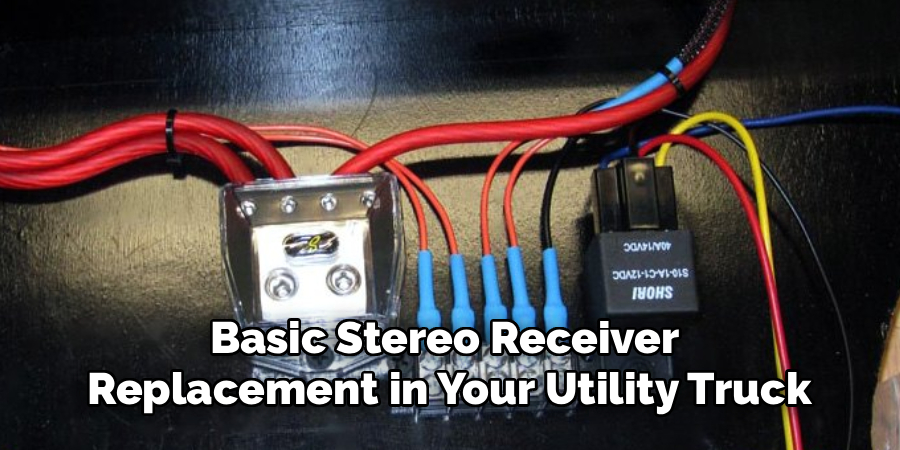
Wire size matters because audio equipment can draw a lot of current. If the power wire is too small, it may overheat or limit amplifier performance. Check the amplifier manual for the recommended power and ground wire gauge. Larger amplifiers usually need thicker wire.
The fuse is just as important. Install the correct fuse size based on the wire and equipment requirements. The fuse should be placed close to the battery, usually within a short distance of the positive terminal. This protects the vehicle if the power wire gets damaged. Never use an oversized fuse to stop it from blowing.
Step 4: Route The Power Wire Through The Firewall
Run the main power wire from the battery into the cabin through a safe firewall opening. Many vehicles have rubber grommets where factory wiring passes through. If you use an existing grommet, make sure the power wire does not cut into other wires or block moving parts.
Protect the cable from sharp metal edges with a grommet or proper sleeve. Do not drill unless you know what is behind the panel, because brake lines, wiring, or other parts may be nearby. Keep the wire away from hot engine parts, steering components, pedals, and anything that could pinch or rub through the insulation.
Step 5: Separate Power And Signal Cables
When wiring a car audio system, keep power cables and signal cables apart whenever possible. Power wire can create electrical noise that may be picked up by RCA cables or low-level signal wiring. This noise often sounds like whining, buzzing, or humming through the speakers.
A common method is to run the power wire down one side of the vehicle and the RCA or signal cables down the other side. Speaker wires can usually follow a clean interior path, but keep them protected under trim. Avoid routing cables under seat tracks or near sharp brackets. Pinched wires can cause shorts and poor sound.
Step 6: Make A Solid Ground Connection
A weak ground is one of the most common car audio wiring problems. The ground wire should be the same gauge as the power wire and as short as practical. Choose a solid metal point on the vehicle chassis near the amplifier.
Remove paint, dirt, rust, or coating from the ground point so the terminal touches clean bare metal. Use a tight bolt and a proper ring terminal for a secure connection. Do not attach the ground to thin metal, seat brackets with poor contact, or random screws. A bad ground can cause noise, amplifier shutdown, low output, and repeated troubleshooting headaches.
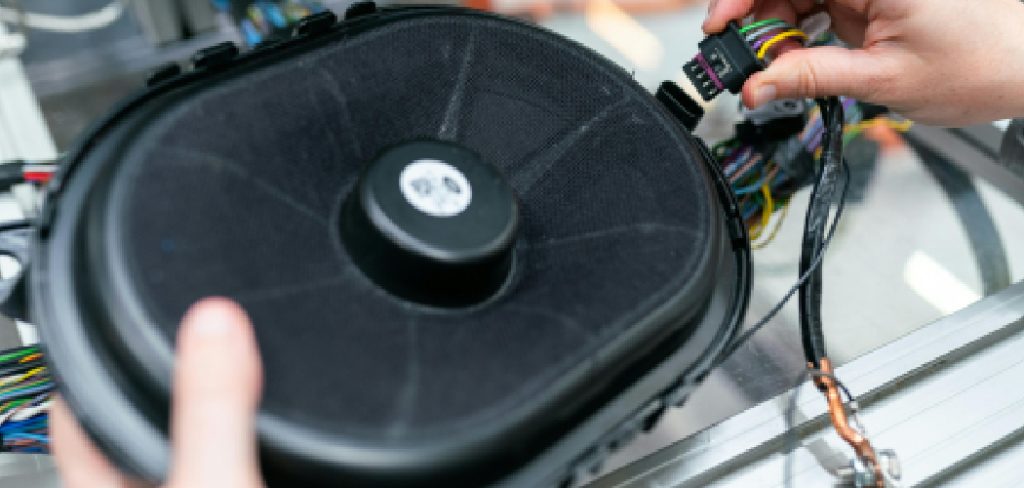
Step 7: Connect Speakers And Amplifier Wiring
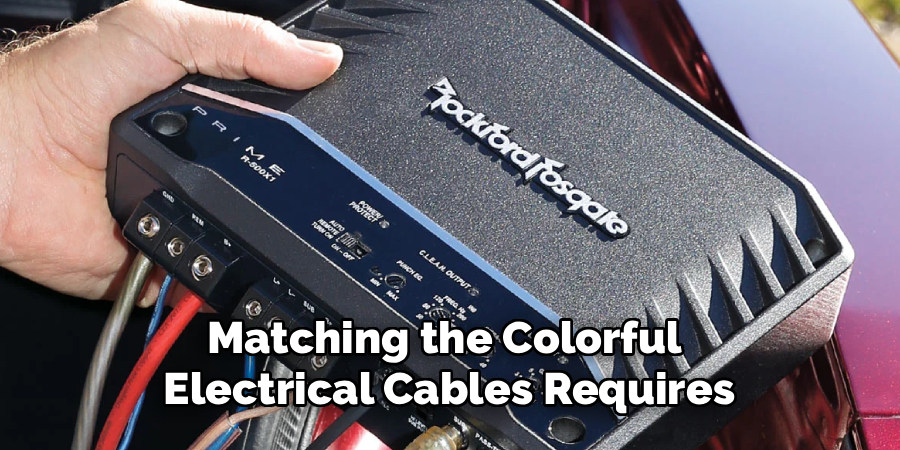
Connect speaker wires with the correct polarity. Positive should go to positive, and negative should go to negative. Reversed polarity may not damage the speaker, but it can make bass sound weak and reduce clarity. Check the markings on the speaker terminals and wiring before closing panels.
If you are using an amplifier, connect the RCA cables or speaker-level inputs according to the amp design. Then connect the amplifier outputs to the speakers or subwoofer. Make sure the speaker impedance matches what the amplifier can safely handle. Loose strands of wire should not touch nearby terminals, because that can trigger protection mode or damage equipment.
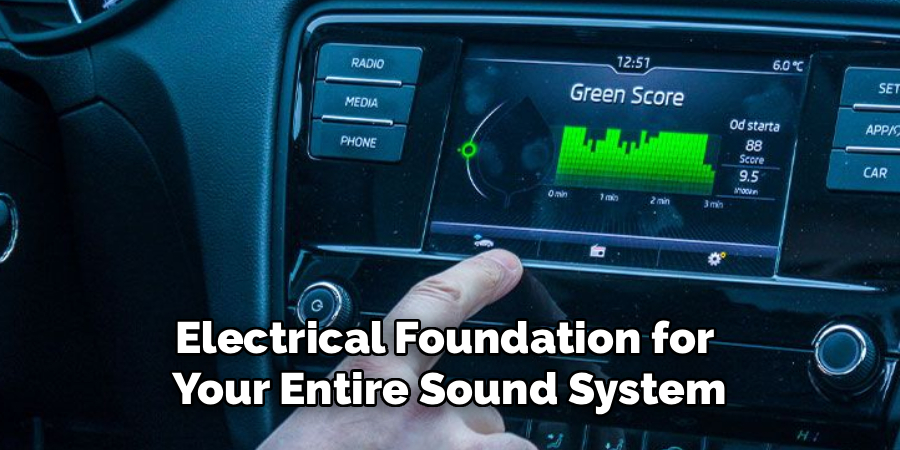
Step 8: Test The System Safely
After all wiring is connected, inspect the system before reconnecting the battery. Confirm that the fuse is installed near the battery, all terminals are tight, and no wires are pinched, exposed, or touching hot surfaces. This is the safest time to catch mistakes.
Reconnect the negative battery cable and turn the system on at low volume. Check that each speaker works, the amplifier powers up, and there is no smoke, burning smell, or unusual noise. A safe approach to how to wire car audio includes testing before turning the volume up. If a fuse blows or the amp enters protection mode, turn everything off and inspect the wiring.
Frequently Asked Questions
What Wire Gauge Do I Need For Car Audio?
The right wire gauge depends on your amplifier’s power demand and the length of the wire run. A small amp may work with thinner wire, while a high-power amplifier needs thicker cable. Always follow the amplifier manufacturer’s recommendation. Using wire that is too small can cause voltage drop, heat, and poor performance.
Where Should The Fuse Be Installed?
The main fuse should be installed close to the battery on the positive power wire. This protects the vehicle if the cable shorts before it reaches the amplifier. If the fuse is placed too far from the battery, part of the wire remains unprotected. Use the correct fuse rating for the wire and system.
Can I Run Power And RCA Cables Together?
It is better to keep power and RCA cables separated. Running them together can increase the chance of electrical noise entering the audio signal. This may cause whining or buzzing through the speakers. If the cables must cross, try to cross them at a right angle instead of running them side by side.
Why Is My Amplifier Going Into Protection Mode?
An amplifier may enter protection mode because of a shorted speaker wire, poor ground, low voltage, overheating, incorrect speaker impedance, or internal damage. Start by checking all wiring connections and speaker terminals. Make sure the ground is clean and tight. If the problem continues after basic checks, professional testing may be needed.
Should I Install Car Audio Myself Or Hire A Professional?
A basic speaker or amplifier installation can be done by a careful beginner with the right tools and instructions. However, complex systems with multiple amplifiers, custom wiring, factory integration, or high current demands are more difficult. If you are unsure about wiring safety, vehicle disassembly, or electrical testing, hiring a professional is the safer choice.
Conclusion
Wiring a car audio system works best when you follow a careful process. Start by disconnecting the battery, planning the layout, choosing the right wire and fuse, routing cables safely, separating signal and power wires, making a strong ground, connecting speakers correctly, and testing at low volume.
Good wiring protects your vehicle and helps your equipment perform better. Avoid shortcuts, protect cables from heat and sharp edges, and never ignore blown fuses or warning signs. By learning how to wire car audio the right way, you can build a cleaner, safer, and better-sounding system.
About
Ora Hayes is a distinguished figure in the world of DIY Thecarfixes, with over a decade of expertise in automotive diagnostics and high-performance maintenance. Her professional focus lies in merging mechanical precision with modern digital tools, fostering repair solutions that are both cost-effective and highly reliable. As the author of Thecarfixes, Ora Hayes delves into the art and science of automotive restoration, inspiring car owners and hobbyist mechanics alike.
Education
RMIT University (Melbourne, Australia) Associate Degree in Automotive Engineering — Focus on vehicle dynamics, industry-driven repair protocols, and advanced diagnostics. Gained hands-on experience with traditional mechanical tools and modern ECU remapping software.
Nottingham Trent University (United Kingdom) Bachelor’s in Mechanical Design and Automotive Engineering (Honors) — Specialized in automotive systems with a focus on blending technical engineering with everyday usability. Participated in industry projects, working with leading automotive manufacturers to gain real-world insights into vehicle longevity.
Publications and Impact
In Thecarfixes, Ora Hayes shares her insights on troubleshooting complex engine issues, material durability, and strategies for efficient garage setups. Her writing bridges the gap between professional mechanic knowledge and the home enthusiast’s needs, making it a must-read for both everyday drivers and seasoned gearheads.