When your car refuses to start, and you’re left stranded by an uncooperative battery, it’s hard not to feel a wave of irritation wash over you. You turn the ignition, just to be met with clicking—sometimes not even that—and the realization dawns: help isn’t always just around the corner. Some will instinctively hope the next good Samaritan will offer a jump start, but traffic thins late at night or on quiet weekends. There you sit, options suddenly limited.
But you aren’t helpless. A dead battery doesn’t have to spell disaster for your day—at least, not if you’re prepared to take matters into your own hands. There are reliable tools and approachable procedures within reach, ones that don’t require hailing another driver. Mastering these basic responses can spare you more than inconvenience; they can reduce stress and, in certain circumstances, possibly keep you safer. In this guide on how to charge a car battery without jumper cables, we’ll break down the steps to get you back on the road in no time.
Why Not Just Use Jumper Cables?
Jumper cables seem like the universal fix, but their limitations become quickly apparent. First, you need another vehicle close by, someone not only willing to help but physically able to get their car into a tight spot next to yours. This is less feasible in isolated spots, busy parking lots, or inclement weather. Add to this the fact that modern cars often bristle with touchy electronic systems—one power surge, one misstep with the cables, and you’re suddenly facing an electrical headache that can be expensive to resolve. There’s also the unpleasant risk of sparking, which is more than just a nuisance, around batteries releasing flammable gases.
For these reasons, it’s not unreasonable to question whether the “classic” method is worth the potential trouble. If there’s a safer workaround, most would be wise to consider it.
Ways to Charge a Car Battery Without Cables
Forget, for a moment, the neighbor’s car. Instead, the tool that probably gets drivers out of trouble more than anything else these days is a portable jump starter. What are these, exactly? Think compact, lithium-ion battery packs robust enough to jolt your car awake more than once before needing a recharge. They stow away under your seat, require no outside help, and most models are loaded with safety features to avoid shorts or shocks.
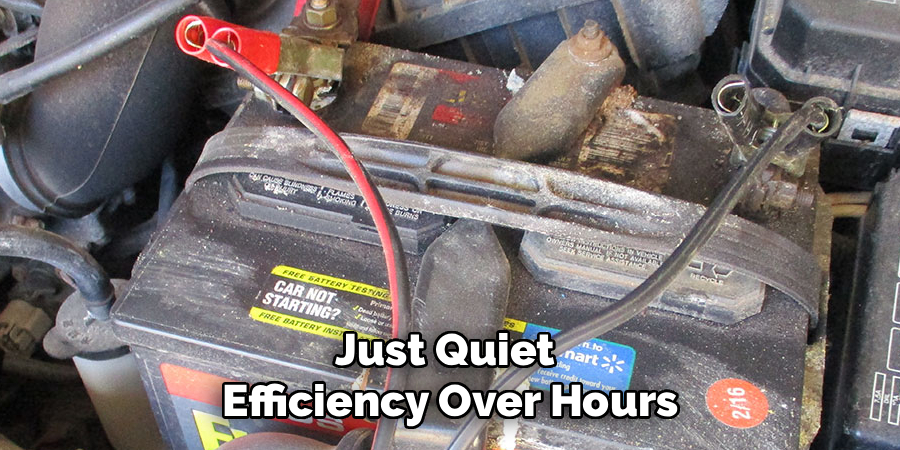
At home with an outlet at hand? Trickle chargers and so-called “smart” chargers present another practical alternative. These recharge your battery at a slow, steady rate—nothing fancy, just quiet efficiency over hours, which has the side benefit of being gentler on the battery’s internals. For the stubbornly independent (or those driving older stick-shift cars), push-starting is possible too, although only if you’re behind the wheel of a vehicle with a manual transmission. That’s not most cars on the road today, but worth mentioning for completeness.
What You’ll Need: Tools and Equipment
To jump-start a car, you’ll need a few things handy. Here’s what you should have on hand before attempting to jump-start your vehicle:
Jumper Cables:
These are the essential tools for jump-starting a car. Make sure they are in good condition and long enough to reach between cars.
A Second Vehicle:
You’ll need another working vehicle nearby to help jump-start your car.
Knowledge of Both Vehicles’ Battery Terminals:
Before jumping into action, it’s important to know where the positive and negative terminals are located on both cars.
Safety Gear:
It’s always a good idea to wear safety equipment such as gloves and eyewear while handling batteries.
Don’t Skip Safety
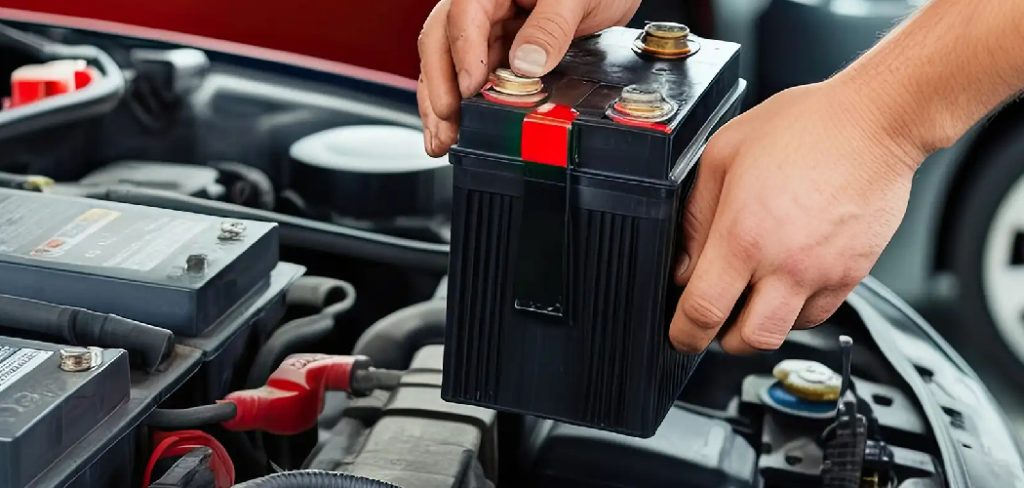
This is non-negotiable. Car batteries contain sulfuric acid, which you do not want to get on your skin (or worse, in your eyes). Whenever possible, work outdoors or in a place where airflow isn’t restricted, so fumes have somewhere to go that isn’t your lungs. Before you even consider digging around the battery, turn off the ignition, pocket your keys, and survey the battery closely. If you spot cracks, leaks, or the sides bulging out in that peculiar way batteries sometimes do, it’s time to call for professional help, not to proceed.
Disregard all those old movies—never light a cigarette or wear metal rings and watches when working on your battery. Safety may feel like overkill until you skip a step.
7 Simple Steps on How to Charge a Car Battery Without Jumper Cables
Step 1: Prep Your Space and Vehicle
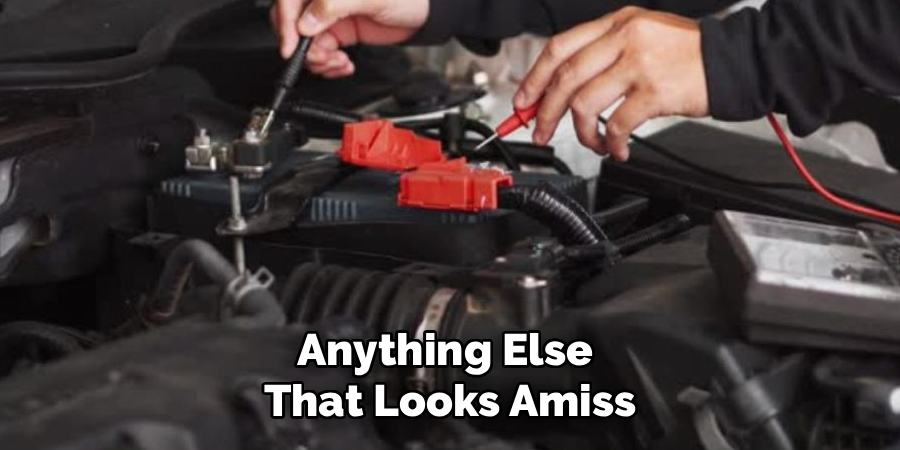
Move the car somewhere flat, out of harm’s way—where you won’t be rushed, and there’s decent ventilation. Parking brakes go on. All those “just in case” lights and the stereo? Off. Only once you’re sure the car isn’t going anywhere should you don protective gear and pop the hood. Check around for loose wiring, leaks, or anything else that looks amiss. Put your jump starter on a stable, safe spot away from any moving belts.
Step 2: Locate and Identify Terminals
Here’s where people often get tripped up by memory or haste. Always, always confirm you have the right posts: look for the positive terminal (marked with a plus, maybe under a red cap), and the negative (minus, usually with a thick black cable). If grime conceals these symbols, clean them off. Never rely on guesswork—reversing connections can fry modern vehicle electronics in short order.
Step 3: Clean Terminals Thoroughly
Corrosion is the enemy of conductivity. If you see a crusty, white buildup, that’s a sign to stop and clean it. Use a wire brush, and don’t be shy. If the crud won’t budge, make a paste with baking soda and water; it’ll help. Afterward, dry everything, because water and electricity aren’t friends here. Skip this, and you risk a wasted effort.
Step 4: Attach the Positive Cable
Now, with gloves on and goggles in place, grab the red clamp from your jump starter or smart charger. Make sure the device is off. The clamp needs to bite down on the bare metal of the positive terminal—jaws fully engaged, not resting or slipping. Test for a snug fit by giving it a wiggle before you move on.
Step 5: Attach the Negative Cable
Only after you’re certain the positive clamp is secure should you attach the black clamp to the negative terminal. For some types of chargers, the negative cable can (or even should) go to a clean, unpainted metal section instead—but double-check your device’s instructions before you improvise. Arrange the cables so nothing dangles where a moving part could snag them.
Step 6: Turn on the Charger—Then Wait
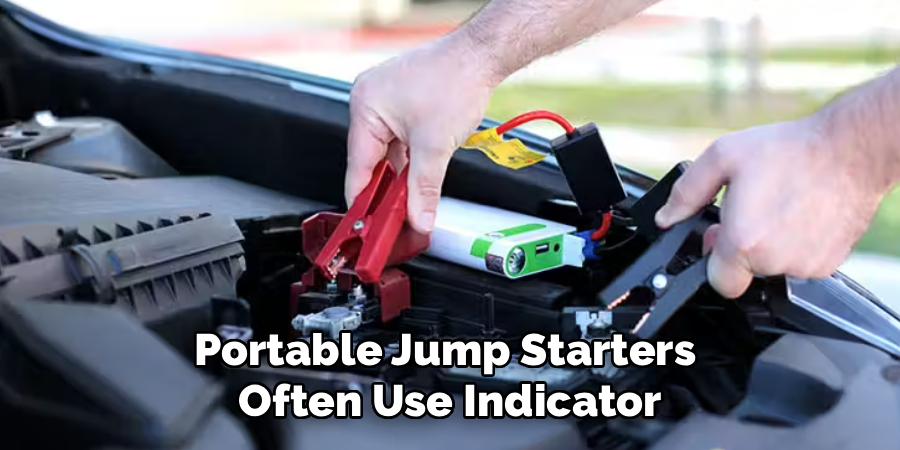
With both clamps in place, it’s safe to power up your device. Portable jump starters often use indicator lights—pay attention to them. Wait for the “ready” signal. Smart chargers might show voltages or other data; the key here is patience, especially if you’re using a slower charger. Don’t rush—letting the process work could be the difference between a half-charged battery and one that’ll reliably start your car.
Step 7: Try Starting the Car & Disconnect
When the device says you’re good, try the ignition—not before. If it doesn’t catch, pause and give it another few minutes. Persistent trouble often means deeper battery issues. As soon as the engine starts, leave the car running. Power down the jump starter, then first remove the negative (black) clamp, followed by the positive (red). Hood down. If possible, drive for twenty minutes or so—time for the alternator to do its job and shore up the battery further.
Following these steps on how to charge a car battery without jumper cables can save you in a pinch, but it’s important to keep in mind that these are only temporary solutions.
Mistakes That Trip People Up
Sometimes it’s not the method but the little oversights that ruin a rescue attempt. Loose clamps? They create a weak connection. Polarity reversed? Potential disaster. Interior lights burning away, exceptions to your charging efforts drain the battery as quickly as you top it up.
Trying to resuscitate a battery that’s leaking or frozen? Don’t—risk of injury isn’t worth it. And yanking off clamps in the wrong order can throw sparks right by your face.
When It’s Time for a New Battery?
No amount of charging will resurrect a battery at the end of its life. If you’re finding the need to recharge regularly, it might mean internal wear—those lead plates only last so long. Classic signs: cranking grows sluggish, lights dim or flicker, the dashboard throws tantrums, and power windows hesitate. Batteries that bulge or ooze acid?
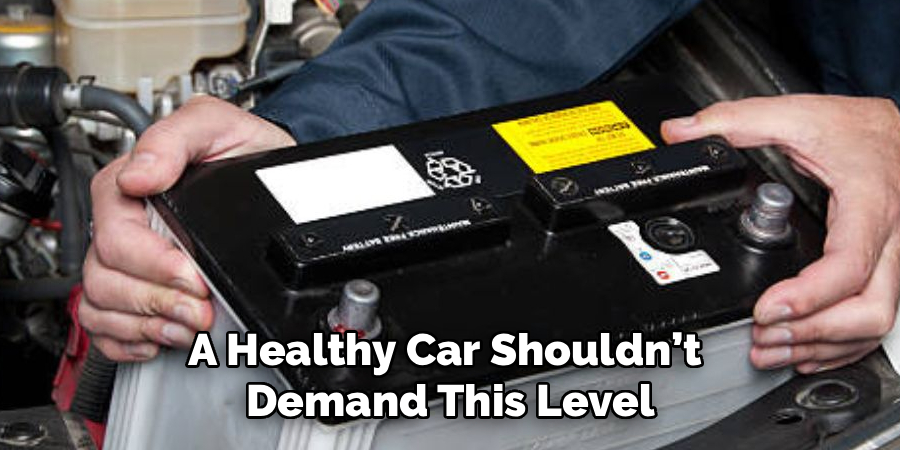
Dispose of them safely and replace, no debate. A healthy car shouldn’t demand this level of attention just to turn on.
A Few Words on Maintenance
You can squeeze more life out of a car battery with a handful of quick habits. Peek under the hood every now and then; check for corrosion on the terminals, and clean them when needed.
Make sure the bracket that holds your battery in place doesn’t let it rattle—vibration weakens connections over time. If your schedule allows, the occasional long drive on the open road helps top up a battery in ways short commutes can’t.
When DIY Won’t Cut It?
Sometimes, charging attempts stall, and there’s little blame to assign. If your battery charger simply won’t revive the engine after multiple tries, something else may be awry—a tired starter motor, perhaps. Notice a sulfur scent? That can signal your battery is venting gas, a risky situation that calls for professional towing.
Newer, high-end cars, loaded with electronics, might not respond to these layperson steps; specialized diagnostic gear could be needed. Dashboard warning lights that refuse to disappear are rarely fixed with guesswork—best to let a qualified technician take it from there.
Frequently Asked Questions
Q1: Can I use an ordinary extension cord to charge my car battery?
No. Plugging an extension cord directly into the battery achieves nothing and risks damage or shock. Use a dedicated smart charger—it plugs into the wall and then safely links to your battery, converting electricity to the right kind for your car.
Q2: How long will it take to charge a dead battery fully?
It depends. A top-shelf portable jump starter might get you running in seconds, but to refill the battery completely with a plug-in smart charger, you might be waiting anywhere from four to twelve hours. Charger output and battery size both matter.
Q3: Is it okay to leave a charger connected overnight?
If your device is a modern, microprocessor-controlled smart charger, yes—it will taper off the current automatically and maintain the battery at a safe level. Manual chargers, however, don’t know when to stop, which can put your battery at risk of overcharging and possible leaks.
Conclusion
A dead car battery, for most drivers, is eventually inevitable. The inconvenience doesn’t have to spiral into a catastrophe. Arming yourself with a quality jump starter or smart charger and knowing the process puts you back in control, not at the mercy of passing strangers or costly tow trucks. Even the best method is a bandage if your battery is nearing the end of its natural lifespan—as ever, your attention to the car’s little warnings and routine checks matters most.
Equip yourself, maintain your gear, and next time that ominous click greets you, you’ll deal with it on your terms. Thanks for reading this guide on how to charge a car battery without jumper cables.
About
Ora Hayes is a distinguished figure in the world of DIY Thecarfixes, with over a decade of expertise in automotive diagnostics and high-performance maintenance. Her professional focus lies in merging mechanical precision with modern digital tools, fostering repair solutions that are both cost-effective and highly reliable. As the author of Thecarfixes, Ora Hayes delves into the art and science of automotive restoration, inspiring car owners and hobbyist mechanics alike.
Education
RMIT University (Melbourne, Australia) Associate Degree in Automotive Engineering — Focus on vehicle dynamics, industry-driven repair protocols, and advanced diagnostics. Gained hands-on experience with traditional mechanical tools and modern ECU remapping software.
Nottingham Trent University (United Kingdom) Bachelor’s in Mechanical Design and Automotive Engineering (Honors) — Specialized in automotive systems with a focus on blending technical engineering with everyday usability. Participated in industry projects, working with leading automotive manufacturers to gain real-world insights into vehicle longevity.
Publications and Impact
In Thecarfixes, Ora Hayes shares her insights on troubleshooting complex engine issues, material durability, and strategies for efficient garage setups. Her writing bridges the gap between professional mechanic knowledge and the home enthusiast’s needs, making it a must-read for both everyday drivers and seasoned gearheads.