Small rust spots can look harmless at first, but they can spread quickly if you ignore them. A tiny orange mark near a wheel arch, door edge, hood chip, or trunk seam often means moisture has reached bare metal. Once rust starts, it can weaken the surface, damage paint, and lower your car’s value.
This beginner-friendly guide explains how to remove small rust spots from car before they become bigger problems. You do not need a professional body shop for every minor spot, but you do need the right process. With careful cleaning, sanding, priming, painting, and sealing, you can stop early rust and make the area look much better. The key is patience. Rushing the repair can leave rust behind, which may return under the new paint.
Why Removing Small Rust Spots Early Matters
Rust removal matters because rust does not stay small for long. It forms when metal reacts with oxygen and moisture. Road salt, rain, snow, mud, humidity, and chipped paint can all speed up the process. Once the protective paint layer breaks, exposed metal becomes vulnerable.
Fixing small rust spots early can save money. A minor repair may only need sandpaper, primer, touch-up paint, clear coat, and a few basic tools. If you wait, rust can spread under the paint and create bubbling, flaking, or holes. At that point, the repair may require cutting, welding, filling, or repainting a larger panel.
Early repair also protects your car’s appearance. Rust around visible areas can make even a well-running vehicle look neglected. If you plan to sell or trade in the car, clean bodywork helps create a stronger first impression.
Step-By-Step Guide To How to Remove Small Rust Spots From Car
Step 1: Inspect The Rust Spot Closely
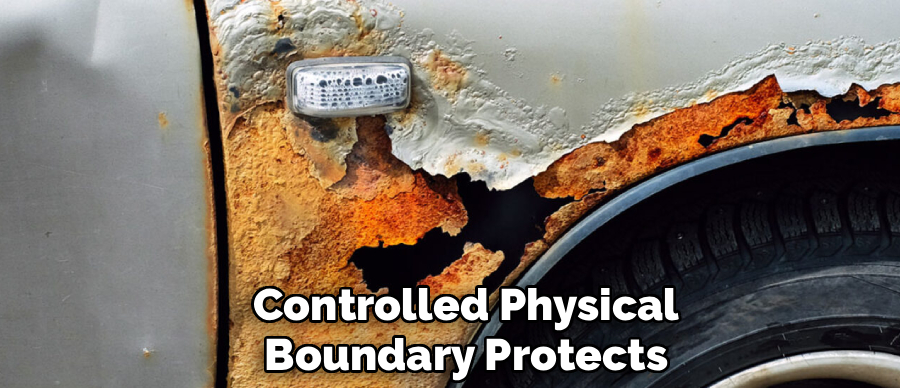
Start by looking at the rust in good lighting. Check whether it is a small surface mark, bubbling paint, or a deeper rough patch. Surface rust usually appears as orange or brown staining on exposed metal. Bubbling paint may mean rust is spreading underneath the paint layer.
Gently press around the area with your finger. If the metal feels soft, flaky, or thin, the damage may be more serious than a simple DIY repair. Use car wash soap and water to wash the spot and the surrounding panel. Small, firm rust spots are better candidates for home treatment. If you see holes or heavy corrosion, consider professional help.
Step 2: Wash And Dry The Area
Clean the area before sanding or applying any product. Dirt, wax, grease, and road grime can interfere with the repair and stop primer or paint from bonding well. Use car wash soap and water to wash the spot and the surrounding panel.
Dry the area with a clean microfiber towel. Then wipe it with wax and grease remover or isopropyl alcohol. This helps remove oils that may not come off with soap alone. Let the surface dry fully before moving forward. A clean surface gives every later step a better chance of lasting.
Step 3: Spots From Car With Sanding
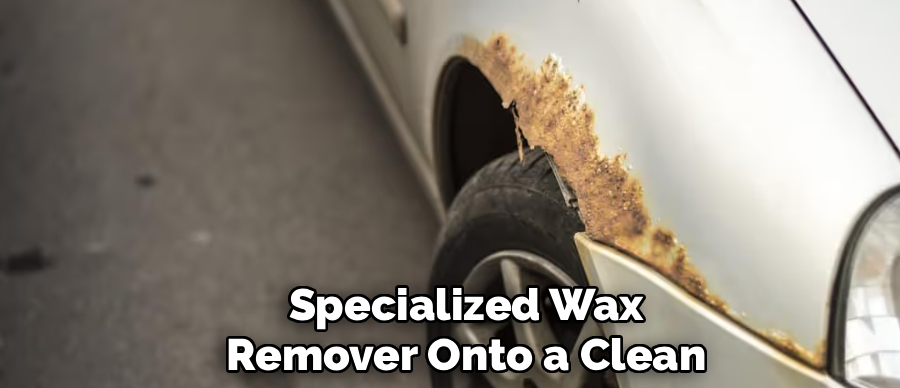
Sanding removes loose rust and helps smooth the damaged area. Start with medium-grit sandpaper, such as 180 to 320 grit, depending on how rough the spot is. Sand gently until the orange rust is gone and you reach clean metal.
Feather the edges of the surrounding paint so the repair blends better. This means sanding the paint edge lightly so it tapers instead of leaving a sharp ridge. Do not sand a huge area if the rust spot is small. Keep your repair focused, but make sure you remove all visible rust.
Step 4: Clean Away Dust And Check For Remaining Rust
After sanding, wipe the area with a clean cloth to remove dust. Use compressed air if available, especially around seams or trim edges. Then inspect the metal again. If you still see orange, brown, or black staining, keep sanding until the surface is clean.
This checkpoint is important. If you paint over rust, it can continue spreading under the new coating. The repair may look good for a short time, then bubble again later. Take a few extra minutes here. A clean, rust-free surface is the foundation of the entire repair. Rushing this crucial drying phase frequently causes your final colored topcoats to peel and flake away prematurely.
Step 5: Apply Rust Converter If Needed
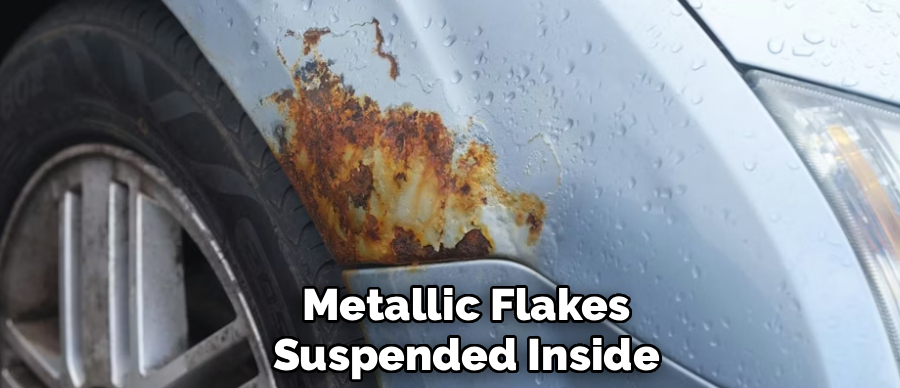
If the rust spot was slightly pitted or hard to sand completely, a rust converter can help. Rust converter reacts with remaining surface corrosion and turns it into a more stable layer. It is not a replacement for sanding, but it can add protection in small pores.
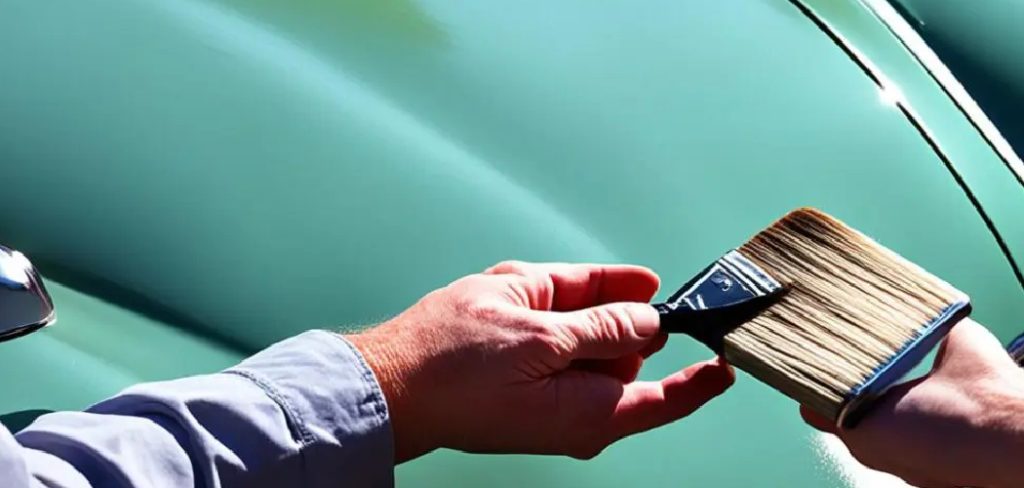
Apply it only as directed on the product label. Use a small brush and keep it within the repair area. Let it dry for the recommended time before applying primer. Do not rush this step. If the converter is not fully cured, primer and paint may not stick correctly.
Step 6: Primer And Paint
Once the metal is clean and dry, apply automotive primer. Primer helps paint bond to the surface and protects bare metal from moisture. Use light coats instead of one heavy coat. Heavy primer can run, dry unevenly, or create texture.
Let each coat dry as directed. After the primer cures, lightly sand it with fine-grit sandpaper to smooth the surface. Then apply matching touch-up paint in thin layers. Allow each layer to dry before adding the next. Building color slowly gives you more control and a cleaner finish.
Step 7: Add Clear Coat For Protection
Clear coat seals the paint and adds shine. It also helps protect the repair from water, sun, dirt, and road debris. Apply clear coat in light, even coats after the touch-up paint has dried according to the product instructions.
Try to blend the clear coat slightly beyond the painted repair area without spraying too far. If you are using a brush-on clear coat, apply it carefully and avoid thick edges. Let the clear coat cure fully before washing or waxing the area. Curing time can vary, so follow the label closely.
Step 8: Polish And Protect The Finished Repair
After the clear coat has cured, inspect the repair. If the surface looks slightly uneven, you can polish it gently with a mild automotive polish. Avoid aggressive rubbing, especially on fresh paint. The goal is to smooth and blend, not remove the new finish.
Once the repair looks good, apply wax or paint sealant after the recommended waiting period. Some paints need extra time before waxing, so check the product directions. Regular washing and protection will help prevent the rust from returning. Keep an eye on the area during future car washes.
Frequently Asked Questions
Can I Remove Small Rust Spots Without Repainting?
You can remove light surface rust without repainting only if the rust has not broken through the paint layer. If bare metal is exposed, you should use primer and touch-up paint after sanding. Leaving bare metal uncovered will allow moisture to reach it again. Even a small unpainted spot can restart the rust process quickly, especially in wet or salty conditions.
What Tools Do I Need For Small Rust Repair?
For a basic repair, you need car wash soap, microfiber towels, sandpaper, wax and grease remover, primer, touch-up paint, clear coat, and painter’s tape. A small sanding block, detailing brush, and gloves can also help. If the rust is near trim or glass, masking materials are useful. You do not need expensive tools for small surface spots, but clean preparation matters a lot.
How Long Does A DIY Rust Repair Last?
A careful DIY rust repair can last for years if you remove all corrosion and seal the area properly. The result depends on the rust depth, product quality, weather exposure, and preparation. If rust remains under the paint, it may return within months. Washing your car regularly, waxing the paint, and checking repaired areas can help extend the life of the repair.
Is Rust Converter Better Than Sanding?
Rust converter is helpful, but it is not usually better than sanding. Sanding physically removes corrosion, which gives you the cleanest base for primer and paint. Rust converter works best when tiny traces of rust remain in pits or rough metal. For small car rust spots, the best method is often sanding first, then using converter only if needed before priming.
When Should I Take My Car To A Professional?
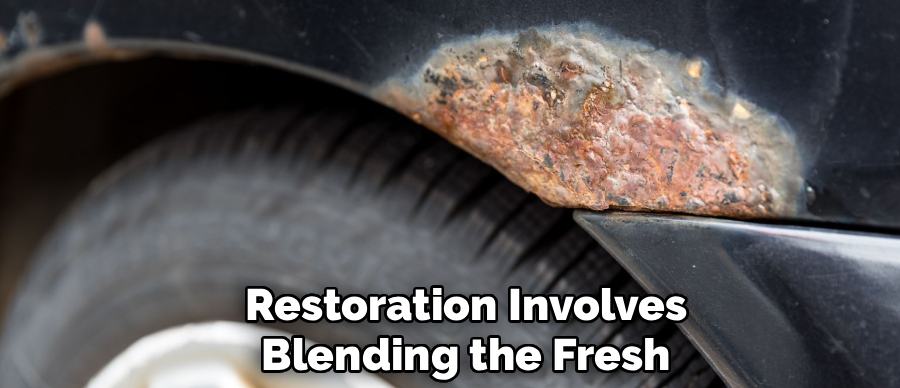
Take your car to a professional if the rust has created holes, spread under large areas of paint, or affected structural parts. Rust on rocker panels, frame areas, suspension mounts, or underbody sections may need expert inspection. You should also get help if you want a near-perfect cosmetic finish on a visible panel. Small surface rust is manageable, but deep corrosion needs more advanced repair.
Conclusion
Small rust spots are easier to fix when you act early. Clean the area, sand away corrosion, treat stubborn spots, apply primer, add matching paint, seal with clear coat, and protect the finish afterward. Each step helps stop moisture from reaching the metal again.
Once you know how to remove small rust spots from car, you can handle minor surface rust with more confidence and avoid larger repair bills later. Start with one small spot, work slowly, and protect the repair so your car stays cleaner, stronger, and better looking.

About
Ora Hayes is a distinguished figure in the world of DIY Thecarfixes, with over a decade of expertise in automotive diagnostics and high-performance maintenance. Her professional focus lies in merging mechanical precision with modern digital tools, fostering repair solutions that are both cost-effective and highly reliable. As the author of Thecarfixes, Ora Hayes delves into the art and science of automotive restoration, inspiring car owners and hobbyist mechanics alike.
Education
RMIT University (Melbourne, Australia) Associate Degree in Automotive Engineering — Focus on vehicle dynamics, industry-driven repair protocols, and advanced diagnostics. Gained hands-on experience with traditional mechanical tools and modern ECU remapping software.
Nottingham Trent University (United Kingdom) Bachelor’s in Mechanical Design and Automotive Engineering (Honors) — Specialized in automotive systems with a focus on blending technical engineering with everyday usability. Participated in industry projects, working with leading automotive manufacturers to gain real-world insights into vehicle longevity.
Publications and Impact
In Thecarfixes, Ora Hayes shares her insights on troubleshooting complex engine issues, material durability, and strategies for efficient garage setups. Her writing bridges the gap between professional mechanic knowledge and the home enthusiast’s needs, making it a must-read for both everyday drivers and seasoned gearheads.