A sluggish tire leak can leave even a patient driver exasperated. When you’re stuck refilling the same tire over and over, there’s a fair chance the seal between the rubber and rim isn’t doing its job. These situations may not always feel urgent—until, suddenly, you’re facing a flat at the worst possible moment. Does a quick, permanent fix exist? In many cases, yes—but only with a bit of methodical effort and care.
For those willing to roll up their sleeves, repairing a rim leak at home isn’t out of the question. Patience will help. So will having the right gear. The guide on how to fix leaking rims below sets out, without unnecessary frills, what to gather, how to prep, and how to restore the crucial seal that keeps air where it belongs.
Tools and Materials You’ll Need
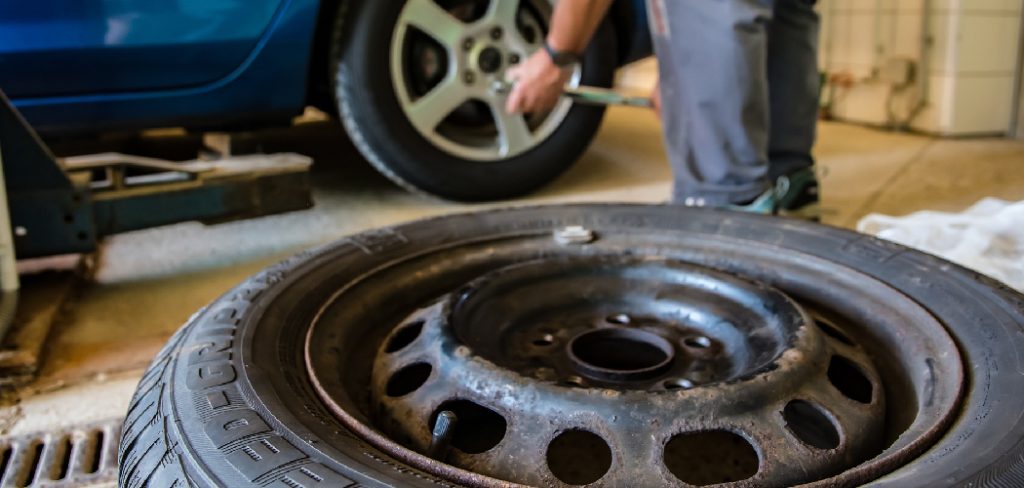
Before starting anything, take a few minutes to track down the proper tools. Searching for a misplaced jack midway through the process is a headache nobody needs. You’ll need a basic vehicle jack, a lug wrench (most folks can find one in their trunk), and something to break the bead—a specialized tool is easiest, though creative folk have managed with large pry bars or even certain types of pliers.
A spray bottle loaded with dish soap and water will expose the leak. Don’t overlook a wire brush, medium-grit sandpaper, and a rag for cleaning up the rim, as buildup is a frequent villain. As for sealing, a quality liquid bead sealer is worth a little extra money—controversy sometimes swirls over brands, but in my experience, the cheap stuff rarely lasts. Finally, an air compressor with a pressure gauge, ideally the same gauge every time to reduce inconsistency, will be needed once it’s time to re-inflate.
7 Simple Step-By-Step Guidelines on how to fix leaking rims
Step 1: Locate the Source of the Leak
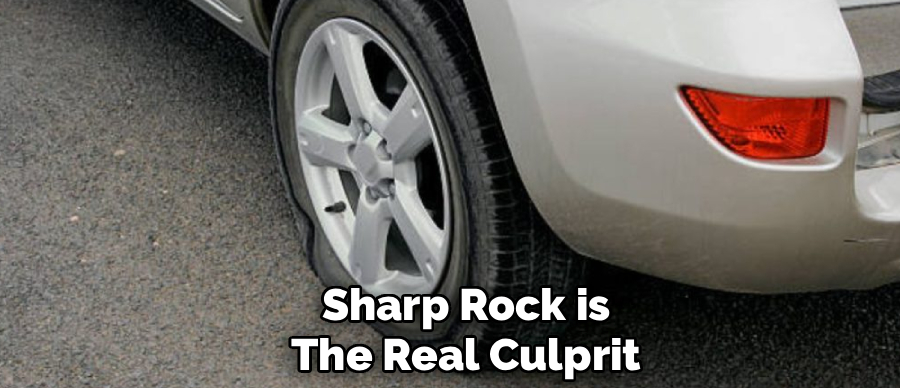
Diagnosis first. A slow leak isn’t always at the rim; sometimes a nail or sharp rock is the real culprit. Spray a liberal amount of soapy water wherever the tire meets the wheel, around the valve stem, and over obvious spots on the tread. Watch. Some leaks bubble instantly; others may take a few minutes to show. When bubbling creeps along the rim, that’s your evidence. Stubborn leaks benefit from a bright mark directly above the trouble spot—chalk works, or a bit of tape, just something to keep your eye on later.
Step 2: Remove the Wheel from the Vehicle
Disassembly isn’t difficult, but caution is a virtue here. Park on solid, level ground. Chock a wheel if you’re on an incline. Slightly loosen, but don’t remove, the lug nuts while the tire’s grounded; otherwise, spinning wheels and stripped threads aren’t out of the question. Next, place the jack beneath the spot recommended by your owner’s manual (it matters) and lift. Add a jack stand. Safety first, always. Only now should you finish removing the lugs and pull the wheel free, setting it rim-up for easier access.
Step 3: Deflate the Tire Completely
It may seem obvious, but do not try to break the bead with air left in the tire. That pressure can make an already tricky job dangerous. Spin off the valve stem cap and, with a core removal tool (available at most auto parts counters), carefully extract the valve core. There’s usually a whoosh of air; let it escape in full. Fingers don’t always remember where they put small brass bits, so tuck the core somewhere safe.
Step 4: Break the Tire Bead
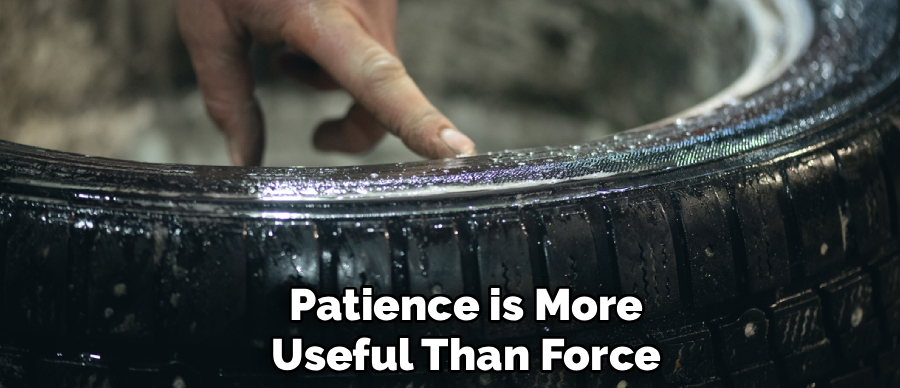
If you have a bead breaker, this will be quick. If not, patience is more useful than force. Position the tool or your makeshift alternative against the tire near the rim and apply steady pressure. Sometimes you’ll hear a sharp pop as the bead lets go; sometimes the rubber slumps with a whimper. Don’t expect one method to work every time. Rotate the wheel, working section by section, until the bead is detached both inside and outside. There’s no need to pull the tire away entirely, but you do want good access to the seating surface.
Step 5: Clean the Rim Thoroughly
Neglect this, and you’ll likely be back at square one soon. Inspect the rim, especially where the mark is. You’ll probably find powdery corrosion or stubborn dirt, a gift from time and weather. With a wire brush, scrub every millimeter of the inner lip—the chalked section is especially important, but don’t skip other spots. Use sandpaper for any lingering, gritty bits, and aim for bare, smooth metal. Wipe the area down afterwards. Brake cleaner or rubbing alcohol on a clean rag works for oily smears; a dry finish matters more than you might think.
Step 6: Apply the Bead Sealer
Open the bead sealer, likely a thick black or clear liquid. The manufacturer may provide a brush—if not, one from your last arts-and-crafts project will suffice. Apply a solid coating inside the entire rim, not just at the marked leak. Don’t be stingy, but don’t drown it either; drips are messy, and overapplication rarely adds durability. Swab a little on the tire’s edge as insurance. The sealer should set for a few minutes—tacky, not bone dry, is the sweet spot. Wait too long and it loses effectiveness; rush, and it may not seal.
Step 7: Reinflate and Test for Leaks
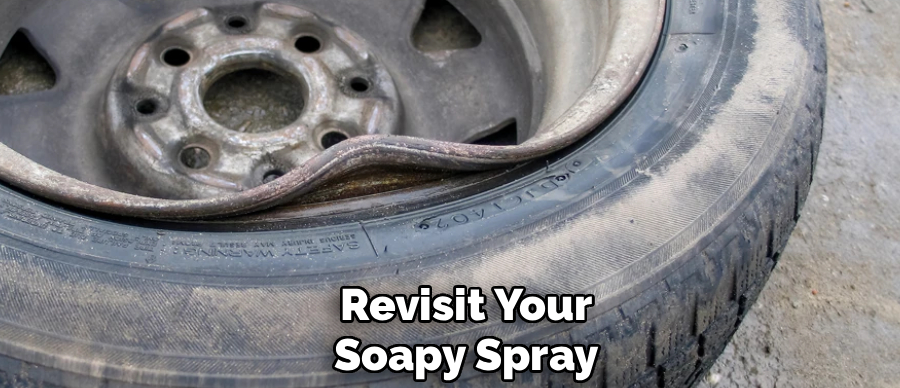
Valve core back in, tighten gently but fully. Air goes in slowly at first. The tire will pop—sometimes loudly—as the bead seats; it’s an unsettling sound the first time, but a positive sign. Compressors with clear gauges help you hit the manufacturer’s recommended PSI without guesswork. Now, revisit your soapy spray and give the tire a once-over as before. If you see no bubbles, confidence is warranted, though a second look never hurts. Wheel back on, lugs tightened in a star pattern (overtightening or cross-threading are common beginner mistakes), and the car returns to earth—job done.
Following these steps on how to fix leaking rims, you can ensure a safer and smoother driving experience. However, keep in mind that if the leak persists or there are multiple leaks, it may be time to replace your rims altogether.
Common Mistakes to Avoid
Some pitfalls seem almost universal. Leaving behind even a faint trace of rust will nearly always undo your hard work within weeks. Insufficient bead sealer—whether from thriftiness or oversight—can also create pinprick air paths.
Another issue: under-tightened valve cores. Even a slightly loose fit often mimics bead leaks, sending the unsuspecting back through this process more than once. Double-check that tightness and cleaning really are complete.
Do You Need To Use Professionals?
Not everything needs a specialist, though certain cases probably should. Bent or cracked wheels? Don’t bother with DIY—no sealant can compensate for structural damage. Some tires, especially low-profile or premium alloy varieties, are awkward (and expensive) to work on without proper gear.
In the right shop, machines do in two minutes what takes amateurs twenty. For the rest of us, knowing when to defer to experience isn’t weakness; it’s a kind of wisdom, hard-won in many garages.
How Much Will It Cost?
At-home repairs are rarely expensive. Expect to pay about $10–$20 for a decent bead sealer; sandpaper and brushes may add a few more dollars. If you already have the essential tools, the final expense is often less than $25.
Bringing your wheel to a professional? Budget between $20 and $40 per wheel for cleaning and resealing—a price that, for some, outweighs the trouble and saves a weekend’s labor.
Frequently Asked Questions
Q1: Can I Drive With A Slow Rim Leak?
Best not to risk it. Underinflated tires corner poorly and need more room to stop—not ideal in an emergency. Incredible as it sounds, heat build-up inside the tire from low pressure has been shown to lead to blowouts. If you notice air loss, take it seriously—not tomorrow, but today.
Q2: How Long Does Bead Sealer Take To Dry?
Most commercial formulas don’t require full drying before inflation—just a brief waiting period until tacky, typically between three and five minutes. Once reinflated, the pressure itself finishes the job, squeezing the sealant into microscopic gaps. True curing, if you’re curious, happens over the hours as you drive, not in the garage.
Q3: Does Fix-A-Flat Work On Rim Leaks?
It’s tempting, but spray-in sealants are mostly a stopgap, and rarely reach the bead where rim leaks originate. They do a better job of plugging nail holes than sealing faulty rims. Worth noting: after you use such products, someone (often you) must eventually wash out the sticky residue left inside.
Conclusion
An air leak at the rim isn’t a sentence to endless refilling or costly replacements. With deliberate steps—patience, preparation, and careful inspection where it counts—the problem can usually be addressed at home.
The payoff isn’t just fewer trips to the gas station air pump, but peace of mind and, perhaps, a small sense of triumph. But if anything looks out of your depth, ask a pro without embarrassment. The road will be safer for it. Thanks for reading this guide on how to fix leaking rims.

About
Ora Hayes is a distinguished figure in the world of DIY Thecarfixes, with over a decade of expertise in automotive diagnostics and high-performance maintenance. Her professional focus lies in merging mechanical precision with modern digital tools, fostering repair solutions that are both cost-effective and highly reliable. As the author of Thecarfixes, Ora Hayes delves into the art and science of automotive restoration, inspiring car owners and hobbyist mechanics alike.
Education
RMIT University (Melbourne, Australia) Associate Degree in Automotive Engineering — Focus on vehicle dynamics, industry-driven repair protocols, and advanced diagnostics. Gained hands-on experience with traditional mechanical tools and modern ECU remapping software.
Nottingham Trent University (United Kingdom) Bachelor’s in Mechanical Design and Automotive Engineering (Honors) — Specialized in automotive systems with a focus on blending technical engineering with everyday usability. Participated in industry projects, working with leading automotive manufacturers to gain real-world insights into vehicle longevity.
Publications and Impact
In Thecarfixes, Ora Hayes shares her insights on troubleshooting complex engine issues, material durability, and strategies for efficient garage setups. Her writing bridges the gap between professional mechanic knowledge and the home enthusiast’s needs, making it a must-read for both everyday drivers and seasoned gearheads.