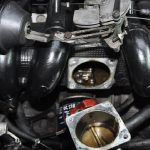
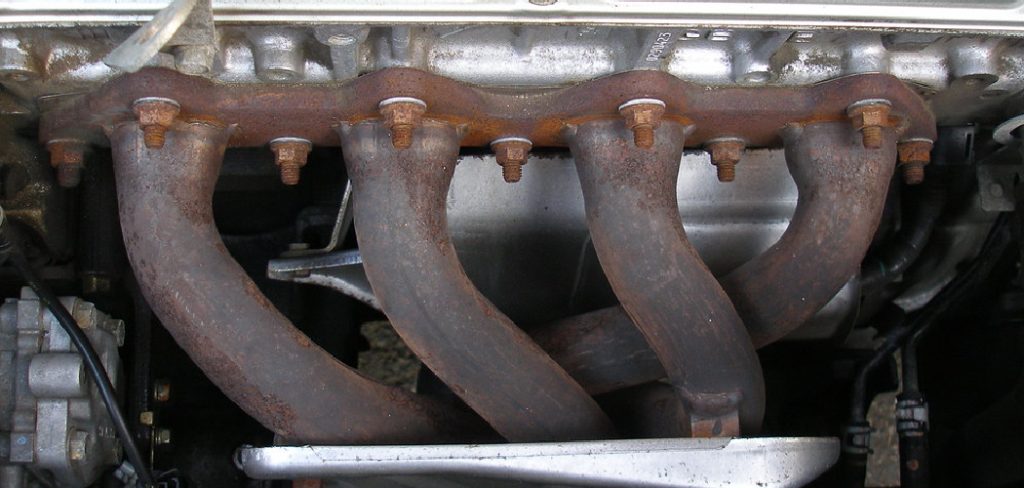
Internal combustion engines rely on a heavily orchestrated system to expel spent gases efficiently. The exhaust manifold functions as the primary collection point for these incredibly hot emissions. It funnels pressurized combustion gases away from the engine cylinders and directs them downward into the main exhaust pipe.
A physical breach in this heavy cast-iron or stainless-steel component severely disrupts engine performance. It could also compromise passenger safety by introducing toxic gases into the cabin. Such a failure might suggest an underlying issue with thermal fatigue or structural mounting stress.
Immediate replacement of this heavy metal part often carries an exorbitant financial penalty at the local dealership. However, understanding exactly how to fix a cracked exhaust manifold can save vehicle owners a tremendous amount of money. This comprehensive guide explores the analytical process of diagnosing the symptoms, executing a high-temperature repair, and safely curing the sealant to restore your vehicle’s mechanical integrity.
Identifying Symptoms of a Cracked Exhaust Manifold
Mechanical components rarely fail without projecting distinct physical warning signs beforehand. An aging exhaust system usually communicates its physical distress through specific auditory and olfactory cues. Recognizing these subtle anomalies early could prevent a minor hairline fracture from splitting the iron entirely.
Ignoring the early symptoms often allows the intense exhaust heat to melt surrounding plastic wire looms or sensor housings. A compromised manifold alters the careful mathematical balance of the engine computer. We must examine the specific behavioral shifts that suggest a structural breach has occurred.
Ticking Noises During Acceleration
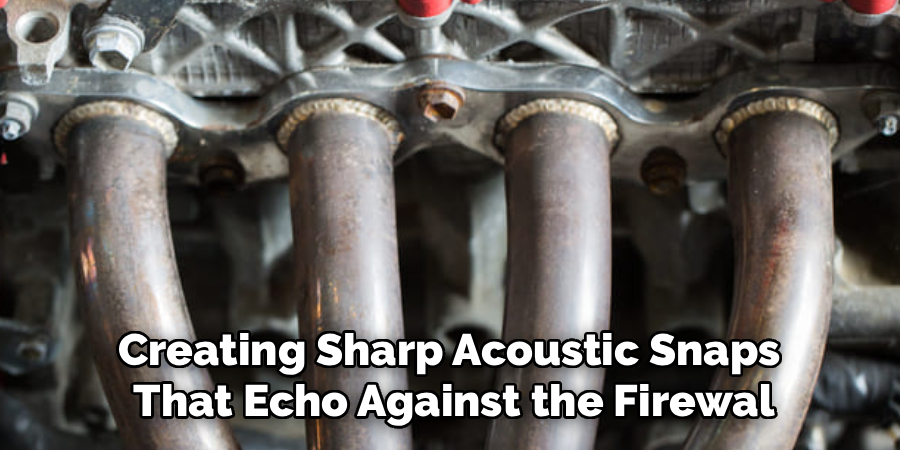
A distinct, rhythmic ticking sound often serves as the very first indicator of a manifold failure. This mechanical tapping noise typically resonates loudest when the engine block is completely cold. As the cylinders fire, highly pressurized gas escapes through the microscopic fracture, creating sharp acoustic snaps that echo against the firewall.
Interestingly, this aggressive ticking might quiet down or disappear entirely after five minutes of driving. The cast iron housing absorbs thermal energy and expands physically. This rapid metal expansion can temporarily pinch the hairline fracture shut, sealing the leak until the engine cools off again.
Dangerous Exhaust Fumes in the Cabin
Auditory warnings eventually give way to profound chemical hazards as the crack widens. A structural breach allows raw, unscrubbed exhaust fumes to bypass the catalytic converter entirely. These toxic gases escape directly into the confined space of the engine bay.
The vehicle’s climate control system constantly pulls fresh air from the base of the windshield to feed the cabin vents. Escaping carbon monoxide drifts upward and seeps directly into the passenger environment. Smelling strong exhaust odors while waiting at a traffic light appears to indicate a severe, potentially lethal leakage point.
Noticeable Loss of Engine Power
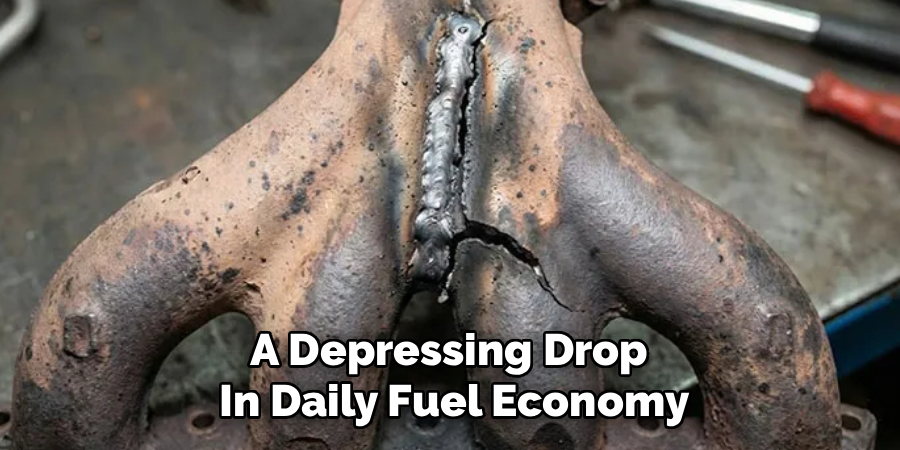
The physical impact of a localized leak extends far beyond unpleasant cabin odors. Escaping backpressure immediately disrupts the sensitive environmental data collected by the upstream oxygen sensors. These sensors suddenly detect an unexpected influx of atmospheric air rushing past the fracture.
This false data forces the engine control module to miscalculate the required air-fuel mixture drastically. The computer usually compensates by dumping excess gasoline into the cylinders to prevent a lean misfire. This defensive algorithmic shift results in noticeably sluggish acceleration and a depressing drop in daily fuel economy.
Essential Safety Precautions Before Repair
Transitioning from observation to physical intervention requires strict adherence to automotive safety protocols. We are dealing with components that operate in an incredibly hostile environment. A casual approach to exhaust maintenance frequently leads to severe physical injury.
You must prepare your workspace deliberately before picking up a single wrench or grinder. The repair process demands specific environmental conditions to protect your respiratory system. Establishing these safety boundaries dictates the overall success of the project.
Managing Extreme Engine Temperatures
Cast iron possesses an astonishing capacity for retaining thermal energy. An exhaust manifold can easily reach temperatures exceeding one thousand degrees Fahrenheit during normal highway operation. It holds onto this intense heat for hours after the ignition key is removed.
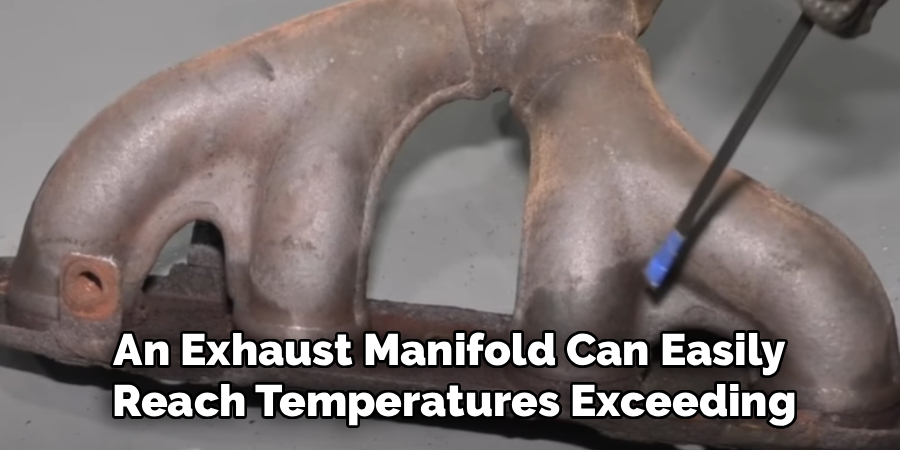
Attempting to touch or clean this metal prematurely could result in instantaneous third-degree burns. You must let the vehicle sit completely undisturbed overnight before beginning your inspection. Working on a cold engine block represents the only acceptable method for this specific repair task.
Proper Lifting and Ventilation
Accessing the lower half of the manifold frequently requires lifting the front chassis. You must secure the vehicle on heavy-duty, professionally rated jack stands placed under the primary subframe. Relying on a hydraulic floor jack alone invites catastrophic crushing hazards if the pressure valve fails.
Furthermore, you should only perform this grinding and chemical patching process in a well-ventilated area. Working with specialized epoxies and cutting wheels generates microscopic metallic dust and harsh chemical vapors. Wearing a high-quality respirator mask prevents these abrasive particulates from entering your lungs.
Step-by-Step Guide: How to Fix a Cracked Exhaust Manifold
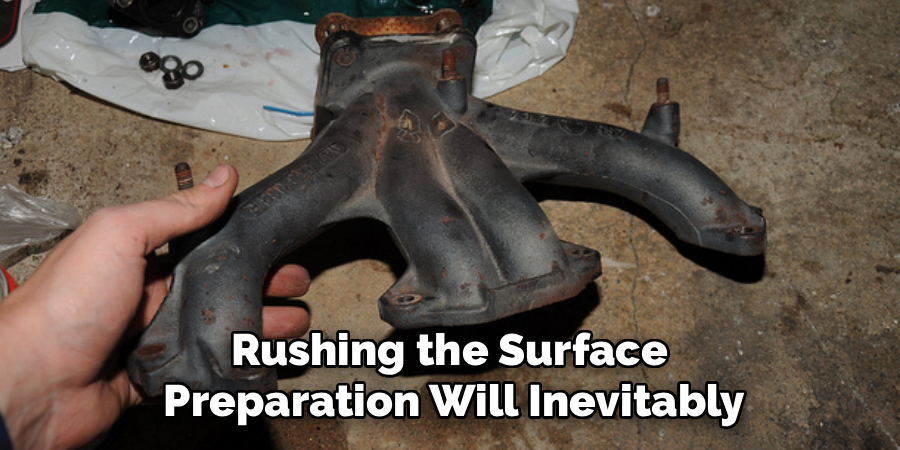
We have reached the core mechanical phase of the restoration process. Achieving a permanent, airtight seal capable of surviving immense thermal shock requires absolute precision. Rushing the surface preparation will inevitably cause the patch material to fail.
You must approach the iron with an analytical mindset, treating the fracture like a surgical site. The materials you apply need a flawless foundation to establish their chemical bond. Proceed methodically through these specific physical steps.
Step 1: Locate and Assess the Damage
Begin your intervention by performing a highly detailed visual inspection using a bright LED flashlight. Hairline cracks often hide beneath heavy layers of surface rust and baked-on oil. You must scan the intricate curves of the cast iron tubes closely.
Look for localized black soot trails or gray carbon tracking scattered across the surrounding aluminum heat shields. The pressurized exhaust gas carries microscopic carbon particles that permanently stain whatever they hit. These distinct dark shadows will perfectly pinpoint the exact origin of the invisible leak.
Step 2: Clean and Prep the Metal Surface
Chemical adhesion relies entirely on flawless, uninhibited surface contact. You cannot apply high-temperature putty over flaking iron oxide or greasy residue. Use a stiff wire brush and coarse sandpaper to aggressively strip the area immediately surrounding the fracture.
Once you expose the raw, shiny metal, flood the zone with a heavy-duty aerosol brake parts cleaner. This volatile solvent rapidly dissolves deep-seated grease and evaporates without leaving any film behind. The bare iron must be completely sterile and slightly roughed up to anchor the epoxy.
Step 3: Drill Stop-Holes at the Crack Ends
Automotive metallurgy dictates that a crack will continue expanding under continuous thermal stress. You must intentionally intervene to halt this physical progression. This requires a terrifying but necessary machining technique.
Take a drill equipped with a tiny, hardened cobalt bit. Carefully drill a shallow hole at the absolute extreme ends of the visible fracture line. These circular stop-holes effectively relieve the localized structural tension, preventing the crack from tearing further across the metal housing.
Step 4: Apply High-Heat Manifold Repair Putty
With the structural stress relieved, you can introduce the chemical binding agent. Purchase a specialized, extreme-temperature exhaust putty rated for at least two thousand degrees Fahrenheit. Standard household epoxies will instantly ignite and turn to ash in this environment.
Knead the chemical compound thoroughly with your gloved fingers until it achieves a uniform color. Press the stiff material deeply into the fracture and force it down into the drilled stop-holes. Feather the edges of the putty smoothly over the surrounding rough iron to create a thick, reliable structural bridge.
Step 5: Advanced Alternative: Welding the Crack
Advanced driveway mechanics possessing specialized welding equipment might opt for a more permanent metallurgical solution. However, applying a standard MIG wire directly to cold cast iron usually causes immediate, violent thermal shattering. You must manipulate the temperature of the entire assembly first.
Using an oxy-acetylene torch, pre-heat the entire manifold to several hundred degrees to reduce the thermal shock of the welding arc. You should then carefully lay a high-nickel filler rod directly into the grooved-out fracture. Burying the freshly welded unit in a bucket of dry sand allows it to cool incredibly slowly, which prevents new stress fractures from forming.
Curing the Repair Material
Applying the chemical putty represents only half of the required chemical equation. The compound remains relatively fragile while in its malleable state. It requires a highly specific curing sequence to achieve its maximum tensile strength.
Failing to cure the patch correctly will result in a catastrophic blowout the moment the engine starts. The volatile chemicals inside the epoxy must outgas slowly. You must follow a disciplined waiting period.
Allowing Proper Drying Time
Instruct yourself to walk away from the vehicle once the putty is shaped. You must let the repair sit completely undisturbed at standard room temperature for the duration specified by the manufacturer. This waiting period typically lasts twenty-four hours.
Do not attempt to accelerate this initial drying phase with a heat gun or a hair dryer. Forced surface drying traps liquid chemicals beneath a hardened outer shell. The material must outgas naturally to ensure a uniform density throughout the structural bridge.
The Thermal Curing Cycle
Once the initial twenty-four-hour period elapses, the patch requires a final bake-in process to temper the material. Start the engine and let it idle quietly in your driveway for exactly ten minutes. Do not rev the engine or attempt to drive the vehicle under heavy load.
Turn the ignition off and let the engine block cool down completely to the ambient air temperature. This gentle thermal cycling properly hardens the specialized epoxy. It physically transforms the chemical paste into a rock-hard ceramic seal that perfectly matches the density of the surrounding iron.
When to Replace vs. Repair Your Exhaust Manifold
Determining whether a repair is actually a viable long-term solution requires honest mechanical evaluation. We must set firm boundaries regarding when safety and reliability demand a completely new part. Some structural damage simply exceeds the capabilities of chemical putty.
A temporary patch might get a failing vehicle through an emissions inspection. It will not, however, survive a cross-country towing trip under heavy boost. You must weigh the severity of the decay against your future driving intentions.
Evaluating Structural Integrity and Warpage
While hairline cracks respond beautifully to putty and high-nickel welding, massive structural fissures do not. If the metal has split completely around the circumference of a primary runner, the casting is essentially dead. Attempting to glue two independent halves of an exhaust pipe back together will inevitably fail.
You must also check the manifold’s primary mating surface with a calibrated steel straight edge. Extreme heat often warps the heavy mounting flange so severely that it no longer sits flat against the aluminum cylinder head. If a feeler gauge slips easily under the straight edge, the warped unit is permanently compromised and must be scrapped.
Cost and Labor Considerations
We must also discuss the harsh reality of the automotive repair timeline. Sourcing a pristine aftermarket manifold or a salvaged factory unit might cost less than a hundred dollars for an older commuter car. If the component sits right at the top of the engine bay, unbolting it is trivial.
Installing a brand-new part might actually save considerable time compared to the lengthy repair process. It provides absolute peace of mind without the hours spent grinding, drilling, and curing an old, fatigued piece of iron. You should calculate the value of your own weekend labor before committing to a messy chemical restoration.
Conclusion
A compromised exhaust system severely disrupts your vehicle’s performance while introducing dangerous chemicals into your personal airspace. Acknowledging the rhythmic ticking and the sudden loss of fuel economy allows you to intervene before the damage spreads. While patching heavy cast iron seems incredibly intimidating, the process remains highly manageable when approached methodically.
The secret to a successful restoration lies entirely within the meticulous preparation phase. Exposing the bare metal aggressively and drilling tension-relieving stop-holes ensures the high-heat putty holds permanently. Proper thermal curing guarantees the chemical bridge can survive the brutal environment of the engine bay.
We have explored the auditory symptoms, the strict safety protocols, and the mechanical realities of warped flanges. Knowing exactly how to fix a cracked exhaust manifold empowers you to eliminate toxic fumes and restore lost horsepower independently. By mastering these high-temperature repair techniques, you can tackle advanced automotive maintenance challenges with professional confidence.
About
Ora Hayes is a distinguished figure in the world of DIY Thecarfixes, with over a decade of expertise in automotive diagnostics and high-performance maintenance. Her professional focus lies in merging mechanical precision with modern digital tools, fostering repair solutions that are both cost-effective and highly reliable. As the author of Thecarfixes, Ora Hayes delves into the art and science of automotive restoration, inspiring car owners and hobbyist mechanics alike.
Education
RMIT University (Melbourne, Australia) Associate Degree in Automotive Engineering — Focus on vehicle dynamics, industry-driven repair protocols, and advanced diagnostics. Gained hands-on experience with traditional mechanical tools and modern ECU remapping software.
Nottingham Trent University (United Kingdom) Bachelor’s in Mechanical Design and Automotive Engineering (Honors) — Specialized in automotive systems with a focus on blending technical engineering with everyday usability. Participated in industry projects, working with leading automotive manufacturers to gain real-world insights into vehicle longevity.
Publications and Impact
In Thecarfixes, Ora Hayes shares her insights on troubleshooting complex engine issues, material durability, and strategies for efficient garage setups. Her writing bridges the gap between professional mechanic knowledge and the home enthusiast’s needs, making it a must-read for both everyday drivers and seasoned gearheads.