Hot, sticky summer days don’t leave much room for patience—especially when your car’s AC suddenly gives up the ghost, blasting nothing but tepid air. Strangely enough, this aggravation traces to a rather unspectacular cause: layers of filth, bugs, and dust suffocating your condenser. Over months or years, enough debris can sneak in behind the grille to throttle your air conditioner’s cooling power.

So, should you resign yourself to sweating it out or fork over a wad of cash at a repair shop? Not necessarily. With a bit of time and the right approach, you can often revive your AC’s chill right there in your driveway. What follows isn’t a marvel of innovation—just practical, stepwise advice on how to clean a car ac condenser for clearing out your condenser and keeping your car comfortable when it matters most.
Why is It Important to Clean Your Car Ac Condenser?
Cleaning your car’s AC condenser is an essential maintenance task that can keep your vehicle’s cooling system running at its best. The condenser is responsible for removing heat from the refrigerant, allowing the air conditioning unit to produce cold air.
Over time, dirt, debris, and bugs can build up on the condenser’s fins, reducing its efficiency and causing it to work harder than necessary.
Tools and Materials You’ll Need
Flagging down the necessary supplies ahead of time saves hassle. Here’s what usually finds its way onto my own garage floor for this job:
- Garden hose, ideally with a nozzle that you can adjust
- Coil cleaner designed for vehicles, or (in a pinch) a gentle dish soap mix
- Soft-bristled brush; a fresh paintbrush can do fine
- A set of screwdrivers or a wrench, depending on your make, for the grille
- Goggles and sturdy gloves—those chemical splashes aren’t your friend
7 Unfussy Steps on How to Clean a Car AC Condenser
Step 1: Find the Condenser
Pop the hood. Now, depending on your car’s design, the condenser generally sits up near the front, nearly rubbing elbows with the radiator just inside the grille. Aluminium tubes, rows of delicate fins—it’s not flashy, but that’s your target. Please, let the engine cool first. Less obvious but worth repeating: open the hood in shade, pull the parking brake, and give the engine bay some time to lose its heat before you fish around in there.
Step 2: Remove the Front Grille and Brackets
It’s rarely as simple as it ought to be. Automakers seem to have a particular fondness for plastic clips and fiddly screws. Use your screwdriver or wrench accordingly, working around the grille from one end to the other. Be gentle; brittle plastic can yield without warning. I’ve lost or snapped enough clips to recommend using a magnetic tray or even a plastic cup for tiny fasteners. Once the grille is out, set it somewhere clean—back seat, soft cloth, you name it. Suddenly, clearing access makes everything else easier.

Step 3: Sweep Away the Obvious Gunk
Don’t be surprised by what you find—wings, leaves, bits of road, maybe the remnants of last month’s drive through the countryside. A soft brush does the trick for sweeping the top layer away. And don’t force things. Aluminum fins, while efficient, are easily bent out of shape. Use a light vertical motion, following the direction of the fins (which typically run up and down, not sideways). Anything more aggressive, and you risk reducing airflow even further.
Step 4: Apply the Cleaner
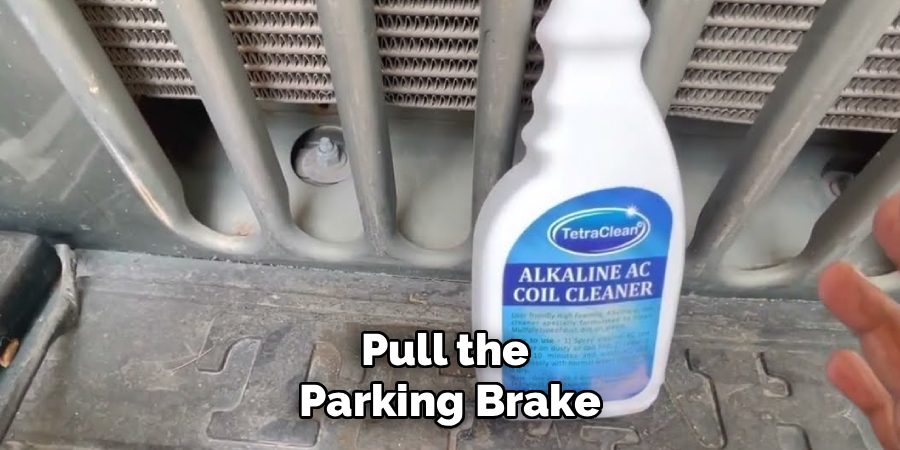
Time for the slightly messier part. Put on gloves and goggles. Coat the front of the condenser evenly, moving from the top down and paying extra attention to any areas where dirt has caked on more thickly. If you can’t get your hands on proper coil cleaner, a diluted dish soap solution is a safe backup—certainly preferable to harsh chemicals that corrode metal. Give it about 10–15 minutes to soak in. What you want is for the cleaner to loosen up bugs and grease lurking in places your brush couldn’t reach.
Step 5: Rinse—and Go Easy
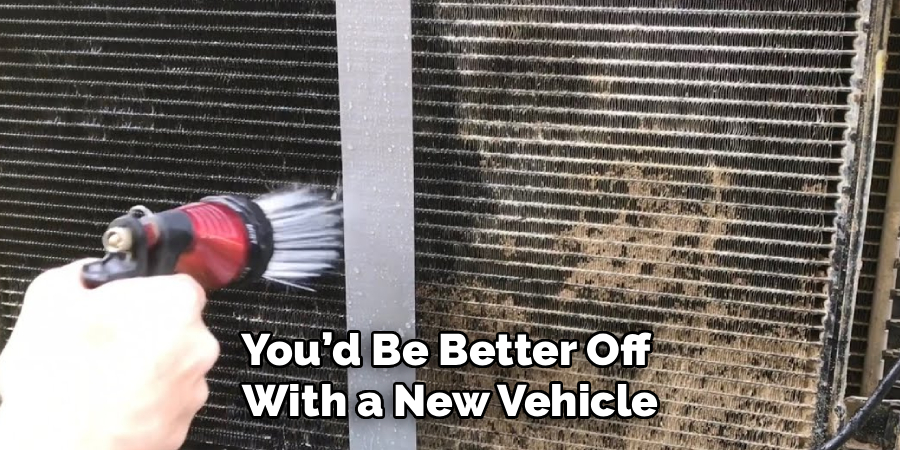
Grab your hose, set it to a shower or gentle spray, and rinse from the front—top to bottom, never from the side. It’s tempting to blast away at full force, but resist. Powerful streams will only flatten delicate fins further. Keep it straightforward: let water run through until you stop seeing suds or muddy runoff coming out underneath. This is one of those moments where patience may be as important as pressure.
Step 6: Inspect for Wear, Bent Fins, or Leaks
Even if the condenser now sparkles, a quick inspection can save future headaches. Are any areas mashed flat by pebbles or a flying chunk of debris? That’s not a rare sight. Markets sell inexpensive fin combs for gently nudging bent fins back upright—don’t improvise with makeshift tools, or you could make matters worse. If you notice oily or green residue at the edges, it could hint at a refrigerant leak. Cleaning won’t fix that. Now’s the time to consider a trip to a shop if you see damage like this.

Step 7: Reassemble, Cross Fingers, and Test
Grille goes back on now—line up all tabs and holes before tightening anything down. Rattle checks are never a bad idea. Once everything’s buttoned up, crank the engine and blast the AC at full cold, letting it circulate for a few minutes. With luck, you’ll feel the difference: actual cold air, just like you remember from last summer.
Following these steps on how to clean a car ac condenser can help restore your car’s cooling system, ensuring that you stay comfortable during hot summer days. Regular maintenance and cleaning of your AC condenser will also prolong its lifespan, saving you money on costly repairs or replacements. Don’t forget to check for any damage and replace worn parts as needed to keep your car’s AC running smoothly.
Watch Out for These Common Mistakes
Nothing wrecks your day faster than a high-pressure washer chewing up the condenser fins, so keep those in the shed. Steer clear of anything abrasive or acidic in your cleaning arsenal—no bleach, no harsh household cleaners.
And remember, always brush along the fin direction, not across it. Those little design quirks aren’t just for show.
Do You Need a Professional?
For everyday cleaning, do-it-yourselfers are more than capable. Basic tools, a splash of common sense, and an hour of spare time suffice for most cars. However, if you’ve done everything right and your AC still puffs out warm air, or if you see clear evidence of leaks or broken parts, a professional’s eye becomes necessary.
There’s no shame in calling in help if that’s the situation. If your car’s AC is newer or if you have no experience working with cars, it’s best to go ahead and schedule an appointment with a trusted mechanic. You may feel a bit discouraged at the thought of paying for repairs, but remember that keeping your AC in top shape will save you money down the road. Plus, who says you can’t learn a thing or two by watching the mechanic at work?
How Much Will It Cost?
DIY cleaning is surprisingly cheap. Coil cleaner typically runs around $10–$15, even less for some brushes. For the same job at a mechanic’s shop, expect to pay $80–$150, owing mostly to labor for disassembling and reassembling the various parts just to access the thing.
But by far the most expensive repair job for an AC is recharging a refrigerant. This can easily run over $400! If your car is low on refrigerant, you have to decide whether it’s worth the money or if you’d be better off with a new vehicle.
Frequently Asked Questions
Q1: How Often Should I Clean My Car AC Condenser?
For most drivers, once a year, right before the heat kicks in, is a good baseline. If your commute traverses dusty roads, buggy areas, or you tend to park under sappy trees, twice yearly might be warranted.
Q2: Can I Use a Pressure Washer on My Condenser?
No. While it seems efficient, that kind of force will fold delicate fins and choke airflow permanently. Once bent, those sections are pretty much impossible to restore to full working order.
Q3: Will Cleaning the Condenser Fix a Refrigerant Leak?
No—scrubbing the exterior helps you spot a leak, but won’t close it. Leaks come from cracks, pinholes, or worn seals, and these require proper repairs and recharge. If you find a suspect area after cleaning, it’s time to book a shop visit.
Q4: How Can I Maintain Efficient Airflow throughout the System?
Aside from keeping condensers clean, you can also maintain airflow by regularly changing air filters and monitoring for any blockages in vents or ducts. Properly maintaining your HVAC system will not only help with energy efficiency, but it can also improve indoor air quality and prevent potential breakdowns. It’s important to schedule regular maintenance checks with a professional to ensure optimal performance of your system.
Conclusion
In the end, regular upkeep is what keeps your car’s AC humming along. One unhurried afternoon spent clearing away old debris can spell the difference between a miserable drive and a cool reprieve when summer is at its fiercest.
Grab your garden hose and that brush—your (much cooler) future self just might thank you. Thanks for reading this guide on how to clean a car ac condenser.

About
Ora Hayes is a distinguished figure in the world of DIY Thecarfixes, with over a decade of expertise in automotive diagnostics and high-performance maintenance. Her professional focus lies in merging mechanical precision with modern digital tools, fostering repair solutions that are both cost-effective and highly reliable. As the author of Thecarfixes, Ora Hayes delves into the art and science of automotive restoration, inspiring car owners and hobbyist mechanics alike.
Education
RMIT University (Melbourne, Australia) Associate Degree in Automotive Engineering — Focus on vehicle dynamics, industry-driven repair protocols, and advanced diagnostics. Gained hands-on experience with traditional mechanical tools and modern ECU remapping software.
Nottingham Trent University (United Kingdom) Bachelor’s in Mechanical Design and Automotive Engineering (Honors) — Specialized in automotive systems with a focus on blending technical engineering with everyday usability. Participated in industry projects, working with leading automotive manufacturers to gain real-world insights into vehicle longevity.
Publications and Impact
In Thecarfixes, Ora Hayes shares her insights on troubleshooting complex engine issues, material durability, and strategies for efficient garage setups. Her writing bridges the gap between professional mechanic knowledge and the home enthusiast’s needs, making it a must-read for both everyday drivers and seasoned gearheads.