You sit behind the wheel, turn the key, and—nothing. Just a chorus of hollow clicks echoing through the car. Running late, standing in some desolate lot, miles from help? Now that’s a kind of irritation you don’t soon forget.
Oddly enough, bringing a dead battery back to life isn’t as complicated as you might fear. For most people, learning the ropes is a matter of patience and a little bit of caution. If you can follow directions and keep your wits about you, you’ll keep the tow truck at bay—and preserve your sanity in the process. In this guide on how to charge car batteries, we’ll delve into everything you need to know to get your car back on the road quickly and safely.
How a Car Battery Actually Works?
It can help, before you begin, to have a sense of what is really happening under the hood. Most cars (not all, but most) run on what’s called a lead-acid battery. At its core: metal plates, lead specifically, suspended in a bath of sulfuric acid and water. You turn the key—the acid reacts with the lead, sending electrons surging outward. That burst of power? It awakens your starter motor, and the car springs to life.
But that’s just part of the story. When the engine catches, your alternator steps up, churning out electricity and reversing the chemistry inside the battery. Ideally, it keeps things topped up, though if you forget the lights or the alternator conks out, you’ll find the battery drained dry in no time. At that point, it’s up to you (and maybe a charger) to get things moving again.
Charging Methods: A Few Roads Lead Home
When you discover a battery gone flat, there are, as ever, a few ways forward. Many reach first for jumper cables. It’s fast, sure, assuming another, more fortunate driver is nearby. Hook everything up, and with any luck, you’re back on the road—though the battery won’t really regain its strength unless you drive a decent distance. The alternator alone rarely restores things fully, especially after a deep discharge.
A dedicated charger, however, tends to be a more thorough solution. Some models—smart chargers—take the guesswork out, adjusting how much juice they deliver and shutting off automatically to avoid trouble. There are trickle chargers, too, gently feeding a slow stream of current (ideal for cars left dormant through winter months). Manual chargers exist, but you’re left to monitor progress and unplug at just the right moment—a responsibility not everyone wants.
What You’ll Actually Need
When it comes to charging your car, you’ll need a few essential items to ensure the process goes smoothly. Some of these may be included with your vehicle or charger, but it’s always good to have backups just in case.
1. Charger
First and foremost, you will need a charger specifically designed for electric vehicles. Make sure to check the compatibility with your car before purchasing one.
2. Charging Cable
Your charger will come with a cable that connects to your car and the power source. It’s important to make sure the cable is long enough for your needs and has the proper connectors on both ends.
3. Power Source
You will need access to a power source in order to charge your electric car. This could be a standard household outlet or a dedicated charging station. It’s important to note that the charging time will vary depending on the power source.
4. Charging Time
Charging time for electric cars can range from a few hours to overnight, depending on the size of your battery and the power source you are using. It’s important to plan ahead and make sure your car has enough time to fully charge before your next trip.
5. Battery Capacity
Electric cars run on batteries, so it’s important to understand their capacity and range. Make sure to research and compare different models based on their battery life and how far they can travel on a single charge. It’s also important to consider the weather and terrain in your area, as these factors can affect battery life.
6. Infrastructure
One of the biggest challenges for electric car owners is finding charging stations while on the road. While many gas stations now offer charging options, it’s still not as widespread as traditional fueling options. However, there are resources available online that can help you plan your route and find charging stations along the way.
7 Steps on How to Charge Car Batteries
Step 1: Get the Scene Set
Safety isn’t negotiable here. Work outside, or in a well-aired garage—batteries vent gases, and those shouldn’t linger. Flames? Sparks? Smoking? Keep well away. Power down the car, pull the key, and set the parking brake. Only then, with gloves and goggles on, should you even think about touching the hood latch. Battery acid doesn’t offer second chances.
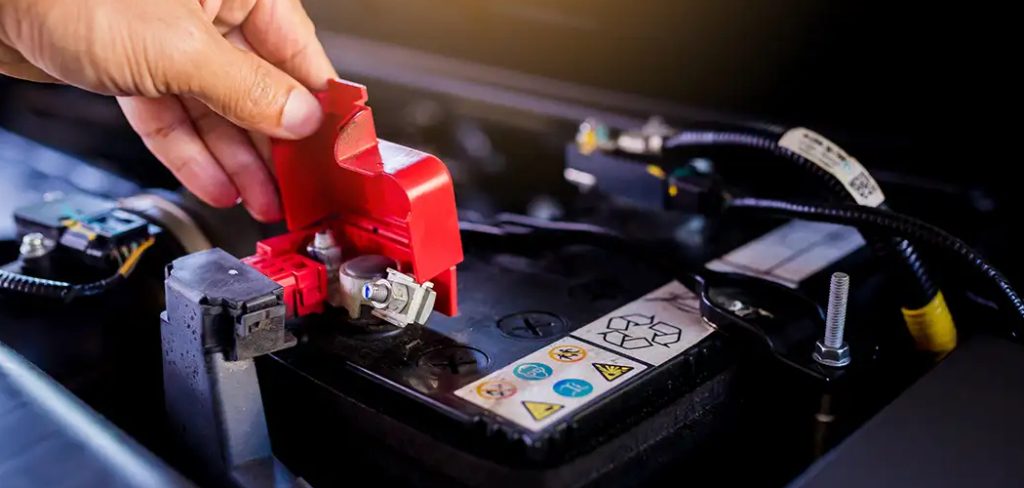
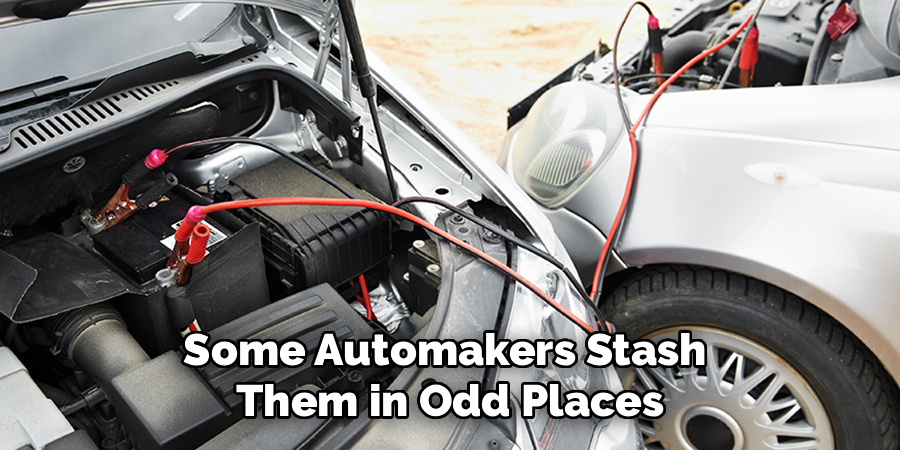
Step 2: Find the Battery, Check the Posts
Look for a sturdy rectangle tucked into a corner of the engine bay. Can’t see anything obvious? Some automakers stash them in odd places for weight balance; check the manual before you panic. With luck, you’ll spot two metal posts, maybe with a layer of flaky residue. That’s corrosion, evidence of unseen battles between sulfuric acid and air. Mix baking soda and water, douse the posts, and scrub until there’s bare metal.
Step 3: Unhook the Cables (in a Way That Won’t Cause Sparks)
Now, about disconnecting. Yes, certain chargers let you leave the battery hooked up, but for peace of mind—and the well-being of your car’s sensitive electronics—it really is best to disconnect. Start with the negative post, marked by a minus sign. Black cable, typically. Use a wrench: loosen, lift, and move the cable somewhere it can’t flop back by accident.
Once that’s secured, focus on the positive terminal (plus sign, red cover). Loosen, remove, set aside. Doing it in this order isn’t superstition—it reduces the chance of shorting out the circuit with your tool.
Step 4: Hook Up the Charger
Keep the charger itself off—power cord unplugged—when you attach it. Place it on something steady, never right on the battery (there’s always a small risk of heat or sparks). Attach the charger’s red clamp to the positive post on the battery. Black clamp to negative. This order? It’s not just a habit; it helps avoid accidental shorts. Double-check that clamps are snug, biting through grime.
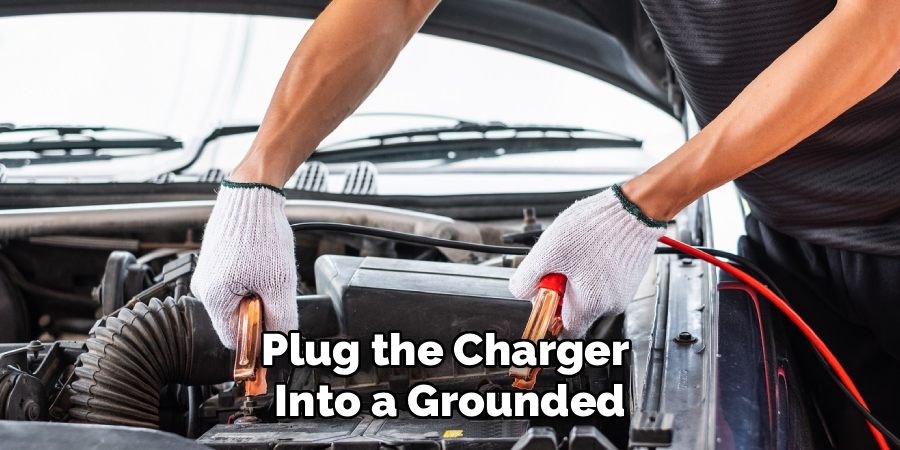
Step 5: Adjust and Start Charging
Here’s where people sometimes rush. With clamps fastened, plug the charger into a grounded outlet. If your charger has settings, pick the right voltage—12 volts for most modern batteries. As for amperage, resist the temptation to crank it up. Lower settings (2–6 amps) go easier on the battery, though it might mean waiting several hours. Higher amperage goes faster, but at the cost of excess heat and long-term wear. Make your choice, power up, and let the device do its work.
Step 6: Keep an Eye on Things
Don’t wander off for the rest of the day and forget the setup, even with smarter chargers. Check back every so often—see if the display shows progress, a percentage, or perhaps a reassuring green light. If you hear odd hissing or catch a pungent rotten egg odor, that’s a sign of trouble (possibly overheating or a short). Shut everything down and step away before trying to diagnose.
Step 7: Wrap Up—Disconnect Safely
Once the charger signals a full battery, turn it off via the switch. Unplug from the wall before touching the clamps. Remove the negative clamp first, then the positive. Only then reconnect your car’s battery cables—positive first, negative second. Tighten them, close the hood, and try starting the engine. With luck, the only sound you’ll hear this time is your car roaring back to life.
Following these steps on how to charge car batteries correctly will help ensure a safe and effective charging process. Remember to always read the instructions on your specific charger model and follow any safety precautions recommended by the manufacturer.
Extra Thoughts and Common Pitfalls
Use a charger designed for your battery’s chemistry—cheaper chargers and mismatches can do lasting damage to the inner cells. If you’re the data type, grabbing a multimeter allows you to monitor voltage and keep tabs on battery health before issues crop up.
For those cars that see long stretches of inactivity, a solar maintainer or a low-output trickle charger could be the difference between a quiet engine and a frantic call for help.
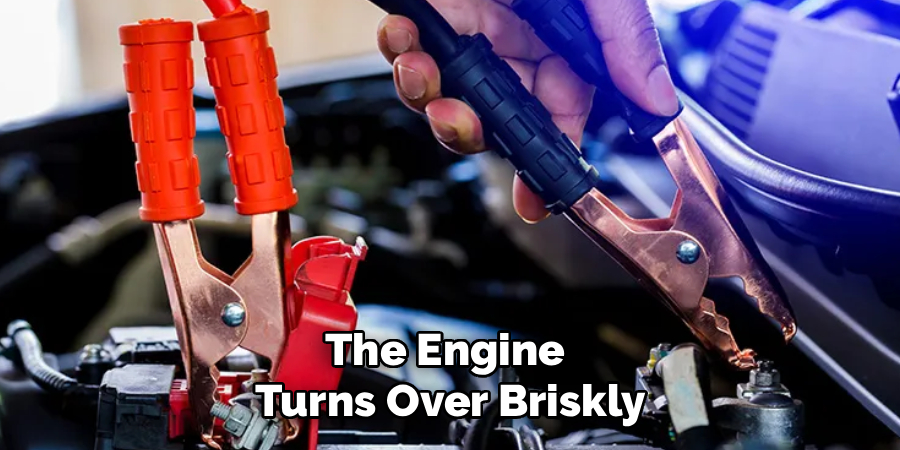
Signs You’ve Fully Charged the Battery
A healthy battery doesn’t hesitate. On a cold morning, the engine turns over briskly; dash lights glow without flickering.
Check with a multimeter, and most 12-volt batteries should show 12.6–12.8 volts when rested. Readings significantly lower, say 12.2 volts or below, mean you’re not done yet—plug it back in.
Mistakes Worth Avoiding
It’s easy to slip up, especially when frustrated. Connecting the negative clamp first is an invitation to sparking and, potentially, disaster. Never try to charge a battery with visible cracks or one that’s frozen through—these can rupture or leak acid in spectacularly bad ways.
And yes, always resist using fast-charging modes as a regular habit. The lead plates inside your battery will thank you by lasting longer.
When Replacement, Not Recharging, Is the Answer?
Batteries aren’t immortal, no matter how often you pamper them. After three, maybe five years, they just don’t hold a charge as they once did. If you’re frequently reaching for the charger just to start the car, that’s a sign the internal plates are at the end.
Obvious swelling or persistent sulfur smell? There’s no point risking a meltdown or a mess—buy a replacement and move on.
Tips for Ongoing Battery Health
Wipe down the battery’s casing from time to time. Grime creates a pathway for electrical leakage, and enough buildup will weaken performance. Make a habit of wiggling terminal clamps—they can loosen, especially if you drive on rough roads.
Try not to make a lifestyle out of quick, five-minute trips around town; the alternator needs a chance to work, and it can’t replace what’s lost if the engine barely has time to warm up.
Frequently Asked Questions
Q1: Okay to Leave a Charger Plugged In Overnight?
Generally, yes—if you’re using a modern smart charger or a proper trickle unit. These devices are programmed to stop charging and maintain only a tiny current once the battery is full. Old-fashioned chargers? Not so much. In those cases, babysitting is safer than a cooked battery.
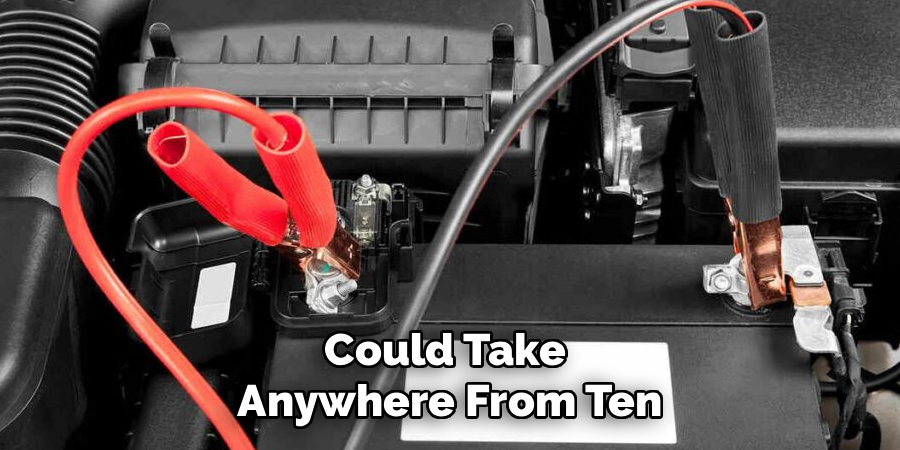
Q2: How Long Does Charging Actually Take?
It depends. A standard 12-volt battery, drained flat and plugged into a 4-amp charger, could take anywhere from ten to twelve hours to fill. Crank the amperage to 10, and that window shrinks—maybe four to six hours. Mostly, slower is safer.
Q3: Can You Charge the Battery Without Removing It From the Car?
Most recent chargers are safe to use while the battery stays connected to the car’s electrical system. Still, if you want to eliminate all risk of voltage spikes (especially in luxury models with touchy computers), disconnecting the negative cable is safest. Always peruse your owner’s manual for model-specific warnings.
Conclusion
Understanding your own car’s power source can be a modest source of pride—and a genuine relief when the inevitable dead battery crops up. The right equipment and a methodical approach do a lot to neutralize the anxiety and annoyance of roadside breakdowns.
Maintenance, patience, and a few careful habits really do add up to years of uneventful starts. Thanks for reading this guide on how to charge car batteries.
About
Ora Hayes is a distinguished figure in the world of DIY Thecarfixes, with over a decade of expertise in automotive diagnostics and high-performance maintenance. Her professional focus lies in merging mechanical precision with modern digital tools, fostering repair solutions that are both cost-effective and highly reliable. As the author of Thecarfixes, Ora Hayes delves into the art and science of automotive restoration, inspiring car owners and hobbyist mechanics alike.
Education
RMIT University (Melbourne, Australia) Associate Degree in Automotive Engineering — Focus on vehicle dynamics, industry-driven repair protocols, and advanced diagnostics. Gained hands-on experience with traditional mechanical tools and modern ECU remapping software.
Nottingham Trent University (United Kingdom) Bachelor’s in Mechanical Design and Automotive Engineering (Honors) — Specialized in automotive systems with a focus on blending technical engineering with everyday usability. Participated in industry projects, working with leading automotive manufacturers to gain real-world insights into vehicle longevity.
Publications and Impact
In Thecarfixes, Ora Hayes shares her insights on troubleshooting complex engine issues, material durability, and strategies for efficient garage setups. Her writing bridges the gap between professional mechanic knowledge and the home enthusiast’s needs, making it a must-read for both everyday drivers and seasoned gearheads.