Nothing throws a wrench into your routine quite like a dead car battery. The surprise, the scramble—it can happen at the worst possible moment. Suddenly, you’re not just late. You’re stranded. Let’s be honest: most folks could stand to feel more confident around the tools required to resurrect a lifeless vehicle. Yes, I’m talking about those mysterious boxes with glowing lights and twitching needles.
So, what are these chargers really telling you? And are you actually using them safely? The following guide on how to read a car battery charger aims to navigate the nuances, quirks, and pitfalls—so next time your car won’t start, you’ll have a plan that’s less “guess and hope,” more “fix and go.”
What Is a Car Battery Charger?
Think of a car battery charger as a lifeline for your battery when it can’t get you rolling under its own steam. If you’ve ever plugged your phone into the wall, the idea isn’t all that foreign. These devices pull standard household current—the alternating kind, which your car doesn’t use—and convert it into direct current, since your vehicle’s system won’t play nice with AC. Now, that’s the basics.
But chargers have evolved over the years; nowadays, many go a step further and help stabilize voltage, hoping to avoid frying the delicate inner workings of a battery. The language around chargers makes them sound simple, but the real skill is in knowing how and when to use them. Done right, they can stretch your battery’s usable life by a meaningful margin, especially when winter comes on strong. There’s no silver bullet, though. Chargers can help, but they can’t work miracles.
Types of Car Battery Chargers
Wander down the automotive aisle and you’ll notice chargers aren’t created equal. Old-school trickle chargers deliver a slow, steady supply of juice—ideal if your car spends the winter in hibernation. Smart chargers add a hint of brains, monitoring the battery as it charges and, when full, calling it quits by themselves. They’re designed to curb the very real risk of overcharging, which is still a quiet killer for batteries everywhere.
There’s also the jump starter, which doesn’t charge in the usual sense: it delivers one big jolt to crank the engine. If you’re looking for a full recharge, look elsewhere. Maintainers, though, straddle the line. Like trickle chargers, but with the tact to idle when not needed and kick in only as voltage ebbs. In theory, they keep the battery topped off without inviting trouble, so you’re less likely to return to a dead cell after weeks away.
7 Step-By-Step Guidelines on How to Read a Car Battery Charger
Step 1: Know Your Charger’s Display—Analog, Digital, or Just Lights?
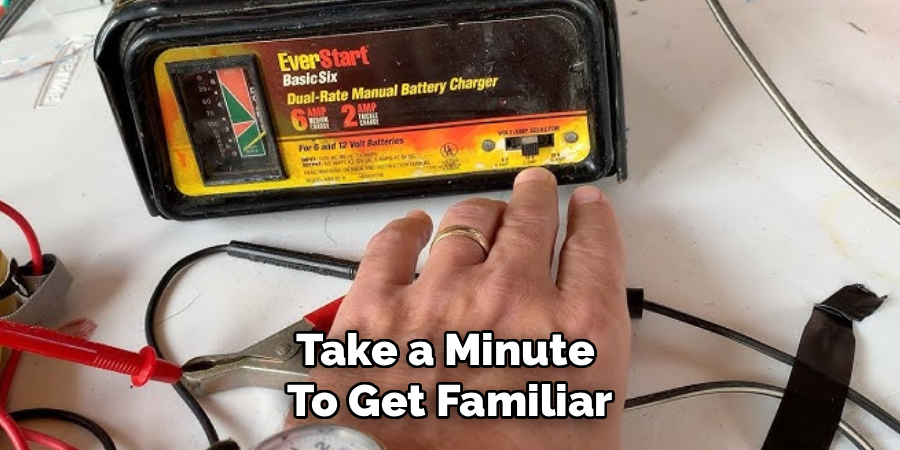
Before you even think about hooking anything up, take a good look at your charger. Is it an older box with a needle above a color-faded scale? If so, you’re dealing with the analog kind, where a twitching needle can mean many things—sometimes even good news. Or perhaps your charger flashes big, crisp numbers on a digital LCD? Easier to read, for sure. The most basic models might just feature red, yellow, or green bulbs. Each display tells the story differently, and if you miss the basics up front, interpreting what comes later can feel like guesswork. Take a minute to get familiar with the signals before you proceed.
Step 2: Unplug First—Because Safety Isn’t Optional
Here’s a spot where hesitation serves you well. Electricity, batteries, and fuel don’t always mix peacefully. Always—always—make certain the charger isn’t plugged in before you start touching any cables or terminals. Accidental sparks around batteries aren’t just unpleasant. In a worst-case scenario, the mix of hydrogen gas and static could ignite. If you need to double-check something, do it. It’s better than learning this the hard way. Powering down first also helps safeguard the charger itself against surges you might otherwise never see coming.
Step 3: Attach Clamps—But Do It Intentionally
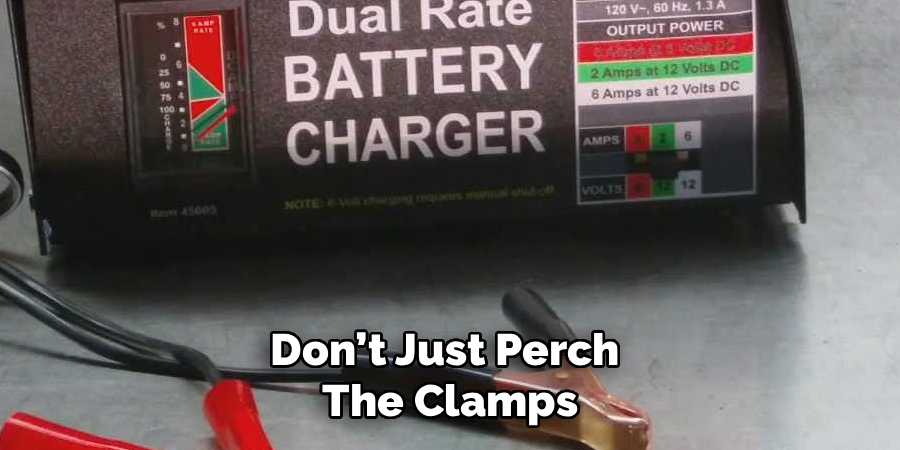
Finding the terminals isn’t hard if you know what to look for. The positive (plus sign, red cap) and negative (minus sign, usually black and a bit neglected) are your starting points. Red clamp to the positive terminal, that part is gospel. Here’s where opinion varies: some guides say slap the black clamp onto the negative post, but to play it safer, ground that black clamp on a solid piece of metal somewhere on the car’s frame or engine. This subtle move can make all the difference for safety. Don’t just perch the clamps on the battery—make sure they’re actually gripping metal, not plastic or dirt.
Step 4: Power Up—But Only Once Everything is Secure
Once you’re certain those clamps are attached correctly, plug the charger into a wall outlet. Depending on how much choice your device gives you, select the right voltage and amperage for your battery. For most people, that’s 12 volts. Miss this, and you risk doing more harm than good. You’ll also pick a charging speed, typically between a steady two-amp trickle and a brisk ten-amp charge. The long route is healthier for batteries, though the quick cycle is tempting if time is tight—just know you’ll have to babysit the process a bit more closely.
Step 5: Watch the Readout—What’s it Telling You?
If you’re running an analog charger, the needle will swing high at first—a lot of current as the dead battery greedily absorbs power. Over time, as it fills up, resistance increases and the reading drops toward zero. Digital models lay it all out more plainly. You’ll see the voltage inch higher, amperage dropping bit by bit. LEDs are less nuanced: red (charging), green (finished), perhaps yellow if the battery is somewhere in between. However your charger talks, pay attention—the readout is your main clue as to how far along the process is.
Step 6: Keep an Eye Out—Things Can Go Sideways
Even the cleverest charger deserves a watchful eye. Occasionally, check to see if the battery is heating up. Warm is ordinary—hot or smelly is not. That whiff of rotten eggs usually means it’s time to pull the plug, fast. Sometimes, despite a slow trickle, nothing changes: an unbudging needle or frozen digital number may hint at a battery that’s passed the point of no return. No need to develop a full-time charger-watching habit, but hourly check-ins are sensible, especially for older setups.
Step 7: Disconnect—Don’t Rush the Order
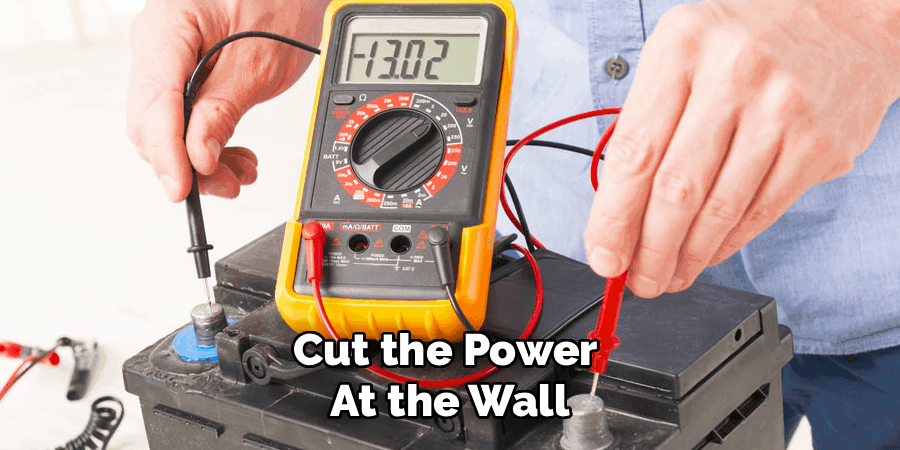
Done charging? Pause before you start yanking cables. Step one: cut the power at the wall. Only once there’s no electricity flowing do you touch the clamps—remove the black first, then the red. Mix this up and the risk of sparks increases, which no one needs. Don’t leave things tangled and exposed; neatly wrap and stow your charger in a dry spot until it’s called upon again.
Following these steps on how to read a car battery charger can help you safely and efficiently charge your vehicle’s battery. Make sure to always refer to your car’s manual for specific instructions and precautions, as well as any additional information provided by the manufacturer of your charger.
Safety Tips When Reading and Using a Charger
Treat your car battery with a healthy dose of caution. Eye protection isn’t overkill—neither are thick gloves. Battery acid eats through more than patience; it can cause real harm. Keep fresh air moving through your workspace and the garage door open.
Hydrogen, small as it is, wants to linger and cause trouble. Take off any rings or long necklaces—and secure loose hair and clothing—before you get close to the action. Give every cable a quick scan for splits or frays before it ever meets an outlet.
Common Mistakes to Avoid
People tend to get tripped up by the basics. Swapped clamps are more than just a mild annoyance—they’ll blow fuses or, worse, fry your car’s electronics. Dirty, corroded battery posts create a weak link, so if you spot blue-green buildup, give it a clean first. Leave an old-fashioned charger plugged in for too long, and you’ll boil your battery dry, needing a replacement sooner than you’d like.
Never disconnect the clamps while the charger’s still powered. Unplug, then unclamp. And skip charging altogether if your battery’s frozen solid—thaw it out safely first, or you might face a very messy explosion.
Troubleshooting Charger Readings
Analog needle shaking harder than a caffeine addict? The clamps likely aren’t biting down on clean metal. Sometimes, a digital readout insists everything’s fine, yet your car still won’t start—the battery may have a dead cell, which no charger can fix. Unresponsive charger? Check the outlet; maybe the fuse inside the charger has quietly blown.
Needles that stay glued to full amperage for hours hint at a short inside the battery. Strange blinking patterns on LEDs? That’s where the manual earns its keep. Don’t ignore unusual signals; chargers don’t usually cry wolf.
Maintenance Tips for Battery and Charger
A little care pays off over many journeys. Knock the dust off your charger once in a while; it isn’t just for appearance—it keeps vents open and electronics cool. The clamps’ metal teeth need some attention too; use a wire brush every so often so they grip properly. When packing up, don’t wind the cable too tight around the charger—that habit breaks wires in slow, silent ways.
On the battery’s side, paste made from baking soda and water can banish corrosion from terminals and extend their life. Consistency is key; that bit of routine care keeps your charger and battery in sync whenever you need them.
When to Seek Professional Help?
At times, the signs are clear that you should step back and call a professional. If the battery dies again soon after charging up, it probably isn’t just bad luck—a failing alternator or an electrical leak somewhere in the vehicle might be to blame. Notice your battery bulging or leaking? Don’t even consider charging it.
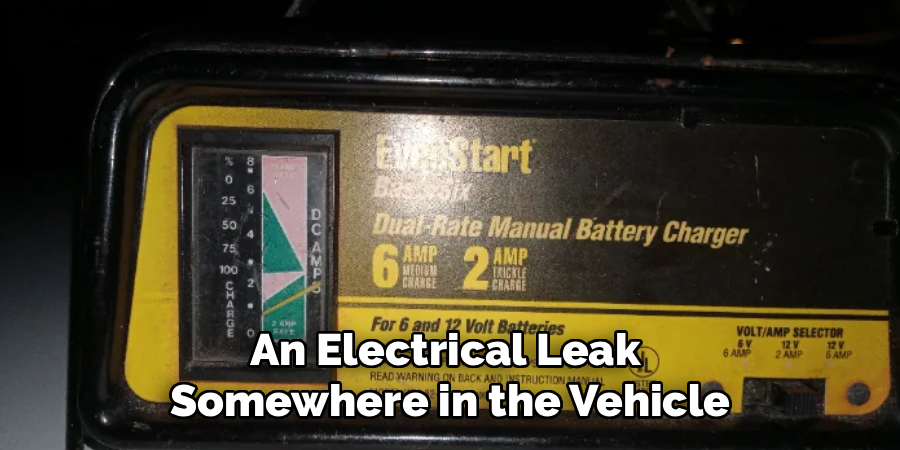
Put safety ahead of thrift and get a mechanic involved. An unfamiliar error code, even after cleaning terminals and restarting the charger, points to deeper trouble inside the battery’s cells. After a certain point, trying to outsmart electrical gremlins gets expensive. Skilled technicians have the tools and experience needed to chase down faults you can’t see with the naked eye.
Frequently Asked Questions
Q1: How Long Does It Take to Charge a Car Battery?
There’s no universal answer here. If you’re using a low-amp trickle charger on a deeply discharged battery, expect to set aside most of a day—ten hours, twelve, even longer isn’t unusual. A more powerful setting might let you attempt a start in a couple of hours—but beware, speed trades off with battery health. Watch your gauges; don’t rely on guesswork.
Q2: Can You Leave a Car Battery Charger On Overnight?
Modern smart chargers are forgiving—they slip into a maintenance mode once the battery’s full, so it’s generally safe to leave them overnight. With older, manual chargers? Not so much. Leave those going too long, and your battery could become an expensive casualty. When in doubt, err toward caution and disconnect before you turn in for the night.
Q3: Why Is the Needle Not Moving On My Analog Charger?
If your analog charger’s needle gives you the silent treatment, double-check your connections: those clamps may need a wiggle to break through oxidation. Or, perhaps your battery is already full and accepting no more current. Sometimes, a battery so deeply drained that it dips below a certain voltage won’t even be recognized by a smart charger. That’s a sign that more troubleshooting may be needed.
Getting Back on the Road Safely
If reading your charger once seemed arcane, consider it less a science and more a practical skill—one you’ll be glad you mastered when trouble comes calling. The numbers and lights can all look intimidating at first, but they’re just clues. A little patience, a little skepticism, and a lot of awareness go a long way.
Treat batteries with the respect they demand. Small mistakes grow into problems if you get careless, especially as vehicles become more sophisticated under the hood. If the need for your charger is becoming routine, don’t shrug it off; it’s often the alternator or the battery’s way of telling you it’s finished. Addressing issues early, with care and curiosity, is the surest way to preserve not only your car—but your peace of mind the next time you turn the key. Thanks for reading this guide on how to read a car battery charger.

About
Ora Hayes is a distinguished figure in the world of DIY Thecarfixes, with over a decade of expertise in automotive diagnostics and high-performance maintenance. Her professional focus lies in merging mechanical precision with modern digital tools, fostering repair solutions that are both cost-effective and highly reliable. As the author of Thecarfixes, Ora Hayes delves into the art and science of automotive restoration, inspiring car owners and hobbyist mechanics alike.
Education
RMIT University (Melbourne, Australia) Associate Degree in Automotive Engineering — Focus on vehicle dynamics, industry-driven repair protocols, and advanced diagnostics. Gained hands-on experience with traditional mechanical tools and modern ECU remapping software.
Nottingham Trent University (United Kingdom) Bachelor’s in Mechanical Design and Automotive Engineering (Honors) — Specialized in automotive systems with a focus on blending technical engineering with everyday usability. Participated in industry projects, working with leading automotive manufacturers to gain real-world insights into vehicle longevity.
Publications and Impact
In Thecarfixes, Ora Hayes shares her insights on troubleshooting complex engine issues, material durability, and strategies for efficient garage setups. Her writing bridges the gap between professional mechanic knowledge and the home enthusiast’s needs, making it a must-read for both everyday drivers and seasoned gearheads.