If you’ve ever had to squint through a foggy, smudged windshield while driving into the late afternoon sun, you know exactly how quickly an enjoyable drive can turn nerve-wracking. Oddly enough, the culprit isn’t always visible—inside your car, a persistent layer builds up, thanks to dust, humidity, and the chemical vapors sneaking off your dashboard plastics. This filmy residue acts as a magnet for glare, leaving you wrestling with poor visibility just when you need it least.
Wiping it away isn’t as simple as grabbing the nearest napkin and kitchen spray. To get genuinely clear, streakless glass, you need patience as much as good technique. The difference is immediately obvious: suddenly, everything outside your windshield looks sharper, and you might find yourself wondering why you ever put up with anything less. In this guide on how to clean interior windows of car, we’ll go through a few tips and tricks to give you crystal clear windows that will make your driving experience much more enjoyable.
Tools and Materials You’ll Need
Before you start, assembling the right supplies makes all the difference. Otherwise, the best intentions are reduced to chasing fingerprints in circles.
- Two to three soft microfiber towels—waffle-weave style seems to grab glass grime best.
- Glass cleaner that’s clearly labeled for cars (steer well clear of ammonia; it’s trouble for tints, plastics, and your lungs).
- An extendable glass cleaning tool, if available. Great for those unreachable windshield corners, but not absolutely required.
- A bit of isopropyl alcohol or white vinegar, especially if you’re fighting an extra layer of film.
- A soft, dry brush for getting at dust that collects near window seals.
7 Simple Step-By-Step Guidelines on How to Clean Interior Windows of Car
Step 1: Prepare Your Vehicle and Park in the Shade
Skip the temptation to park under the blazing sun. That’s a mistake. Hot glass makes your cleaner evaporate almost instantly, leaving behind streaks before you can blink. Park in shade, crack the windows if it’s safe, and check that the glass feels cool.
Although it can feel fussy, laying a towel over your dashboard is a practice you’ll rarely regret. It catches stray drops and keeps your dashboard and screens free from cleaner—no point undoing one mess while making another.

Step 2: Perform a Dry Wipe to Remove Loose Dust
Don’t rush into spraying anything yet. First, take a clean, dry microfiber towel and wipe every inch of glass you plan to clean. It’s this early swipe that catches the bulk of the loose dust, the odd pet hair, maybe even the remnants of yesterday’s pollen. Think of it as setting the stage; spraying cleaner straight onto a dusty pane just muddies the whole process and makes the job longer than it needs to be.
Work top to bottom, always nudging debris away from the center. Corners, especially, are sneaky spots for dust to settle. Investing effort here saves you more work later.
Step 3: Apply the Glass Cleaner Correctly
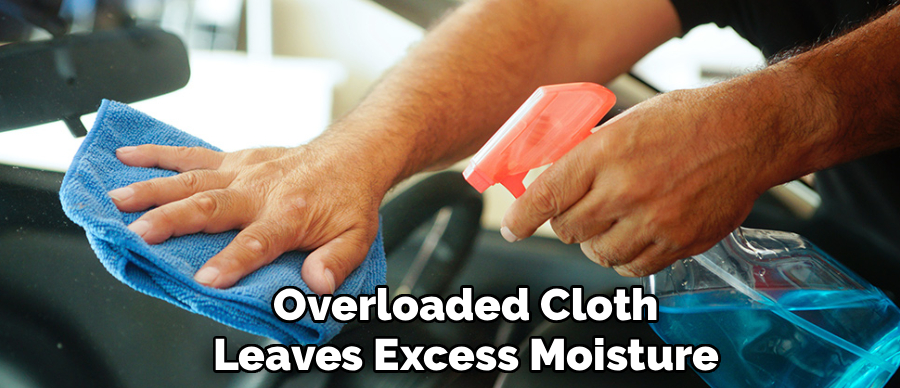
Here’s a habit to break: avoid spraying cleaner directly onto the window. Instead, spritz your microfiber cloth. The reasoning? It’s all about control. Direct spraying means droplets can find their way into dashboard cracks or door speakers, raising the risk of stains or electrical trouble.
Add only a few sprays to the towel—it doesn’t need to be soaked. An overloaded cloth leaves excess moisture, and you’ll be back fighting streaks after the cleaner dries out.
Step 4: Wipe the Glass Using a Box Pattern
With your damp cloth ready, start at the window’s perimeter, running along the edges where dirt stubbornly clings. Then, move on to the center, but switch to long strokes up and down, occasionally moving side-to-side, overlapping as you go. Some enthusiastically advocate for big circles, but from what I’ve seen, that creates more visible trails and redistributes dirt you’d rather be lifting away.
This method might take a bit longer, but it’s a small price to pay for thoroughness.
Step 5: Buff the Surface with a Clean Microfiber Cloth
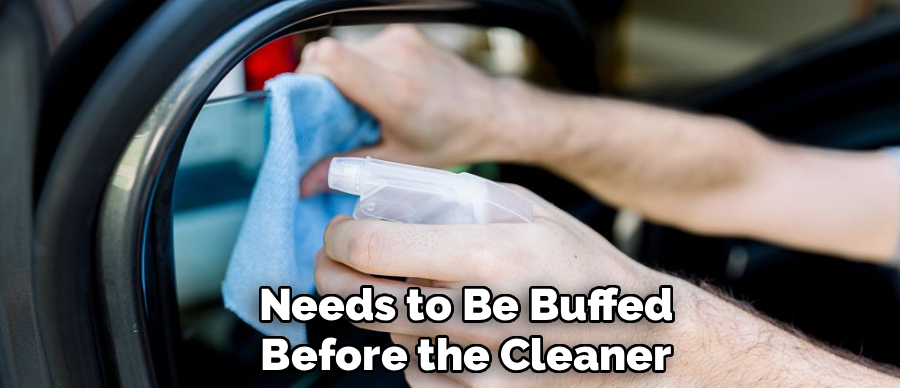
Act quickly. As soon as you finish your initial clean, reach for a fresh, dry microfiber towel. The window needs to be buffed before the cleaner has a chance to dry on its own. Firm, quick passes are usually enough to pick up lingering residue, finger oils, or anything loosened but not removed by your first towel.
If, midway through, your dry towel starts feeling a little too damp, just flip it over or switch it out. That little adjustment can be the difference between a sparkling finish and a film that stubbornly returns.
Step 6: Tackle the Windshield Carefully
Cleaning the inside of the windshield is, in my experience, the awkward part—angles work against you, and dashboards really limit your reach. Sitting in the passenger seat shifts your position, letting you attack the driver’s side glass from a better angle.
If your arms keep coming up short, a pivoting glass-cleaning wand comes in handy. Still, the real trick is patience. This isn’t the spot to rush, considering how much visibility depends on a clean windshield.
Step 7: Inspect Your Work for Streaks and Smudges
Don’t take the results for granted. Shift your head, tilt it, and look at the glass from several angles. Reflections can reveal fine streaks invisible head-on. Try checking after sunset, or against a dark background—missed marks jump out in lower light.
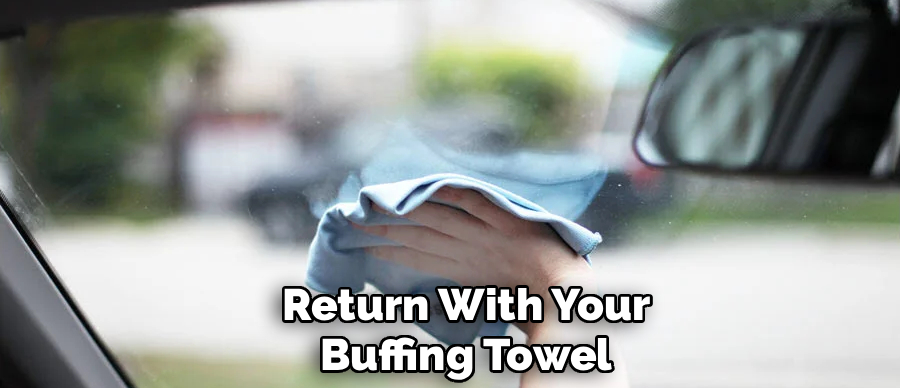
If you spot a stubborn smudge, return with your buffing towel for a quick pass. No fresh cleaner needed; just focus on that patch. Frequent checks and touch-ups mean fewer unwanted surprises once you’re back on the road.
Following these steps on how to clean interior windows of car, you can ensure that your car’s windows are always sparkling clean and clear, providing you with a better driving experience.
Pro Tips for Streak-Free Results
One little trick: on interiors, wipe glass horizontally; on exteriors, go vertical. If there’s a stubborn streak, the direction tells you instantly where the problem lies.
Also, never toss your glass towels in with others you’ve used on trim or tires—residual wax or silicone can transfer and create a fresh round of haze next time you clean. Those little details help you avoid repeating the same mistakes.
Common Mistakes to Avoid
Paper towels and newspapers? Leave those in the recycling bin. They shed lint and can scratch window tint. And ammonia-based cleaners, though common at home, are best left elsewhere; they’re not gentle on plastic, vinyl, or your lungs, especially in the tight quarters of a car interior.
Most importantly, don’t let the cleaning solution air-dry on the glass. By the time you remember, the haze is back and you’re stuck starting over.
Dealing with Tough Residue
Occasionally, you’ll run into a truly persistent mark—maybe a dog’s nose print or film from vape smoke. Regular glass cleaner sometimes just isn’t up to the challenge.
Here, a mix of equal parts distilled water and isopropyl alcohol (applied to the cloth, not the glass) can loosen up the worst offenders. Hold it over the area for a few seconds, then wipe. Sticky leftovers from old decals or passes may call for a gentle automotive adhesive remover. Whatever you try, keep it from dripping onto controls or upholstery below.
How Often Should You Clean Interior Windows?
There’s no magic schedule, but once a month is usually enough if you keep a tidy cabin. But for those with pets, a tendency to smoke, or unlucky enough to live where humidity reigns, bump that up—every couple of weeks is more realistic.
Curiously, new vehicles need extra attention; off-gassing of dashboard plastics lays down a recognizable film, especially in the first stretch of ownership.
Additional Interior Glass Areas to Clean
Don’t ignore the rest of your car’s glass. Rearview and vanity mirrors attract smudges and dust with remarkable speed—quick passes with a corner of your microfiber towel are usually all they need.
And if you’re lucky enough to have a sunroof or panoramic glass roof, clean it the same way as your windshield. Clear overhead glass can change the whole feel of your vehicle’s interior.
Frequently Asked Questions
Q1: Can I Use Household Glass Cleaner On My Car Windows?
Not a good idea. Most household formulas include ammonia—a big problem for window tints and weather seals, and a source of strong, unpleasant fumes in the car. Stick with ammonia-free, automotive-specific options; your interior will be better for it.
Q2: Why Does My Windshield Always Look Hazy On The Inside?
Much of this comes from “off-gassing”—plastic and vinyl releasing vapors as they warm up. These vapors settle onto the glass, especially if the car parks in sunlight, creating a dulling film that combines effortlessly with dust. Regular attention with microfiber towels is about the only foolproof answer.
Q3: What Is The Best Type Of Towel For Cleaning Auto Glass?
Waffle-weave microfiber is hard to beat. The textured surface traps more debris and absorbs cleaner with less lint left behind than generic microfiber. Standard terry-style towels aren’t a disaster, but they just don’t pick up everything and can shed fibers.
Enjoying the Clear View Ahead
It’s a modest time investment, really, this attention to your cockpit windows. But the payoff is significant—less glare, easier driving, and that subtle satisfaction that comes with a sharp, unobstructed view. When you look out and the world seems in sharper focus, it’s tempting to wonder why you didn’t take care of it sooner.
Routine makes it easy. Keep your supplies handy, keep up with the job, and those familiar streaks and haze may never have a chance to take hold. In the meantime, enjoy the view—clear as day, just as driving should be. Thanks for reading this guide on how to clean interior windows of car.

About
Ora Hayes is a distinguished figure in the world of DIY Thecarfixes, with over a decade of expertise in automotive diagnostics and high-performance maintenance. Her professional focus lies in merging mechanical precision with modern digital tools, fostering repair solutions that are both cost-effective and highly reliable. As the author of Thecarfixes, Ora Hayes delves into the art and science of automotive restoration, inspiring car owners and hobbyist mechanics alike.
Education
RMIT University (Melbourne, Australia) Associate Degree in Automotive Engineering — Focus on vehicle dynamics, industry-driven repair protocols, and advanced diagnostics. Gained hands-on experience with traditional mechanical tools and modern ECU remapping software.
Nottingham Trent University (United Kingdom) Bachelor’s in Mechanical Design and Automotive Engineering (Honors) — Specialized in automotive systems with a focus on blending technical engineering with everyday usability. Participated in industry projects, working with leading automotive manufacturers to gain real-world insights into vehicle longevity.
Publications and Impact
In Thecarfixes, Ora Hayes shares her insights on troubleshooting complex engine issues, material durability, and strategies for efficient garage setups. Her writing bridges the gap between professional mechanic knowledge and the home enthusiast’s needs, making it a must-read for both everyday drivers and seasoned gearheads.