Replacing a damaged hood can make your vehicle safer, cleaner, and more valuable. A car hood protects the engine bay, supports proper airflow, and helps the front end line up correctly. When it is bent, rusted, poorly latched, or badly dented, it can affect both appearance and function.
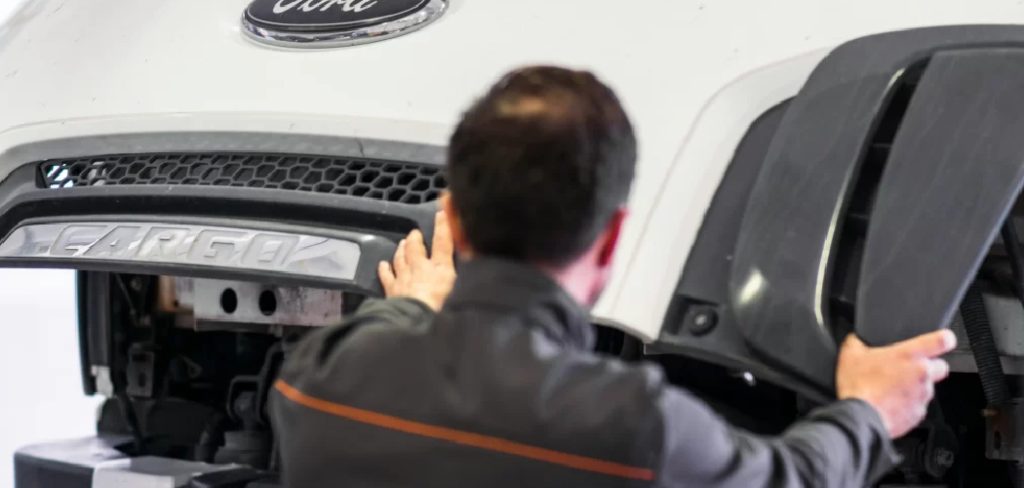
The good news is that this job is possible for a careful beginner with the right tools, a helper, and enough patience. Learning how to change a car hood can save labor costs and help you understand your vehicle better. Still, it is important to work slowly because hoods are heavy, awkward, and easy to scratch during removal or installation.
This guide explains when replacement makes sense, what benefits it offers, and how to handle the process step by step. You will also learn how to align the hood, reconnect hardware, and check that it closes safely before driving.
Why Replace Your Car Hood
A car hood does more than cover the engine. It shields important parts from rain, road debris, dirt, heat, and direct impact. When the hood is damaged, it can leave the engine bay less protected and make the vehicle look neglected.
One common reason to replace a hood is collision damage. Even a minor front-end impact can bend the metal, shift the latch position, or create gaps near the fenders. If the hood no longer closes smoothly, it may not be safe to keep using it.
Rust is another reason to consider replacement. Surface rust may be repairable, but deep corrosion around the edges, latch area, or hinge mounting points can weaken the hood. Once metal becomes thin or flaky, replacement is often the better long-term choice.
Step-By-Step Guide To How to Change a Car Hood
Step 1: Prepare The Work Area
Start by parking the vehicle on a flat, stable surface with plenty of room around the front and both sides. A garage or driveway works well if the lighting is good. Avoid working on a slope because the hood may shift unexpectedly while you remove the bolts.
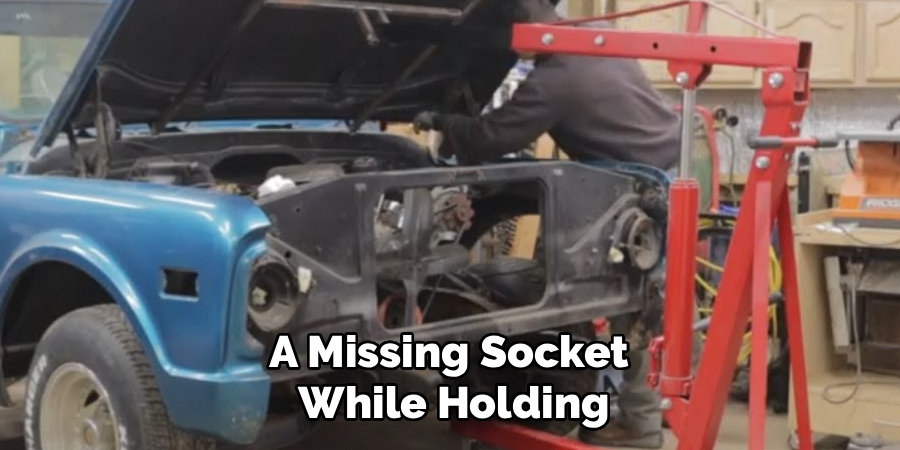
Let the engine cool before you begin. Open the hood and inspect the hinges, latch, washer hose, insulation pad, and any wiring attached to the hood. If you are learning how to change a car hood, preparation matters because most mistakes happen when parts are removed too quickly.
Have a helper ready before loosening anything.
Step 2: Gather The Right Tools
Before removing the hood, gather the tools you will need. Most vehicles require a ratchet, socket set, wrench set, masking tape, marker, gloves, and a blanket or padded surface. Some vehicles may also need trim tools if clips or washer lines are attached to the hood insulation.
Wear gloves to protect your hands from sharp edges. Safety glasses are also smart, especially if you are working around old rust, dirt, or brittle clips.
Place your tools within easy reach. This keeps the job smoother and prevents you from walking away while the hood is loose or unsupported.
Step 3: Mark The Hinge Positions
Before you remove the bolts, mark the current hinge positions. Use masking tape around the hinge edges or trace the hinge outline with a marker. These marks give you a reference point when installing the replacement hood.
This step helps with alignment. If you skip it, the new hood may sit too high, too low, too far forward, or too far back. Even small changes can cause uneven gaps or closing problems.
Take photos from several angles before removal. Photos can help you remember bolt placement, washer hose routing, and the original hinge position.
Step 4: Disconnect Attached Parts
Many hoods have parts attached to them. These may include windshield washer hoses, under-hood insulation, clips, nozzles, lights, or wiring. Disconnect these items carefully before removing the hood from the hinges.
Do not pull hoses or wires with force. Old plastic clips can break easily, especially on older vehicles. If a clip resists, use a trim tool and work it loose with steady pressure.
If you plan to reuse the insulation pad or washer nozzles, remove them gently and place them somewhere safe. Keeping these parts organized will make installation easier later.
Step 5: Remove The Old Hood
Ask your helper to hold one side of the hood while you hold the other. Support the hood firmly before loosening the hinge bolts. Remove the bolts slowly, starting with one side and then moving to the other.
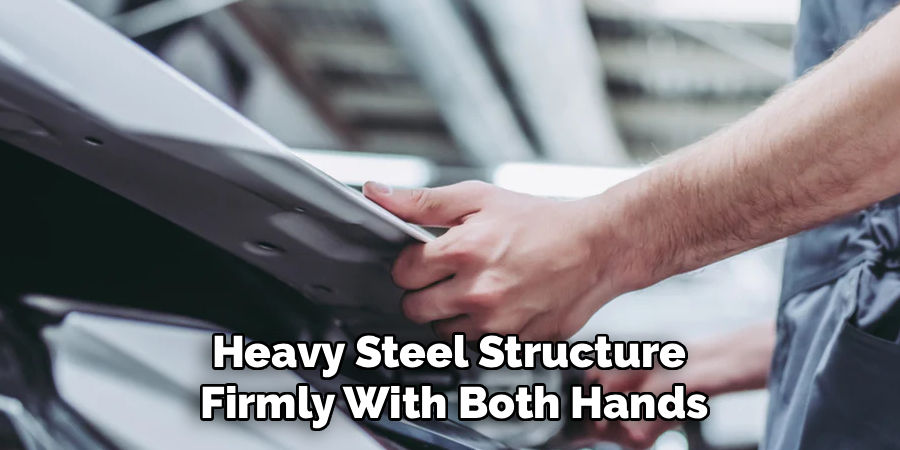
The hood may shift as the final bolts come out, so stay alert. Lift it away from the vehicle together and place it on a padded surface. Never rest a painted hood directly on concrete because it can scratch or dent.
This is one of the most important steps in how to change a car hood because safe handling prevents injury and body damage.
Step 6: Install The Replacement Hood
With your helper, lift the replacement hood into position and line it up with the hinges. Start all hinge bolts by hand before tightening them. This prevents cross-threading and gives you room to adjust the hood before it is locked in place.
Use your tape marks or photos as a starting point. Tighten the bolts lightly at first, then check the hood’s position. Look at the gaps near the fenders, grille, and windshield area.
Do not fully tighten everything until the hood sits close to the correct position. Small adjustments are normal during this stage.
Step 7: Align, Test, And Finish
Carefully lower the hood without slamming it. Watch the gaps on both sides as it comes down. If one side sits too high or too low, adjust the hinge bolts slightly. If the front edge does not line up, the latch or bump stops may need adjustment.
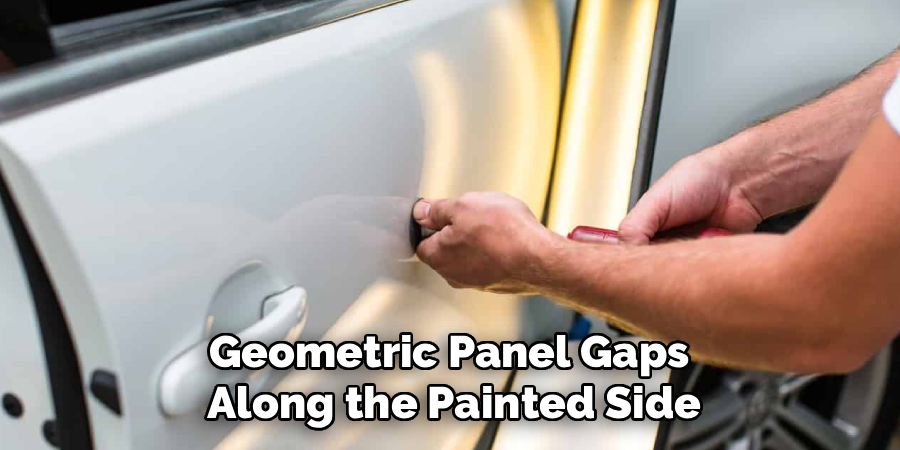
Once the hood looks even, tighten the hinge bolts securely. Reconnect washer hoses, wiring, insulation, and any clips you removed. Test the washer nozzles if they were disconnected.
Close the hood gently and confirm that it latches firmly. Pull the release handle and check that it opens correctly before driving.
Frequently Asked Questions
Can I Replace A Car Hood By Myself?
It is not recommended to replace a car hood completely by yourself. A hood is large, heavy, and difficult to balance, even if it looks manageable. Trying to remove or install it alone can lead to scratches, dents, broken hinges, or injury. A helper makes the job much safer and helps you hold the hood steady while bolts are removed or adjusted.
Do I Need To Paint The Replacement Hood?
That depends on the hood you buy. A used hood from the same color vehicle may already match closely, but paint can fade differently over time. A new aftermarket hood often comes primed, not painted. If appearance matters, professional painting is usually the best option. Paint matching can be difficult without the right tools, especially on metallic or pearl finishes.
How Long Does It Take To Replace A Car Hood?
Most beginners can replace a car hood in one to three hours if the parts fit well and the bolts are not rusted. The job may take longer if you need to transfer insulation, washer nozzles, trim, or wiring. Alignment can also add time because small adjustments make a big difference. It is better to work slowly than rush and damage the paint.
Why Won’t My New Hood Close Properly?
A replacement hood may not close correctly if the hinges, latch, bump stops, or front-end panels are misaligned. Collision damage can also shift the radiator support or fenders, making fitment harder. Start by checking the hinge position, then inspect the latch and rubber bump stops. Never force the hood shut because that can bend the panel or damage the latch.
Should I Buy OEM Or Aftermarket?
OEM hoods are made to match the original factory part, so they often fit better with less adjustment. Aftermarket hoods can cost less, but quality varies by brand. A used OEM hood may be a good option if it is straight, rust-free, and close in color. Choose based on your budget, fitment needs, and how important perfect body gaps are to you.
Conclusion
Changing a car hood is a practical repair that can improve safety, appearance, and vehicle value. The key is to prepare the work area, mark the hinge positions, disconnect attached parts, remove the old hood carefully, and align the replacement before final tightening.
If you take your time and work with a helper, this project is manageable for many beginners. Now that you understand how to change a car hood, inspect your parts, gather your tools, and approach the job with patience. A careful installation will help your hood close securely, line up properly, and look right on the vehicle.

About
Ora Hayes is a distinguished figure in the world of DIY Thecarfixes, with over a decade of expertise in automotive diagnostics and high-performance maintenance. Her professional focus lies in merging mechanical precision with modern digital tools, fostering repair solutions that are both cost-effective and highly reliable. As the author of Thecarfixes, Ora Hayes delves into the art and science of automotive restoration, inspiring car owners and hobbyist mechanics alike.
Education
RMIT University (Melbourne, Australia) Associate Degree in Automotive Engineering — Focus on vehicle dynamics, industry-driven repair protocols, and advanced diagnostics. Gained hands-on experience with traditional mechanical tools and modern ECU remapping software.
Nottingham Trent University (United Kingdom) Bachelor’s in Mechanical Design and Automotive Engineering (Honors) — Specialized in automotive systems with a focus on blending technical engineering with everyday usability. Participated in industry projects, working with leading automotive manufacturers to gain real-world insights into vehicle longevity.
Publications and Impact
In Thecarfixes, Ora Hayes shares her insights on troubleshooting complex engine issues, material durability, and strategies for efficient garage setups. Her writing bridges the gap between professional mechanic knowledge and the home enthusiast’s needs, making it a must-read for both everyday drivers and seasoned gearheads.