Car stickers can look harmless until they leave torn paper, sticky residue, or cloudy marks on the window. Whether you are dealing with an old parking permit, dealership decal, registration sticker, or adhesive film, learning how to remove car sticker from glass helps you clean the surface without scratches or damage.
The right method depends on the sticker type, glass location, and whether the window has tint, defroster lines, or built-in antennas. This guide walks you through a safe, beginner-friendly process so you can remove the sticker, clean the residue, and finish with clear, streak-free glass.
Most damage happens when people scrape too hard, use harsh chemicals too quickly, or treat tinted windows like bare glass. Work in a shaded area when possible, keep the glass cool enough to touch, and test any cleaner on a small hidden spot before using it widely.
Why Removing Stickers From Car Glass Matters
Removing stickers from car glass improves visibility, keeps your vehicle looking clean, and helps prevent long-term adhesive buildup. Old stickers can harden under sunlight, making them harder to remove later. Some adhesives also attract dirt, which can leave the glass looking cloudy or neglected.
Careful removal matters because car glass is not always plain glass. Rear windows may have defroster lines, some windshields have sensors, and many side or rear windows have aftermarket tint. Using the wrong tool or chemical can scratch the surface, peel tint, or damage electrical elements.
A slow, safe method helps you protect the glass while saving time on cleanup.
Step-By-Step Guide To Removing Stickers From Car Glass
Step 1: Check The Sticker Type
Start by identifying what kind of sticker you are removing. A paper parking pass usually softens with moisture, while a vinyl decal may need heat before it lifts. Static cling stickers often peel away without adhesive, but old registration stickers can break into small pieces.
Look at where the sticker is placed. A windshield sticker on bare glass is easier to handle than one on tinted side glass or near rear defroster lines. This first check helps you choose the safest method and avoid using a blade, chemical, or heat source where it could cause damage.
Step 2: Prepare The Glass And Work Area
Clean loose dirt around the sticker before you start. Dust and grit can scratch the glass if they get trapped under a scraper or cloth. Use a soft microfiber towel and a mild glass cleaner or soapy water to wipe the surrounding area.
Park the car in shade or inside a garage if possible. Direct sunlight can dry cleaners too fast and make adhesive smear. Keep doors open for ventilation if you use an adhesive remover. Also protect nearby trim, dashboard surfaces, and electronics from drips by using a towel underneath the work area.
Step 3: Warm The Sticker Safely
Gentle warmth can soften adhesive and make the sticker easier to lift. Use a hair dryer on a low or medium setting, holding it several inches away from the glass. Move it back and forth instead of keeping heat in one spot.
Do not overheat the glass, especially in cold weather, because sudden temperature changes can stress the surface. Avoid using a heat gun unless you have experience, since it can damage tint, rubber trim, or nearby plastic. Warm the sticker just enough to make the edge flexible, not so hot that it becomes messy or unsafe to touch.
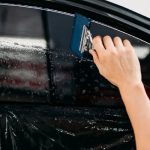
Step 4: Lift One Edge Carefully
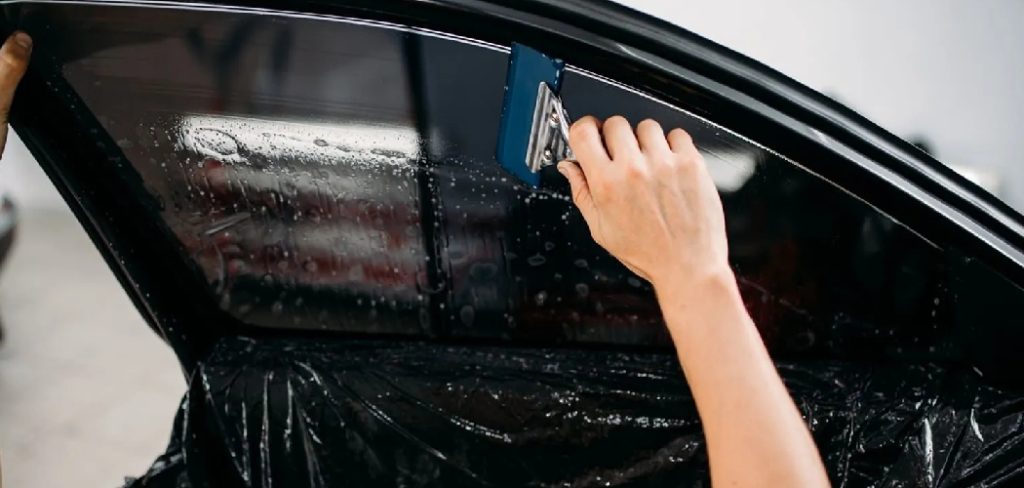
Once the sticker is warm, try lifting one corner with your fingernail or a plastic scraper. A plastic tool is safer than metal for most car windows, especially if the glass has tint or delicate coatings. Work slowly and keep the tool nearly flat against the surface.
If the sticker tears, do not dig into the glass. Warm it again and lift another edge. For paper stickers, lightly dampening the surface may help loosen the layers. The goal is to peel as much of the sticker off as possible before using any chemical remover.
Step 5: Use Soapy Water Or Adhesive Remover
For light adhesive, apply warm soapy water and let it sit for a few minutes. This works well on paper residue and mild glue. Use a microfiber towel to keep the area damp while the adhesive softens.
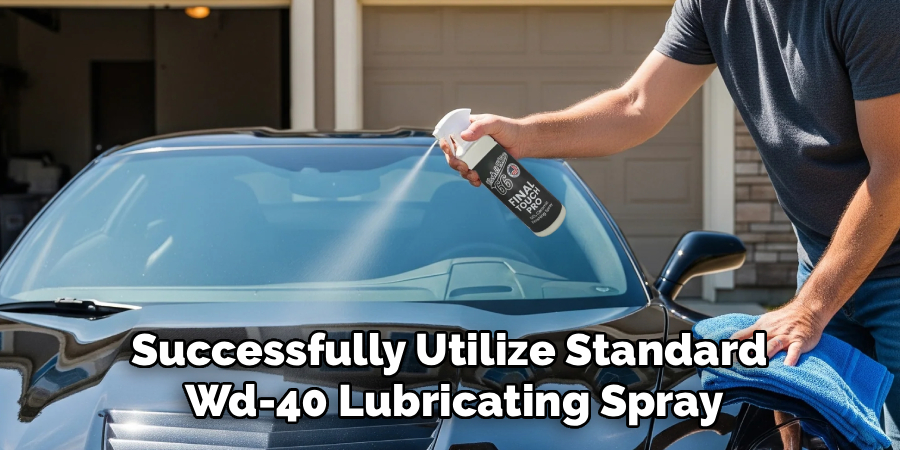
For stronger residue, use an automotive-safe adhesive remover. Apply a small amount to a cloth instead of pouring it directly on the glass. Test it first, especially near tint, rubber seals, plastic trim, or printed window borders. Avoid letting chemical products run into door panels, vents, switches, or dashboard electronics, as they can stain surfaces or cause electrical issues.
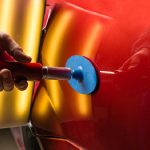
Step 6: Remove Residue Without Scratching
A key part of how to remove car sticker from glass is cleaning the leftover glue without rushing. After the adhesive softens, rub it gently with a microfiber towel using small circular motions. If needed, use a plastic scraper to push softened residue into a small pile.
Do not use abrasive pads, steel wool, or rough sponges. They can leave fine scratches that are easy to see in sunlight. A razor blade may work on plain exterior glass, but it is risky on tinted windows, rear defroster lines, antennas, and coated surfaces. When unsure, avoid razor use completely.
Step 7: Treat Tinted Or Delicate Windows With Extra Care
Tinted glass needs a gentler approach because the tint film can peel, scratch, bubble, or discolor. If the sticker is on the inside of a tinted window, avoid sharp blades and strong solvents. Use warm soapy water, a soft cloth, and a plastic scraper only if needed.
Rear windows also need caution. Defroster lines and some built-in antennas sit on the glass surface and can be damaged by scraping. Work parallel to the lines instead of across them, and never pry at the edge of a line. If residue sits directly on these elements, soften it longer and wipe gently.
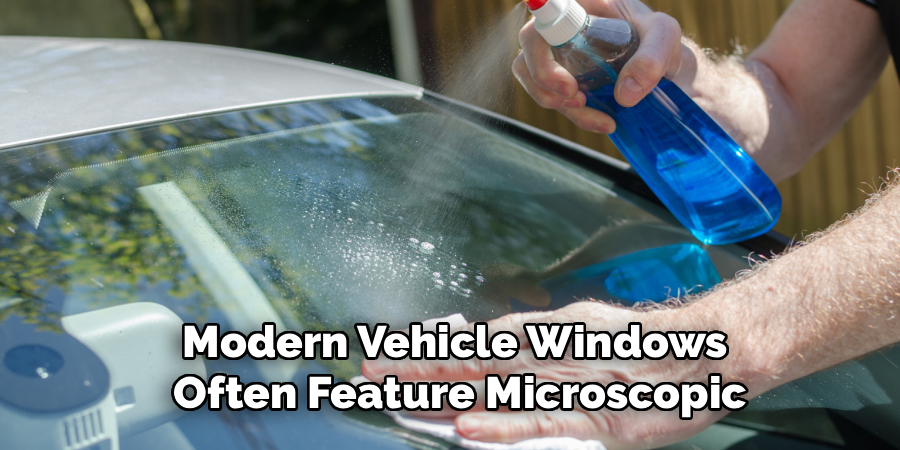
Step 8: Finish With A Streak-Free Clean
After the sticker and adhesive are gone, clean the glass one final time. Use an automotive glass cleaner or a mix of clean water and a small amount of mild soap. Wipe with a fresh microfiber towel to remove any oily film left by adhesive remover.
Dry the glass with a second clean towel. Check the surface from different angles because residue can hide until light hits it. If you still see haze, repeat the cleaning step rather than scraping harder. A slow final wipe gives the window a clear finish and helps prevent streaks from returning.
Frequently Asked Questions
Can I Use A Razor Blade On Car Glass?
A razor blade can remove stickers from plain, untinted glass, but it must be used with great care. Hold it at a low angle and keep the glass wet to reduce scratching. Do not use a razor on tinted windows, rear defroster lines, antennas, or coated glass. A plastic scraper is safer for most beginners.
What Is The Safest Adhesive Remover For Car Windows?
The safest choice is usually an automotive-safe adhesive remover used in small amounts. Apply it to a cloth first, not directly to the window, so it does not drip into trim or electronics. Always test a hidden area before wider use. For light residue, warm soapy water may be enough and is less risky.
How Do I Remove An Old Registration Sticker?
Old registration stickers often break apart because sun and heat make them brittle. Warm the sticker gently with a hair dryer, then lift one edge with a fingernail or plastic scraper. If the paper separates, dampen it with warm soapy water and let it soften. Remove residue slowly with a microfiber towel and mild adhesive remover if needed.
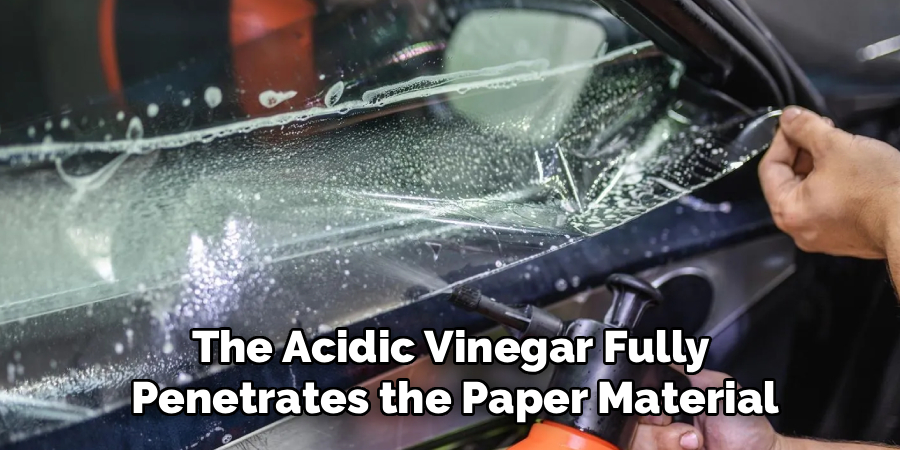
Will Vinegar Remove Sticker Residue From Glass?
Vinegar can help loosen some light residue, but it may not work well on strong automotive adhesives. If you try it, apply it with a cloth and keep it away from sensitive trim or electronics. It is usually safer for bare glass than tinted surfaces. For stubborn glue, an automotive adhesive remover often works better.
How Can I Avoid Damaging Window Tint?
Avoid razor blades, harsh solvents, ammonia-based cleaners, and aggressive scrubbing on tinted glass. Use gentle heat, warm soapy water, and a soft microfiber towel. If you need a scraper, choose plastic and use very light pressure. Work slowly around sticker edges, and stop if the tint starts to lift, wrinkle, or discolor.
Conclusion
Removing a sticker from car glass is easier when you match the method to the sticker and the surface. Start by checking the sticker type, warming it gently, lifting an edge with a safe tool, softening the adhesive, and cleaning residue with care. Take extra caution around tint, defroster lines, antennas, trim, and interior electronics.
If a sticker is old, brittle, or placed on a delicate surface, slow down and test products first. With the right method, how to remove car sticker from glass becomes a simple job that leaves your window clean, clear, and protected.
About
Ora Hayes is a distinguished figure in the world of DIY Thecarfixes, with over a decade of expertise in automotive diagnostics and high-performance maintenance. Her professional focus lies in merging mechanical precision with modern digital tools, fostering repair solutions that are both cost-effective and highly reliable. As the author of Thecarfixes, Ora Hayes delves into the art and science of automotive restoration, inspiring car owners and hobbyist mechanics alike.
Education
RMIT University (Melbourne, Australia) Associate Degree in Automotive Engineering — Focus on vehicle dynamics, industry-driven repair protocols, and advanced diagnostics. Gained hands-on experience with traditional mechanical tools and modern ECU remapping software.
Nottingham Trent University (United Kingdom) Bachelor’s in Mechanical Design and Automotive Engineering (Honors) — Specialized in automotive systems with a focus on blending technical engineering with everyday usability. Participated in industry projects, working with leading automotive manufacturers to gain real-world insights into vehicle longevity.
Publications and Impact
In Thecarfixes, Ora Hayes shares her insights on troubleshooting complex engine issues, material durability, and strategies for efficient garage setups. Her writing bridges the gap between professional mechanic knowledge and the home enthusiast’s needs, making it a must-read for both everyday drivers and seasoned gearheads.