A clean car interior isn’t just about curb appeal. Over months—sometimes weeks—everyday life tracks into your car: spilled coffee, sand from last weekend, gum wrappers your kids (or was it you?) stashed and forgot. Somehow, these little messes always find their way into the carpet. It happens to everyone. Before too long, what was once a faint whiff of ‘new car’ transforms into something… less inviting. Regular vacuuming helps, of course, but there comes a point when it’s simply not enough.
Let’s be realistic—hiring a detailer every few months gets expensive, and frankly, there’s satisfaction in seeing real progress after tackling the job yourself. To keep your cabin smelling fresh and preserve your car’s resale value, you’ll want to approach this methodically rather than just spraying and hoping for the best. In this guide on how to clean car carpets, we’ll cover the step-by-step process to achieve a deep clean and get rid of any stubborn stains or odors.
Tools and Materials You’ll Need
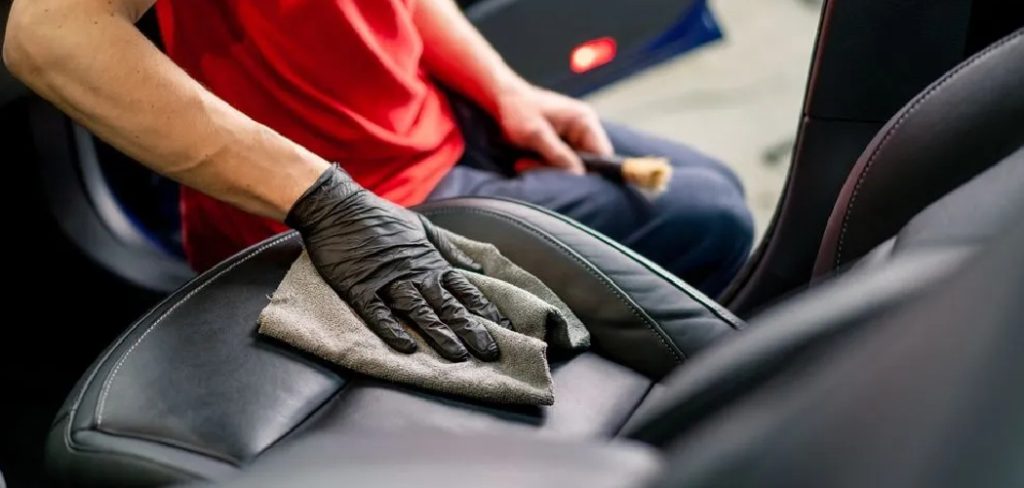
Preparation makes all the difference. You don’t need to mortgage the house for gear, but a handful of well-chosen tools do make the task much less aggravating.
- Wet/dry vacuum with a crevice tool and, if you have it handy, a brush attachment
- Stiff-bristled nylon brush (think of what you’d use on a filthy doormat)
- Automotive carpet cleaner or a foaming upholstery spray—pick one, no need for both
- Several microfiber towels (once you start, you’ll wish you had more)
- Plain spray bottle with warm water
- Baking soda, or if you’re feeling fancy, an actual automotive odor remover
- Optional: small carpet extractor or steam cleaner, especially if the situation is dire
7 Simple Step-By-Step Guidelines on How to Clean Car Carpets
Step 1: Clear the Clutter and Remove Your Floor Mats
First, excavate. Lift the seats forward, then back—money, pens, and an old receipt (probably unreadable by now) always lurk underneath. Take out everything loose. Anything that’s not bolted down? Remove it. This isn’t just about finding lost treasures; big debris jams up your vacuum later.
After the general mess is gone, floor mats come out next. Cleaning them separately is non-negotiable. You’ll get a better result, and it also gives you full access to the carpet beneath, where the worst grime likes to hide. If it’s sunny, lay the mats outside to dry while you keep going.
Step 2: Vacuum the Entire Area Thoroughly
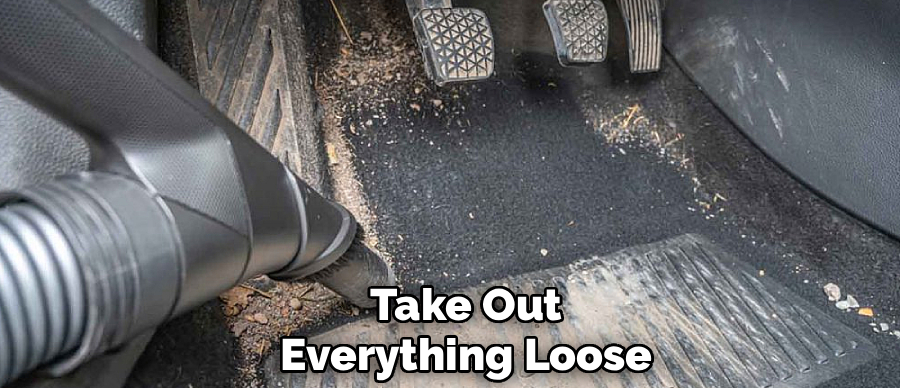
Set aside five minutes for a slow, thorough vacuum. Rushing here only creates more work later. With mats out, run the vacuum back and forth over all the floor space, resisting the urge to skip around. Work from the farthest corners up to the seat tracks.
Switch attachments: the brush end can stir up stubborn dirt, and the crevice nozzle fits between consoles and seats, the Bermuda Triangle of vehicle messes. Dog hair, gravel, beach sand—it all comes out now, not after you’ve made it muddy with cleaners.
Step 3: Pre-Treat Stubborn Stains and High-Traffic Areas
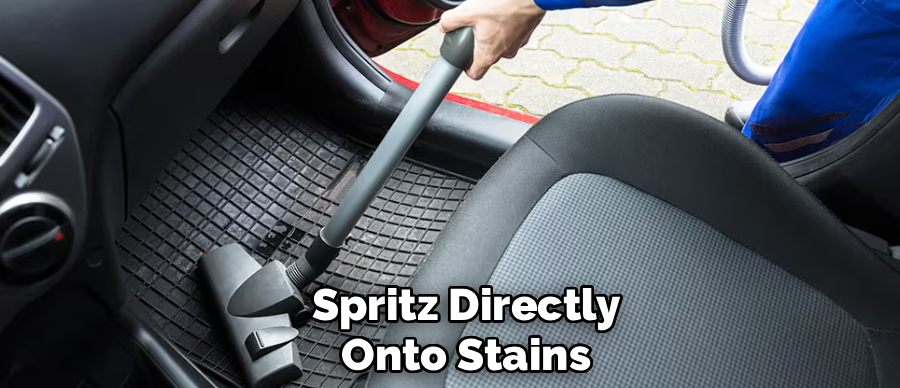
Pause and look closely. Are there coffee stains? Muddy footprints? A mysterious sticky spot near the gas pedal? Rather than dousing the whole car, aim the cleaning spray only where it’s genuinely needed. Spritz directly onto stains and let it sit. Not just for a moment, either. Give it about five, even ten minutes, to soak in and start dissolving whatever caused the problem.
It’s tempting to jump right in with scrubbing, but that tends to smear things around instead of actually cleaning. Let the chemical do the hard part. If you run into gum or sap, a specialty remover could be warranted, but for most everyday messes, a decent foaming cleaner is more than enough.
Step 4: Apply Cleaner and Scrub the Fibers
After pre-treatment, spray the rest of the carpet with your cleaner—section by section, not all at once. Why? The solution dries faster than you think, especially if you’re working in summer heat or on dark upholstery.
With your brush, work the cleaner into the fabric. Short, circular motions are generally the most effective, but you can adapt to the weave of your car’s carpet. This step can be slightly tiring, but that elbow grease is what actually lifts the dirt instead of hiding it deeper.
Focus on small areas. That way, the cleaner doesn’t dry before you can scrub, and you also avoid soaking the foam padding underneath. Notice if the foam being worked up looks especially grimy—this may suggest that a particular area needs attention for a while.
Step 5: Extract the Dirt and Wipe Away Residue
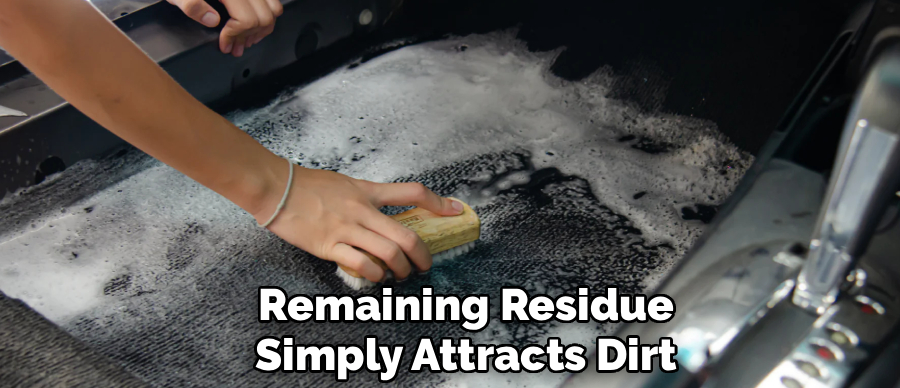
Cleaning agents are great at breaking up stains, but if you leave them behind, any remaining residue simply attracts dirt later. That’s frustration waiting to happen.
A portable carpet extractor is ideal here, but if you don’t have one, don’t stress. Press clean, dry microfiber towels into the carpet, swapping regularly as they become damp. Patience helps—confetti dabs rather than rough wiping seem to lift more grime. For leftover suds or persistent stickiness, mist a little water from your spray bottle and repeat the towel routine.
Soap left to dry acts like a dust magnet, which you’ll only notice after a week or two, as new marks seem to appear out of nowhere.
Step 6: Dry the Interior Completely to Prevent Mold
Here’s where a bit of paranoia can actually help you. Carpets that stay even slightly damp for too long can become a true headache: mildew, persistent odors, and, for allergy sufferers, potential health issues.
After extracting as much moisture as possible with towels, open the doors or windows. If the weather allows, parking in the sun and fresh air dramatically speeds drying. On damp or ‘iffy’ days, aim a fan inside the car for several hours.
Some people even leave towels tucked in place and rotate them out after an hour or two. It’s not overkill—underestimating how much the carpet padding can hold may result in a musty smell that emerges a week later.
Step 7: Deodorize and Protect the Flooring
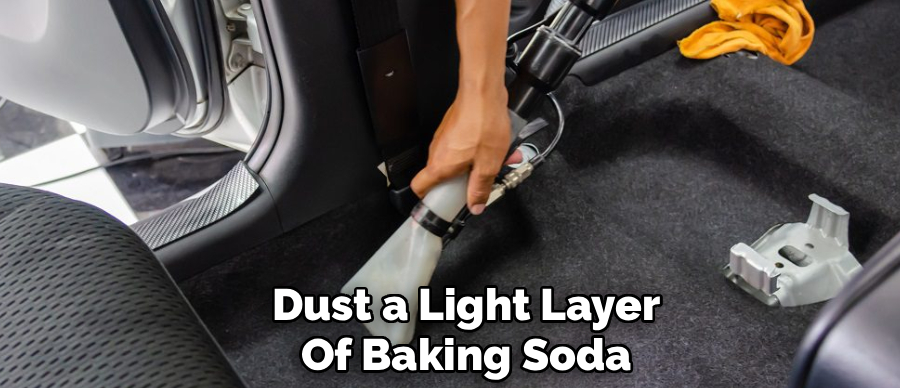
All dry? Now, dust a light layer of baking soda over the entire carpet. Let it sit for at least a couple of hours—overnight if possible. Vacuum it up in the morning. This pulls any lingering odors from the fabric (works well on dog and takeout food smells, too).
Afterwards, if you’re inclined, spray the carpet with a fabric guard or stain repellent. Some skip this step, claiming it’s unnecessary. In my experience, it can make minor spills bead up instead of soaking in—well worth a few extra minutes, especially if you have kids, pets, or a clumsy streak of your own.
Following these steps on how to clean car carpets, you can keep your car smelling fresh and looking clean. Remember to regularly vacuum and spot clean any spills or stains as soon as possible. Additionally, consider investing in a fabric guard or stain repellent for added protection.
Additional Tips for Cleaning Carpets
- Regularly vacuum your carpets to prevent dirt and dust from getting deeply embedded in the fibers.
- Consider using a carpet cleaner or steam cleaner once every few months to deep clean your carpets.
- Use a mixture of baking soda and essential oils as a natural deodorizer for your carpets.
- Test any cleaning products on a small, inconspicuous area first before applying them to the entire carpet.
- For tough stains, try using a combination of white vinegar and water as a spot cleaner.
- Avoid walking on wet carpets to prevent spreading the stain or making it worse.
- Don’t rub or scrub at stains vigorously, as this can damage the carpet fibers.
- Instead, gently blot at the stain with a clean cloth or paper towel to absorb as much of the liquid as possible.
- For pet stains, use a mixture of vinegar and dish soap to remove both the stain and odor.
- Regularly vacuum your carpets to prevent dirt and debris from getting ground into the fibers.
- Use a high-quality carpet cleaner at least once a year to deep clean your carpets.
- Consider using area rugs or mats in high-traffic areas to protect your carpets from excessive wear and tear.
- In case of tough stains, consider hiring a professional carpet cleaning service for more effective removal.
- Keep an eye on spills and stains, and treat them as soon as possible to prevent them from setting in.
- For tough odors, sprinkle baking soda over the affected area and let it sit for a few hours before vacuuming it up.
Common Mistakes to Avoid
Water is both your friend and potential nemesis. The urge to oversaturate spots—especially stubborn stains—can backfire. When the foam padding underneath gets soaked, it takes ages to dry and can quickly breed mold.
Stick to the minimum liquid needed, and don’t aggressively scrub at the fibers; a heavy hand frays the surface and leaves the carpet looking threadbare.
Do You Need To Use Professionals?
Most interior cleaning jobs are completely manageable at home, but some situations—waterlogged cars after a flood, stubborn mold, or deeply embedded odors—probably merit a call to an expert.
Pros have equipment you can’t replicate: industrial steamers, ozone machines, and others. Anything less drastic, say spilled food or standard foot traffic, is almost always within reach for the DIYer.
How Much Will It Cost?
If you own a bottle of cleaner and a scrub brush, you’re most of the way there. Supplies for a thorough job typically run $15–$30. Rentals for high-powered extractors are $30–$50 per day at most hardware stores.
Paying a professional? Expect a bill in the $100–$250 range, depending on size and the extent of the mess.
Frequently Asked Questions
Q1: What Is The Best Homemade Car Carpet Cleaner?
Mix equal parts warm water and distilled vinegar, add a drop or two of dish soap, and shake well in a spray bottle. This approach works for most fresh spills, with vinegar’s acidity neutralizing odors. Be gentle with the amount you apply—less is more to avoid over-soaking.
Q2: How Do I Get Rid Of Mold In My Car Carpet?
You’ll want to address mold quickly and thoroughly. Spray the area lightly with white vinegar, scrub with a brush, then focus all your efforts on drying the car completely. Leave windows open or park in the sun whenever possible. If, after your efforts, the smell lingers or the foam under the carpet is affected, a professional may need to strip the interior and replace the padding.
Q3: Can I Use A Household Carpet Cleaner In My Car?
You can, but be wary. Household carpet cleaners often dispense more water than intended for automotive use. Work in small areas and use the highest available suction setting, passing over the wet spot multiple times. Remember: the car’s carpet padding doesn’t breathe like your living room rug.
Conclusion
Taking on your own interior cleaning is a blend of effort and minor ritual, and it’s surprisingly rewarding. A bit of sweat equity—combining patient drying with targeted cleaning—makes for a space that feels welcoming every time you slide behind the wheel.
And honestly, you’ll likely appreciate your commute just a bit more knowing every crumb, spill, and sneaker print has finally met its match. Thanks for reading this guide on how to clean car carpets.

About
Ora Hayes is a distinguished figure in the world of DIY Thecarfixes, with over a decade of expertise in automotive diagnostics and high-performance maintenance. Her professional focus lies in merging mechanical precision with modern digital tools, fostering repair solutions that are both cost-effective and highly reliable. As the author of Thecarfixes, Ora Hayes delves into the art and science of automotive restoration, inspiring car owners and hobbyist mechanics alike.
Education
RMIT University (Melbourne, Australia) Associate Degree in Automotive Engineering — Focus on vehicle dynamics, industry-driven repair protocols, and advanced diagnostics. Gained hands-on experience with traditional mechanical tools and modern ECU remapping software.
Nottingham Trent University (United Kingdom) Bachelor’s in Mechanical Design and Automotive Engineering (Honors) — Specialized in automotive systems with a focus on blending technical engineering with everyday usability. Participated in industry projects, working with leading automotive manufacturers to gain real-world insights into vehicle longevity.
Publications and Impact
In Thecarfixes, Ora Hayes shares her insights on troubleshooting complex engine issues, material durability, and strategies for efficient garage setups. Her writing bridges the gap between professional mechanic knowledge and the home enthusiast’s needs, making it a must-read for both everyday drivers and seasoned gearheads.