The complex machinery beneath your vehicle’s hood requires consistent observation to function properly. Among the various fluids circulating through the engine bay, the liquid lubricating your gearbox often receives the least attention. This oversight might suggest a general misunderstanding of how automotive drivetrains operate.
Understanding how to check transmission fluid appears to be a fundamental aspect of proactive vehicle maintenance. This specific fluid performs multiple tasks simultaneously. It lubricates interlocking gears, provides hydraulic pressure for shifting, and acts as a thermal coolant.
Ignoring this vital system could lead to significant mechanical degradation over time. We will explore the precise methodology required to measure and evaluate this fluid accurately. Approaching this task with a measured, analytical mindset might save you from catastrophic transmission failures.
The Importance Of Knowing How To Check Transmission Fluid
Routine automotive maintenance frequently focuses entirely on engine oil and tire pressure. The transmission, however, represents an equally expensive and complex piece of engineering. Monitoring its internal fluid could indicate the overall health of the entire drivetrain assembly.
Transmission issues rarely manifest suddenly without prior warning signs. They typically build up slowly as the fluid loses its protective properties. Learning to evaluate this liquid might provide early detection of developing mechanical faults.
The Role of Transmission Fluid
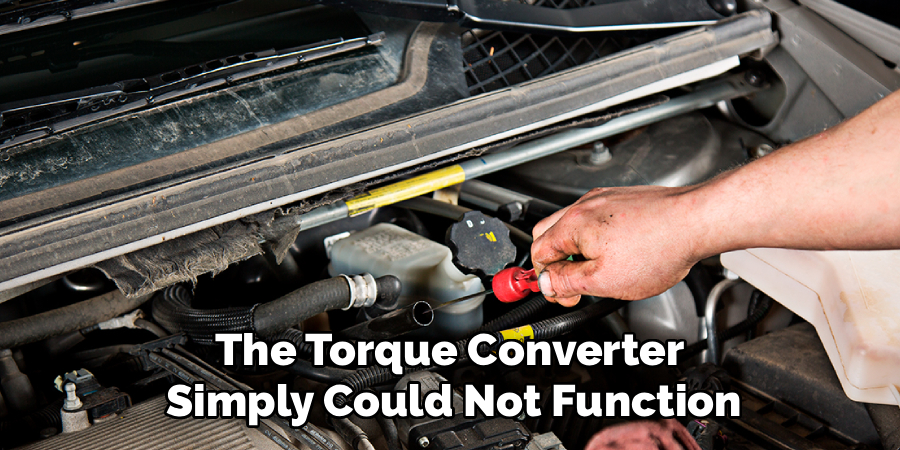
The fluid inside an automatic gearbox operates in a remarkably hostile environment. It serves as a specialized hydraulic medium that physically translates engine power into forward motion. Without it, the torque converter simply could not function.
Unlike standard motor oil, which primarily reduces friction, this liquid actively facilitates gear engagement. It also absorbs extreme heat generated by slipping clutch packs. This thermal transfer may suggest why fluid degradation leads to such rapid component failure.
Signs of Low or Degraded Fluid
An observant driver can usually detect the physical symptoms of a failing transmission. A noticeable delay when shifting from park to drive often indicates insufficient hydraulic pressure. This hesitation might suggest the fluid level has dropped below a safe operating threshold.
You might also experience a surging engine RPM while driving at constant speeds. A loud, unnatural whining noise during acceleration occasionally points toward a starved transmission pump. Catching these early symptoms could prevent permanent damage to the delicate internal bands and clutches.
Essential Safety Precautions Before You Begin
Working around an active internal combustion engine demands a high degree of situational awareness. The engine bay contains numerous moving parts and extreme thermal hazards. Proper preparation appears necessary to mitigate the inherent physical risks.
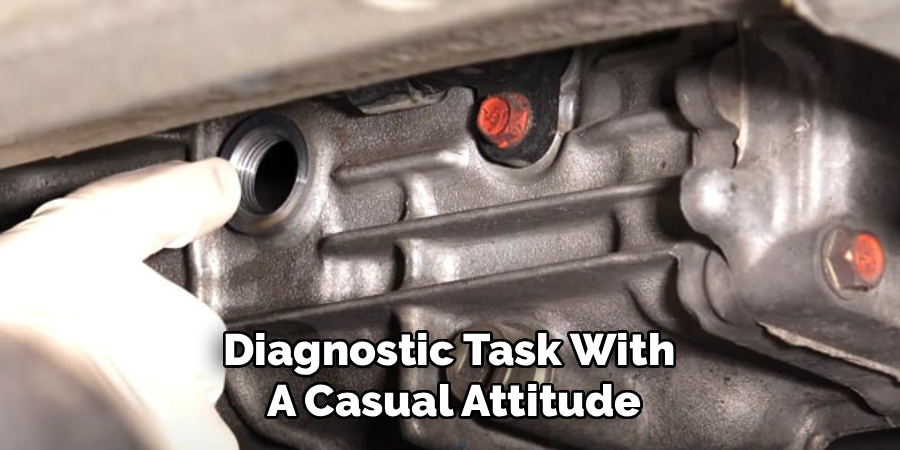
You should never approach this diagnostic task with a casual attitude. The transmission checking process usually requires the engine to remain running. This specific requirement introduces variables that mandate strict safety protocols.
Beware of Hot Fluid and Engine Components
The ambient temperature inside a functioning engine compartment can easily exceed safe handling limits. Transmission fluid itself frequently reaches temperatures that could cause severe burns upon contact. You must exercise extreme caution when reaching your hands past the radiator hoses.
Bare metal components like the exhaust manifold retain heat long after the vehicle stops moving. Brushing against these surfaces might result in immediate physical injury. Wearing protective gloves and long sleeves could offer a reasonable layer of defense against accidental contact.
Securing the Vehicle on Level Ground
Gravity plays an undeniable role in accurate fluid measurement. You must locate a perfectly flat patch of concrete or asphalt before beginning the procedure. Parking on a driveway with even a slight incline will likely invalidate your dipstick reading entirely.
An angled surface causes the fluid to pool at one specific end of the transmission pan. This displacement might suggest a critically low level when the system is actually full. Engage the parking brake firmly to ensure the chassis remains completely stationary during the inspection.
Locating the Transmission Dipstick
Finding the correct measurement tool requires a bit of under-hood navigation. Modern engine bays often look exceedingly cluttered with plastic covers and overlapping hoses. Identifying the appropriate dipstick might require consulting your specific owner’s manual.
Automotive engineers place these tools in different locations depending on the drivetrain layout. You must distinguish the transmission marker from the standard engine oil dipstick. Pulling the wrong handle could lead to significant diagnostic confusion.
Front-Wheel Drive vs. Rear-Wheel Drive Layouts
The orientation of the engine block largely dictates where the manufacturer positions the transmission. In rear-wheel-drive configurations, the transmission sits directly behind the engine, protruding into the central tunnel. The dipstick tube typically rises near the rear firewall, often on the passenger side.
Front-wheel-drive vehicles utilize a transaxle setup where the gearbox sits alongside the engine block. In these transverse layouts, you will frequently find the dipstick near the front of the engine bay. It often protrudes near the radiator cooling fans.
Differentiating from the Engine Oil Dipstick
Engineers usually employ color-coding to help owners differentiate between the various fluid markers. Engine oil dipsticks traditionally feature a bright yellow plastic loop. Transmission dipsticks, conversely, often utilize a red or black handle.
Furthermore, many transmission dipsticks incorporate a secondary locking mechanism. You might need to flip a small latch or twist the handle counterclockwise to release the seal. This locking design prevents pressurized fluid from blowing the stick out of its tube during heavy acceleration.
How To Check Transmission Fluid: Step-by-Step Instructions
Measuring this specific fluid requires a slightly more involved process than checking engine oil. You must replicate the actual operating conditions of the gearbox to achieve an accurate reading. Proceeding methodically through the following steps appears to guarantee reliable results.
Patience represents your greatest asset during this diagnostic routine. Rushing the process often yields false data, which could lead to accidental overfilling. We recommend keeping a clean, lint-free shop towel nearby before you begin.
Step 1: Park the Vehicle and Engage the Brake
Direct your vehicle onto the flattest surface available in your immediate vicinity. Shift the transmission firmly into the Park position. If your specific vehicle manual requires the car to be in Neutral, follow that directive strictly.
Apply the emergency parking brake with significant force. Because the engine will be running while you lean over the grille, securing the wheels is absolutely non-negotiable. This prevents any accidental rolling that could cause a catastrophic accident.

Step 2: Warm Up the Engine and Cycle the Gears
Transmission fluid expands significantly as it absorbs thermal energy. You must bring the liquid up to its normal operating temperature to measure its true volume. Start the engine and allow it to idle until the dashboard temperature gauge reaches the middle of its sweep.
Once warm, sit in the driver’s seat with your foot pressing heavily on the brake pedal. Slowly shift the gear selector through every available position, pausing for roughly three seconds in each gear. Return the shifter to the Park position and leave the engine idling.
Step 3: Locate and Pull the Dipstick
Open the vehicle’s hood and secure it with the prop rod if necessary. Locate the transmission dipstick using the visual cues discussed earlier. Reach down carefully, avoiding the spinning serpentine belts and active cooling fans.
Release the locking latch and pull the long metal stick completely out of the tube. The fluid currently on the stick does not represent an accurate measurement due to splashing inside the pan. Wipe the metal strip completely dry with your clean shop towel.
Step 4: Reinsert and Check the Fluid Level
Slide the clean dipstick all the way back into its metal tube. Ensure the handle seats fully against the rim to create a proper seal. Wait approximately two seconds for the fluid to settle against the metal markers.
Pull the dipstick back out smoothly and hold it horizontally in front of you. Observe exactly where the wet, glossy fluid mark intersects the engraved indicator lines. This intersection point represents your current hydraulic fluid volume.
Understanding Cold vs. Hot Fluid Readings
The physical properties of the liquid change dramatically depending on its temperature. Manufacturers engrave multiple measurement scales on the dipstick to account for this thermal expansion. Interpreting these marks correctly might prevent you from making a costly maintenance error.
You must reference the correct scale based on the current state of the engine. Reading the hot scale while the engine is freezing cold will inevitably cause confusion. Understanding this distinction appears vital for accurate diagnostics.
Reading the Hot Marks
The “Hot” section of the dipstick typically sits higher up on the metal strip. Checking the fluid after a continuous fifteen-minute drive provides the most reliable and accurate measurement. The liquid should fall neatly within the crosshatched area or between the two highest indicator holes.
If the fluid reaches the top hole of the hot zone, your transmission is perfectly full. If it registers significantly above this mark, the system is overfilled. Excessive fluid might suggest impending aeration issues inside the gearbox.
Reading the Cold Marks
You will likely notice a secondary set of marks labeled “Cold” positioned near the very tip of the stick. This lower range is generally utilized by professional mechanics to establish a safe baseline immediately after a drain and fill procedure. It verifies that enough fluid exists to start the engine safely.
You should not rely on the cold marks for routine monthly maintenance checks. The hot reading always provides a more accurate reflection of the fluid’s operational volume. Use the cold marks merely as a rough estimate before driving to the repair shop.
Analyzing Transmission Fluid Color and Smell
The volume of the liquid only tells half the story regarding the health of your drivetrain. Evaluating the physical condition of the fluid provides immense insight into internal wear patterns. You can perform a surprisingly thorough chemical analysis using only your eyes and nose.
Fluid degradation happens gradually as heat and friction break down the protective additives. Examining the residue on your shop towel might reveal the true state of your clutch packs. This visual inspection could serve as an early warning system for mechanical failure.
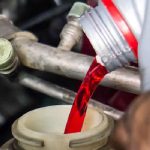
Healthy Red Fluid vs. Dark Brown Fluid
Fresh, uncontaminated transmission fluid features a bright, translucent red coloration. It should look somewhat like cherry syrup on the white paper towel. This vibrant color indicates that the chemical detergents and friction modifiers remain active and highly effective.
As the fluid ages, it naturally absorbs microscopic particles of clutch material and metal shavings. The liquid will slowly transition from bright red to a dark, muddy brown. Black, opaque fluid usually suggests severe neglect and often points toward an impending mechanical overhaul.
The Danger of a Burnt Smell
While observing the color on the towel, you should also lean in and smell the fluid. Healthy liquid possesses a slightly sweet, petroleum-based odor. It should never smell harsh or offensive.
If the dipstick emits a sharp, acrid scent resembling burnt toast, you face a serious problem. A burnt smell indicates that the transmission has overheated repeatedly, severely scorching the internal friction plates. This specific olfactory warning usually necessitates an immediate professional inspection.
What to Do If the Fluid Level is Low
Discovering that your transmission lacks sufficient fluid requires prompt intervention. Operating the gearbox in a starved state accelerates internal friction exponentially. You must restore the hydraulic volume to prevent the metal bands from slipping.
Topping off the system is generally a straightforward process. However, it demands a high degree of precision and cleanliness. Introducing foreign dirt into the dipstick tube could cause microscopic valves to stick open.
Adding the Correct Transmission Fluid Type
Automotive manufacturers engineer highly specific fluid formulations for their individual transmission designs. You cannot simply pour generic fluid into a modern, computer-controlled gearbox. Mixing incompatible chemical formulations could dissolve internal rubber seals and cause catastrophic shifting failures.
Consult your owner’s manual to identify the exact fluid specification required for your vehicle. Whether it calls for Dexron, Mercon, or a proprietary synthetic blend, you must purchase the exact match. Using the wrong bottle may suggest a profound risk to the longevity of the drivetrain.
Using a Funnel to Prevent Overfilling
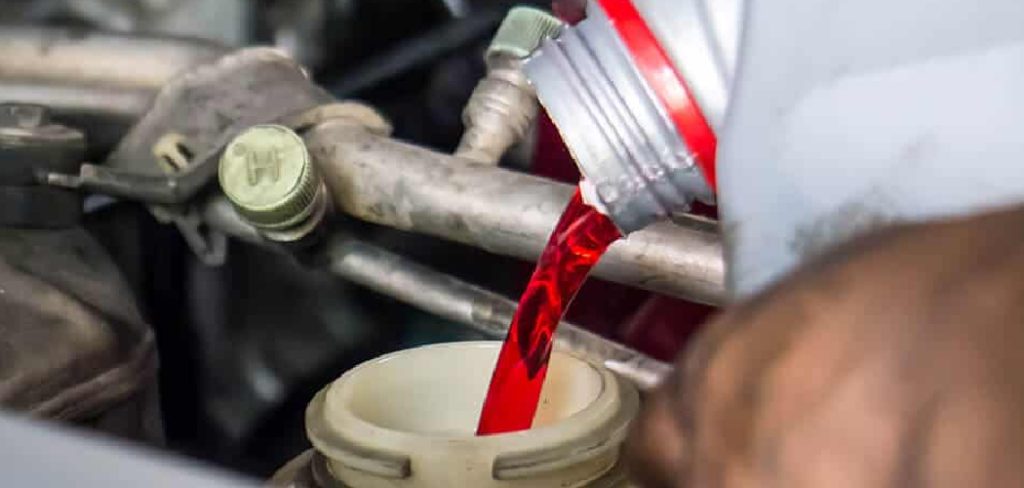
You must add new fluid directly through the narrow dipstick tube. Placing a long-neck, completely clean funnel into the tube prevents spills over the hot exhaust manifold. Poured fluid that hits hot metal can ignite quite easily.
Add the new liquid in extremely small increments, roughly half a pint at a time. Check the dipstick repeatedly after each pour. Overfilling the transmission causes the spinning gears to whip the fluid into a useless foam, which destroys hydraulic pressure entirely.
Dealing with Sealed Transmission Systems
The automotive industry has gradually shifted toward closed-system architectures over the past decade. Many contemporary vehicles completely lack a traditional under-hood dipstick. This engineering choice alters the maintenance landscape significantly for driveway mechanics.
These sealed units require a completely different approach to fluid verification. They often rely on electronic sensors rather than physical measurement tools. Understanding how these systems operate might save you hours of fruitless searching under the hood.
What is a “Lifetime” Sealed Transmission?
Manufacturers often market these closed units as containing “lifetime” fluid. This terminology implies that the liquid will last for the entire usable lifespan of the vehicle under normal conditions. Engineers removed the dipstick to prevent owners from introducing dirt or incorrect fluids into the sensitive valve body.
Instead of a top-mounted tube, these transmissions feature a specialized leveling plug located underneath the vehicle on the oil pan. Checking the level requires raising the car on a professional lift while monitoring the internal fluid temperature via a computer scanner. This process clearly exceeds the capabilities of most casual owners.
When to Visit a Professional Mechanic
If you own a vehicle with a sealed transmission and suspect a fluid leak, you should halt your diagnostic efforts immediately. Puddles of red fluid on your driveway indicate a breach in this supposedly closed system. You cannot simply top it off to safely reach your destination.
We highly recommend taking the vehicle to a certified independent shop or dealership. Professional technicians possess the proprietary diagnostic software and specialized fluid pumps necessary to service these modern units. Deferring to their expertise appears to be the most logical choice when dealing with sealed drivetrain components.
Conclusion
Routine mechanical observation serves as the best defense against unexpected automotive failures. Your vehicle’s drivetrain represents a massive financial investment that requires ongoing thermal and hydraulic protection. Taking a few moments every month to monitor these hidden systems could extend the life of your car indefinitely.
Understanding exactly how to check transmission fluid empowers you to take charge of your vehicle’s physical health. You can now identify the difference between normal fluid degradation and severe mechanical overheating. By prioritizing safety and approaching the evaluation methodically, you ensure a smoother, highly reliable driving experience for years to come.
About
Ora Hayes is a distinguished figure in the world of DIY Thecarfixes, with over a decade of expertise in automotive diagnostics and high-performance maintenance. Her professional focus lies in merging mechanical precision with modern digital tools, fostering repair solutions that are both cost-effective and highly reliable. As the author of Thecarfixes, Ora Hayes delves into the art and science of automotive restoration, inspiring car owners and hobbyist mechanics alike.
Education
RMIT University (Melbourne, Australia) Associate Degree in Automotive Engineering — Focus on vehicle dynamics, industry-driven repair protocols, and advanced diagnostics. Gained hands-on experience with traditional mechanical tools and modern ECU remapping software.
Nottingham Trent University (United Kingdom) Bachelor’s in Mechanical Design and Automotive Engineering (Honors) — Specialized in automotive systems with a focus on blending technical engineering with everyday usability. Participated in industry projects, working with leading automotive manufacturers to gain real-world insights into vehicle longevity.
Publications and Impact
In Thecarfixes, Ora Hayes shares her insights on troubleshooting complex engine issues, material durability, and strategies for efficient garage setups. Her writing bridges the gap between professional mechanic knowledge and the home enthusiast’s needs, making it a must-read for both everyday drivers and seasoned gearheads.