Transmission fluid keeps gears, clutches, bearings, and hydraulic parts moving smoothly. When it gets old, dirty, or low, shifting can feel rough and heat can build inside the transmission. Learning how to drain transmission fluid helps you handle basic maintenance with more confidence, but it must be done carefully.
This guide explains the safe process from start to finish. You will learn how to check your owner’s manual, prepare the vehicle, drain the old fluid, inspect what comes out, reinstall parts correctly, and refill the transmission with the right fluid. It also explains when a professional service is the smarter choice.
Why Draining Transmission Fluid Matters
Draining transmission fluid helps remove worn-out oil, fine metal particles, clutch material, and heat-damaged fluid from the system. Fresh fluid can improve lubrication, reduce heat, support smoother shifting, and help protect internal parts.
It also gives you a chance to inspect the fluid condition. Dark, burnt-smelling, gritty, or metallic fluid can point to wear or a deeper problem. Catching those signs early may prevent bigger repair bills.
This service is not the same for every vehicle. Some transmissions have drain plugs, some require pan removal, and some are sealed or need special tools. Following the correct procedure matters because the wrong fluid level or fluid type can cause serious shifting problems.
Step-By-Step Guide To Draining Transmission Fluid
A safe plan for how to drain transmission fluid starts with knowing your vehicle’s exact service method. Automatic, manual, dual-clutch, and CVT transmissions can all have different fluid needs. If your vehicle has no dipstick, requires scan tool temperature checks, or uses a sealed fill system, professional service may be safer.
Step 1: Check The Manual First
Start with the owner’s manual or factory service information. Look for the correct transmission fluid type, service interval, drain method, refill method, and fluid capacity. Do not guess based on color or bottle labels alone.
Some vehicles need a simple drain and refill, while others require pan removal, filter replacement, or a specific fluid temperature during level checking. CVTs and modern sealed automatics can be especially sensitive. Using the wrong fluid can cause slipping, harsh shifts, or long-term damage. If the manual says special tools are required, pause before starting.
Step 2: Warm The Vehicle Safely
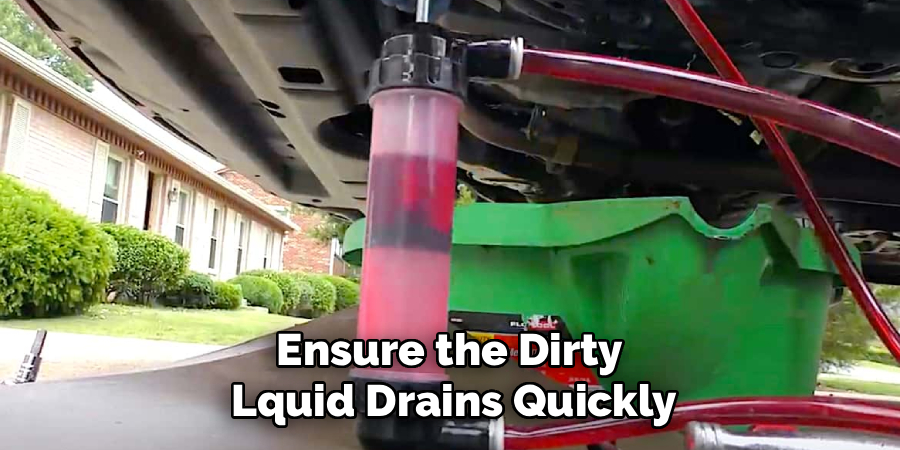
Warm transmission fluid drains faster and carries more suspended debris out with it. Drive the vehicle for a short time or let it run long enough to reach a mild operating temperature. The goal is warm fluid, not dangerously hot fluid.
Hot transmission fluid can burn skin quickly, so do not rush under the vehicle after a long drive. Wear gloves and eye protection. Let the vehicle cool if the exhaust, pan, or fluid feels too hot to work around safely. A careful warm-up improves draining without creating an avoidable injury risk.
Step 3: Park On Level Ground
Park the vehicle on a firm, level surface before you begin. A flat surface helps the fluid drain evenly and makes the final level check more accurate. Set the parking brake and place the transmission in park for an automatic or in gear for a manual, depending on the vehicle instructions.
If you need to raise the vehicle, use a proper floor jack and support it with rated jack stands. Never rely on the jack alone. Keep the vehicle level from front to rear if the fluid level procedure requires it. Stability matters more than speed.
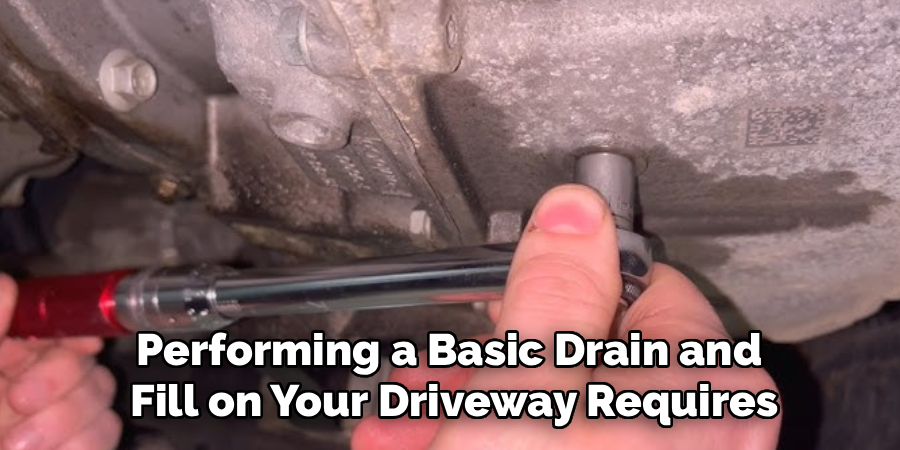
Step 4: Locate The Drain Plug Or Pan
Look under the vehicle and identify the transmission pan, drain plug, fill plug, or service plug. Some transmissions have a clear drain plug at the bottom of the pan. Others have no drain plug, which means the pan must be loosened carefully to release the fluid.
Before removing any drain plug, make sure you can also refill the transmission. This is very important on vehicles with side fill plugs or sealed systems. If the fill plug is stuck and you already drained the fluid, the vehicle may not be drivable. Confirm access first, then continue.

Step 5: Position The Drain Pan Carefully
Place a wide drain pan under the transmission before loosening anything. Transmission fluid can spread farther than expected, especially when a pan is loosened from one side. Keep rags nearby, but do not put your hands directly in the fluid stream.
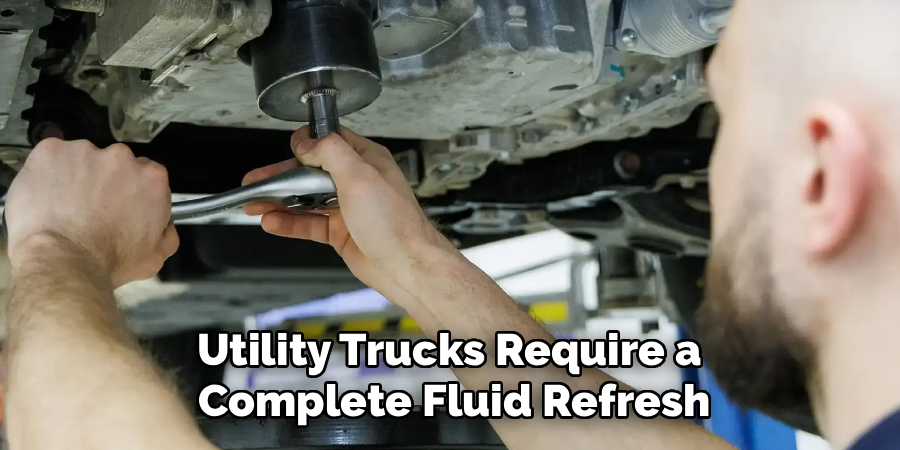
Loosen the drain plug slowly if your vehicle has one. If you are removing the pan, loosen bolts gradually and allow one corner to drop slightly so the fluid can flow in a controlled way. Avoid bending the pan flange. Work slowly, because rushing this step often creates spills and stripped bolts.
Step 6: Drain And Inspect The Old Fluid
Let the fluid drain until it slows to a drip. This stage of how to drain transmission fluid is also a good time to inspect what comes out. Healthy used fluid may be darker than new fluid, but it should not smell strongly burnt or contain large metal pieces.
A small amount of fine gray material on the pan magnet can be normal. Shiny flakes, chunks, or heavy sludge may signal internal wear. If you find serious debris, do not ignore it. Replacing fluid may not fix a damaged transmission, and a repair shop can help diagnose the cause.
Step 7: Replace Seals And Reinstall Parts
If your vehicle uses a drain plug, inspect the crush washer or seal. Replace it if the manual recommends it or if it looks flattened, cracked, or damaged. If you removed the pan, clean the pan and magnet, then install a new gasket if required.
Reinstall bolts by hand first to avoid cross-threading. Tighten them evenly and only to the recommended torque if you have the specification. Over-tightening can crush gaskets, strip threads, or warp the pan. The goal is a clean seal, not maximum force. Wipe the area clean so leaks are easier to spot later.
Step 8: Refill And Check The Level
Refill the transmission with the exact fluid type listed for your vehicle. Add fluid slowly through the dipstick tube or fill port, depending on the design. Start with less than the full listed capacity because a drain and refill usually removes only part of the total fluid.
Follow the correct level-checking procedure. Some vehicles are checked warm with the engine running, while others require a specific fluid temperature or a level plug. Shift through the gears if the manual instructs you to do so. Check for leaks, recheck the level, and dispose of used fluid at an approved recycling center.
Frequently Asked Questions
How Often Should Transmission Fluid Be Drained?
The correct interval depends on the vehicle, transmission type, driving conditions, and manufacturer recommendations. Many vehicles need service between 30,000 and 100,000 miles, but towing, heavy traffic, heat, and mountain driving can shorten that interval. Always check your manual first. If the fluid smells burnt, looks very dark, or shifting changes, inspect it sooner.
Is Draining Transmission Fluid The Same As Flushing It?
No, draining and flushing are different services. Draining removes the fluid that comes out of the pan or drain plug, while flushing uses equipment to exchange more fluid from the system. A drain and refill is usually gentler and simpler. A flush may not be recommended for some high-mileage or problem transmissions, so follow the vehicle maker’s guidance.
Can I Drain Transmission Fluid At Home?
Yes, many drivers can do it at home if the vehicle has a simple drain and refill design. You need the correct fluid, safe lifting equipment, a drain pan, basic tools, and the proper level-checking procedure. If the vehicle is sealed, requires scan tool data, or has no clear fill access, professional service is often the safer choice.
What Happens If I Use The Wrong Transmission Fluid?
The wrong fluid can cause rough shifts, slipping, delayed engagement, overheating, shuddering, or internal wear. Modern transmissions use fluids with specific friction and temperature properties. Even if two fluids look similar, they may not work the same way. If you added the wrong fluid, avoid driving and ask a qualified technician what steps are needed next.
Should I Change The Transmission Filter Too?
Some transmissions have a serviceable filter inside the pan, while others use screens or internal filters that are not replaced during normal service. If your vehicle has a replaceable filter and the pan is already removed, changing it may be smart. Check the manual first, because filter access, gasket style, and torque specs vary by model.
Conclusion
Draining transmission fluid is a useful maintenance task when you follow the correct process. Start by checking the manual, warming the vehicle safely, working on level ground, draining the old fluid carefully, inspecting for debris, replacing seals when needed, and refilling with the correct fluid.
Take safety seriously, especially around hot fluid, lifted vehicles, and sealed transmissions. Recycle used fluid properly and do not force a service method your vehicle was not designed for. If you are unsure, get professional help. With the right steps, how to drain transmission fluid becomes a manageable job that supports smoother, safer driving.
About
Ora Hayes is a distinguished figure in the world of DIY Thecarfixes, with over a decade of expertise in automotive diagnostics and high-performance maintenance. Her professional focus lies in merging mechanical precision with modern digital tools, fostering repair solutions that are both cost-effective and highly reliable. As the author of Thecarfixes, Ora Hayes delves into the art and science of automotive restoration, inspiring car owners and hobbyist mechanics alike.
Education
RMIT University (Melbourne, Australia) Associate Degree in Automotive Engineering — Focus on vehicle dynamics, industry-driven repair protocols, and advanced diagnostics. Gained hands-on experience with traditional mechanical tools and modern ECU remapping software.
Nottingham Trent University (United Kingdom) Bachelor’s in Mechanical Design and Automotive Engineering (Honors) — Specialized in automotive systems with a focus on blending technical engineering with everyday usability. Participated in industry projects, working with leading automotive manufacturers to gain real-world insights into vehicle longevity.
Publications and Impact
In Thecarfixes, Ora Hayes shares her insights on troubleshooting complex engine issues, material durability, and strategies for efficient garage setups. Her writing bridges the gap between professional mechanic knowledge and the home enthusiast’s needs, making it a must-read for both everyday drivers and seasoned gearheads.